


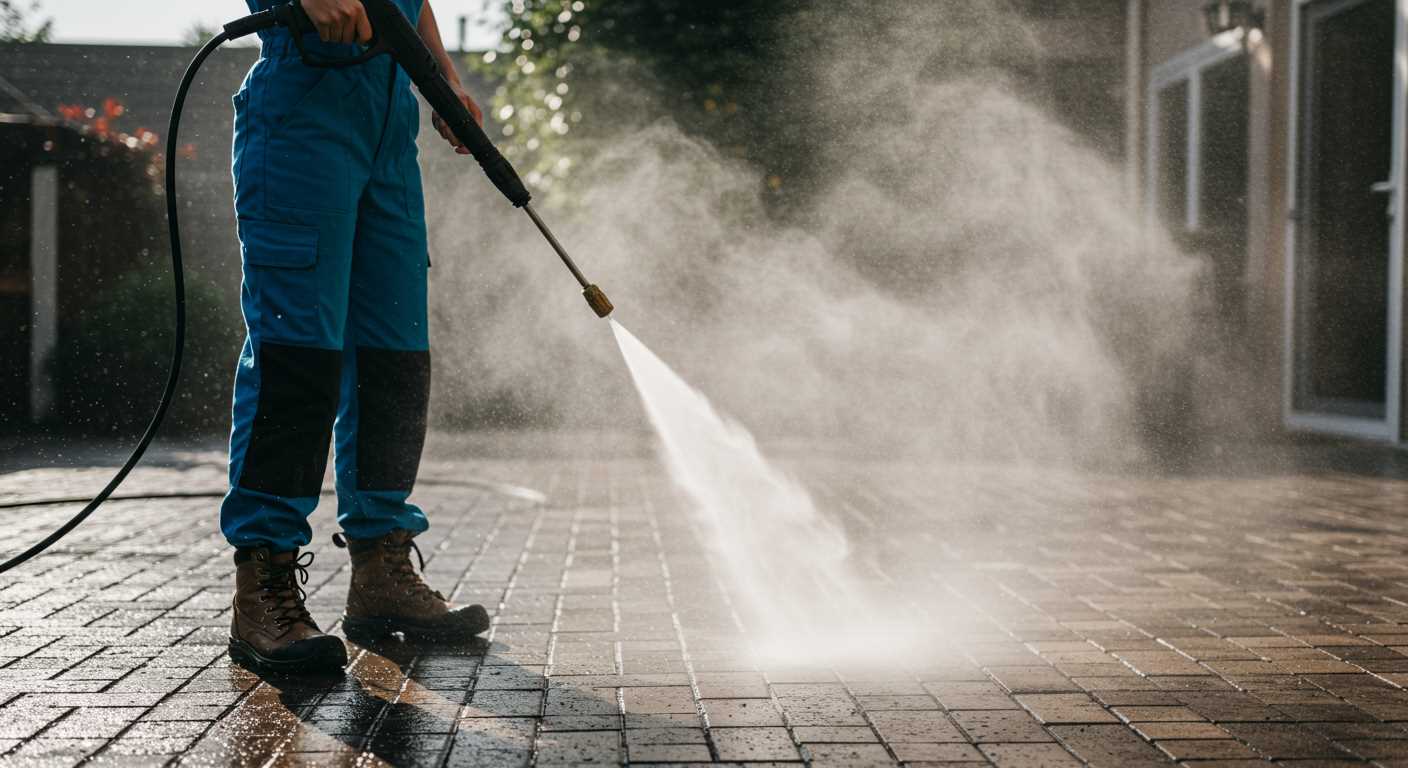
Begin by ensuring the machine is completely turned off and disconnected from any power source. Safety first. I remember the time I was in a rush and neglected this step; it was a lesson learned the hard way. Next, take a moment to inspect the end of the tube for any wear or damage. A frayed connector can lead to leaks, which is not only frustrating but can also damage your unit over time.
Align the end of the tubing with the connector on your device. You’ll want to apply even pressure as you push the attachment into place. Listen for a click or feel a slight resistance; this indicates a secure fit. During my years in the industry, I’ve seen many users struggle with this part. It’s a simple step, yet crucial for optimal performance. If you find it difficult, a bit of lubrication on the rubber gasket can help ease the process.
Once attached, check that the locking mechanism is firmly engaged. This is often overlooked, but trust me, it’s a game changer for ensuring a seamless operation. I once forgot to lock it in place, leading to a sudden disconnection mid-clean. The mess that followed was something I’ll never forget. Lastly, briefly run the machine at a low setting to ensure everything is functioning correctly before ramping up to full power.
Guidelines for Attaching a High-Pressure Line to Your Cleaning Device
Ensure the machine is powered off and disconnected from the electrical source before starting the attachment process. Locate the inlet on the unit, which is typically located at the front or side, and inspect it for any debris or damage. A clean inlet is essential for a secure fit.
Take the end of your high-pressure line and align it with the inlet. Most units will have a quick-connect fitting that allows for easy attachment. Push the connector firmly into the inlet until you hear a click or feel it lock into place. This indicates a proper connection. If your model uses threaded fittings, screw the line onto the inlet clockwise until it feels snug, but avoid overtightening, which can cause damage.
Testing the Connection
After securing the line, it’s wise to check for leaks. Turn on the water supply and switch on the machine. Observe the connection closely for any signs of water escaping. If leaks occur, turn off the device and recheck the attachment, tightening it as necessary. In my experience, ensuring a tight fit before operation can save time and prevent potential mishaps during use.
Maintaining the Connection
Regularly inspect both the line and the inlet for wear or damage. Over time, connectors can become worn, leading to less effective fittings. I once encountered a situation where neglecting this led to an unexpected disconnection while in use, resulting in a wet mess and a delay in my cleaning task. To avoid such issues, replace any worn parts promptly and keep your equipment in top condition.
Gather Necessary Tools and Equipment
Start with a sturdy pair of gloves to protect your hands from any potential abrasions or chemicals during the setup. I remember the first time I forgot to wear them; it turned into a regrettable experience. Next, grab a pair of safety goggles. They’re crucial for shielding your eyes from debris that may be kicked up during the cleaning process.
Required Tools
A wrench or pliers will be necessary for tightening the fittings securely. Invest in a quality adjustable wrench; it’s a tool I’ve relied on countless times. You might also consider having a flathead and a Phillips screwdriver on hand. These can come in handy for any unexpected adjustments or repairs.
Additional Equipment
Keep a towel nearby; it’s useful for wiping down any spills or excess water. Lastly, ensure you have a suitable extension cord if your device requires more distance from a power source. I’ve had my share of frantic moments trying to rearrange equipment due to a lack of reach. Having the right tools and gear makes all the difference in ensuring a smooth and efficient setup.
Identify Hose and Washer Compatibility
Before proceeding with the task, ensure that both the flexible line and the cleaning unit match in specifications. Many individuals overlook this step, leading to frustration and wasted time. It’s vital to check the diameter and fitting type of the line. Most models utilise a 1/4-inch or 3/8-inch diameter, while the connectors can vary, commonly featuring quick-connect or threaded designs.
Connector Types
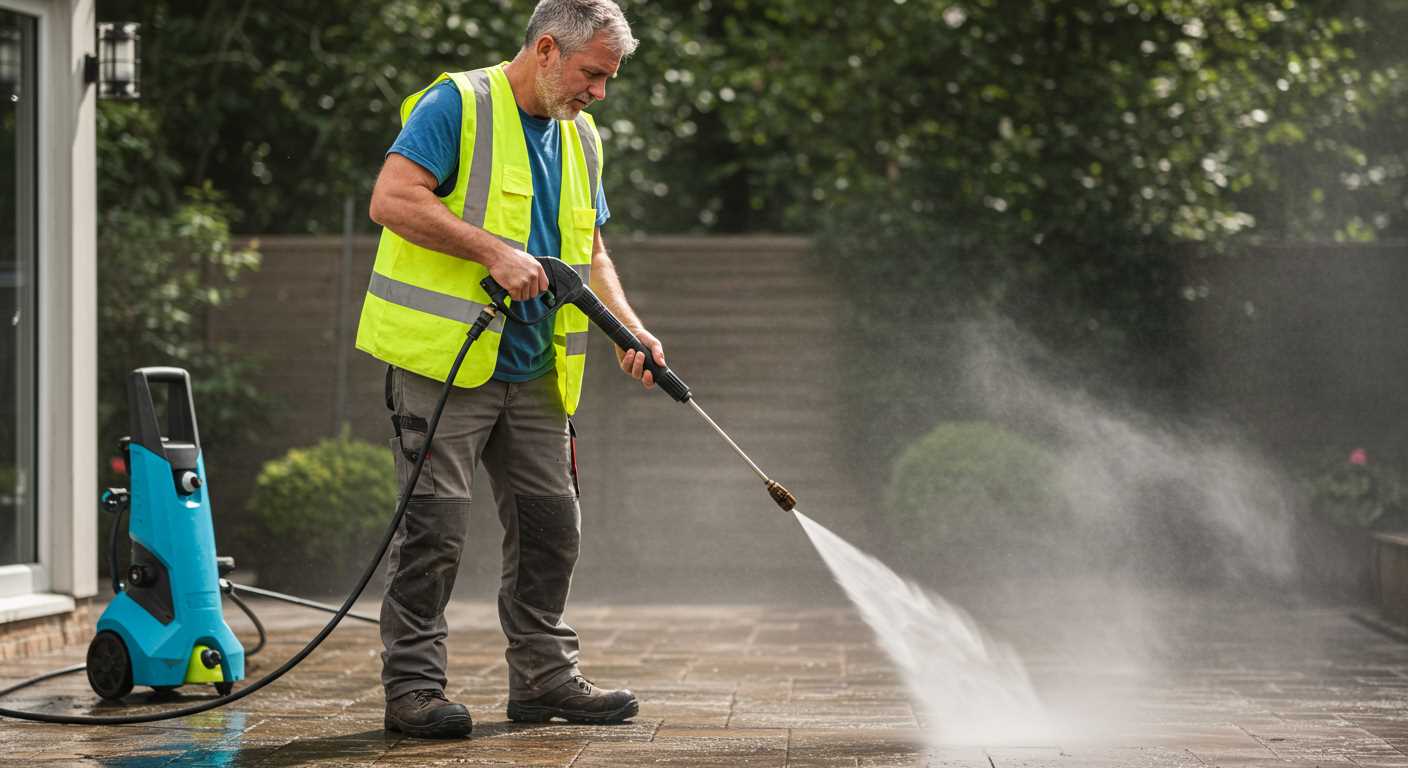
Two dominant connector styles are prevalent in the market. Quick-connect fittings allow for swift attachment and detachment, which is handy for various tasks. On the other hand, threaded fittings provide a secure, stable connection but can be more cumbersome to manage. I’ve learned from experience that quick-connects are ideal for frequent changes, while threads might be better for a more permanent setup.
Pressure Ratings
Next, verify the pressure rating of the flexible line. It should match or exceed the specifications of the cleaning device. A mismatch can lead to dangerous situations, including bursts or leaks during operation. I once observed a scenario where a user attempted to employ a lower-rated line, resulting in a frustrating and hazardous experience. Always opt for lines that can handle the required pressure to ensure safety and functionality.
Inspect Hose for Damage Before Connection
Before attaching your cleaning line, thoroughly examine it for any signs of wear or damage. A compromised line can lead to leaks or bursts during operation, posing risks to both you and the equipment.
Key Areas to Check
- Cracks and Cuts: Look for any visible cracks or cuts along the surface. These can weaken the structure and lead to failure under pressure.
- Bulges: Any swelling or bulges in the material indicate internal damage that could result in a rupture.
- Connector Integrity: Inspect the fittings at both ends of the line. Ensure they are secure and free from corrosion or damage.
- Leaks: If you notice any wet spots or moisture around the fittings when testing, this could signal a leak.
Testing for Functionality
- Before connecting, briefly pressurise the line without attaching it to the device. Look for any signs of leaks.
- Check the flexibility of the line. It should bend easily without kinking or showing signs of stiffening.
- If any issues arise during the inspection, replace the line before proceeding to ensure safety and effectiveness.
In my experience, I once overlooked a small crack during an inspection, assuming it was negligible. Mid-operation, the line burst, causing not only a mess but also a costly delay. Regular checks can save you from such situations.
Locate Connection Points
To ensure a seamless attachment of the cleaning line, first pinpoint the inlet and outlet spots on the equipment. The inlet is typically located near the base, allowing water to enter the machine. It’s generally a threaded connection, so be prepared to use an appropriate wrench for a secure fit. The outlet, on the other hand, is where the water exits, sending it through the cleaning line at high velocity. This point often features a quick-connect mechanism, which makes detaching and reattaching a breeze.
Examine Manufacturer Guidelines
Consult the user manual to confirm the exact locations of these connection points. Different brands and models may have unique configurations. I recall a time when I assumed I knew the layout based on a friend’s machine, only to discover that my model had a completely different setup. This little oversight led to unnecessary frustration. Always refer to the documentation specific to your model, as it often includes diagrams that can clarify the process.
Check for Accessories
Look for any additional components that may be required for a proper fit. Some models include an adapter or a specific type of connector that may not be standard across all machines. I once encountered a situation where I tried to use a generic connector on a more sophisticated model, and the fit was inadequate, resulting in leaks. Taking the time to double-check these details can save you from a messy experience down the line.
Attach High Pressure Hose to Washer Carefully
Ensure a secure fit by aligning the connector on the end of the tubing with the inlet on the machine. Apply gentle pressure while twisting the connector clockwise until it feels snug. An audible click often indicates proper engagement, but don’t rely solely on sound–always give it a slight tug to confirm it’s firmly in place.
When you are working with threaded fittings, make sure to avoid cross-threading. This can lead to leaks or damage. A good practice is to start threading by hand to ensure smooth engagement before using any tools. If you encounter resistance, back off and realign before attempting to tighten again.
Pay attention to the rubber O-ring, if your model has one. This component is essential for creating a watertight seal. Inspect it for any signs of wear or damage; a compromised O-ring can lead to leaks during operation. If it seems worn, replace it before proceeding to avoid frustrations later on.
Be cautious with the placement of the tubing after attachment. Ensure it is not kinked or twisted, as this can restrict flow and potentially damage the unit. I often find it helpful to lay the tubing in a straight line, keeping it free from obstructions that could stress the connections.
Once everything is attached, conduct a brief test run. Observe for any leaks around the connection points. A small drip can quickly escalate into a more significant issue, so it’s worth taking the time to ensure everything is functioning correctly before diving into your cleaning tasks.
Ensure Proper Tightness of Connections
Always double-check the tightness of your fittings. It’s critical to avoid leaks that can lead to inefficiency or equipment damage. I recall a time when I was in the midst of a big project and discovered a minor leak at the connection. The water wastage was frustrating, and it cost me precious time. So, before you start, make sure everything is secure.
Steps for Tightening
Use your hand to tighten the fittings initially. After that, employ a wrench for a firm grip, ensuring not to over-tighten, as this can strip the threads. A snug fit is all you need. If you notice any resistance while tightening, stop immediately. This could indicate a misalignment or debris in the threads.
Regular Maintenance Checks
Inspect connections regularly, especially after heavy use. I once encountered a situation where a loose connection caused not just leaks but also reduced water pressure, affecting the cleaning outcome. Keep a routine check in your maintenance schedule. And if you ever find yourself needing a break from this task, you might enjoy reading about how to can deer meat without a pressure cooker to unwind.
Test for Leaks After Connection
After securing the line to your cleaning device, it’s critical to verify that everything is sealed properly. A simple yet effective method is to run the unit briefly while observing the connection points for any signs of leakage.
Start by ensuring the unit is turned off and the water supply is connected. Then, switch on the machine for a short period. Pay close attention to the junctions where the tubing meets the appliance and the spray gun. Look for any dripping, spraying, or misting water. These indicators point to potential issues with the seal.
If you identify any leaks, immediately turn off the machine and check the tightness of the fittings. Sometimes, a simple adjustment can rectify minor leaks. If the problem persists, inspect the seals and threads for wear or damage, as they may require replacement.
| Leak Type | Possible Cause | Solution |
|---|---|---|
| Dripping | Loose fitting | Tighten connection |
| Spraying | Damaged seal | Replace seal |
| Misting | Worn threads | Replace or repair threads |
After addressing any leaks, conduct another test run. This ensures that your equipment is functioning correctly and ready for use. Keeping everything watertight not only prevents messes but also protects your device from potential damage caused by water exposure.
Store Hose Properly After Use
Always coil the tubing neatly, avoiding tight bends or kinks that could damage the material. I learned this the hard way after a couple of seasons when I noticed leaks developing due to improper storage. Here’s how I do it now:
- Start from one end, creating a loose loop.
- Continue looping until you reach the other end, keeping each loop of even size.
- Use a strap or Velcro tie to secure the coiled tubing for easy storage.
Ensure that the area where you store it is clean and dry. Moisture can lead to mildew or degradation over time. I keep mine in a shaded spot of the garage, away from direct sunlight, which can make the materials brittle.
If you have a dedicated storage reel, that can be an excellent investment. It keeps the equipment organised and ready for the next task. I’ve found that having a designated space for everything simplifies my cleaning routine immensely.
Lastly, check the connectors each time you put the equipment away. A quick inspection can prevent future headaches. If you notice any wear, I recommend replacing them before the next use. Regular maintenance extends the life of your tools, ensuring they’re always ready when you need them.
For those looking for specific models, consider exploring options like a car detail pressure washer to enhance your cleaning capabilities.



.jpg)


