
.jpg)


.jpg "How to connect karcher telescopic lance to pressure washer")
Ensure a secure fit by aligning the release collar of your extension tool with the connector on your cleaner. Slide the lance into place until you hear a click, indicating a proper lock. Always check that it’s firmly attached to prevent any mishaps during use.
Next, verify the compatibility of the components. Each cleaning device has specific attachments; using the wrong one can lead to inefficiency or damage. Consult your user manual for details on compatible accessories that enhance your cleaning experience.
After the attachment is secure, adjust the length of the lance to suit your cleaning task. This allows for reaching high or awkward spots without straining. I remember using mine to clean a second-storey gutter; the flexibility made the task straightforward and safe.

Before starting, test the system by running a short burst of water to ensure everything is functioning correctly. This simple check can save you time and trouble, as I’ve learnt from experience when overlooking this step led to unexpected surprises mid-clean.
Regular maintenance of the fittings is also essential. After each use, inspect for wear and tear. A small crack can lead to significant pressure loss, affecting performance. I always keep a spare set of connectors handy; it’s a small investment that pays off in reliability.
Connecting the Extension Tool to Your Cleaning Device
Begin by ensuring your cleaning device is turned off and disconnected from the power supply. This is a crucial step for safety. Next, check the attachment point on your machine; it should have a quick-release mechanism designed for such tools.
Here’s a step-by-step approach:
- Locate the correct adapter or fitting on your equipment. It should match the specifications of the tool you are using.
- Align the end of the extension tool with the adapter. Make sure it’s seated properly to avoid any leaks or disconnections during use.
- Firmly push the tool into the fitting until you hear a click, indicating it’s securely locked in place.
- To ensure a watertight seal, check for any visible gaps between the tool and the fitting. If necessary, tighten any locking mechanisms or clamps present.
- Reconnect the power supply and turn on the device. Test the connection by activating the flow of water to ensure everything is functioning correctly.
During my years of experience, I’ve often encountered issues where users haven’t pushed the tool all the way into the fitting, leading to frustrating leaks. Always double-check the connection before starting your cleaning tasks.
Additionally, it’s wise to regularly inspect both the device and the tool for any wear or damage. This simple maintenance can prevent mishaps and prolong the life of your equipment.
Check Compatibility of Lance and Pressure Washer
Before proceeding with the fitting process, verifying the compatibility of your extension tool and cleaning unit is paramount. Each model has unique specifications, including connection types and pressure ratings. Always consult the manufacturer’s guidelines. I remember a time when I assumed compatibility based solely on brand names, only to find that the fittings didn’t match. A frustrating experience, to say the least.
Connection Types

Most models utilise either a bayonet or screw connection. Inspect the end of the tool and the nozzle of your cleaning device for these types. If you’re unsure, a quick online search or a visit to the manufacturer’s website can provide clarity. I once had a client who overlooked this detail and purchased an attachment that looked similar but ended up being completely incompatible.
Pressure Ratings
Ensure the extension tool can handle the pressure output of your cleaning unit. Using an attachment designed for lower pressure levels can lead to damage or subpar performance. For example, I’ve seen several instances where users tried to use a lower-rated lance with a high-pressure unit, resulting in leaks and ultimately a ruined accessory. Always match the pressure specifications to avoid such pitfalls.
Taking the time to confirm these details will save you from unnecessary hassle and ensure a seamless experience when using your equipment. Trust me, it’s worth the effort to double-check before you start your task.
Gather Necessary Tools for Connection
Before attaching the extension tool to your cleaning device, ensure you have the right gear on hand. A clean, flat workspace is essential. Grab a pair of adjustable wrenches; these will help secure fittings properly. Having a towel or cloth can be handy to wipe away any residual water that may interfere with connections.
You’ll also need a compatible adapter if your tool requires one for a snug fit. Check the specifications of both the extension and your cleaning apparatus to confirm the required fittings. A screwdriver may come in handy for any adjustments, particularly if screws are involved in the assembly process.
Lastly, safety goggles are a wise addition to your toolkit. Even when working with standard equipment, it’s prudent to protect your eyes from any unexpected splashes or debris. Having these tools at your disposal will streamline the connection process and ensure a smooth operation.
Locate Connection Point on Pressure Washer
To attach your extension tool, first, identify the designated inlet on your cleaning machine. This connection point is typically positioned at the front of the unit, near the nozzle area. Look for a fitting that is threaded or has a quick-release mechanism, commonly found on both electric and gas models.
Using my experience, I’ve noticed that some machines have a protective cap covering the inlet. If present, remove this cap to expose the connection. Ensure the area around the fitting is clean and free from debris, as any obstructions can hinder a secure attachment.
Take a moment to inspect the size and shape of the connector. Most modern devices will have a standard fitting, but it’s wise to double-check if your model has unique requirements. Familiarising yourself with this aspect can save time and prevent frustration during the setup.
Once located, ensure that the connector is fully accessible. This might involve adjusting hoses or other attachments that could be in the way. Confirm that there’s enough space for comfortable manoeuvring while you make the connection.
Prepare the Lance for Attachment
Ensure you’re working with a clean and dry extension before attempting to attach it. Any debris or moisture on the connection points can hinder a secure fit and lead to leaks during operation. I recall a time when I overlooked this step, and it resulted in a frustrating spray of water everywhere. A quick wipe-down is all it takes.
Inspect for Damage
Examine the components closely. Look for cracks, bends, or any wear that could compromise functionality. I once missed a small crack, thinking it was superficial, but it led to a catastrophic failure while I was in the middle of a job. If you spot any damage, replace the part before proceeding.
Check O-Rings and Seals
Verify that all O-rings and seals are intact. These small rubber components are crucial for maintaining pressure integrity. I’ve had instances where a worn-out seal resulted in a poor connection, causing a loss in power and efficiency. If they appear worn or brittle, swap them out.
| Component | Inspection Tips |
|---|---|
| Connection Points | Clean and dry; check for debris. |
| Body of the Lance | Look for cracks or bends. |
| O-Rings | Check for wear or brittleness. |
Once everything is in order, you’re ready to proceed with the attachment. A little preparation goes a long way in ensuring smooth operation and optimal performance during your cleaning tasks.
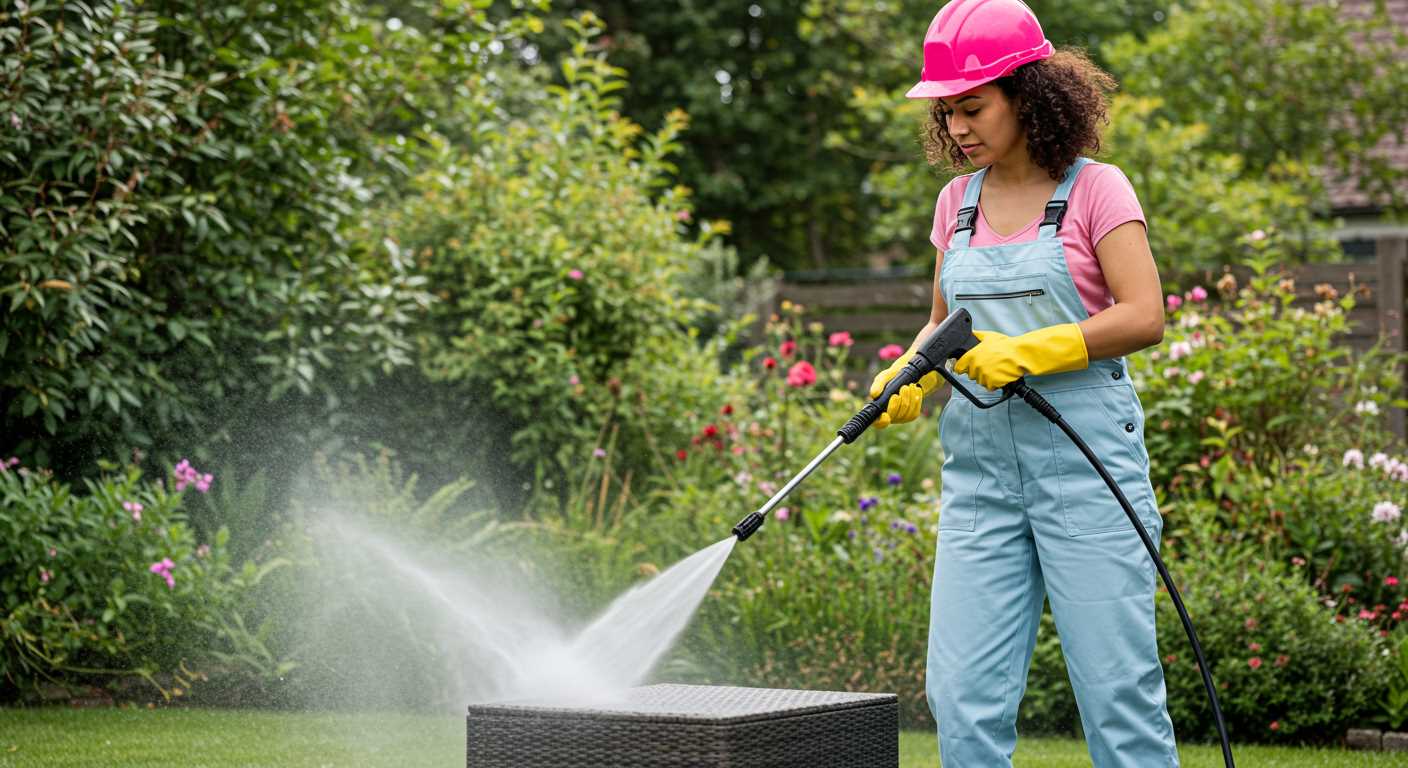
Attach the Telescopic Lance to Pressure Washer
Align the attachment point of the extension with the corresponding connector on your machine. Firmly push the accessory into place until you hear a distinct click, indicating a secure fit. Ensure that it is seated properly to prevent any leaks or disconnections during use.
Once attached, double-check the connection by gently tugging on the lance. If it feels stable, you’re ready to proceed. Before using the equipment, it’s wise to test the flow of water by turning on the machine briefly. This will confirm that everything is functioning correctly. If you experience any issues, re-examine the connection and ensure that all components are fitted snugly.
For those looking to clean specific surfaces like vinyl siding, it’s beneficial to choose a model with the right specifications. You might want to explore options like a psi pressure washer for vinyl siding for optimal results.
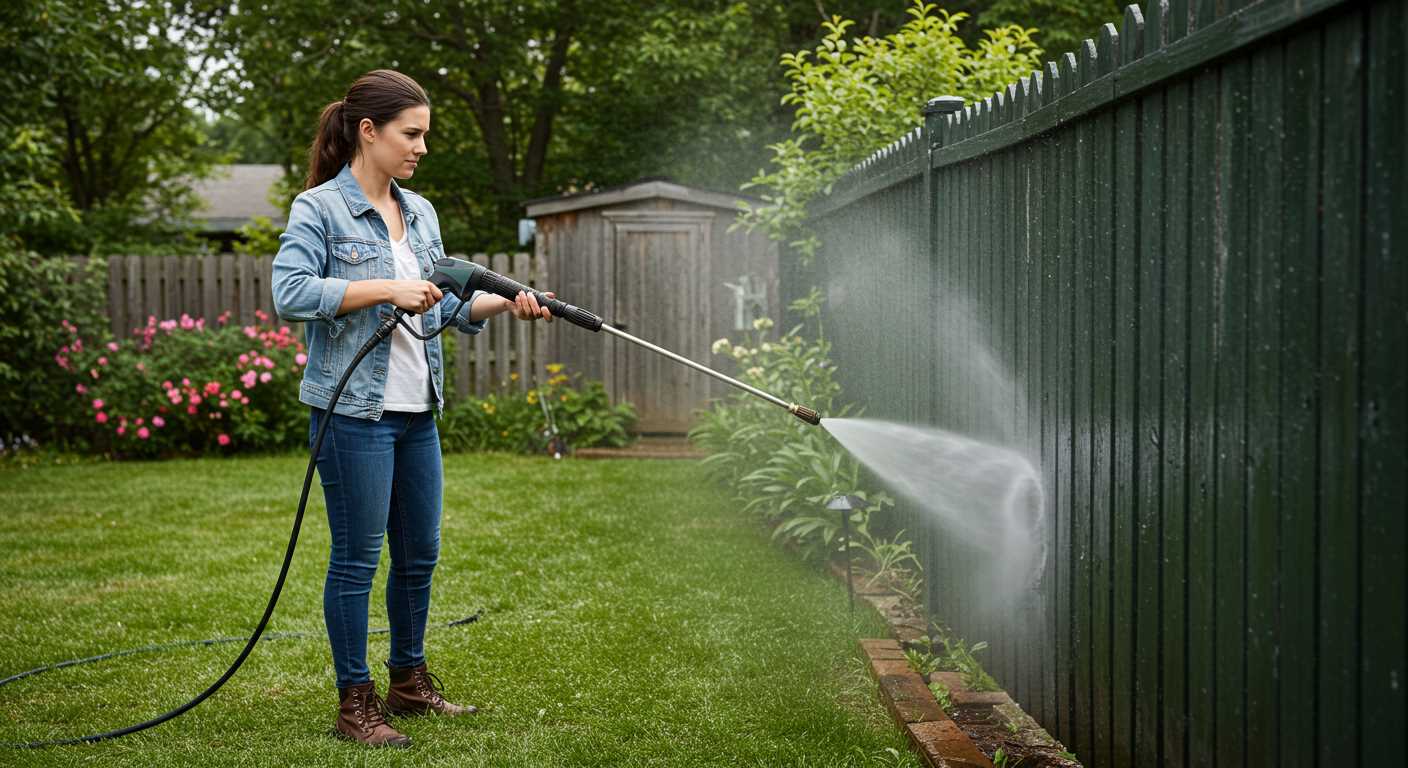
Test the Connection for Leaks or Issues
After securing the attachment, it’s essential to check for any leaks or issues. Start by turning on the water supply and the machine, but keep the nozzle away from any surfaces to avoid unintended spraying.

Visual Inspection
- Examine the connection point closely. Look for any signs of water seeping out.
- Check the fittings for proper alignment; misalignment can lead to leaks.
- Inspect the rubber seals and O-rings for wear and tear.
Functional Test
- With the equipment running, observe the area around the joint for any dripping.
- If you notice any abnormal sounds, such as hissing, this may indicate air escaping, suggesting a loose connection.
- Test the functionality by activating the spray. Ensure the flow is steady and consistent.
If any issues arise, turn off the machine immediately. Address any leaks by tightening the connections or replacing damaged seals. Regular maintenance checks can prevent future problems. For additional cleaning tips, check out this how to clean leather shoes a step by step guide.
Store the Equipment Properly After Use
Always clean the attachments before storage. Rinse them thoroughly to remove any soap, dirt, or debris. This prevents residue buildup that can affect performance during the next use.
Ensure all components are completely dry. Moisture can lead to rust or corrosion over time. I often leave them in a well-ventilated area for a few hours after cleaning.
Use a designated storage space. I recommend a dry, cool area away from direct sunlight. Avoid damp basements or garages, as humidity can damage the equipment.
Organise your gear. Utilise hooks, shelves, or storage bins to keep everything in order. When I had a cluttered workspace, I often misplaced items. A neat setup saves time and reduces frustration.
Check for any signs of wear or damage before putting everything away. If you notice any issues, address them immediately to avoid problems later. I’ve learned the hard way that neglecting minor repairs can lead to costly replacements.
Finally, ensure all hoses are coiled properly to avoid kinks. I’ve seen hoses that were stored incorrectly develop leaks over time. Taking a few extra minutes to coil them neatly pays off in the long run.
FAQ:
How do I attach a Karcher telescopic lance to my pressure washer?
To attach the Karcher telescopic lance to your pressure washer, first ensure that your pressure washer is turned off and unplugged for safety. Locate the quick-connect fitting on the lance and align it with the corresponding connection point on the pressure washer. Firmly push the lance into the fitting until you hear a click, which indicates that it is securely attached. Finally, double-check that the connection is tight before turning on your pressure washer.
Can I use a telescopic lance with any Karcher pressure washer model?
Not all Karcher pressure washers are compatible with every telescopic lance. It is important to check the model number of your pressure washer and ensure that the lance you intend to use is designed for that specific model. Most Karcher accessories are compatible with a range of models, but always refer to the manufacturer’s specifications to avoid any issues.
What are the benefits of using a telescopic lance with a pressure washer?
A telescopic lance allows you to reach high or difficult areas without the need for ladders, making it safer and more convenient for cleaning tall surfaces like buildings, roofs, and high fences. Additionally, the adjustable length of the lance provides versatility, enabling you to customise the reach according to your cleaning needs. This can enhance your overall cleaning efficiency and reduce the time spent on tasks.
Are there any maintenance tips for the telescopic lance after use?
After using the telescopic lance, it is advisable to rinse it with clean water to remove any soap or debris that may have accumulated. Inspect the lance for any signs of wear or damage, especially the connection points. Store the lance in a dry place, ideally indoors, to prevent damage from the elements. Regular maintenance will help prolong the life of your lance and ensure optimal performance during use.
Is it safe to use a telescopic lance at high pressure?
Yes, it is safe to use a telescopic lance with your pressure washer as long as you follow the manufacturer’s guidelines regarding pressure settings. Always use the lance at the recommended pressure levels to avoid damaging surfaces or the lance itself. Additionally, ensure that you have a firm grip on the lance while in use, as high pressure can cause it to move unexpectedly if not handled properly.
How do I attach the Karcher telescopic lance to my pressure washer?
To attach the Karcher telescopic lance to your pressure washer, first ensure that both the lance and the pressure washer are turned off and unplugged for safety. Locate the connection point on your pressure washer, which is typically at the front where the high-pressure hose connects. Align the telescopic lance with the connection point and push it in firmly until it clicks into place. Make sure it is secured properly to prevent any leaks during operation. Once attached, you can adjust the length of the lance to your desired height before turning on the pressure washer.
What should I do if the Karcher telescopic lance is not connecting properly to my pressure washer?
If the Karcher telescopic lance is not connecting properly, first check for any debris or damage on the connection points of both the lance and the pressure washer. Clean any dirt or grime that may be obstructing the connection. Inspect the lance for any signs of wear or damage that could affect its fit. If everything appears to be in good condition but it still won’t connect, try aligning it again and pushing it in more firmly. If you continue to have issues, consult the user manual for your specific pressure washer model or contact Karcher customer support for further assistance.
.jpg)


