


Start by ensuring you have the right fittings for a secure link between your high-pressure cleaning tool and the water supply. A standard connector often suffices, but double-check compatibility with your device’s specifications. It’s crucial to avoid leaks, as they can disrupt performance and lead to frustration during your cleaning tasks.
Position your cleaning apparatus close to the water source to decrease the length of the connecting tube. This arrangement not only minimises the risk of kinks but also helps maintain a steady flow. In my experience, longer lengths can sometimes lead to reduced pressure, which undermines the machine’s efficiency.

Once you’ve attached the necessary fittings, turn on the water supply gradually. This allows you to check for any leaks before engaging the high-pressure setting. I recall a time when I rushed this step and ended up with a slippery mess–definitely not the best way to start a cleaning session!
Always ensure that the water supply is clean and free from debris. A clogged filter can damage your equipment over time. Regularly inspect and clean the intake filter to prolong the life of your tool. Trust me; prevention beats repairs any day of the week!
Check the compatibility of your pressure cleaning tool and water line
Before attempting to use any cleaning apparatus, it’s crucial to ensure that the components fit together seamlessly. Compatibility can save you frustration and potential damage to your equipment.
First, examine the thread size of both the cleaning device and the water supply. Most models feature either a 1/4-inch or 3/4-inch connector. Use a ruler to measure the diameter of the threaded end of both items. This small step can prevent a great deal of hassle later on.
Next, check the type of connector. There are various styles, including quick-connect, threaded, and barbed fittings. A mismatch in connector type can lead to leaks or, worse, disconnections during operation. If you find that the connections do not align, consider purchasing an adapter that matches both ends.
Also, review the specifications provided by the manufacturer. They often list compatible accessories. If you’re unsure, consult the user manual or the manufacturer’s website for guidance. My experience has shown that relying on manufacturer recommendations is often the safest route.
| Connector Type | Description | Common Uses |
|---|---|---|
| Quick-Connect | Allows fast attachment and detachment. | Frequent use scenarios. |
| Threaded | Standard screw-on type. | General applications. |
| Barbed | Requires a clamp for secure fitting. | Heavy-duty tasks. |
Lastly, consider the length and material of the water line. A longer hose can reduce pressure and flow rate. If you have a heavy-duty cleaning task, opt for a robust and shorter line to maintain adequate performance. From my experience, a good quality hose can make all the difference in achieving the desired results.
Gather necessary tools and materials for the connection
Before you begin, ensure you have everything required for a seamless setup. From my years of experience, I can assure you that having the right tools on hand saves time and frustration.
- Suitable Adapter: Check for an appropriate adapter that fits both the cleaning device’s inlet and the water supply. Different brands may require specific types.
- Hose Connector: A universal connector can be handy to bridge compatibility gaps. I’ve found that not all hoses fit all connectors, so verify the dimensions.
- Wrench or Pliers: You might need these for tightening connections. A proper seal prevents leaks and ensures optimal performance.
- Thread Seal Tape: This is vital for those connections that might leak. A few wraps around the threads can make a significant difference.
- Water Supply: Ensure you have a reliable source of water. Check for any kinks or blockages in your hose that could restrict flow.
- Safety Gear: Depending on your setup, consider wearing gloves and goggles. Sometimes, water pressure can surprise you if connections aren’t secure.
Gathering these items beforehand will streamline the process and prevent unnecessary delays. I recall a time when I overlooked an adapter and spent more time searching than I did cleaning. Don’t make the same mistake!
Locate the water inlet on the pressure cleaning tool
The water inlet is a crucial part of your cleaning device. Identifying its location ensures a smooth setup process. Typically, you will find the inlet on the side or back of the main unit, often marked with clear symbols or labels to guide you.
Here’s how to find it:
- Inspect the device for a threaded opening; this is usually where the hose attaches.
- Check for any protective cap or cover that may need to be removed before connecting.
- Refer to the user manual if available, as it usually includes diagrams indicating the inlet’s position.
Once you locate the inlet, ensure it is free from debris or blockages. A clean inlet allows for optimal water flow, which is vital for effective cleaning. Remember, using the right car shampoo to use with pressure washer will enhance your cleaning results.
In my experience, ensuring a proper fit at the inlet can prevent leaks and improve performance. I recall a time when I overlooked a small blockage at the inlet, which caused a significant drop in pressure. A quick clean-up resolved the issue, and I was back to achieving great results.
Prepare the water line for attachment
Before you can make the connection, ensure that the water line is in optimal condition. Start by inspecting the entire length of the tubing for any signs of wear, such as cracks or leaks. A compromised line can lead to loss of pressure and inefficient operation.
Next, clear out any debris that may have accumulated inside the fitting. A simple way to do this is to run water through the line to flush out any dirt or particles. This step is crucial, as even small obstructions can affect water flow.
Examine the end of the water line where it will attach. If it has a threaded end, make sure the threads are clean and undamaged. If your line uses a quick-connect mechanism, ensure that it operates smoothly and isn’t clogged. Lubricating the connection points lightly with silicone grease can facilitate a snug fit, preventing leaks.
Once the line is clean and clear, attach a suitable adapter if necessary. Some models may require specific connectors to ensure a secure fit. It’s wise to invest in a quality adapter to avoid future inconveniences.
Finally, check the water source to confirm it’s turned on and functioning correctly. A steady supply is necessary to ensure proper performance once everything is attached. I once encountered a situation where a seemingly minor issue with the water supply caused significant delays, so I can’t stress enough the importance of this step.
Attach the hose to the cleaning tool
First, ensure the rubber washer is seated properly in the fitting of the attachment. This prevents leaks and ensures a tight seal. Insert the end of the tube into the inlet on the cleaning device, pushing firmly until it fits snugly.
Secure the connection
Once the tube is inserted, twist the collar or locking mechanism clockwise to secure it. This ensures that the connection remains intact during use. If your model has a quick-release feature, simply engage it according to the manufacturer’s instructions.
Test the seal
Before starting your cleaning task, turn on the water supply to check for leaks. Look for any signs of water escaping around the connection point. If you notice any drips, disconnect the hose and recheck the washer and fitting for proper alignment.
- Make sure the connection is tight.
- Inspect for any signs of wear on the washer.
- Check that the inlet is free from debris.
After ensuring a proper fit, you’re ready to start cleaning. If you’re looking for tips on maintaining other cleaning tools, check out this how to clean the plastic strip on a shower door ultimate guide.
Ensure a Secure Connection to Prevent Leaks
To avoid any unwanted drips or sprays during use, make sure the attachment is snug. I once had a frustrating experience when I noticed water seeping from the joint while cleaning my patio. The solution was straightforward: I tightened the connection until it felt secure. A simple twist often makes all the difference.
Checking the rubber washer inside the fitting is essential. Over time, those little rings can wear out or become dislodged. I’ve learned to keep a few spares on hand; replacing a damaged washer can save a lot of hassle. If the rubber is in good condition, ensure it sits evenly within the connector to create a proper seal.

After attaching the components, turn on the water supply slowly. This allows you to spot any leaks immediately. I’ve found that starting at a low pressure can help identify issues before they become problematic. If you notice any drips, it’s best to disassemble and check the fit again rather than continuing to operate under pressure.
Lastly, when everything is secure, it’s wise to test the setup in a controlled area. I’d recommend running your equipment against a wall or on the ground to observe any stray sprays. This small step can prevent accidents and ensure your cleaning experience remains efficient.
Turn on the water supply and check for leaks
Open the water valve slowly to allow a steady flow into the unit. Start with a partial opening to prevent sudden pressure spikes, which can cause issues. Once the water is flowing, take a moment to inspect all connection points for any signs of leakage.
During my time in the cleaning equipment industry, I learned that even a small drip can lead to significant problems down the line. Grab a towel or cloth to wipe around the joints and observe closely. If you see moisture forming, it’s a clear sign that you need to tighten the fittings or re-evaluate the seals.
Keep an eye on the pressure gauge, if available. It should indicate a steady pressure; fluctuations might suggest an issue with your connections or water supply. If everything appears dry and stable, you’re on the right track.
| Step | Action | Notes |
|---|---|---|
| 1 | Open the water valve | Start with a slow turn |
| 2 | Inspect connections | Look for any signs of moisture |
| 3 | Check pressure gauge | Ensure it indicates stable pressure |
| 4 | Wipe down fittings | Use a cloth to catch any drips |
If you find leaks, don’t hesitate to address them immediately. Adjusting the connection or replacing seals can save you a lot of hassle during your cleaning tasks. Trust me, proactive maintenance is always better than dealing with unexpected surprises later on!
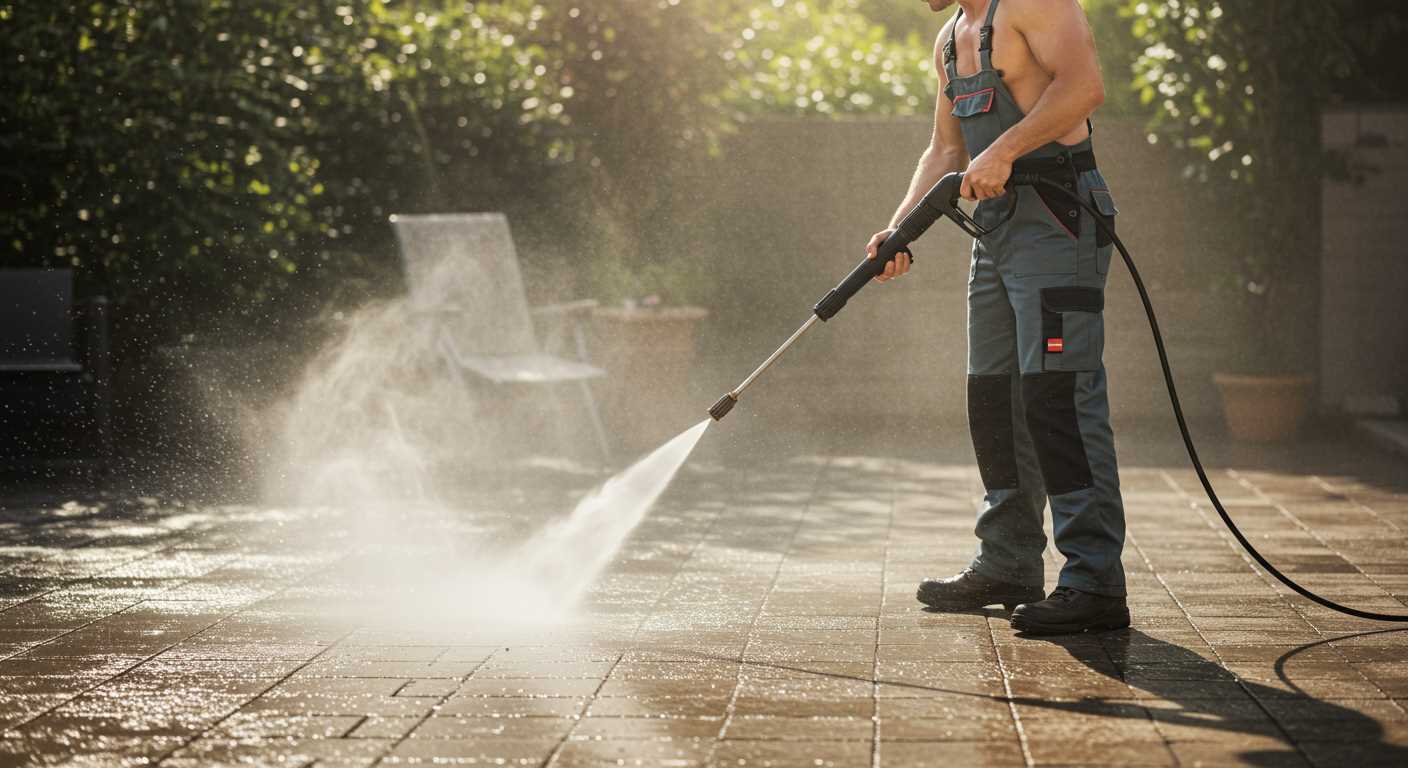
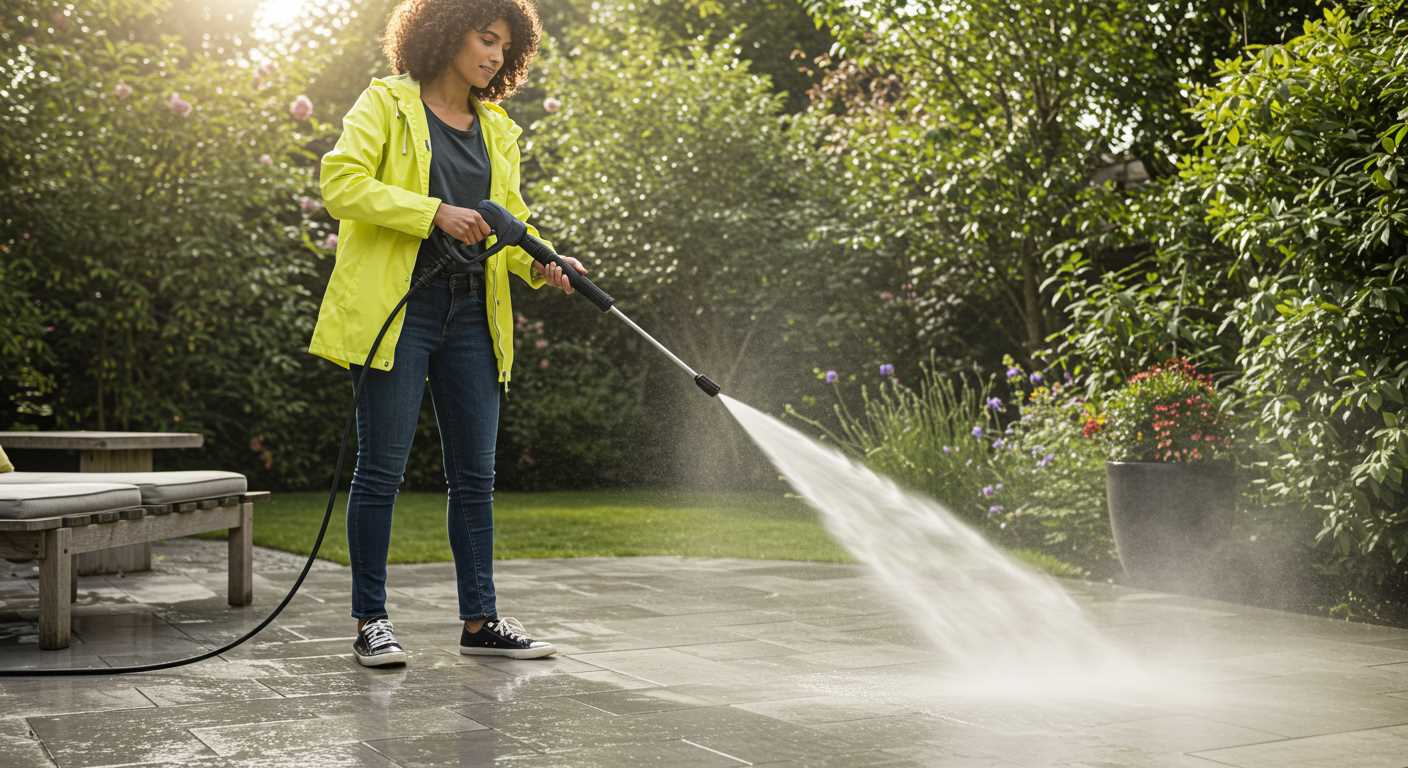
Adjust the pressure settings as needed
After establishing a secure link between your cleaning device and the water source, it’s time to fine-tune the intensity of the water flow. Most models come equipped with adjustable settings, allowing you to tailor the pressure to suit various tasks, from gentle rinsing of delicate surfaces to vigorous cleaning of stubborn grime.
In my experience, starting with a lower setting is wise. I remember tackling a particularly dirty patio once, and I began at the lowest pressure. It was gentle enough not to damage the stone but effective for removing the initial layers of dirt. Gradually increasing the pressure as needed helped to eliminate the tougher stains without risking any damage.
Each nozzle typically corresponds to a different pressure level. The wider the spray, the lower the pressure, which is perfect for sensitive areas or when washing the car. Conversely, a narrow spray, often found in red nozzles, delivers a concentrated jet ideal for tough stains on concrete or brick. Experimenting with these settings will help you find the optimal pressure for your specific cleaning task.
Keep an eye on the area you’re working on. If you notice any signs of damage or if the surface seems too vulnerable, dial back the intensity. Conversely, if the dirt isn’t budging, don’t hesitate to increase the pressure incrementally. Always prioritise the longevity of the surfaces you’re cleaning.
After adjusting, take a moment to test the output on a small, inconspicuous area first. This quick check can save you from potential mishaps. Remember, the right pressure not only enhances cleaning efficiency but also ensures that you maintain the integrity of your surfaces.
Safely Store the High-Pressure Cleaning Tool and Water Line After Use
After finishing your cleaning tasks, it’s crucial to store your equipment properly to prolong its lifespan. First, disconnect the water line from the cleaning apparatus and drain any remaining water from both components. This helps prevent freezing in colder months and avoids the growth of mould or mildew.
Organise Your Equipment
Find a dry, cool spot for storage. I’ve learned the hard way that exposure to harsh weather can deteriorate the materials. I recommend hanging the water line on a sturdy hook or reel to avoid kinks and tangles. For the cleaning tool, ensure it’s placed in its designated holder or a protective case if available. This prevents accidental damage and keeps everything tidy.
Regular Maintenance Checks
Every few months, inspect the seals and fittings for wear. I’ve had instances where neglecting small cracks led to larger leaks, which could have been avoided with a quick check. Keeping a maintenance schedule can save you time and money in the long run. Always keep your equipment clean; a simple rinse can prevent dirt buildup, ensuring it’s ready for the next use.
.jpg)


