
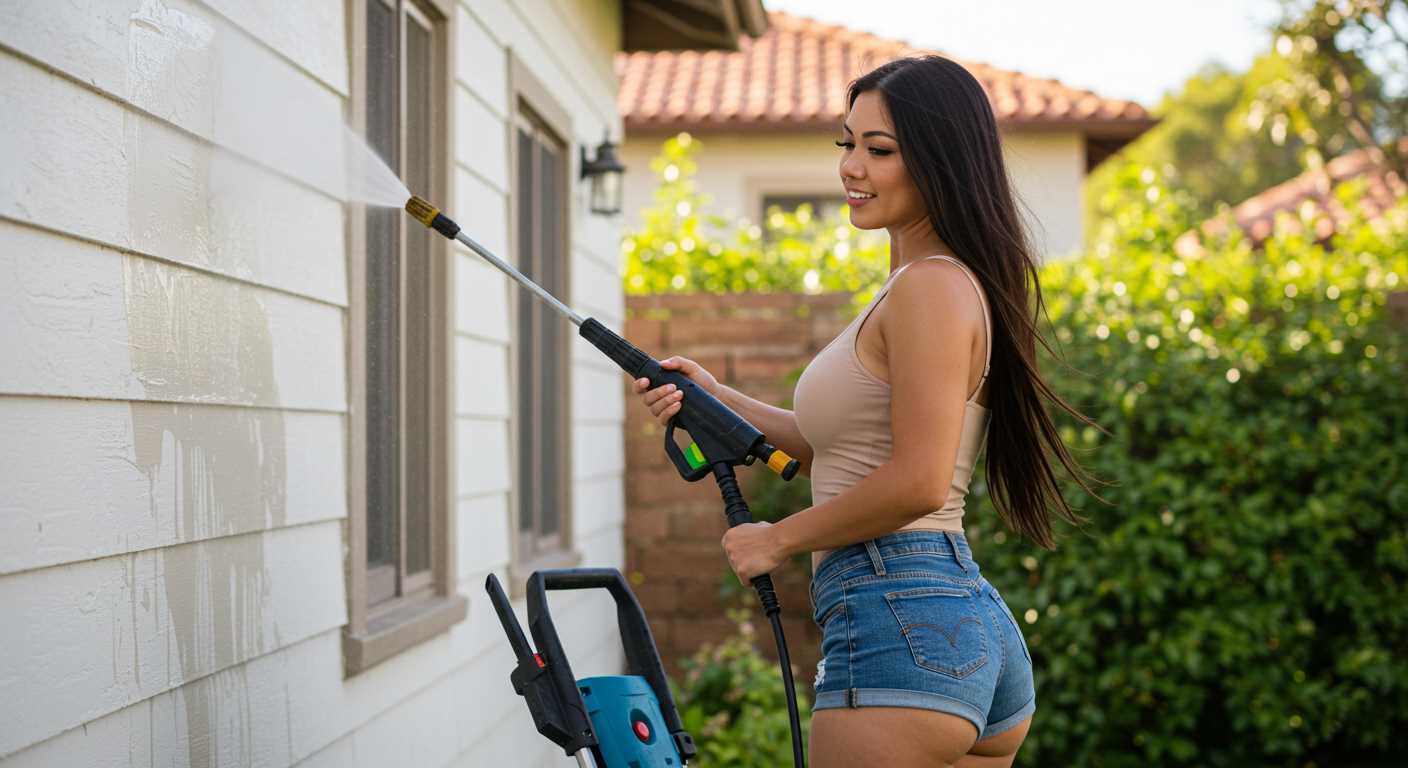


To successfully link your high-pressure cleaning equipment to a water supply, ensure you have the right adaptor that fits both the equipment and the water source. A standard garden hose connector can often be used, but double-check compatibility with your specific model. Having the correct attachments prevents leaks and ensures a steady flow of water during operation.
Begin by locating the water source, typically a garden tap. If the tap has a threaded outlet, align the adaptor and securely screw it on, making sure it’s tight but not overdone to avoid damage. If using a quick-connect system, simply push the connector onto the tap until you hear a click. This indicates a secure fit.

After securing the connection, turn on the water slowly. Check for leaks at the joint between the adaptor and the water source. If you notice any drips, tighten the connection further or consider using plumber’s tape for a better seal. Always ensure the water is flowing before starting the cleaning process to prevent damage to the equipment.
Finally, it’s wise to run a short test before diving into your cleaning task. This ensures everything is functioning correctly and prevents any surprises during your work. Trust me, a few minutes spent checking the setup can save you a lot of hassle later on!
Choosing the Right Pressure Washer Hose for Your Tap
Opt for a hose compatible with your water supply system’s fittings. A 1/2-inch diameter is standard for most domestic taps, but check the specifications before purchasing. Using the correct size prevents leaks and ensures optimal water flow.
Material Matters
Consider the material of the tube. Rubber options are more durable and resistant to kinks compared to PVC. I’ve had countless experiences where a rubber variant outlasted its PVC counterpart, especially under high pressure. Look for reinforced hoses that provide extra strength and longevity.
Length and Flexibility
Choose a length that suits your cleaning requirements without excessive slack. I recall a time when I opted for a longer pipe than necessary, resulting in cumbersome handling. A 10 to 15-metre length typically suffices for most tasks around the home. Additionally, ensure flexibility; a hose that bends easily will make manoeuvring around corners and obstacles much simpler.
Always check for compatibility with your cleaning device and fittings. This small step can save you from frustrating leaks and ensure a seamless cleaning experience.
Identifying the Tap Connection Type
First, determine whether your water source features a threaded connection or a quick-release fitting. The most common types are ¾-inch or ½-inch threads for garden taps. If your tap is designed for a hose, it likely has standard threads, making it compatible with a variety of fittings.
Here’s a straightforward way to identify the type:
| Connection Type | Description | Visual Cue |
|---|---|---|
| Threaded | Most common for garden taps. Requires a screw-on connector. | Visible threads on the tap’s end. |
| Quick-release | Allows for fast attachment. Common in modern systems. | A push-fit mechanism without visible threads. |
| Adaptor Required | Some taps may need an additional adaptor for compatibility. | Check for adapter fittings sold separately. |
Once you’ve identified the connection type, you can select the appropriate fittings for your equipment. It’s also beneficial to keep an eye on the condition of your connectors to ensure a tight seal to prevent leaks. If you’re cleaning your vehicle, consider using the best car wash soap for pressure washers to enhance the cleaning process.
Preparing the Tap for Hose Attachment
Before attaching any flexible pipe to your water source, ensure the area is clean. Remove any debris or dirt around the outlet. A simple wipe with a cloth can prevent potential leaks later. In my experience, I’ve encountered numerous situations where grime led to poor sealing, resulting in frustrating water loss.
Next, check the threads on the outlet. If they appear damaged or corroded, it’s wise to replace the fitting. A worn-out connection can lead to leaks that compromise your cleaning tasks. From what I’ve seen, a quick inspection can save a lot of hassle down the line.
Always verify the water pressure before setting up. High pressure can cause issues with certain attachments. I once had a client who experienced a burst connection due to excessive pressure. Consider using a pressure gauge to ensure compatibility with your equipment.
If your connection has been sitting unused for a while, run the water for a few moments to clear any stagnant water. This step is often overlooked, but I’ve found it helps avoid any unpleasant surprises during operation.
Lastly, keep a wrench handy. Tightening the connection ensures a secure fit, preventing any accidental disconnections while in use. Remember, a snug fit is key to smooth operation, as I’ve learned through countless setups.
Attaching the Hose to the Tap Securely
For a reliable fit, start by ensuring that the fitting on the end of your line matches the size of the water outlet. A snug connection prevents any leaks. If the fitting doesn’t fit tightly, consider using a rubber washer to create a better seal. I’ve found that a small, often overlooked detail, like a washer, can save you from a messy situation later on.
Next, align the fitting with the outlet before twisting it into place. Applying pressure while you turn helps ensure a firm attachment. Avoid using tools to tighten it excessively; hand-tightening is usually sufficient. In my experience, over-tightening can lead to damage and future leaks, which no one wants to deal with mid-cleaning.
Testing the Connection
After securing the fitting, turn on the water supply slowly. This gradual approach allows you to check for any leaks before you start washing. If you notice water seeping out, turn off the supply and recheck your connection. Adjusting the fitting or replacing the washer often does the trick. I recall a time when I was eager to start my cleaning task, only to find a small leak. A quick adjustment saved me time and hassle.
Final Checks
Once you’re confident that everything is secure, give the connection a gentle tug to ensure it’s stable. A reliable setup not only enhances performance but also extends the longevity of your equipment. Always keep an eye on the connection during your first use to catch any potential issues early on. A little vigilance goes a long way in maintaining your equipment’s efficiency.
Ensuring a proper seal to prevent leaks
To avoid unwanted leaks during operation, it’s critical to create a tight seal between your water source and the connecting piece. Here are specific steps that I’ve found effective in my years of experience.

1. Inspect the washer and connectors
- Check all rubber washers for signs of wear or damage. A degraded washer can lead to leaks.
- Clean the connector threads to remove any debris or corrosion that might interfere with the seal.
- Ensure that all parts fit snugly together without being overly tight, which can cause damage.
2. Use Teflon tape for added security
- Wrap Teflon tape around the threads of the connector before attaching it to the water source. This can enhance the seal.
- Apply the tape in the direction of the threading to avoid it unwinding during installation.
- A few layers of tape can be beneficial, but avoid overdoing it, as this might cause the connection to become too thick.
After ensuring a proper seal, you can confidently use your equipment without worrying about leaks. For those who enjoy enhancing their cleaning capabilities, consider integrating a foam sprayer for pressure washer for a more effective cleaning experience.
Testing the connection before use
Before starting any outdoor cleaning project, I always recommend a simple test to ensure everything is in order. Turn on the water supply briefly after securing the attachment. This will help you identify any leaks or weak spots in the connection. If you notice water dripping or spraying unexpectedly, it’s a clear sign that adjustments are necessary.
Pay attention to the pressure of the water as it flows from the fitting. A steady stream indicates a solid connection, while fluctuations could suggest an issue. If the flow is inconsistent, double-check that all components are tightened properly and that there are no obstructions in the line.
I once encountered a situation where I was eager to start using my equipment. I skipped this crucial step, and halfway through my project, I had to stop because of a leaking connection. It took extra time to fix, which was frustrating. Now, I always make it a point to test first; it saves both time and hassle later on.
After confirming a secure connection, observe the area around the junction for any signs of moisture. This is an excellent way to spot potential issues before they escalate. If everything looks good, you’re all set to begin your cleaning tasks without worrying about interruptions or mishaps.
Disconnecting the hose safely after use
After completing your cleaning tasks, it’s crucial to detach the equipment safely to avoid any mishaps or water damage. Here’s the step-by-step approach I recommend based on years of hands-on experience.
-
Turn off the water supply: Always begin by shutting off the main valve. This prevents any sudden sprays or leaks when you start the disconnection.
-
Release pressure: Before you disconnect, squeeze the trigger of the spray gun to release any residual water pressure. This step is often overlooked but is vital for safety.
-
Disconnect the spray gun: Remove the trigger gun from the assembly first. This keeps any remaining water contained and prevents splashes.
-
Detach the connector: Use a wrench or your hand to loosen and remove the connector from the water source. Ensure you do this slowly to minimise spillage.
-
Drain the remaining water: Hold the detached end over a bucket or drain to allow any residual water to flow out. This helps in reducing mess and prepares the equipment for storage.
-
Store properly: Once everything is detached and drained, coil the line neatly and store it in a dry location. Avoid sharp bends in the line to prevent kinks or damage.
In my experience, taking these steps not only prolongs the life of the equipment but also makes the next use much more straightforward. I’ve seen too many people skip these precautions, leading to leaks or, worse, accidents. A little diligence goes a long way in maintaining your gear and ensuring safety.
FAQ:
What tools do I need to connect a pressure washer hose to a tap?
To connect a pressure washer hose to a tap, you typically need a few basic tools and accessories. Firstly, ensure you have the pressure washer itself and the hose that comes with it. You will also need a tap connector or adapter that fits your tap’s size and type, which is often included with the pressure washer. Additionally, having a pair of pliers can be helpful for tightening connections securely. Make sure to check the compatibility of all parts before starting the connection process.
Can I use any tap for my pressure washer connection?
Not all taps are suitable for connecting a pressure washer hose. Most pressure washers require a standard outdoor tap, which typically has a ¾ inch threaded outlet. However, if your tap has a different size or type, you may need an appropriate adapter. Ensure the tap is in good working condition and can provide sufficient water flow, as low pressure can affect the performance of your pressure washer.
What steps should I follow to connect the pressure washer hose to the tap?
To connect the pressure washer hose to the tap, follow these steps: First, turn off the tap and ensure your pressure washer is unplugged. Next, attach the tap connector to the tap, tightening it securely with your hands or pliers if necessary. After that, take the other end of the pressure washer hose and connect it to the tap connector, ensuring it is firmly locked in place. Finally, turn on the tap to check for leaks and ensure the connection is secure before starting the pressure washer.
What should I do if there is a leak after connecting the hose to the tap?
If you notice a leak after connecting the hose to the tap, first turn off the tap and disconnect the hose. Inspect both the tap connector and the hose for any visible damage or wear. Sometimes, simply tightening the connections can resolve the issue. If there is damage, you may need to replace the faulty part. When reassembling, ensure all components are clean and properly aligned to prevent future leaks.
Are there any safety precautions I should take while connecting the hose to the tap?
Yes, there are several safety precautions to keep in mind while connecting the hose to the tap. Firstly, always ensure that the pressure washer is turned off and unplugged before making any connections. This will prevent accidental activation. Additionally, wear appropriate footwear to avoid slipping, especially if the area is wet. While handling the hose and connectors, be cautious of sharp edges and ensure that the tap is securely installed to prevent any unexpected water sprays during the connection process.
How do I attach the pressure washer hose to the tap?
To connect the pressure washer hose to the tap, first ensure that both the hose and tap are clean. Begin by taking the end of the hose that is designed to connect to the tap. This end usually has a connector that can be easily attached to a standard garden tap. Align the connector with the tap and twist it clockwise until it is securely fastened. Make sure there are no leaks by turning on the tap slightly and checking for any water escaping from the connection. If you notice any leaks, tighten the connection further. Once secure, your pressure washer hose will be ready for use.
.jpg)


