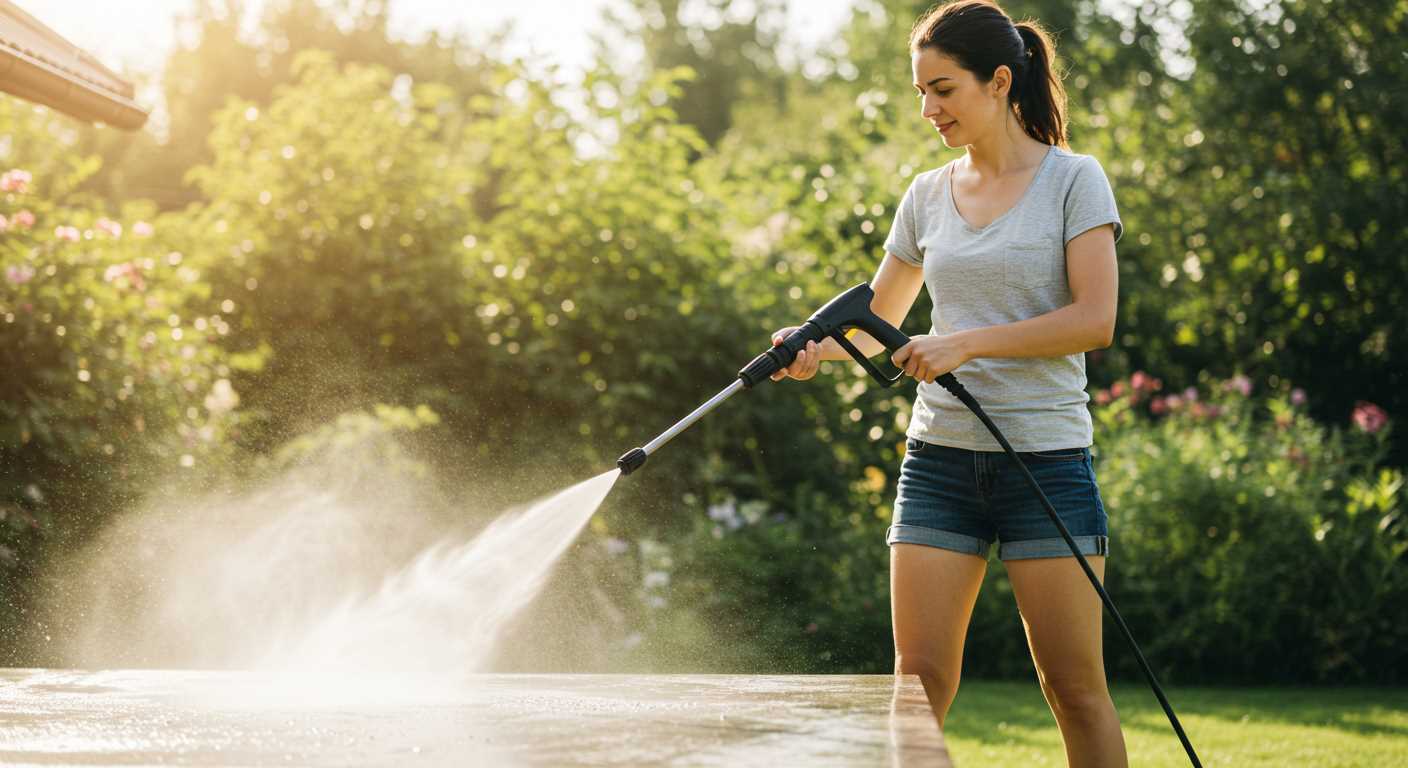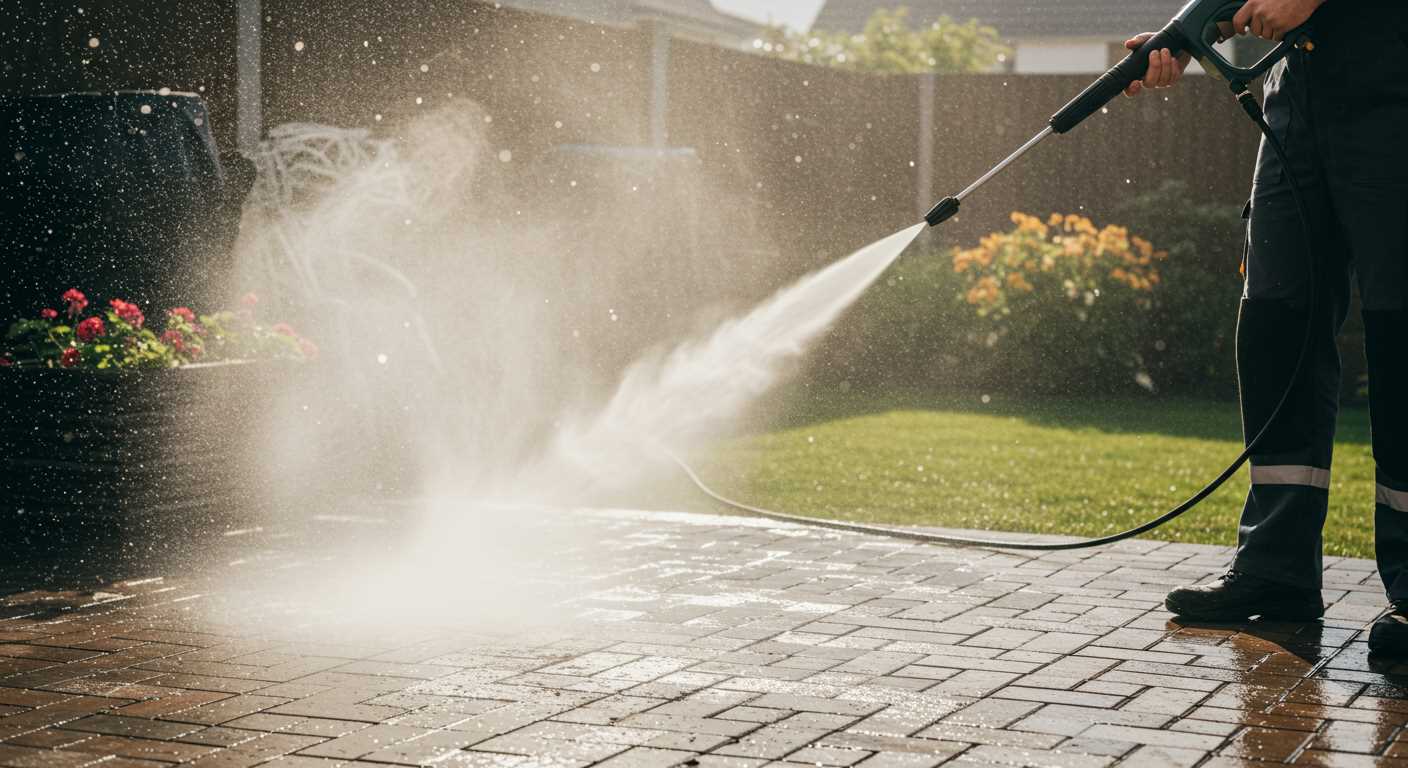


For an optimal cleaning experience, attach a foam lance designed for compatibility with your unit. After years of testing various models, I found that ensuring a secure fit is paramount to achieving that thick, clingy layer of suds that lifts dirt effortlessly.
First, select a foam lance that matches your model’s specifications. Many lances come with adjustable nozzles, allowing you to control the thickness and coverage of the cleaning solution. I’ve often recommended those with a wide spray pattern, as they provide even distribution across surfaces.
Once you have the right lance, check the connection points. Most models feature a quick-release system, making it easy to switch between attachments without hassle. Ensure the seals are intact to prevent leaks, as this can diminish the performance of the cleaning agent. I remember a time when I overlooked this step; the foam just wouldn’t cling, and I had to redo the whole process.
Finally, fill the lance with your chosen cleaning solution, adjusting the ratio according to the manufacturer’s guidelines. Too much concentrate can lead to a residue that’s hard to rinse off. Trust me, I’ve learned the hard way that a balanced mix leads to the best results.
Connecting a Foam Lance to Your Karcher Unit
Begin by ensuring you have a compatible foam lance designed for your model. The attachment should fit securely onto the trigger gun. If you’re unsure, check the specifications of both the lance and the gun to confirm compatibility.
Once you have the lance ready, remove the nozzle from the gun. This is usually done by twisting it counterclockwise. After detaching the nozzle, align the foam lance’s connector with the opening of the trigger gun. Twist it clockwise until you feel a firm fit; it should not wobble or feel loose.
Next, prepare the foam solution as per the manufacturer’s instructions. Fill the lance’s reservoir with the recommended cleaning agent, ensuring you don’t exceed the maximum fill line. For best results, use products specifically formulated for your cleaning device.
With the lance filled, attach the water supply hose to your unit. Turn on the water source and ensure there are no leaks at the hose connection. This step is crucial as leaks can affect performance.
Now, power up your unit. Adjust the lance’s nozzle for the desired spray pattern. For a wide coverage, choose a more open setting; for targeted cleaning, narrow the spray. Always test on a small area first to gauge the cleaning effectiveness before proceeding with larger surfaces.
Keep the lance at a consistent distance from the surface you’re cleaning. This helps achieve even coverage and avoids potential damage to delicate surfaces. After applying the foam, allow it to dwell for the recommended time before rinsing.
When finished, detach the lance and clean it thoroughly to prevent any residue build-up. Store the lance properly along with your equipment to ensure longevity. Regular maintenance will keep your cleaning sessions efficient and effective.
Choosing the Right Snow Foam Lance for Your Karcher Pressure Washer
Opt for a lance that matches the specific model of your cleaning unit. Not all lances are compatible. I once tried using a generic lance with my Karcher and faced numerous issues, including leaks and poor performance. The best route is to select a lance designed for your machine’s specifications, ensuring a seamless fit and optimal results.
Material Quality and Durability
Pay attention to the materials. A quality lance made from durable plastic or brass will withstand frequent use without degrading. I had a plastic lance that cracked after just a few months, leading to frustrating leaks and inconsistent application. Investing in a robust lance pays off in the long run, saving you from repeated replacements.
Adjustability and Nozzle Options
Look for adjustable nozzles that allow you to control the spray pattern and thickness. In my experience, a lance with multiple settings lets me adapt to different surfaces and cleaning tasks. I often switch between a wide spray for larger areas and a concentrated jet for stubborn grime. Having that flexibility makes a significant difference in the cleaning process.
Preparing Your Karcher Pressure Washer for Snow Foam Application
Before using the foaming attachment, ensure your unit is ready. This involves a few straightforward steps that can enhance your cleaning experience.
- Check the detergent tank: Ensure the tank is clean and free from any residue from previous cleaning agents. Rinse it thoroughly with water if needed.
- Fill with appropriate cleaning solution: Use a pH-neutral detergent designed for foaming. Follow the manufacturer’s instructions for dilution ratios.
- Inspect hoses and connections: Look for any wear or damage. Ensure that all connections are secure and there are no leaks.
- Adjust pressure settings: Set the pressure to a lower setting before applying the foaming solution. This helps in spreading the foam evenly without stripping the paint.
- Test the attachment: Before full application, run a quick test to ensure the attachment functions properly. This saves time and prevents any surprises during the actual cleaning process.
In my experience, taking these steps not only improves the results but also prolongs the lifespan of your equipment. A little preparation goes a long way in achieving that perfect clean.
Mixing snow foam solution correctly for optimal results
To achieve the best cleaning results, the correct ratio of cleaning solution to water is critical. I’ve found that a 1:10 ratio of concentrate to water works wonders for most applications. This means one part of the cleaning agent to ten parts of water. However, if you’re dealing with particularly stubborn grime, you might want to try a 1:5 ratio for a stronger mix.
Choosing the right cleaning concentrate
Not all cleaning solutions are created equal. I recommend using a high-quality product specifically designed for the type of dirt you’re tackling. For instance, if you’re working with heavy road grime or bird droppings, look for a formulation that targets those specific contaminants. Always check the manufacturer’s guidelines for dilution recommendations as well, as they often provide tailored advice based on their product’s composition.
Mixing technique
When preparing your mixture, add the concentrate to your container first, followed by water. This method helps prevent excessive bubbling, which can occur if water is added first. Use a stick or a whisk to gently stir the mixture until it’s well combined, ensuring there are no lumps or undissolved particles.
Before you start applying the mixture, do a quick test on a small, inconspicuous area of the surface to ensure compatibility and to see how effective it is. This step can save you from potential damage and give you an idea of the cleaning power of your concoction. Adjust the ratio based on your observations for future applications.
Finally, always rinse your equipment thoroughly after use. Residue from the cleaning agent can lead to clogs or damage over time. Ensuring everything is clean will help maintain the longevity and performance of your gear.
Attaching the Snow Foam Lance to the Pressure Washer
First, ensure your cleaning device is switched off and disconnected from the power source. This is crucial for safety before making any adjustments. Take the lance and find the quick connect fitting that matches your unit. Most models will have a simple push-and-click mechanism, making it easy to attach.
- Align the lance with the connector on the machine.
- Push firmly until you hear a click, indicating it’s securely in place.
- For models with a screw thread, twist the lance clockwise until tight.
After securing the lance, check for any leaks by turning on the water supply without activating the motor. This will help identify if the connection is airtight.
When everything looks good, proceed to plug in your machine. If you’re using a special detergent reservoir, ensure it’s filled with the appropriate solution before starting. This ensures that your cleaning process is efficient and thorough, especially on delicate surfaces, such as natural stone. For those interested in suitable models, I recommend checking out pressure washers for natural stone.
Once you’ve confirmed all connections are secure, you’re ready to switch on the device and begin your cleaning task.
Adjusting the Foam Thickness for Different Cleaning Tasks
For effective results, tweaking the thickness of your cleaning solution is key. When tackling light dirt, a thinner mixture ensures even coverage without excess residue. I often mix a solution with a higher water ratio, achieving a consistency that clings well but rinses off easily. Conversely, for heavy grime or stubborn stains, a thicker blend works wonders. This dense coating adheres longer, allowing the cleaning agents to break down tough spots.
In my experience, the nozzle setting plays a significant role in achieving the desired foam density. A wider nozzle will produce a lighter mist, ideal for gentle cleaning, while a narrower setting generates a thicker application, perfect for tougher jobs. Always test on a small area first to ensure compatibility with the surface.
For those challenging jobs, pairing your equipment with the best air scrubber for construction dust enhances results further. This combination effectively removes stubborn dirt and debris, leaving surfaces spotless.
Always bear in mind the ambient conditions as well. On windy days, a thicker application helps prevent the solution from being blown away before it can work its magic. Adjusting the foam thickness based on these factors can significantly impact your cleaning efficiency and overall satisfaction with the task.
Using Snow Foam Effectively on Various Vehicle Surfaces
For optimal results, adjust your technique based on the type of surface being treated. For instance, when applying the mixture to a vehicle with a delicate finish, ensure you use a gentle approach. I recall once working on a classic car with a soft paint finish; using a thick layer of bubbles helped lift dirt without causing any scratches.
When dealing with more robust surfaces like SUVs or trucks, a thicker application is beneficial. The added density clings to the grime, allowing it more time to break down tough contaminants. I’ve found that letting the product sit for about 10 to 15 minutes works wonders, especially after running into stubborn mud after a weekend off-roading.
For glass surfaces, a lighter application is advisable. Excess product can leave streaks, which can be frustrating. I’ve learned to apply a thin layer, then rinse it off quickly to maintain clarity. It’s a simple tweak that makes a significant difference in visibility post-cleaning.
| Surface Type | Application Thickness | Recommended Dwell Time |
|---|---|---|
| Classic Cars | Thin to Medium | 5-10 minutes |
| SUVs and Trucks | Medium to Thick | 10-15 minutes |
| Glass | Thin | 1-3 minutes |
Lastly, always keep in mind that the environmental conditions can affect your approach. On sunny days, for instance, the mixture tends to dry quickly, so it’s wise to work in sections and rinse more frequently. I’ve seen far too many people struggle with dried product, leading to excessive scrubbing later. Adapting to the conditions can save both time and effort.
Cleaning and maintaining your foam lance after use
After every session, proper care of your lance is crucial. Start by rinsing it thoroughly with clean water. This removes any residue of the cleaning solution and prevents clogging. I’ve seen too many people neglect this step, leading to a buildup that can damage the equipment over time.
Disassembling the lance
Next, disassemble the lance carefully. Remove the nozzle and any other detachable parts. I’ve found that soaking these components in warm, soapy water helps to break down stubborn grime. A soft brush can assist in removing any remaining debris, especially around the filter and nozzle. Don’t forget to rinse everything again after soaking.
Storing your equipment
Once cleaned, dry all parts completely before storage. Moisture can lead to corrosion or mould growth. I recommend keeping your lance in a cool, dry place, ideally in a protective case or bag to prevent accidental damage. Regular maintenance extends the life of your tools significantly. Remember, a little care goes a long way in ensuring peak performance for the next use.
FAQ:
What equipment do I need to connect snow foam to my Karcher pressure washer?
To connect snow foam to your Karcher pressure washer, you will need a snow foam lance that is compatible with your model of pressure washer. Additionally, you’ll need snow foam shampoo, which is specially formulated for use with these lances. Some pressure washers may also require an adapter to fit the lance onto the spray gun. Make sure to check the specifications of your pressure washer and the lance to ensure compatibility.
How do I attach the snow foam lance to my Karcher pressure washer?
Attaching the snow foam lance is generally straightforward. First, turn off your pressure washer and disconnect it from the power supply. If your Karcher model has a quick-release connector, simply detach the existing nozzle. Take the snow foam lance and attach it in the same way, ensuring it clicks into place securely. If your model requires an adapter, connect the adapter to the spray gun first, then attach the snow foam lance. Once everything is connected, you can refill the lance with snow foam shampoo and proceed with washing your vehicle.
What type of snow foam should I use with my Karcher pressure washer?
It is best to use a snow foam shampoo that is specifically designed for pressure washers. These products create a thick foam that clings to the surface of your vehicle, allowing for better dirt removal. Look for a pH-neutral formula to protect your car’s paintwork. Many brands offer concentrated versions, so you may need to dilute the product according to the manufacturer’s instructions before filling your foam lance.
Can I use any snow foam lance with my Karcher pressure washer?
Not all snow foam lances are compatible with Karcher pressure washers. It is essential to choose a lance that is specifically designed for your Karcher model. Some lances come with adjustable settings, allowing you to control the foam thickness, which can be beneficial for different cleaning tasks. Always check the product specifications or consult with the manufacturer to ensure compatibility.
How do I adjust the foam thickness when using a snow foam lance with my Karcher pressure washer?
To adjust the foam thickness, look for a dial or knob on the snow foam lance. Many lances have a setting that allows you to control the dilution ratio of the shampoo, which affects the foam’s consistency. Turning the dial to a higher setting typically increases the amount of foam produced, while a lower setting will create a thinner foam. Experiment with different settings to find the optimal foam thickness for your cleaning needs.
What equipment do I need to connect snow foam to a Karcher pressure washer?
To connect snow foam to a Karcher pressure washer, you will need a few specific items. First, ensure you have a Karcher pressure washer compatible with snow foam. Next, you will require a snow foam lance, which is designed to attach to the pressure washer’s gun. Additionally, you should have snow foam solution, which is a special detergent that creates the foamy layer when mixed with water. Finally, make sure you have the appropriate adapter if your snow foam lance doesn’t fit directly onto your model of Karcher pressure washer.
How do I properly use the snow foam attachment with my Karcher pressure washer?
To use the snow foam attachment with your Karcher pressure washer, first ensure the pressure washer is turned off and disconnected from the power source. Attach the snow foam lance to the pressure washer gun, making sure it’s securely fastened. Fill the snow foam lance bottle with the recommended snow foam solution, typically mixing it with water according to the product instructions. Once filled, reconnect the pressure washer to the power source, turn it on, and adjust the lance to the desired foam setting. Aim the lance at the vehicle or surface you wish to clean and spray the foam evenly. Allow the foam to sit for a few minutes to break down dirt and grime before rinsing it off with the pressure washer.


.jpg)


