


First things first, always check your machine’s manual for compatibility with cleaning agents. Many devices come equipped with a dedicated compartment for detergents, making the process straightforward. If your model doesn’t have this feature, consider using a foam cannon attachment for an even application.
When selecting a cleaning product, opt for those specifically designed for use with high-powered sprayers. These formulations are typically biodegradable and safe for various surfaces. I once made the mistake of using a household cleaner, and it not only damaged the finish on my patio but also clogged the system. Lesson learned!
Mix the detergent according to the instructions on the label. Dilution ratios can vary, so it’s crucial to follow these guidelines for optimal performance. I often use a measuring cup to ensure accuracy. Once mixed, pour the solution into the designated compartment or the foam cannon, ensuring a secure fit to prevent any leaks during operation.

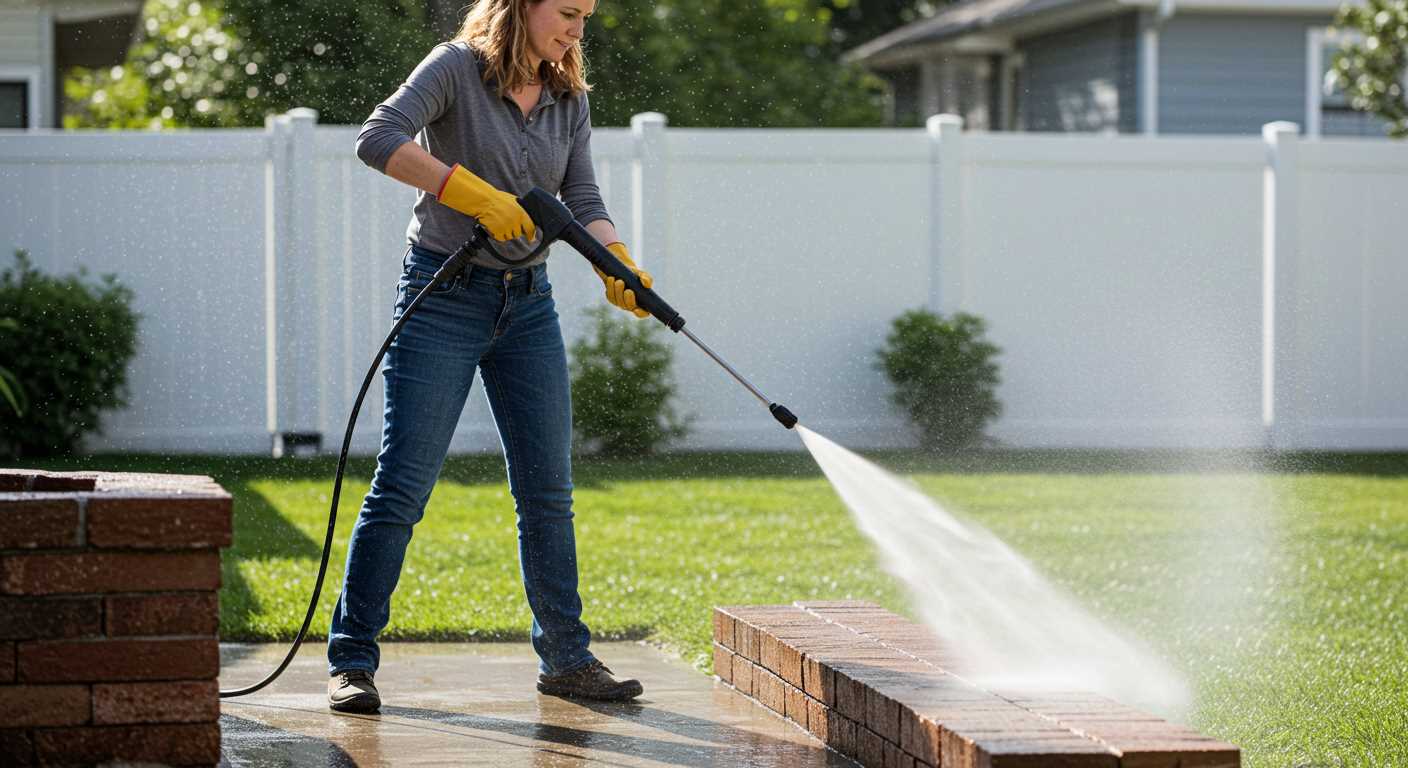
Before starting, adjust the nozzle to a low-pressure setting. This allows for a gentle application of the solution, which is particularly useful on delicate surfaces like car paint or wooden decks. I remember one time I was too eager and sprayed a high-pressure jet directly on a wooden fence, which caused splintering. Patience pays off!
After applying the detergent, let it sit for a few minutes to break down grime, but don’t let it dry out. A good rule of thumb is to work in sections, applying and rinsing as you go. Always rinse thoroughly to remove any residue, as leftover detergent can lead to slippery surfaces. Trust me, no one wants a surprise slip when they step outside!
Attaching Detergent to Your Cleaning Equipment
To initiate the process, locate the detergent tank on your machine. Most modern units come equipped with a dedicated compartment for the cleaning solution. If your model lacks a tank, you’ll need a siphon attachment that fits the detergent bottle. Simply ensure it’s securely placed in the appropriate port.
Next, select a quality cleaning agent. Opt for a product that is compatible with your device, as improper solutions can damage components. Dilute the detergent as per the manufacturer’s instructions before filling the tank or bottle; this ensures optimal performance.
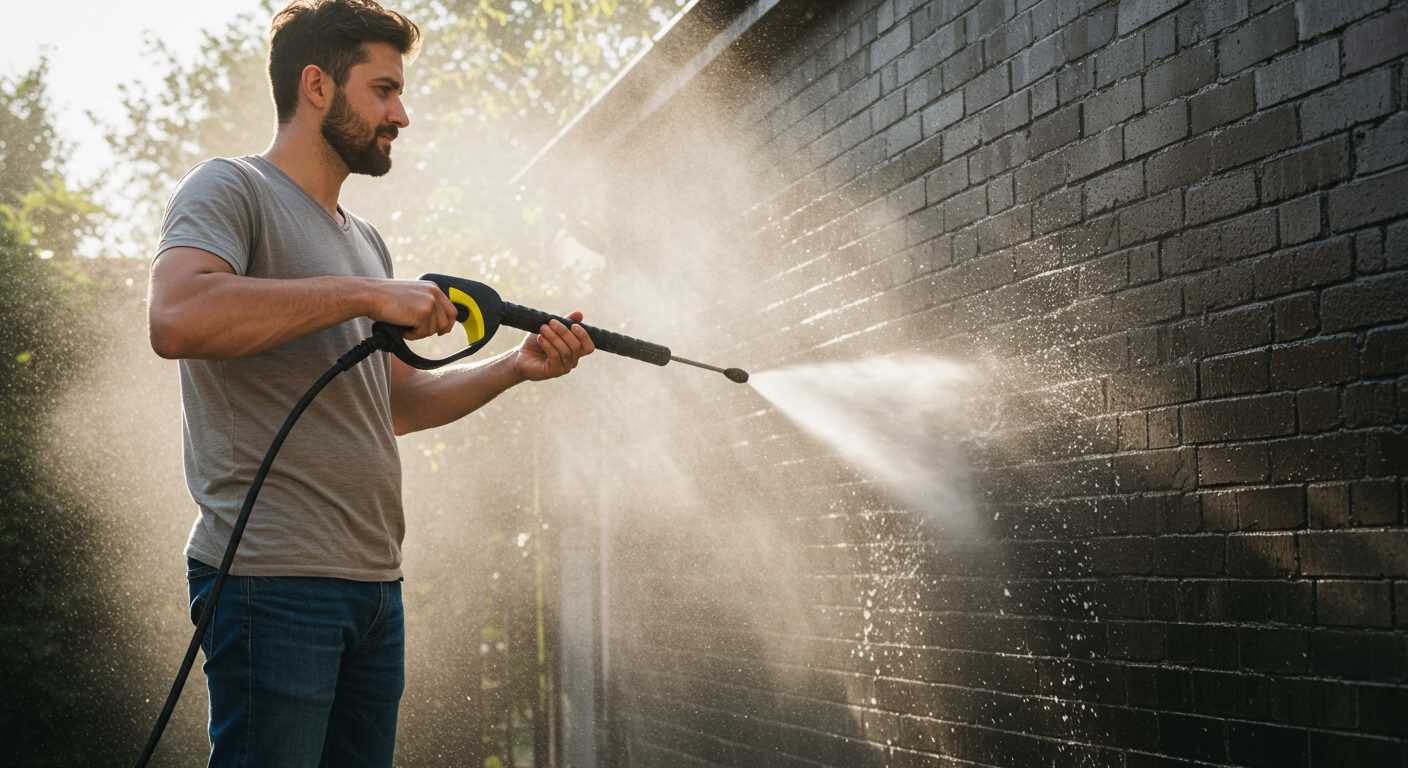
Once the solution is in place, adjust the nozzle settings on your wand. A low-pressure setting works best for applying the detergent. This allows for even coverage and prevents the solution from being blown away before it has time to work. I recall a time when I was eager to see results and used a high-pressure setting; it just made a mess instead of cleaning effectively.
After applying the detergent, let it sit for a few minutes to penetrate grime. Follow up with a rinse at higher pressure to wash away the residue. This two-step approach yields far better results than rushing through the process.
For those moments when you’re capturing the work being done, consider using a digital camera or digicam to document your progress. It’s satisfying to see before-and-after shots of your cleaning efforts!
Lastly, remember to clean any attachments and tanks after use. A quick rinse can prolong the life of your equipment and ensure it operates at peak performance for your next project.
Choosing the Right Soap for Your Pressure Washing Needs
Selecting the appropriate cleaning agent is key to achieving optimal results. Not all detergents are created equal; some cater specifically to certain surfaces or types of grime. For example, if you’re tackling oily stains on your driveway, a degreaser will outperform a general-purpose cleaner.
Types of Cleaning Agents
| Type | Best For | Notes |
|---|---|---|
| Alkaline Cleaners | Grease and oil | Effective for tough stains but can damage sensitive surfaces. |
| Acidic Cleaners | Mineral deposits | Great for cleaning tools or areas with hard water stains. |
| Biodegradable Cleaners | General use | Environmentally friendly; safe for most surfaces. |
| Foaming Agents | Vertical surfaces | Adhere better and allow for longer dwell time on surfaces. |
Key Considerations
Always check the manufacturer’s guidelines for compatibility with your equipment. I once used a solution that was too harsh for a delicate surface, resulting in unintended damage. Always conduct a patch test on a small, inconspicuous area first. If you’re unsure, go for a milder option; it’s easier to repeat a cleaning than to repair harm done by an aggressive cleaner.
Lastly, consider the environmental impact. Opt for eco-friendly options whenever possible. Not only do they reduce harm to the ecosystem, but they also often perform surprisingly well. I’ve had great success with biodegradable formulations that can tackle grime effectively without the harsh chemicals.
Understanding the Soap Injection System
The soap injection system plays a vital role in enhancing cleaning efficiency. This mechanism operates by drawing cleaning agents from a reservoir and mixing them with water before it reaches the nozzle. Ensuring the right setup can significantly impact the results you achieve.
From my experience, the injector’s placement is key. Typically, it’s situated between the water pump and the nozzle. This positioning allows for optimal mixing, ensuring that the detergent is adequately diluted. I’ve seen users overlook this detail, leading to ineffective cleaning and wasted products.
Another crucial aspect is the injector type. There are two main categories: downstream and upstream injectors. In downstream systems, the cleaning solution is applied at a lower pressure, making it safer for delicate surfaces. Conversely, upstream injectors work at the pump’s pressure level, which can be more effective for tough stains but may risk damaging sensitive materials.
Regular maintenance of the injector is essential. Clogs can easily form due to the nature of many cleaning agents. I recommend flushing the system with clean water after use, preventing any build-up. In my early days, I neglected this step, which led to frustrating underperformance during my cleaning projects.
Finally, always check the manufacturer’s guidelines. They often provide specific recommendations regarding suitable detergents and maintenance procedures. Adhering to these guidelines can extend the lifespan of your equipment and ensure optimal performance. I’ve learned the hard way that ignoring these details can lead to costly repairs and frustrating outcomes.
Preparing the Equipment for Soap Application
Ensure the machine is powered down and disconnected from the electrical source before any adjustments. This is a basic safety measure that prevents accidental activation. Gather all necessary materials, including the correct detergent and a suitable attachment for application. Always read the manufacturer’s instructions regarding detergent compatibility to avoid damage.
Check the detergent tank for any residue from previous use. Rinse it out thoroughly with clean water to prevent cross-contamination of cleaning agents. If the model features a siphon tube, inspect it for clogs or kinks that may impede flow. Clearing any blockages is essential for optimal performance.
Fill the detergent reservoir with the chosen cleaning solution. Be mindful of the recommended dilution ratio. Using too concentrated a mix can lead to excessive foam, while too diluted may reduce cleaning power. After filling, securely close the tank to prevent leaks during operation.
Attach the appropriate nozzle for soap application; typically, a low-pressure nozzle is necessary. This ensures the solution is applied gently, allowing it to dwell on surfaces for effective cleaning. Test the nozzle by releasing a small amount of water to ensure it is functioning correctly before applying the detergent.
Adjust the pressure setting to the manufacturer’s recommendations for detergent application. This usually means setting it lower than for general cleaning. After making all adjustments, conduct a brief test on a small area to confirm the setup is effective and safe for the intended surface.
Connecting the Soap Hose Properly
Ensure a tight fit between the detergent line and the machine. A secure connection prevents leaks and maximises efficiency during use.
- Identify the detergent inlet on your unit, typically marked clearly for easy access.
- Take the detergent hose and inspect for any damage or kinks; replace if necessary.
- Attach one end of the hose to the detergent inlet, twisting it gently to secure it. This helps to create a seal, reducing the chances of spills.
- The other end should connect to the soap container, ensuring it sits snugly to prevent any disconnection during operation.
Once attached, check for any visible leaks before starting your cleaning task. A quick test run can help identify if everything is in order.
Tips for a Seamless Setup
- Use a hose clamp if available for added security.
- Keep the hose free from sharp bends to maintain proper flow.
- Clean the inlet regularly; debris can obstruct the connection and affect performance.
Always refer to the manufacturer’s recommendations for compatibility with specific cleaning agents to avoid any damage to your equipment. Over the years, I’ve noticed that using the right products not only protects your machine but also enhances the overall cleaning experience.

Adjusting the Nozzle for Soap Dispensing
Set the nozzle to the appropriate angle for optimal application. Generally, a wider spray pattern works best for distributing cleaning solutions evenly across surfaces. I often begin with a 40-degree nozzle for delicate areas and switch to a 25-degree nozzle for tougher grime. This helps in applying the mixture uniformly without damaging the surface beneath.
Before making adjustments, ensure the unit is off. This safety precaution avoids any accidental sprays during the setup. Once you’re ready, adjust the nozzle by twisting it to the desired setting. Test the angle on a small area to see how the solution adheres and spreads. If it’s too concentrated, switch back to a wider angle.
Another aspect to consider is the distance from the surface. Holding the nozzle about 2 to 3 feet away allows the mixture to cover a larger area without excessive force. I’ve learned that getting too close can lead to streaks or even damage paint finishes on vehicles or delicate surfaces.
| Nozzle Angle | Recommended Use |
|---|---|
| 0 Degrees | Highly concentrated applications, tough stains |
| 15 Degrees | Medium-to-tough grime, concrete surfaces |
| 25 Degrees | General cleaning, driveways, patios |
| 40 Degrees | Gentle cleaning, vehicles, windows |
After adjusting, observe the consistency of the mixture coming through the nozzle. A foam cannon can also enhance the application, creating a thicker layer that clings to surfaces longer. For best results, I recommend using a foam lance attachment, which allows for even more control over the mixture’s thickness and spread.
Finally, always clean the nozzle after use to prevent clogs. A quick rinse under water can save time and ensure your equipment remains in top condition for future tasks.
Setting the Correct Pressure for Soap Use
To maximise the efficiency of your cleaning solution, it’s vital to adjust the output force appropriately. For optimal results, set the machine’s pressure to a lower level, typically between 800 to 1200 PSI, depending on the type of surface you’re treating. This range allows the cleaning agent to adhere to the surface without being immediately washed away, enhancing its effectiveness.
I’ve found that when tackling tough stains on driveways or patios, maintaining a consistent pressure during the application of the cleaning agent ensures even coverage. A high-pressure setting can cause the solution to splatter, leading to uneven cleaning and potential damage to delicate surfaces. Always start at a lower setting and gradually increase if necessary, keeping an eye on the consistency of the application.
For instance, while helping a friend with his garden terrace, I started at 1000 PSI. This allowed the cleaner to penetrate the grime effectively without risking any surface damage. Once the solution had time to work its magic, I adjusted the pressure for rinsing, which made the removal of the cleaning agent seamless.
Lastly, remember to test the pressure on a small, inconspicuous area before full application. This practice ensures that you find the perfect balance for your specific cleaning task and avoids any surprises. If you want to see the difference a well-set output can make, check out how to powerfully clean paving stones with a high pressure cleaner.
Testing the Soap Dispensing Mechanism
To ensure the cleaning agent is properly dispensed, it’s crucial to conduct a simple yet effective test. Begin by filling the designated tank with your selected cleaning solution and ensuring all connections are secure. It’s time to check if the system is functioning correctly.
Steps for Testing
- Start the machine and set it to low pressure. This setting is ideal for introducing the detergent into the flow.
- Observe the nozzle. If the solution is flowing out, it should be visible as a consistent stream.
- Adjust the nozzle to the soap setting. This is usually marked on the nozzle itself, indicating it’s ready for use.
- While spraying, watch for any inconsistencies in the flow. If you notice sputtering or a lack of foam, this might indicate a blockage or an issue with the injection system.
Common Issues and Fixes
- Weak Flow: Check for blockages in the hose or nozzle. A clogged filter can also restrict the flow. Cleaning these components often resolves the issue.
- No Dispensing: Ensure the tank is filled and the solution is compatible with your machine. Sometimes, air can be trapped in the lines, so run the system until a steady flow resumes.
- Excessive Foam: If you notice too much foam, it could indicate that the cleaning agent is too concentrated. Diluting it according to the manufacturer’s instructions may help.
After testing, always run plain water through the system to clear any remaining solution. This practice prolongs the life of the components and keeps them free of residue. Regular checks on the dispensing mechanism not only enhance performance but also ensure optimal cleaning results every time.
Cleaning the System After Soap Use
After applying detergent, it’s crucial to flush the system with clear water. This prevents residue build-up in the hoses and components. Start by disconnecting the detergent container. Fill the tank with fresh water and run the unit for a few minutes. This ensures that any remaining cleaning agent is expelled from the lines.
While flushing, switch the nozzle to a wide spray setting. This reduces the risk of clogging while cleaning the internal mechanisms. Be mindful of the pressure; keep it at a moderate level to avoid unnecessary stress on the machine.
After flushing, inspect the filters and nozzles for any blockages. If you notice any debris, clean them thoroughly. Regular maintenance, including rinsing out the system after using a cleaning solution, prolongs the life of your equipment and maintains optimal performance.
Lastly, don’t forget to store any leftover cleaning agents properly. Ensure caps are tightly sealed to prevent leaks and degradation. A well-maintained system will not only perform better but also save you from costly repairs down the line.
Common Issues and Troubleshooting Tips
One frequent problem I’ve encountered is the failure of the dispensing system to deliver the cleaning agent properly. Often, this can be traced back to a clogged filter. Regularly check and clean the filter; a simple rinse under warm water can often do the trick.
Inconsistent Dispensing
- Verify that the chemical container is filled adequately. An empty or low container can lead to inconsistent flow.
- Inspect the hose for kinks or damage. Even minor obstructions can hinder the flow.
- Check the nozzle setting. Some nozzles are not compatible with certain agents; ensure you are using the correct type.
Foaming Issues
- If the foam seems too watery, the concentration might be off. Adjust the mixing ratio as per manufacturer instructions.
- Check the injector. Sometimes, the injector can become blocked. Cleaning it with warm, soapy water can help.
- Consider the type of surface you are treating. Some porous materials may not hold foam as well as others.
Another common hurdle is the loss of pressure during application. This can be frustrating, particularly when trying to achieve thorough cleaning.
- Make sure the pressure settings are correct. Sometimes, adjustments can inadvertently lower the efficiency.
- Inspect hoses and connections for leaks. A small leak can significantly impact overall performance.
- Check for any air leaks in the system. Ensure all connections are sealed properly.
After using the cleaning agent, some may experience residual build-up. It’s essential to flush the system thoroughly to avoid long-term damage.
- Run plain water through the system after each use. This helps clear out any remaining residue.
- Store the machine properly, ensuring no cleaning agent is left in the lines.
In my experience, maintaining regular checks and cleaning routines can prevent most issues. It’s always better to address small concerns before they escalate into more significant problems.

.jpg)


