


Ensure a steady supply by attaching a hose directly to the inlet on your machine. This step is crucial for maintaining optimal performance. You’ll want to use a quality garden hose, ideally with a diameter of at least 1/2 inch to facilitate proper flow. Avoid using lengths that exceed 50 feet; longer hoses can reduce water pressure significantly.
Before starting, check for any debris in the inlet filter. A clear filter prevents blockages and ensures a consistent flow. If you notice any build-up, clean it thoroughly. I’ve had instances where a simple clean saved me from frustrating interruptions during a task.

Tighten all connections securely to prevent leaks. Trust me, a few extra moments spent on this can save you from a wet mess later on. I remember the first time I neglected this step; it turned into a minor disaster with water spraying everywhere. Learning from that experience changed my approach completely.
Finally, turn on the water supply before powering up your equipment. This helps to prime the pump, ensuring that everything works smoothly from the start. I often find that taking a few moments to double-check these details pays off in the long run, leading to a more enjoyable and efficient cleaning session.
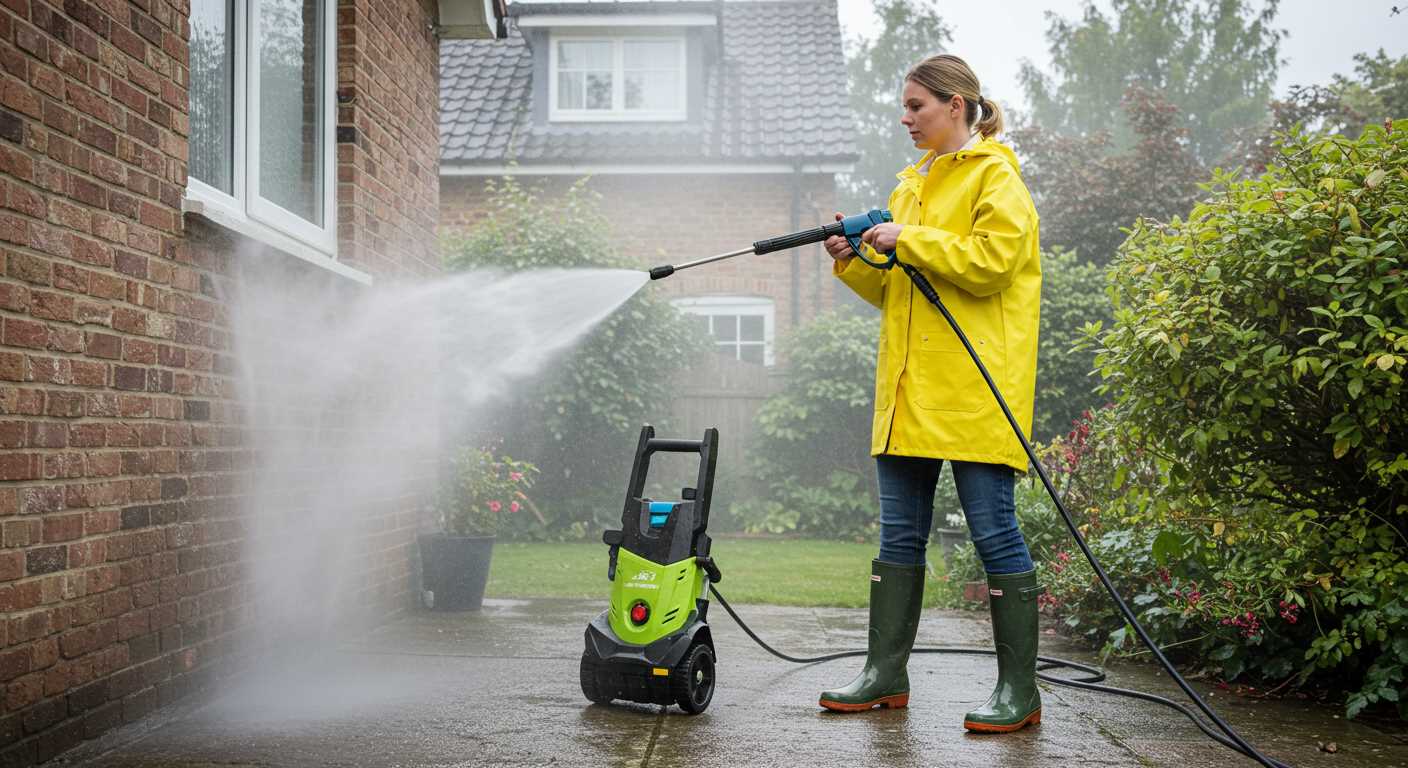
Connecting Your Water Supply to the Cleaning Unit
Begin by ensuring your hose is securely attached to the inlet on the unit. Use a wrench for a snug fit, avoiding leaks. Next, check the other end of the hose. It should be compatible with your tap or water source; if not, an adapter may be necessary.
Make sure the water supply is turned on before you power up the machine. A lack of adequate flow can lead to overheating and damage. I once encountered a situation where a colleague forgot this step, resulting in a costly repair. Always double-check the flow prior to use.
Inspect the hose for kinks or blockages. Any obstruction can hinder performance. I recall a time when I had to troubleshoot a unit that was underperforming, only to discover a simple kink in the hose was the culprit. Keep the hose straight and free from tangles for optimal operation.
| Component | Action |
|---|---|
| Inlet connection | Tighten securely with a wrench |
| Water source | Ensure compatibility or use an adapter |
| Water flow | Turn on the supply before starting the unit |
| Hose condition | Check for kinks or blockages |
Once everything is set, you’re ready to engage the system. I find it helpful to listen for the sound of water flowing through the machine. This gives me peace of mind that everything is functioning properly. Regular maintenance of these connections will save you time and headaches in the long run.
Understanding Water Source Requirements
Choosing the right source for your high-pressure cleaning machine is vital for optimum performance. Ideally, you should use fresh, clean water from a tap or hose, ensuring no debris or contaminants that could damage the unit. I recall a time when I used a water barrel filled with rainwater, thinking it would be fine. The result? Clogging issues that led to a frustrating cleaning session.
Check the water supply for adequate pressure. A minimum of 20 psi is necessary for most models to function properly. Anything lower can lead to subpar results and may even damage the unit. I often test different taps around my home to find the one delivering the best pressure; a quick way to optimise cleaning efficiency.
Another critical factor is the hose length. A longer hose may result in reduced pressure, as the water has to travel further. Aim for a hose that is 25 feet or less for best performance. If you need to use a longer hose, consider investing in a high-quality, reinforced option. I once used a flimsy hose that kinked easily, which drastically hindered my machine’s capabilities. For a reliable choice, check out the best pressure washer hoses.
| Requirement | Details |
|---|---|
| Water Quality | Fresh tap water without contaminants |
| Water Pressure | Minimum of 20 psi |
| Hose Length | Max 25 feet for optimal performance |
Always check for leaks in the hoses and connections before use. A small leak can significantly affect the efficiency of your setup. I learned this the hard way when a tiny crack in my hose led to a complete halt during a crucial cleaning task. Regular maintenance of these components is key to avoiding such issues.
Selecting the Right Hose for Your Pressure Cleaner
Choosing the appropriate hose is pivotal for optimal operation. The right length and diameter can significantly influence performance. I recall a situation where a customer struggled with low pressure due to an excessively long hose. A shorter, well-sized option revitalised the machine’s effectiveness.
Diameter Matters
The diameter of the hose affects the flow rate. For most models, a 1/4-inch diameter is standard, but if you’re using a more powerful device, consider a 3/8-inch option. I once tested both sizes on the same unit, and the difference was remarkable. The wider hose allowed for a faster flow, leading to better cleaning efficiency.
Material Selection
Hoses come in various materials, each with its own advantages. Rubber hoses are durable and resistant to kinks, while PVC ones are lightweight and easy to manoeuvre. I personally prefer rubber for heavy-duty tasks, as it withstands wear and tear better. Avoid cheap plastic options; they often lead to leaks and frustrations.
Don’t forget to check for compatibility with your equipment. Ensure the fittings are the right size and type. I once made the mistake of assuming all connectors were the same. It turned into a lengthy trip to the hardware store, which could have been avoided with a bit of pre-planning.
In conclusion, focus on length, diameter, and material when selecting your hose. Your choice will directly impact performance and efficiency, making your cleaning tasks smoother and more effective.
Connecting the Hose to the Water Supply

Begin by ensuring the inlet of your cleaning unit is free from debris. A clean connection prevents any obstructions that could hinder performance.
Follow these steps for a secure hose attachment:
- Take the garden hose and inspect both ends for any damage or kinks. A compromised hose can lead to leaks.
- Attach one end of the hose to your tap or water source. Ensure that the connection is tight to avoid drips.
- At the opposite end, connect the hose to the machine. Look for the designated inlet, which is typically located at the front or side of the unit.
- For enhanced security, consider using a hose clamp. This can provide extra assurance that the connections remain intact during operation.
After securing the connections, turn on the tap slowly to fill the hose before starting the equipment. This reduces the risk of air pockets, ensuring a smooth flow when you initiate cleaning.
In my experience, maintaining the right pressure at the inlet is key. Always check the water supply pressure specifications in the manual. If the pressure is too low, you might not achieve the desired results.
Regularly inspect the hose for wear and tear. A damaged hose can compromise the entire cleaning process, leading to inefficient performance. Replace it promptly to maintain optimal operation.
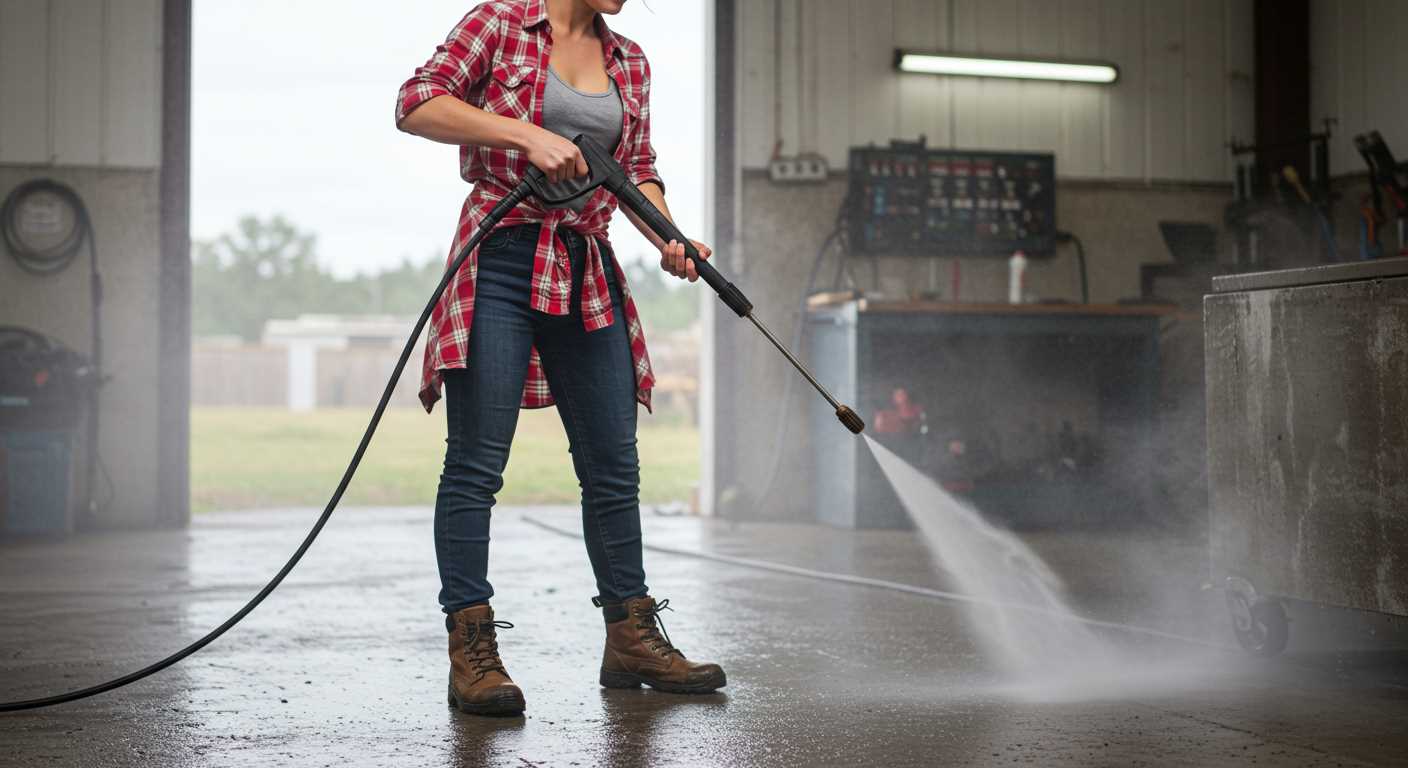
Attaching the Hose to the Pressure Washer
Begin by ensuring the fittings on both the hose and the machine are clean. Any debris can hinder a proper seal and may lead to leaks. Position the flexible pipe at an angle that allows for a smooth connection. This reduces strain on the fittings and prevents wear over time.
Step-by-Step Attachment Process
1. Align the hose fitting with the inlet on the device. Firmly push it into place until you hear a click or feel it seat properly. This sound is a good indication that it has engaged correctly.
2. Secure the connection by twisting the locking mechanism clockwise. Make sure it’s snug but avoid over-tightening, which can damage the threads.
3. Inspect the connection for any gaps or misalignments. If everything looks good, you’re ready to proceed with the next steps in your cleaning process.
Final Checks
Before starting the equipment, give the hose a gentle tug to ensure it’s firmly attached. A loose connection can lead to unexpected disconnections during operation. This little precaution can save you from a messy situation later on.
Checking for Leaks and Ensuring Proper Fit
After securing the supply line and the inlet on the cleaning device, the next step is to ensure all connections are snug and leak-free. A quick visual inspection is essential; look for any signs of moisture around the joints. If you notice drips or a wet area, it indicates a poor seal that needs immediate attention. Tighten connections carefully, but avoid over-tightening, which can damage the fittings.
Testing Connections
Before starting your equipment, it’s wise to conduct a simple test. Turn on the water source and let it flow for a minute while observing the connections. If any leaks arise, turn off the tap and adjust the fittings. This proactive approach saves hassle during use and prevents damage to the device.
Ensuring Compatibility
Make sure that the hose and connectors are compatible with your unit. Mismatched fittings can lead to leaks or even equipment failure. Always refer to the manufacturer’s specifications for the correct size and type of connections. If you’re uncertain, take the fittings and hoses to a local hardware store for advice. This step can save you time and frustration in the long run.
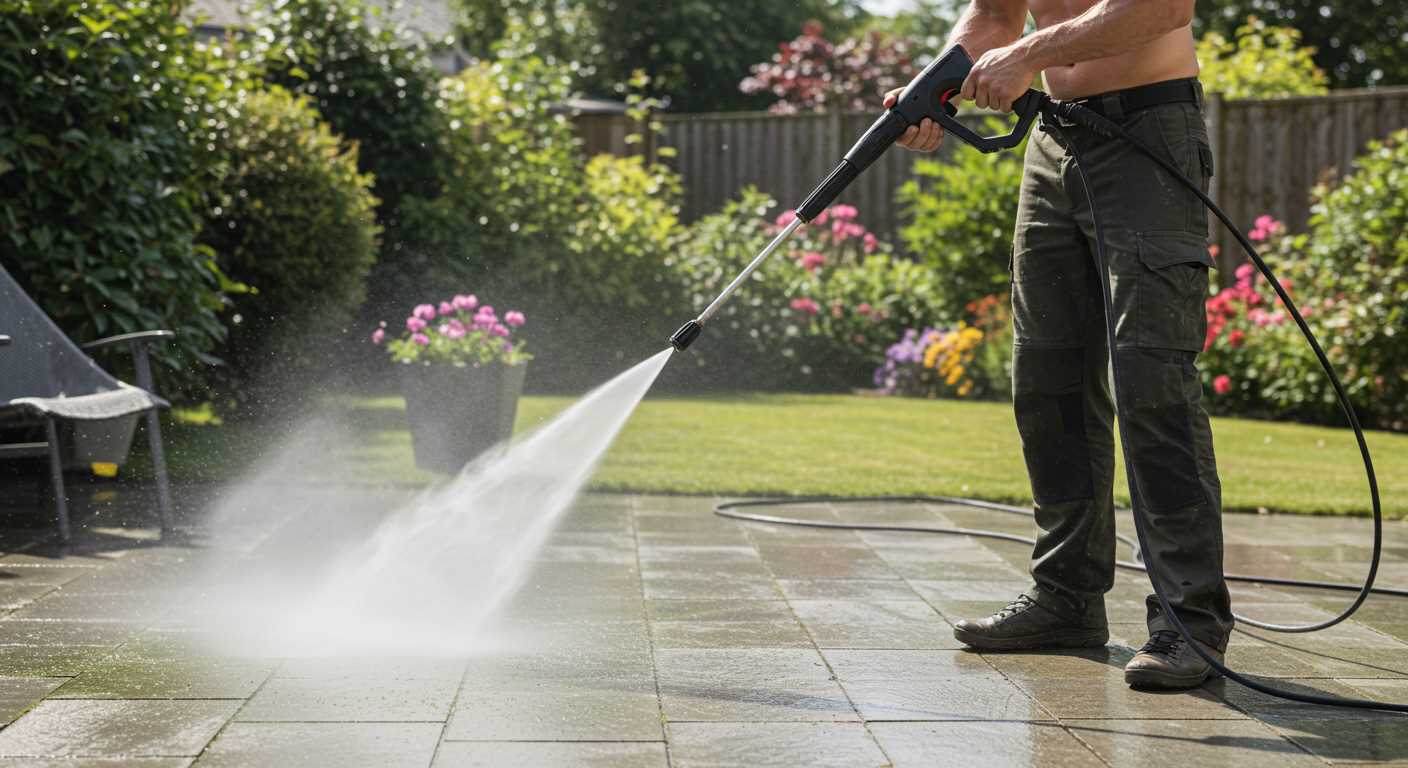
Adjusting Water Flow for Optimal Performance
To achieve peak performance, it’s essential to adjust the flow rate of the liquid supply. A common mistake is to overlook the significance of adequate pressure and volume. For instance, during my years in the industry, I often encountered users who were disappointed with their machine’s output, only to discover that the flow was insufficient.
Balancing Pressure and Flow Rate
Start by checking your unit’s specifications for the recommended flow rate. Many models require a minimum of 5 litres per minute to function effectively. If you notice a drop in performance, it might be due to a higher-than-necessary flow restriction in your tubing or connectors. In my experience, switching to a wider diameter hose can lead to a noticeable difference. For example, using a 3/4-inch hose rather than a 1/2-inch can significantly improve performance, especially for larger tasks.
Optimising Connection Points
Ensure all connection points are clean and free from debris, as blockages can impede flow. Once, I found that a simple cleaning of the inlet filter resolved a significant drop in efficiency for a customer. Regular maintenance of these areas can prevent future issues and maintain consistent output. Adjusting the nozzle settings can also help manage the flow, allowing for better control depending on the task at hand, whether it’s light cleaning of vehicles or tackling tougher stains on patios.
Maintenance Tips for Water Connection Components
Regular upkeep of the components involved in your cleaning unit’s water supply is key to ensuring longevity and performance. Here are some tips that I have found particularly effective in my years of experience.
- Inspect Hoses Regularly: Look for signs of wear, kinks, or cracks. Replace any damaged hoses immediately to prevent leaks.
- Clean Filters: If your system has an inlet filter, remove and clean it frequently. Clogged filters can restrict flow and lead to performance issues.
- Check Fittings: Ensure all connections are tight. Loose fittings can cause leaks and reduced efficiency. Use Teflon tape on threaded connections for a tighter seal.
- Drain After Use: If you live in an area where temperatures drop below freezing, always drain the system after use to prevent damage from frozen water.
- Store Properly: Keep hoses and other components out of direct sunlight and extreme temperatures. This can prolong their lifespan significantly.
- Inspect for Algae Growth: If using a water source that isn’t regularly cleaned, check for algae or other contaminants that could clog your system. Clean the source regularly.
Incorporating a quality foam sprayer for pressure washer can enhance your cleaning capabilities while reducing wear on the water supply system by evenly distributing the cleaning solution.
Remember, a little maintenance goes a long way in keeping your equipment running smoothly and efficiently.
.jpg)


