


Start with a quality high-pressure unit that has a minimum output of 2500 PSI. This is crucial for tackling stubborn blockages in drainage systems effectively. I recall a time when I had a particularly challenging job involving a clogged pipe that had been neglected for years. Using my modified system, I was able to clear it in a fraction of the time it would have taken with traditional methods.
Next, acquire a jetting nozzle specifically designed for drain cleaning. These nozzles create a powerful stream of water that can easily dislodge debris. I remember testing different nozzles and found that a rotating nozzle worked wonders on tough clogs, providing a thorough clean while minimising the risk of pipe damage.

Lastly, ensure you have the right hose to withstand high pressures. A quality sewer hose is not just durable but also flexible enough to navigate bends in the piping. I once used a standard hose, and it failed under pressure, which was a frustrating setback. Investing in the right equipment saves time and effort in the long run.
Transforming Equipment for Drain Cleaning
For an effective alternative to traditional drain cleaning methods, opt for a high-pressure unit equipped with a few modifications. Begin with a quality hose rated for high pressure, ideally 50 feet or more. This length allows for better reach into problematic spots.
Next, you’ll need a specialized nozzle designed to push itself through pipes. These nozzles, often cone-shaped, create a jet stream that propels the unit forward. I’ve found that a dual or triple orifice nozzle works wonders for breaking up clogs, especially in residential settings.
Don’t overlook the importance of a drain cleaning attachment. This acts as a bridge between the hose and the nozzle, ensuring a secure fit while allowing for optimal water flow. I recommend using a quick-connect adapter for easy switching between attachments, which saves time during operation.
Ensuring the right water supply is crucial. Make sure your source can deliver a steady flow without interruption. If you face issues with debris clogging the nozzle, refer to this guide on how to clean nozzle on shark steam mop for effective techniques that you can adapt.
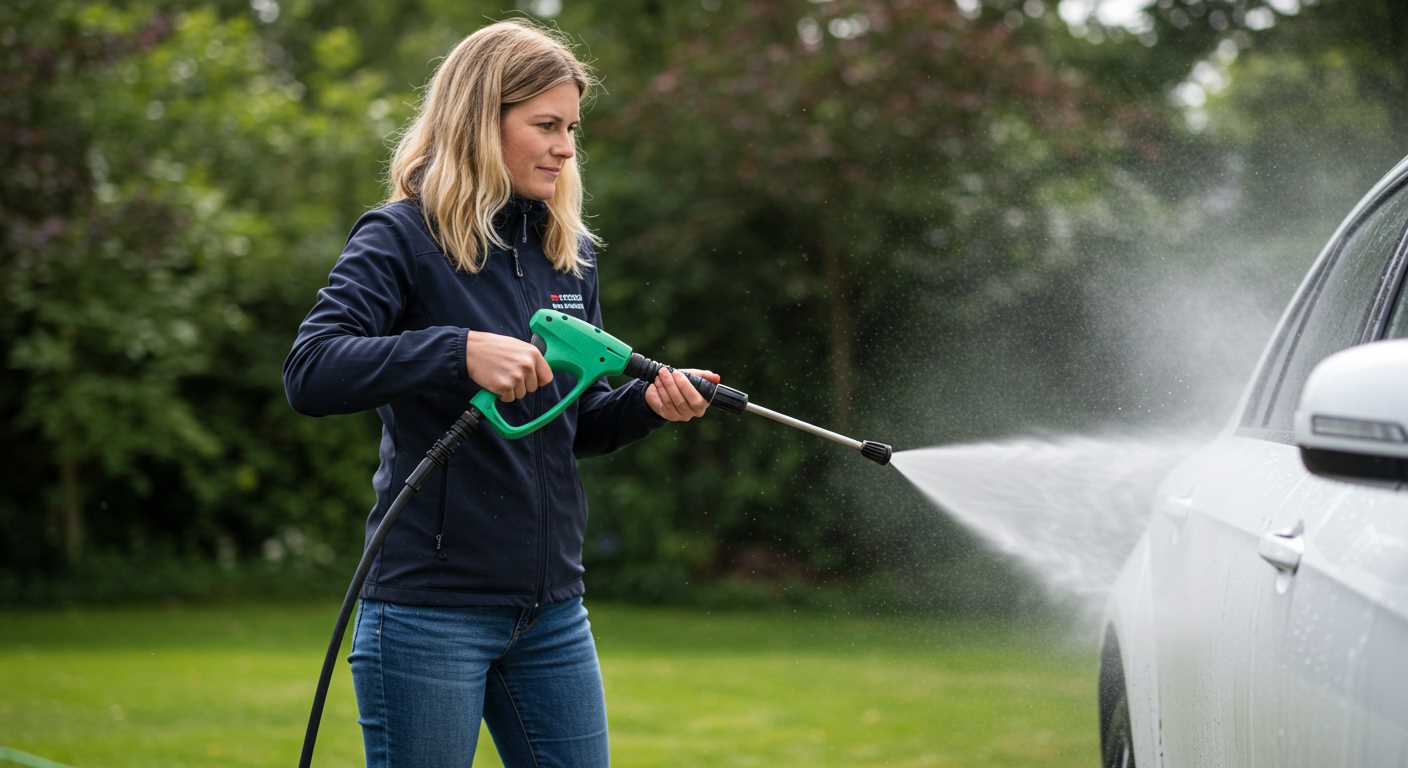
Finally, always wear appropriate safety gear. Protective eyewear and gloves are a must, as the high-pressure water can cause injury if not handled properly. Trust me, the last thing you want is an accident while you’re working on tough blockages.
Choosing the Right Equipment for Transformation
Opt for a model with at least 3000 PSI for optimal performance. In my experience, machines with this pressure rating have consistently delivered the power needed to clear stubborn blockages effectively. Additionally, a flow rate of 3.5 GPM or more is ideal, as it enhances the cleaning capability and helps to flush out debris.
Look for a unit that offers adjustable pressure settings. This feature allows for versatility, enabling you to modify the output based on the specific task. I once used a multi-setting device that allowed me to switch between modes seamlessly, ensuring that I didn’t damage delicate pipes while still maintaining enough force to clear tougher clogs.
Durability is key. Select a robust model with a reliable engine and high-quality components. My first experience with a less sturdy machine ended in frustration when it broke down mid-task. Investing in a well-built unit pays off in the long run, saving you repair costs and downtime.
A hand primed pressure washer can be an excellent choice if you’re looking for something portable and easy to use. These models typically allow for quick setup and operation, which can be a significant advantage when tackling unexpected clogs.
Lastly, ensure compatibility with the necessary accessories. A quality nozzle and hose are imperative for achieving the desired reach and performance. I remember fitting a high-pressure hose that significantly improved my results, making all the difference during a particularly challenging clean-up.
Required Accessories and Tools for the Conversion
To transform your high-powered cleaner into a drain cleaning system, you’ll need specific accessories and tools that enhance its functionality. The right equipment makes all the difference in achieving effective results.
High-Pressure Hose
A robust, flexible high-pressure hose is non-negotiable. Look for a model that can handle higher PSI ratings, ideally around 3000 PSI or more. This ensures your setup can tackle stubborn blockages without bursting. Opt for a hose that is at least 50 feet long, allowing you to reach deeper into pipes without hassle. Reinforced hoses are preferable, as they resist kinks and wear over time.
Nozzle Options
Invest in a set of nozzles designed for drain cleaning. A rotating nozzle is particularly effective for breaking up tough clogs, while a penetrating nozzle will help push debris through the pipe. Make sure these nozzles fit securely onto your cleaning setup. Adapters may be necessary, so keep a few on hand to ensure compatibility.
Don’t overlook the importance of a foot valve or a filter attachment. These components prevent debris from entering your cleaner, reducing the risk of damage and ensuring longevity. Additionally, a quality reel for managing your hose can save time and effort when coiling up after use.
Step-by-Step Guide to Modifying the Pressure Washer
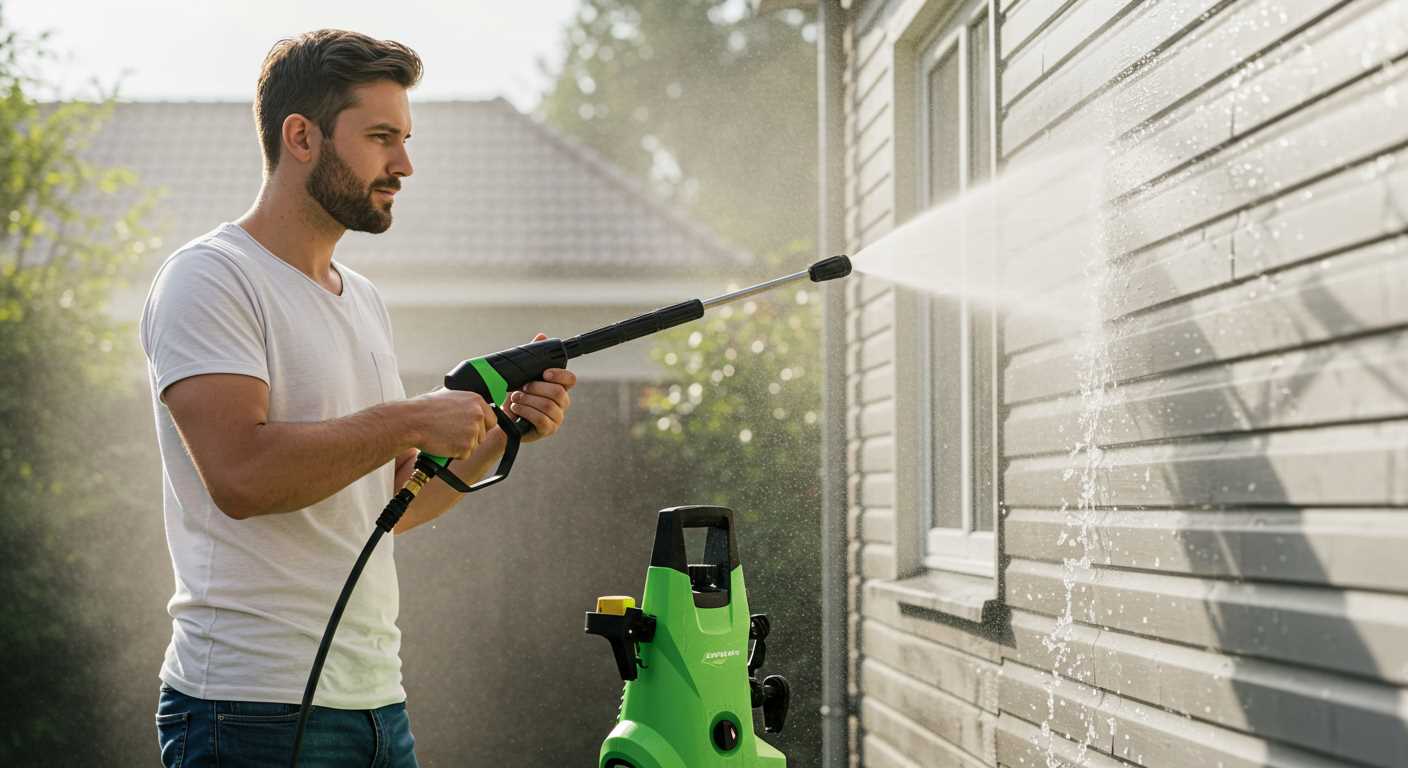
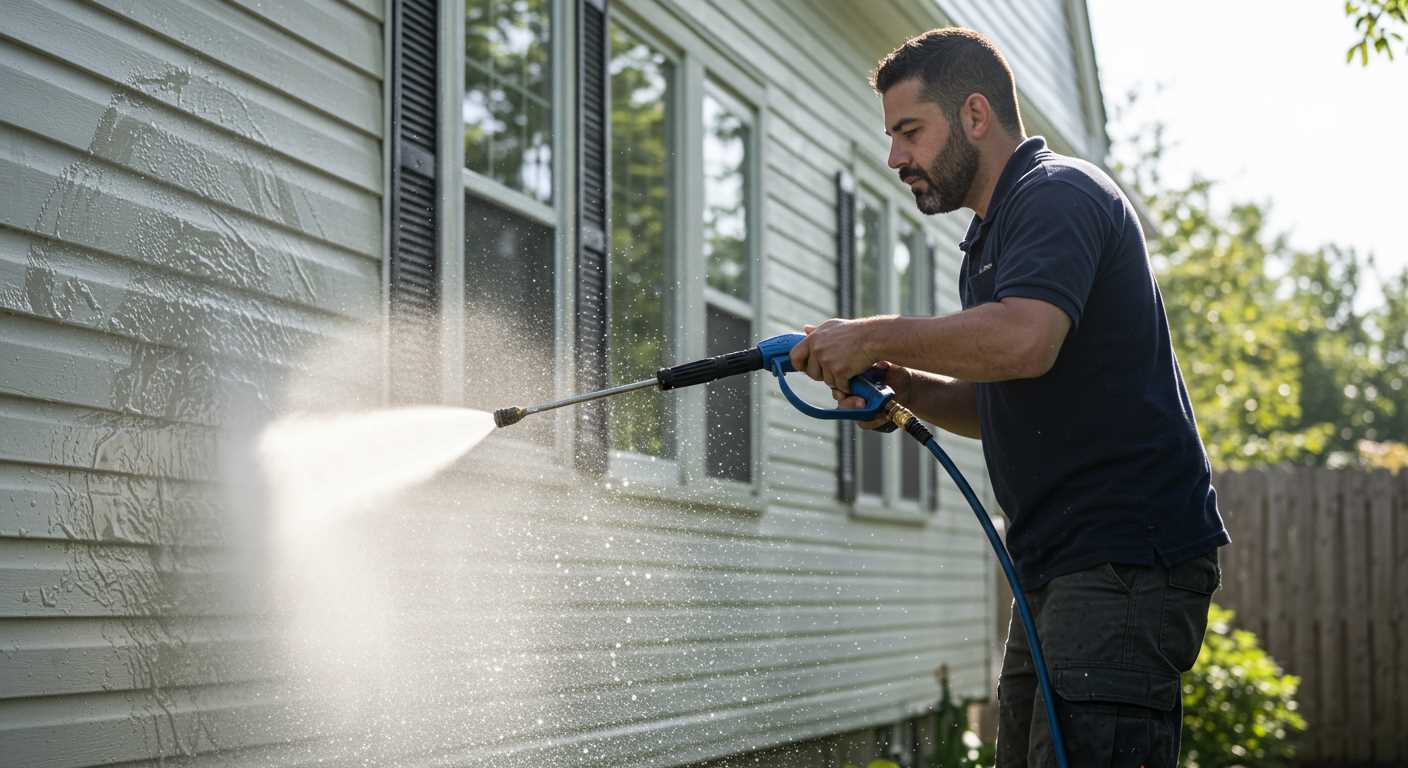
Begin with disconnecting the unit from its power source. Safety comes first; you don’t want any accidental starts while working on the machine. Next, remove the standard nozzle and replace it with a high-pressure nozzle suited for drain cleaning. This is crucial, as the right nozzle directs water more effectively into pipes, enhancing cleaning efficiency.
Installing the Drain Cleaning Hose
Attach a flexible drain cleaning hose to the gun of your equipment. Ensure that the connection is tight to prevent any leaks. The hose should be long enough to reach the desired distance into the drainage system. I learned that using a hose with a smaller diameter can increase water velocity, making it more effective in clearing blockages.
Setting Up the Nozzle Configuration
Select a nozzle that can shoot water in a forward motion while also allowing for reverse water flow. This combination helps dislodge stubborn debris. In my experience, rotating nozzles work wonders for this task. They provide a wider coverage area while maintaining high pressure, which is essential for thorough cleaning.
Once everything is in place, test the system with water before using it on actual blockages. This allows you to check for leaks and ensure that the setup functions as intended. I recall a time when I rushed this step, leading to unforeseen issues that could have been avoided.
After confirming everything is working, you’re ready to tackle those clogged pipes with confidence. Always keep safety gear handy, including gloves and goggles, as the high-pressure water can be hazardous.
Testing and Adjusting the Jetting System
Begin with a thorough inspection of the assembled components. Ensure all connections are secure and leak-free. A leak can significantly affect performance, so tighten any loose fittings.
Next, select an appropriate nozzle. The choice of nozzle impacts the water flow and pressure. For clearing clogs, a rotating nozzle or a specific sewer-cleaning nozzle is ideal. These options create a focused jet that can effectively tackle stubborn blockages.
After installing the nozzle, connect the assembly to a water source and power up the unit. Observe the pressure gauge. It should reach the manufacturer’s recommended operating pressure. If it falls short, check for kinks in the hose or blockages in the intake filter.
Once everything appears in order, it’s time to test the jetting system in a controlled environment. Here’s a simple checklist:
- Start with a clear and accessible drain or pipe.
- Introduce the nozzle into the opening slowly.
- Gradually increase the pressure while monitoring performance.
If the jet creates sufficient force to clear debris, great! If not, adjustments may be necessary. Consider the following:
- Adjust the pressure settings according to your model’s specifications.
- Experiment with different nozzles to find the most effective one for your situation.
- Check the water supply for adequate flow; low flow can hinder performance.
Keep a log of your findings. Documenting which configurations work best will save time in future tasks. If you encounter persistent issues, don’t hesitate to revisit each connection and component, ensuring everything operates smoothly. Regular testing ensures reliability and efficiency, making every job easier.
Throughout my experience, I’ve learned that patience in testing often leads to optimal results. Take your time to adjust and perfect the setup. A well-tuned system not only performs better but also prolongs the life of your equipment.
Safety Precautions During Operation
Before starting any work with your modified cleaning unit, ensure to wear appropriate protective gear. This includes safety goggles, gloves, and sturdy footwear. I’ve made the mistake of working without adequate protection, and the results were far from pleasant. A stray jet of water or debris can lead to serious injuries, so don’t skip this step.
Verify Equipment Integrity
Always inspect your system for any signs of wear or damage. Connections, hoses, and nozzles should all be in good condition. I once overlooked a small crack in a hose, which resulted in a sudden burst during operation. The pressure can be intense, and any weak point can become a hazard.

Maintain a Safe Distance
While operating the unit, keep a safe distance from the nozzle. I recommend maintaining at least a five-foot distance from the end of the hose. The force of the water can cause injury if it makes contact with skin. Additionally, avoid directing the stream at yourself or others; it’s easy to get caught up in the moment and forget safety protocols.
When working in confined spaces, ensure adequate ventilation. I recall a time when I was in a tight area without proper airflow; the fumes from the engine became overwhelming. If you’re working in a location where it’s hard to ventilate, consider using a fan or taking frequent breaks outside.
Always have a first-aid kit on hand and know how to use it. Accidents can happen, even to the most careful operators. I once had to treat a minor injury, and having supplies nearby made the situation manageable. Lastly, ensure everyone in the vicinity is aware of your operation. Communication is key; let others know what you’re doing to prevent unexpected interruptions.
Maintenance Tips for Your Sewer Jetter
Regular upkeep is vital for optimal performance and longevity. Start by flushing the system with clean water after each use to remove debris and prevent clogs. This simple step can save you from more extensive issues down the line.
Inspect the nozzle and hoses frequently. Look for wear and tear, as well as any signs of damage. Replacing worn parts promptly ensures efficient operation and avoids unexpected breakdowns during critical tasks.

Check the connections between hoses and the jetting unit. Loose fittings can lead to leaks and pressure loss. Tighten any loose connections before each use to maintain consistent performance.
Keeping the engine well-maintained is equally important. Change the oil regularly and ensure the air filter is clean. A well-tuned engine not only runs smoothly but also extends the life of your equipment.
| Maintenance Task | Frequency | Notes |
|---|---|---|
| Flush system with clean water | After each use | Prevents clogs |
| Inspect nozzle and hoses | Every use | Replace as needed |
| Check connections | Before each use | Tighten to prevent leaks |
| Change engine oil | Every 50 hours | Refer to manufacturer’s guide |
| Clean air filter | Every 25 hours | Replace if damaged |
Store your equipment in a dry, sheltered location to protect it from the elements. Covering it with a tarp or investing in a dedicated storage solution can prevent rust and deterioration.
Consider using a stabiliser in the fuel if your equipment will sit unused for extended periods. This helps maintain fuel quality and prevents issues when you next start the engine.
Lastly, consult the owner’s manual for specific maintenance guidelines from the manufacturer. Following their recommendations will ensure you’re on the right track for keeping your equipment in peak condition.
FAQ:
What tools do I need to convert a pressure washer into a sewer jetter?
To convert a pressure washer into a sewer jetter, you will need a few specific tools and accessories. First, ensure you have a compatible pressure washer capable of delivering the required pressure, ideally around 3000 PSI. You will need a sewer jetter nozzle that can be attached to the pressure washer’s hose. Additionally, a high-pressure hose rated for sewer cleaning is necessary, as it needs to withstand the intense pressure. Other items include a connection adapter to fit the nozzle onto your pressure washer and safety gear like gloves and goggles for protection. Having a bucket or container to catch debris can also be useful during the cleaning process.
Can any pressure washer be converted into a sewer jetter?
Not all pressure washers are suitable for conversion into sewer jetters. You need to check the specifications of your pressure washer to ensure it can handle the necessary pressure and flow rate. Most electric pressure washers may not have the required PSI or GPM (gallons per minute) to effectively clean sewer lines. Gas-powered pressure washers are often more powerful and thus more suitable for this conversion. It’s also important to verify that the machine can accommodate the necessary attachments for the sewer jetting process.
What are the safety precautions to take while using a converted pressure washer as a sewer jetter?
Safety is paramount when using a pressure washer as a sewer jetter. First, always wear protective gear, including gloves, goggles, and waterproof boots, to shield yourself from debris and chemicals. Make sure to inspect all hoses and connections for any leaks or damage before use. It’s advisable to work in a well-ventilated area, especially if you are dealing with sewer gases. Additionally, ensure the area is clear of bystanders, as high-pressure water can cause injury if misdirected. Lastly, never point the nozzle at yourself or others, and keep a firm grip on the hose to prevent it from recoiling unexpectedly.
How do I maintain my pressure washer after converting it to a sewer jetter?
Maintaining your pressure washer after converting it to a sewer jetter is crucial to ensure its longevity and performance. After each use, clean the nozzle and hose thoroughly to remove any debris or buildup that may have accumulated. It’s also advisable to flush the system with clean water to prevent clogs. Regularly check the hoses for wear and replace any damaged parts immediately. Additionally, follow the manufacturer’s guidelines for routine maintenance, such as changing the oil and checking the air filter. Storing the pressure washer in a dry, protected area can also help prevent damage and corrosion.
What are the benefits of using a sewer jetter over traditional methods of cleaning drains?
Using a sewer jetter offers several advantages compared to traditional drain cleaning methods. Firstly, sewer jetters use high-pressure water jets to effectively clear blockages, which can be more efficient than mechanical snakes, especially for stubborn clogs. This method also cleans the entire pipe surface, not just the blockage, reducing the likelihood of future issues. Additionally, sewer jetting is an eco-friendly option, as it often requires no harsh chemicals, relying solely on water to do the job. This method can also reach deeper into the plumbing system, providing a more thorough clean and improving overall flow in the pipes.
.jpg)


