


Begin with selecting the right fittings for your setup. The choice of fittings can make all the difference in ensuring a tight and leak-free connection. I recall a time when I underestimated the importance of this step, leading to frustration during a crucial job. Quality connectors made from brass or stainless steel are preferable, as they resist corrosion and wear better than plastic alternatives.
Next, ensure you have the proper tools for the task. A reliable crimping tool is indispensable; I learned this the hard way after struggling with an inferior model that resulted in several failed attempts. A good crimping tool not only simplifies the process but also guarantees that the connectors are securely fastened, preventing any mishaps during operation.

Preparation is key. Before beginning, I always clean the ends of the tubing thoroughly. Any debris can compromise the seal and lead to leaks. I’ve found that a simple wipe with a clean cloth often does the trick. After cleaning, make sure to measure the tubing accurately. I once cut a length too short, which forced me to start over. Precision in measurement saves time and effort in the long run.
Finally, practice the technique. The first few attempts may not yield perfect results, but with time, you’ll refine your skills. I remember my early days, where each connection took longer than expected. Now, with a bit of practice, I can complete the task with confidence and speed. Consistency is key to achieving reliable results, allowing you to focus on the job at hand rather than worrying about equipment failures.
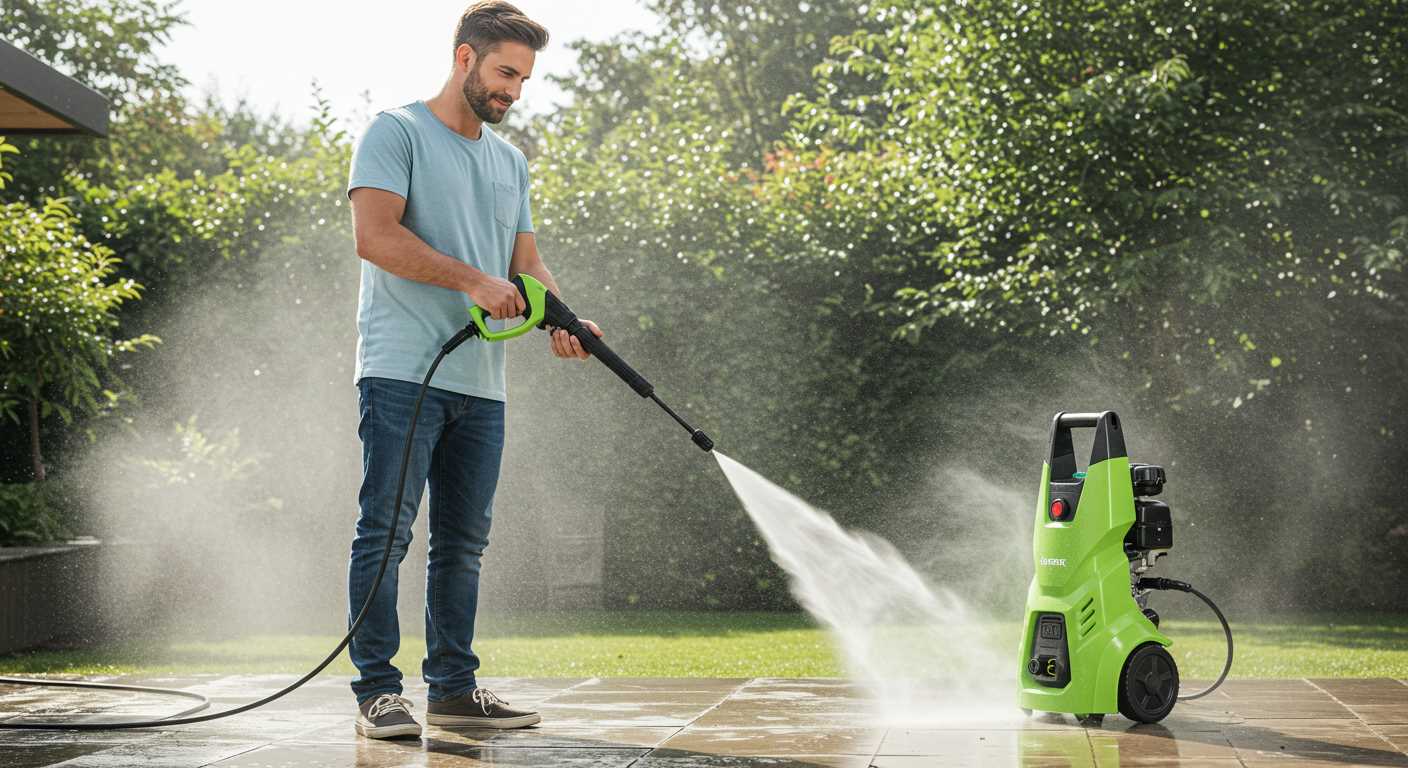
Steps for Attaching High-Pressure Tubing
Begin with the right tools: a quality crimping tool compatible with the size of your tubing and fittings. Ensure your fittings match the diameter of the hose for a snug fit. I remember my first attempt – using mismatched components led to leaks and frustration.
Preparation of the Tube
Measure and cut the length of the tubing needed. A clean cut is crucial; I always use a tubing cutter for precision. After cutting, remove any burrs using a deburring tool. This step is often overlooked but will prevent damage to the fitting and ensure a tight seal.
Fitting Installation
Next, slide the fitting into the end of the tubing. Make sure it goes in all the way; it should be flush with the end of the tube. This part is where I’ve seen many people make mistakes. If the fitting isn’t fully seated, the connection will fail under pressure.
Once everything is aligned, place the tube in the crimping tool. Adjust the tool for the size of the fitting, and apply pressure evenly. I’ve learned to make sure I’m applying consistent pressure to avoid uneven crimps, which can lead to leaks.
After crimping, inspect the connection. A good crimp will have no visible gaps or irregular shapes. I always do a quick pull test to ensure the fitting is secure. It’s a simple step that can save you a lot of headaches down the line.
Finally, test the assembly under low pressure before using it at full capacity. This precaution prevents potential damage and ensures a reliable connection. I’ve had my share of mishaps by skipping this step, and trust me, it’s not worth the risk.
Selecting the Right Hose and Fittings

Choosing the appropriate tube and connectors is fundamental for optimal performance. I remember a time when I was helping a friend with his home maintenance tasks. He had an old model that kept losing pressure due to a mismatch in fittings. That experience taught me the importance of compatibility.
First, ensure the diameter of the tube aligns with the specifications of your unit. A common size for residential applications is ¼ inch, but check your equipment manual for exact requirements. Using a tube that is too narrow can restrict flow, while one that is too wide may not create sufficient pressure.
Next, consider the material of the tube. Reinforced PVC is a popular choice for its durability and flexibility, while rubber provides enhanced longevity but can be heavier. I prefer rubber for heavy-duty tasks; it withstands wear and tear much better in my experience.
Fittings are equally significant. Look for brass or stainless steel connectors, as they resist corrosion and provide a secure fit. I once used plastic fittings on a high-frequency job, and they cracked under pressure, causing an inconvenient mess. Investing in quality hardware pays off in the long run.
Check the threading on the fittings as well. Most equipment uses either ¾-inch or ½-inch threads. Mismatched threads can lead to leaks and other issues. Always double-check before making a purchase.
Lastly, consider the length of the tube. A longer length offers more reach but can lead to pressure loss. I’ve found that 50 feet is sufficient for most residential tasks, striking a balance between reach and performance.
Incorporating these tips will ensure you select the right components for your high-pressure tasks, leading to smoother operation and improved results. Remember, a well-chosen tube and fittings can make all the difference.
Tools Required for Hose Crimping
Gathering the right tools is paramount for successfully securing your high-pressure lines. First on the list is a quality crimping tool; invest in a model specifically designed for the diameter of your tubing. I once tried a universal crimper, and the results were far from satisfactory–don’t make the same mistake!
Additional Equipment
You’ll also need a solid pair of cutting tools. A clean cut ensures that the ends of your tubing fit snugly into the fittings, which is non-negotiable for reliable connections. I recommend using a pipe cutter over scissors or utility knives for precision.
A measuring tape is essential for ensuring that you cut the right length. It might seem trivial, but the right dimensions can prevent leaks and unnecessary stress on the fittings. During one of my early projects, I underestimated the length and ended up with a frustratingly short assembly that wasted time and materials.
Protective Gear and Lubricants
Don’t overlook safety gear. Gloves protect your hands, and safety glasses shield your eyes from any metal shards during cutting. You might also want to keep some lubricant on hand. A silicone spray can ease the insertion of fittings into the tubing, making the whole process smoother. I’ve found this step invaluable in avoiding damage to the tubing during assembly.
With these tools and precautions at your disposal, you’re set for a successful assembly. Each item plays a role, and the investment in quality tools pays off in durability and performance.
Step-by-Step Guide to Crimping the Hose
Begin with preparing the end of the tubing. Cut it cleanly at a 90-degree angle using a sharp utility knife. This ensures a perfect fit with the fitting, reducing the chance of leaks.
Next, slide the fitting onto the cut end of the tubing. Make sure it goes in all the way until it stops. You want a snug connection for maximum durability.
Now, take your crimping tool and adjust it to the correct size for the fitting. This is crucial; an improper fit can lead to failure later on. Once adjusted, place the fitting into the crimping tool and squeeze the handles firmly. The goal is to compress the fitting onto the tubing without damaging it.
After crimping, inspect the connection thoroughly. Look for any signs of deformation or improper fit. If it looks good, give it a gentle pull to ensure it’s secure. If it comes off easily, you may need to repeat the crimping process.
Once satisfied, repeat these steps for the other end of the tubing if needed. Always test your connections under pressure before regular use to ensure reliability.
If you’re interested in maintaining your yard, you might also want to check out the best garden pond vacuum for cleaner water features.
| Step | Description |
|---|---|
| 1 | Prepare the tubing by cutting it cleanly at a right angle. |
| 2 | Slide the fitting onto the tubing until it stops. |
| 3 | Adjust the crimping tool to the correct size. |
| 4 | Crimp the fitting securely onto the tubing. |
| 5 | Inspect the connection for any issues; test under pressure. |
Troubleshooting Common Crimping Issues
Ensure a secure connection by checking for leaks after you finish. If you notice any, follow these steps to troubleshoot the most common problems:
- Improper Alignment: Misalignment can cause leaks. Double-check that the fitting and the end of the tube are properly aligned before securing them. If they seem out of place, disassemble and realign them.
- Insufficient Pressure: If the clamp isn’t tight enough, it may not hold. Adjust your tool settings to ensure the appropriate amount of pressure is applied during the securing process. Always refer to the manufacturer’s specifications for guidance.
- Damaged Components: Inspect the fittings and tubing for any signs of wear or damage. If you find any cracks or deformation, replace those parts immediately to prevent further issues.
- Incorrect Tool Use: Using the wrong tool or an improperly calibrated machine can lead to failures. Familiarise yourself with the tool’s operation and ensure it’s suitable for the specific components you’re working with.
- Choosing the Wrong Size: If the fittings don’t match the tubing size, it can lead to leaks. Always verify the compatibility of your components before starting.
For additional insights, I recommend checking out how long can you run a pressure washer without stopping. This could help you understand the operational limits of your equipment and prevent overheating during extended use.
By addressing these common issues, you can enhance the reliability of your connections and extend the life of your equipment.
Maintaining Your Crimped Hose for Longevity
Regular inspections are key. I always recommend checking for any signs of wear or damage every few uses. Look for abrasions, cracks, or bulging, as these can lead to leaks or failures during operation. If you spot anything unusual, it’s wise to replace that section immediately to avoid complications later.
Storage matters as well. Keep your equipment in a cool, dry place, away from direct sunlight or extreme temperatures. I’ve seen hoses degrade faster when exposed to harsh conditions. Coiling them properly without kinks helps maintain their shape and integrity. I often use a reel to store mine, which prevents tangles and protects them from unnecessary stress.

Cleaning Tips
After each use, I recommend flushing the lines to remove any debris or contaminants. A simple rinse with clean water can make a big difference. Additionally, using a mild detergent for deeper cleaning occasionally can help maintain the inner surfaces. Just be sure to rinse thoroughly to avoid any residue buildup.
Connection Care
Pay attention to the fittings and connectors. Regularly check for tightness to prevent leaks. I found that applying a small amount of thread seal tape can aid in achieving a better seal. However, avoid overtightening, as this can damage the fittings. A gentle hand goes a long way.
By following these straightforward practices, I’ve extended the life of my equipment significantly. It’s about being proactive rather than reactive. Treat your tools well, and they’ll serve you faithfully for years to come.

FAQ:
What tools do I need to crimp a pressure washer hose?
To crimp a pressure washer hose, you will need a few specific tools. The most important tool is a hydraulic crimping machine or a manual crimper, which is used to compress the fittings onto the hose. You’ll also require the appropriate hose and fittings that are compatible with your pressure washer. Additional tools might include a tape measure for cutting the hose to the desired length, a hose cutter for a clean cut, and safety glasses to protect your eyes while working.
Can I crimp a pressure washer hose at home or should I go to a professional?
Crumbling a pressure washer hose at home is definitely possible if you have the right tools and some mechanical skills. Many DIY enthusiasts successfully crimp their hoses without any issues. However, if you are unsure about the process or lack the necessary equipment, it might be wise to consult a professional. They can ensure the hose is crimped correctly, which is crucial for maintaining pressure and preventing leaks.
What is the process of crimping a pressure washer hose?
The crimping process involves several steps. First, measure and cut the pressure washer hose to the required length using a hose cutter. Next, slide the crimping fitting onto the end of the hose. After that, place the hose into the crimping machine and align it properly. Activate the machine to crimp the fitting onto the hose securely. Finally, inspect the crimped area for any signs of improper sealing and ensure that it is firmly attached. Always follow the manufacturer’s instructions for best results.
How do I know if my pressure washer hose needs crimping?
Signs that your pressure washer hose may need crimping include visible leaks at the fittings, reduced water pressure during operation, or if the fittings appear loose. If you notice any of these issues, it may be time to crimp the hose to ensure a secure connection. Regular maintenance checks can help identify these problems early, preventing further damage or inefficiency in the machine’s performance.
Are there any safety precautions I should take while crimping a pressure washer hose?
Yes, there are several safety precautions to consider while crimping a pressure washer hose. Always wear safety glasses to protect your eyes from debris. Ensure that the workspace is clean and free from hazards. If using a hydraulic crimper, be cautious about the pressure settings to avoid accidents. Additionally, keep your hands and body away from the crimping area while the machine is in operation. Following these safety measures will help prevent injuries during the process.
What tools do I need to crimp a pressure washer hose?
To crimp a pressure washer hose, you will require a few specific tools. Firstly, you need a crimping tool designed for the size of hose you are working with. Additionally, a hose cutter will help you make clean cuts on the hose. You will also need the appropriate crimp fittings that match your hose type and size. Lastly, a measuring tape can be useful to ensure accurate lengths when cutting the hose. Having these tools on hand will make the crimping process smoother.

Can I crimp a pressure washer hose myself, or should I seek professional help?
Crimping a pressure washer hose can be a DIY task if you have the right tools and some basic mechanical skills. If you are comfortable working with hoses and fittings, you can follow online guides or instructional videos to do it yourself. However, if you have any doubts about the process or lack confidence in your abilities, it might be wise to consult a professional. They can ensure that the crimp is secure and the hose functions safely under pressure. Always prioritise safety and the integrity of the pressure washer when deciding whether to tackle this job on your own.
.jpg)


