
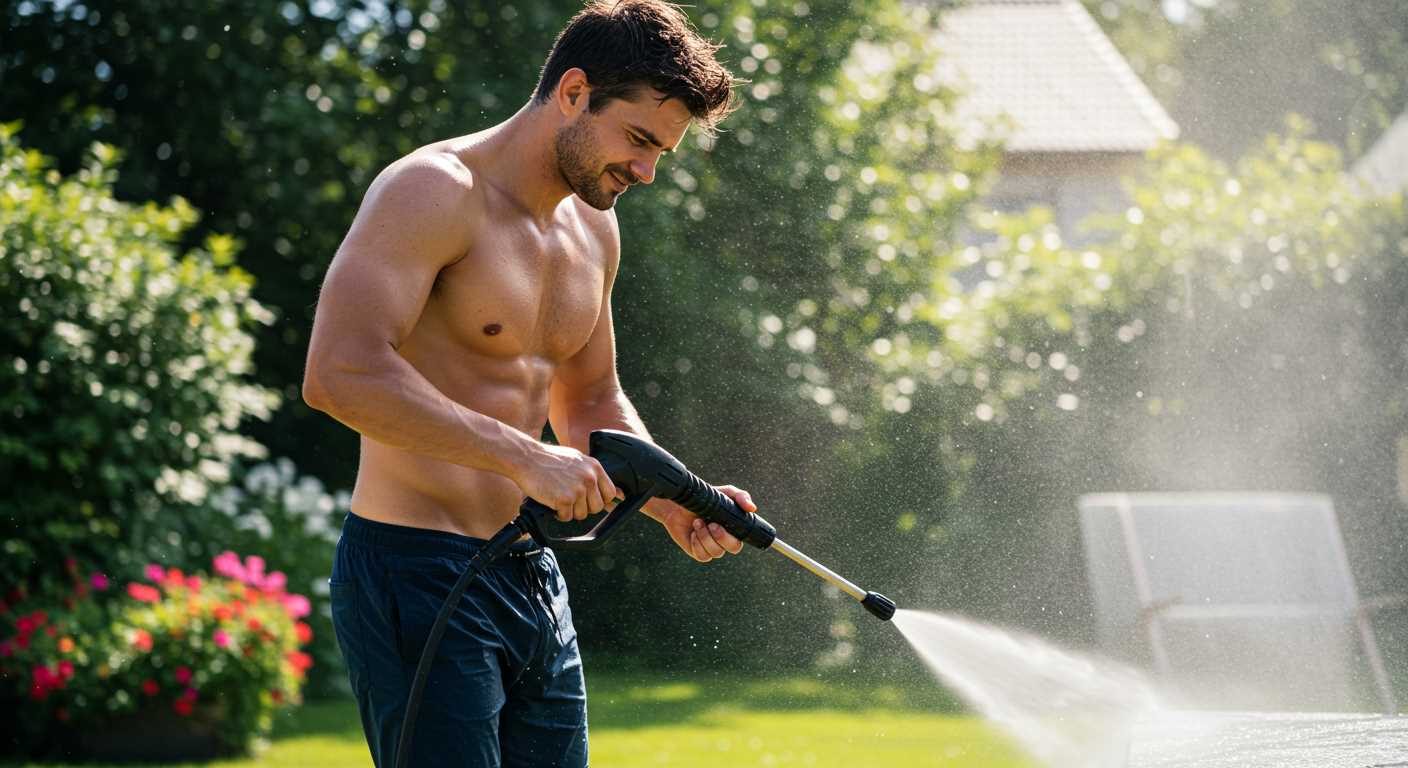


To seamlessly attach a nozzle to your cleaning device, ensure that the unit is powered off and disconnected from the mains. Safety first! Begin by locating the quick-release mechanism on the lance; this is typically situated at the front of the unit. Press the release button or lever, and gently pull the nozzle from the mounting point. If resistance is felt, check for any debris that may be obstructing the connection.
Once the old nozzle is removed, select the appropriate replacement. Different nozzles offer varied spray patterns and intensities. For instance, a wider spray is ideal for gentle cleaning tasks, while a narrow jet is perfect for stubborn stains. Align the new nozzle with the lance and push it firmly until you hear a click, indicating a secure fit.
If you encounter difficulty in attaching the nozzle, inspect the connection points for wear or damage. Over time, wear and tear can affect the sealing capability, leading to leaks. Regular maintenance of these parts ensures optimal performance. In my experience, keeping a few spare nozzles handy can save you time and effort when tackling different cleaning challenges.
After securing the nozzle, reconnect the water supply and power up the device. Always test the new setup in a small area to confirm the spray pattern is as desired. This practice can prevent unexpected outcomes and ensure your cleaning tasks proceed smoothly.
Steps to Attach a Nozzle on a Kärcher Cleaning Device
Begin by ensuring the machine is powered off and disconnected from the electrical supply. This safety measure prevents any accidental activation during the process. Locate the nozzle holder, typically situated at the end of the spray wand. Gently pull the existing attachment straight out, applying a bit of force if it feels stuck.
Next, select the appropriate nozzle based on your intended cleaning task. Whether you’re tackling tough grime or simply rinsing off dirt, having the right attachment makes a significant difference. Align the new nozzle with the holder, ensuring the grooves fit snugly. Push it firmly until you hear a click, indicating it’s securely locked in place.
Reconnect the unit to the power supply and turn it on to test. Observe the spray pattern to confirm that the nozzle is functioning correctly. If the water stream appears uneven or misdirected, double-check that the attachment is properly secured. In my experience, a well-fitted nozzle not only enhances performance but also extends the lifespan of the equipment.
Regularly inspect the nozzles for wear and tear. A clogged or damaged attachment can diminish efficiency and lead to unnecessary strain on the motor. I often keep a couple of spare nozzles on hand to quickly switch out as needed, especially during intensive cleaning jobs.
Understanding the Components of a Karcher Pressure Washer
Familiarity with the parts of your cleaning equipment enhances not only its longevity but also your overall experience. Start with the motor, which drives the pump. It’s crucial to select a machine with a reliable motor; I’ve seen many units falter due to insufficient power. Look for models that specify wattage, as this directly impacts performance.
The pump itself is the heart of the system. A high-quality pump ensures consistent water flow and pressure. In my experience, ceramic pistons offer durability over time, especially when dealing with harsh cleaning tasks. Pay attention to the pump type; axial pumps are generally quieter but may not handle heavy use as well as triplex pumps.
Next is the water inlet, which connects to your water source. Ensure you have a good filter in place; debris can clog the system and lead to costly repairs. I recommend regularly checking the inlet for wear or blockages, as this simple step can save you headaches later.
The hose is another vital component. Look for abrasion-resistant materials, and consider the length based on your typical cleaning scenarios. I’ve found that a longer hose allows for greater flexibility, especially in larger areas where moving the unit becomes cumbersome.
Finally, the nozzle is key to achieving the desired cleaning effect. Various nozzles provide different spray patterns, from a wide fan to a concentrated jet. Over the years, I’ve learned to keep a few types on hand for different applications, whether it’s washing a car or cleaning stubborn stains on a driveway. Experimenting with nozzles can lead to more effective cleaning and less time spent on the task.
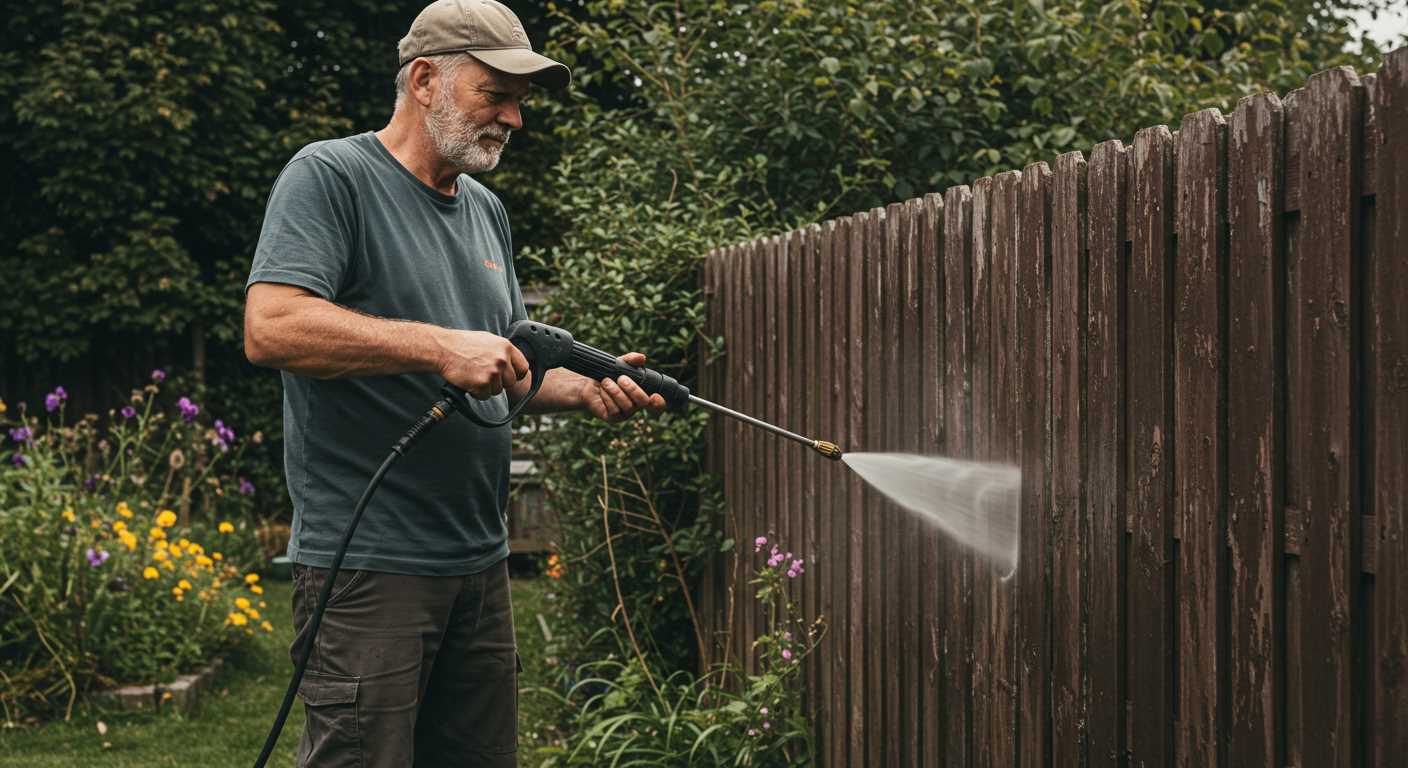
Identifying the Right Lance for Your Cleaning Task
The selection of the correct attachment for your cleaning needs is paramount. Based on my experience, I’ve seen how the right tool can make a significant difference in performance and outcome. When faced with various tasks, understanding the specific requirements will guide you in choosing the most suitable accessory.
Firstly, assess the surface you intend to clean. For delicate materials like wood or painted surfaces, opt for a wider spray pattern to prevent damage. Conversely, tougher surfaces such as concrete or brick may require a narrow, concentrated jet to effectively remove grime and stains.
Next, consider the type of cleaning solution you might use. Some nozzles are designed to work in conjunction with specific detergents or additives. Always check compatibility to maximise the efficiency of your cleaning solution.
Another critical factor is the pressure rating. Each attachment is built to handle a certain level of force. Using an accessory rated lower than your device’s output can lead to breakage or ineffective cleaning. Always match the attachment’s specifications to your equipment’s capabilities.
Here’s a quick reference table to help you identify which nozzle might be best for your task:
| Surface Type | Recommended Nozzle Type | Spray Angle |
|---|---|---|
| Delicate surfaces (wood, paint) | Fan nozzle | 25-40 degrees |
| Concrete, brick | Narrow jet nozzle | 0-15 degrees |
| Vehicles, glass | Medium fan nozzle | 15-25 degrees |
| Heavy-duty cleaning (oil, grease) | Turbo nozzle | Rotating point |
Finally, don’t underestimate the importance of comfort and ease of use. A lightweight attachment with a comfortable grip can make lengthy cleaning tasks much more manageable. Over the years, I’ve learned that a little attention to detail in selecting the right accessory can save you time and effort while achieving a superior clean.
Disconnecting the Existing Lance Safely
Before removing the current attachment, ensure the machine is completely powered down and unplugged. This small precaution can prevent accidents during the process.
Next, relieve any remaining pressure in the system. To do this, squeeze the trigger on the spray gun until no more water flows out. This step is crucial for your safety, as trapped water can cause sudden sprays when disconnecting components.
Once the pressure is relieved, locate the attachment point of your current tool. Depending on the model, this may involve either unscrewing a collar or pressing a release button. Carefully follow the manufacturer’s instructions to detach the tool without damaging it.
After detaching, inspect the connection point for any debris or damage. Cleaning this area can help ensure a good seal with the new attachment. If you’re looking to enhance your cleaning experience, consider pairing your new tool with the best car wash soap for electric pressure washer.
Finally, store the removed tool in a safe place, avoiding areas where it may be exposed to moisture or sunlight, which could lead to deterioration. These steps will help you maintain a well-functioning cleaning system for your next project.
Choosing the Correct Nozzle for Optimal Performance
The right nozzle can significantly enhance the efficiency of your cleaning tasks. Based on my years of experience, here are specific types to consider:
- 0° Nozzle: This delivers a concentrated jet ideal for tough stains like oil or grime. Use it cautiously on durable surfaces.
- 15° Nozzle: Perfect for stripping paint or removing heavy dirt from concrete and driveways. It strikes a balance between power and area coverage.
- 25° Nozzle: A versatile option, suitable for general cleaning tasks including decks and patios. It offers a wider spray pattern while maintaining decent pressure.
- 40° Nozzle: Best for delicate surfaces such as cars and outdoor furniture. This nozzle prevents damage while still providing effective cleaning.
- Soap Nozzle: Designed for applying cleaning solutions. It mixes detergent with water, making it easier to tackle stubborn stains.
When selecting a nozzle, consider the type of surface and the nature of the dirt. For instance, I once had a client struggling with a stained driveway. I recommended the 15° nozzle, and it removed years of grime within minutes. Knowing when to opt for a more aggressive spray versus a gentler one can save time and enhance results.
Always remember to adjust the nozzle based on your cleaning needs. Switching nozzles frequently can prevent wear and tear on both the equipment and the surfaces you are cleaning. I once kept a log of nozzle usage for different tasks, which helped me refine my approach over time.
Don’t underestimate the importance of nozzle maintenance either. Regularly inspect for clogs and damage. A clean nozzle ensures consistent water flow and pressure. I find that a quick rinse after use can prolong the life of the nozzle significantly.
In conclusion, understanding and selecting the right nozzle not only optimises your cleaning performance but also extends the longevity of your equipment. Whether it’s for a quick clean or a heavy-duty task, the correct choice makes all the difference.
Attaching the New Lance to the Pressure Washer
Align the attachment point of the new implement with the connector on the machine. Ensure that both parts are clean, free from debris or moisture. A dirty connection can hinder performance.
- Firmly push the new accessory onto the connector until you hear a click. This indicates that it is securely in place.
- Check for any visible gaps between the two parts. A snug fit is essential for optimal operation.
After securing the connection, perform a quick visual inspection. Look for any signs of wear or damage on the attachment point. If everything appears intact, proceed to test the setup.
- Turn on the device at a low setting first to ensure proper functionality.
- Gradually increase the pressure to your desired level and watch for any irregularities in the spray pattern.
In my experience, ensuring a tight connection not only improves performance but also prolongs the lifespan of both the accessory and the cleaning equipment. If you notice any leaks during testing, disconnect and reattach the implement, ensuring a proper fit.
Always refer to the specific user manual for your model, as there could be unique features or requirements that differ from general guidelines. Regular maintenance of the connection point is equally important; it can prevent issues down the line.
Testing the Connection for Leaks and Security
After fitting a new attachment, ensuring a secure connection is paramount. Begin by visually inspecting all joints and connections for any signs of wear or damage. A quick check can save you from unexpected mishaps during operation.
Leak Test Procedure
To properly test for leaks, run the machine without water for a few seconds to build pressure, then turn it off. Look for any moisture around the connection points. If you spot any leaks, tighten the fittings carefully using the appropriate tools, avoiding overtightening that could lead to further damage.
Pressure Test
Next, turn on the water supply and operate the unit at a low setting. Monitor the connections closely. If you observe drips or hissing sounds, there’s a clear indication of an issue. Take the time to address these problems before proceeding to higher pressure settings.
For those cleaning tougher surfaces like concrete, understanding the proper pressure washer psi for concrete is crucial. This ensures you have the right setup for optimal performance without compromising safety.
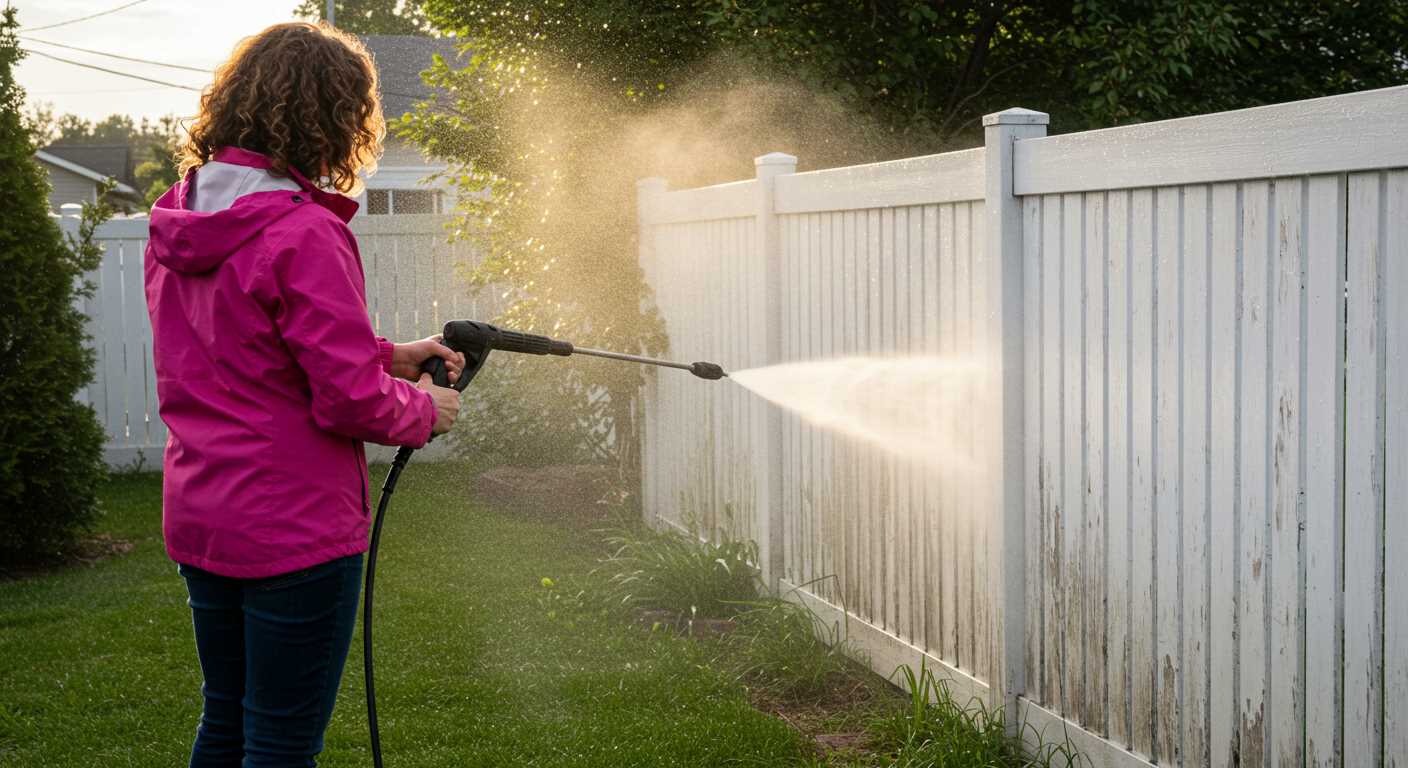
Adjusting Pressure Settings for Different Surfaces
For optimal cleaning, adjusting the force of the spray to match the surface is critical. Hard surfaces like concrete require high pressure, while delicate materials such as wood or painted surfaces benefit from a gentler touch. I recall a time when I tackled a weathered wooden deck; using too much force resulted in splintering, which I quickly learned to avoid.
Concrete and Brick
For concrete or brick, set the machine to its highest setting. This will efficiently remove grime, algae, and embedded dirt. I found that a direct approach, keeping the nozzle around 30cm from the surface, yields the best results without causing damage.
Wood and Painted Surfaces
When dealing with wood, dial down the pressure. A setting between 1000 to 1500 PSI is usually sufficient. During a restoration project, I discovered that a wider angle nozzle created an even spray that cleaned without stripping paint or damaging the wood. Maintaining a distance of at least 45cm helps protect the surface while ensuring effective cleaning.
Always test a small, inconspicuous area first. This simple step saves time and prevents costly mistakes. Adjust as necessary based on the surface’s response. Remember, it’s better to start low and gradually increase pressure until you find the sweet spot for each unique task.
Maintaining Your Lance for Longevity and Efficiency
Regularly inspect the cleaning tool for signs of wear or damage. Small cracks or bends can significantly affect performance. I recall a time when I neglected a minor crack, and it ended up costing me time and efficiency during a big job.
After each use, rinse the tool thoroughly to remove any debris or detergent residue. This simple step can prevent blockages and extend the life of the unit. I always keep a bucket of clean water nearby for a quick rinse before storing it away.
Lubricating the connection points is another key practice. A light application of silicone spray can prevent rust and ensure smooth attachment and detachment. I learnt this the hard way; after a few months of neglect, I struggled to detach the tool, causing unnecessary frustration.
Store the device in a cool, dry place, away from direct sunlight. Extreme temperatures can degrade materials, leading to premature failure. I’ve seen too many units suffer from exposure to harsh environments. A simple storage solution can make all the difference.
Lastly, consider a regular maintenance schedule. Every few months, perform a deeper inspection to check for internal wear or mineral buildup. This proactive approach has saved me from unexpected breakdowns, allowing me to focus on the task at hand instead of repairs.
.jpg)


