
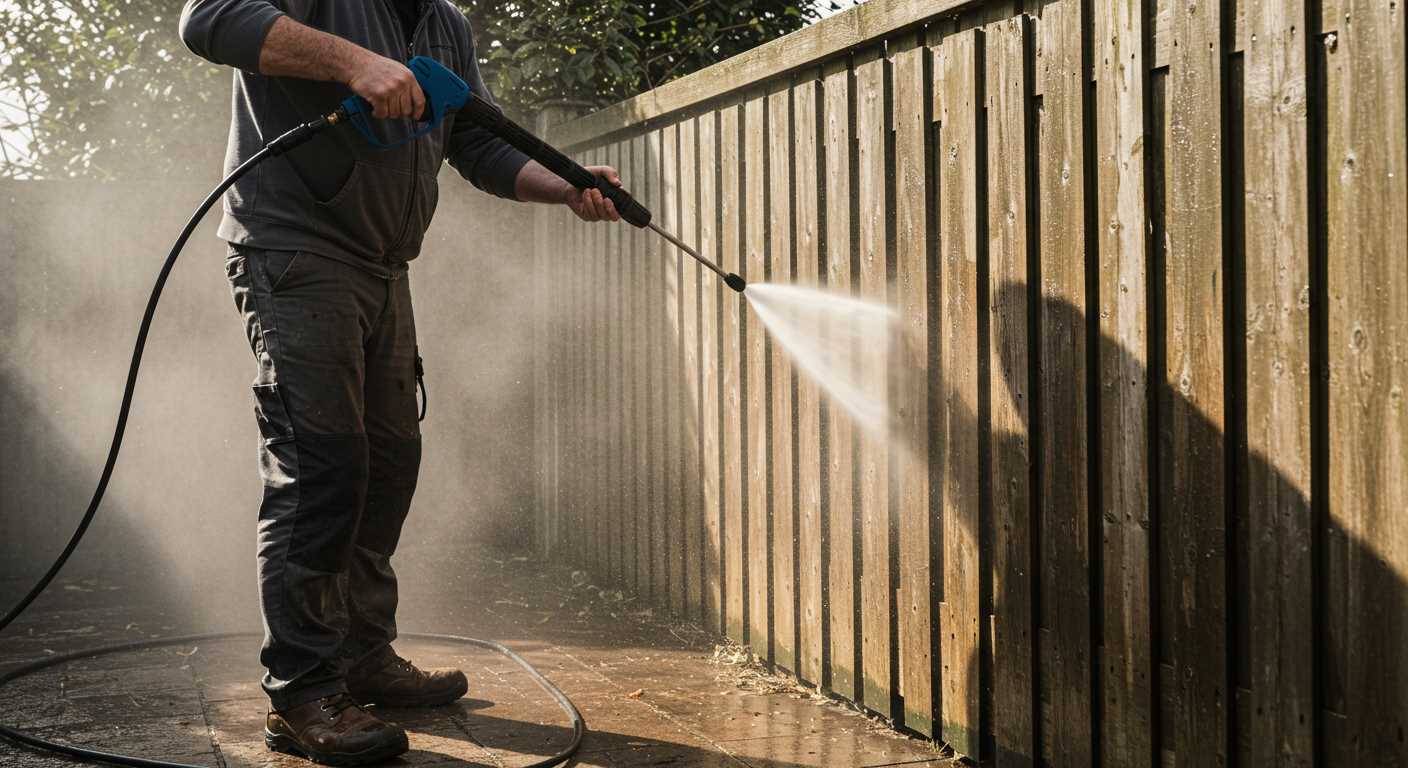


First and foremost, check for any visible leaks around the water intake connection. A loose or worn-out fitting can lead to significant performance issues. During my years working with various models, I found that many users overlook this simple inspection, which can save time and effort later. If you notice water pooling or dripping, tighten the connection or replace the fitting as needed.
Next, examine the filter screen located at the water intake. This small component often gets clogged with debris, impacting flow rates. I recall a situation where a client was frustrated with a lack of power, only to discover that a tiny piece of dirt was restricting water entry. Cleaning or replacing this filter can restore efficiency and enhance operation.
Listen closely while the unit is running. Unusual sounds, such as rattling or high-pitched whining, can indicate internal issues. In my experience, these sounds often point to obstructions or wear in the internal components. If you hear anything unusual, it’s wise to disassemble the unit for a thorough inspection. Taking the time to investigate these noises will prevent further damage and costly repairs down the line.
Lastly, don’t underestimate the importance of water supply pressure. Insufficient pressure can lead to subpar performance. I once assisted a customer whose machine was underperforming, only to find that their garden hose was kinked. Always ensure your water supply is adequate and free from blockages before using the equipment.
Identifying Issues with the Inlet Mechanism
Start by checking for any visible signs of wear or damage on the inlet component. This can include cracks, leaks, or corrosion. A thorough inspection will help pinpoint any obvious issues that might affect performance.
- Examine the seals and O-rings for deterioration. Replacing these parts is often a straightforward fix that can restore functionality.
- Ensure that the hose connections are tight and secure. Loose fittings can cause air to enter the system, leading to operational issues.
- Look for blockages in the intake filter. A clogged filter restricts water flow, impacting the unit’s efficiency.
Next, listen for abnormal sounds during operation. Unusual noises can indicate air leaks or internal malfunctions within the mechanism. If you hear a hissing sound, it may suggest that air is escaping, which can hinder the overall performance.
- Check the water supply. Confirm that the water source is active and that the hose is free from kinks or obstructions.
- Test the unit with different nozzles. Sometimes, using a nozzle that’s too narrow can create excess pressure and strain the mechanism.
If these steps do not resolve the issue, it may be time to consult a professional. For those in need of a new unit, consider looking into options like pressure washer dublin ca for reliable models that are well-reviewed.
Identifying Symptoms of Inlet Valve Malfunction

Look for irregular water flow as a telling sign of an inlet component issue. If you notice fluctuating pressure or an inconsistent spray pattern, this could indicate that the mechanism isn’t functioning properly. During my years in the field, I encountered many machines where the inconsistency was linked directly to a malfunctioning inlet component.
Another indicator to watch for is an unusual noise coming from the unit. If you hear a rattling or chattering sound, it might suggest that the assembly isn’t sealing correctly. I remember one time, a customer reported a strange noise, and after inspection, I found that debris had compromised the seal, causing the inlet to malfunction.
Visual Inspection
Conduct a thorough visual check for leaks or visible wear on the component. Cracks or corrosion can lead to significant performance issues. During one service call, I identified a small crack that was barely noticeable at first glance, but it resulted in a loss of pressure that frustrated the user. Addressing these visible signs early can save a lot of time and hassle.
Temperature Changes
Be aware of any unexpected heating during operation. If the unit becomes excessively hot, it might signal that the inlet mechanism is under stress due to a blockage or improper sealing. This was something I witnessed frequently; users ignored the heat until it caused a more severe breakdown. Address these symptoms quickly to avoid further damage.
Checking for Blockages in the Inlet Valve
A thorough inspection of the inlet valve requires a keen eye for potential blockages. Begin by disconnecting the water supply and releasing any residual pressure. This step is crucial; safety first. Once you’ve done that, detach the inlet hose from the unit. Look closely at the hose’s interior for any debris or kinks that could impede water flow.
Next, examine the inlet port of the machine. Use a flashlight to spot any visible obstructions. A common issue I’ve encountered is dirt or sediment buildup that can restrict water entry. If you see any debris, clean it out with a soft brush or compressed air, ensuring that nothing is left behind.
Additionally, inspect the filter screen, if your model has one. This screen is often located at the inlet and can easily become clogged. Remove it carefully and rinse it under running water, using a soft brush if necessary. In my experience, a clean filter can make a significant difference in performance.
After cleaning, reassemble everything and reconnect the water supply. It’s wise to test the unit to ensure that water flows freely. If performance issues persist after these checks, it may warrant further exploration into other components.
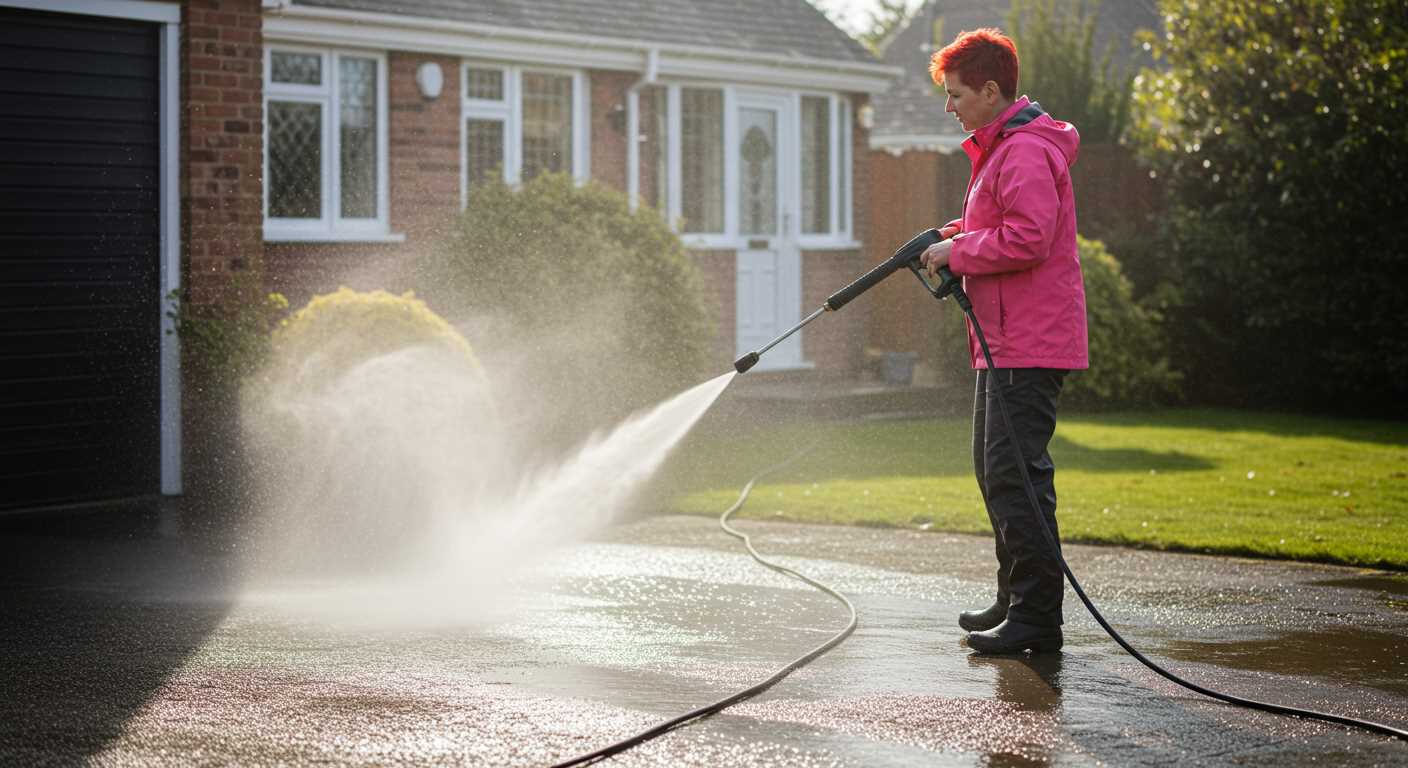
Testing Water Flow Rate Through the Inlet Valve
For accurate assessment, start by measuring the water flow rate. Disconnect your unit from the water supply and place a container with a known volume (like a 1-gallon bucket) under the inlet. Use a stopwatch to time how long it takes to fill the bucket. A typical flow rate should be around 2-5 gallons per minute, depending on the model.
If the flow rate is lower than expected, check the water source. Low municipal water pressure or a partially closed tap can hinder performance. If the source is fine, inspect the inlet assembly for obstructions or wear. Debris or mineral buildup can restrict flow, affecting output.
Another thing to consider is the type of hose used. A kinked or damaged hose can reduce water flow significantly. Ensure hoses are straight and in good condition. If you’re using a long hose, try a shorter one to see if it improves flow.
Additionally, I once encountered a situation where a customer’s unit seemed faulty. After testing the water flow, we discovered that the issue was a simple kink in the hose. This small detail saved a costly repair and got the equipment back in action quickly.
For those looking into enhancing their cleaning capabilities, consider exploring the best air compressor for engraving as well. A solid air compressor can complement your cleaning tools effectively.
Lastly, if adjustments don’t yield results, it may be time to consult the manufacturer’s guidelines or reach out to a service professional to evaluate further. Regular maintenance checks can prevent such issues from escalating in the future.
Inspecting the Inlet Valve for Physical Damage
Begin by disconnecting the unit from its power source and water supply. This ensures safety while you examine the components. Carefully remove the inlet assembly, taking note of how everything is connected for reassembly.
Visually inspect the inlet assembly for cracks, warping, or any signs of corrosion. Pay close attention to the seating area where the valve meets the housing; a compromised seal here can lead to leakage and reduced performance. A magnifying glass can be helpful to identify minor imperfections that might otherwise go unnoticed.
Next, check the rubber seals or O-rings. These should be pliable and free from any cracks or hardening. If they appear brittle or damaged, replacing them is advisable to prevent leaks during operation.
Examine the spring mechanism, if present. It should not be deformed or weakened. A faulty spring can lead to improper sealing, which affects water flow and pressure. Test its tension by pressing it gently; it should return to its original shape without hesitation.
After completing the visual inspection, gently tap the inlet assembly against a soft surface. Listen for any unusual rattling sounds that may indicate loose components or internal damage. If you suspect internal issues, disassemble further to inspect the inner workings.
| Component | What to Look For | Action Required |
|---|---|---|
| Inlet Assembly | Cracks, warping, corrosion | Replace if damaged |
| Rubber Seals/O-Rings | Brittleness, cracks | Replace |
| Spring Mechanism | Deformation, weak tension | Replace if necessary |
| Internal Components | Loose parts, unusual sounds | Further inspection or replacement |
After completing your inspection and any necessary repairs or replacements, reassemble the unit carefully, ensuring all components are secured. Reconnect the water supply and power, then conduct a test run to verify functionality. If issues persist, further investigation may be warranted.
Assessing the Condition of Seals and O-Rings
Check the seals and O-rings regularly for any signs of wear or degradation. I recall a situation where a client faced persistent leaks, and upon inspection, it was clear that the O-rings had become brittle and cracked. Replacing them resolved the issue immediately.
Visual Inspection
Start with a thorough visual inspection. Look for any signs of damage such as tears, cracks, or abrasions. If you see any distortion in their shape, that’s a clear indicator of trouble. I once encountered a unit where the O-ring had flattened out due to excessive pressure, leading to poor performance.
Testing for Flexibility
Next, assess the flexibility of the seals. Gently press and bend them to check for elasticity. If they feel hard and don’t return to their original shape, it’s time for a replacement. I remember a scenario where a stubborn leak was traced back to a seal that had lost its elasticity. A new seal fixed the issue without further hassle.
Always keep a set of spare seals and O-rings on hand. It saves time and ensures that you can tackle issues promptly when they arise. Regular maintenance of these components can prevent many headaches down the line.
Utilising Pressure Gauges for Accurate Diagnosis
Using a pressure gauge is a straightforward yet effective method to uncover issues with water flow systems. When dealing with a malfunctioning component, connect the gauge to the designated port on the unit. This allows you to monitor the pressure levels during operation.
A normal reading should typically fall within the manufacturer’s specified range. If the pressure is significantly lower than expected, it indicates that something is obstructing the flow or that there is an issue with the component itself. I’ve encountered cases where a simple blockage led to a drop in pressure, which was easily resolved by clearing the inlet.
In instances where the readings fluctuate or spike unexpectedly, it suggests potential internal damage or wear. For example, I once had a client whose equipment displayed erratic pressure. Upon inspection, the internal components were found to be worn, which required replacement to restore proper function.
Additionally, measuring pressure at various operating stages can help pinpoint specific issues. For instance, checking the pressure before and after the component can reveal if the trouble lies within the part itself or elsewhere in the system. I always recommend documenting these readings to track any changes over time, as this can provide valuable insights during troubleshooting.
Don’t overlook the importance of calibrating the gauge before use. An inaccurate gauge can lead to misdiagnosis and unnecessary repairs. Always ensure your tools are in optimal condition to avoid complicating the troubleshooting process.
Remember, an effective assessment relies not only on what you see but also on the data you gather. Using a pressure gauge provides concrete evidence to support your findings, making it a cornerstone in troubleshooting any issues related to water flow systems.

.jpg)


