


Before storing your high-pressure cleaner, it’s crucial to remove any remaining water from the system. This step prevents potential damage from freezing during colder months. First, disconnect the unit from the power source and ensure the nozzle is detached to allow for a thorough drain.
Next, locate the water inlet and any drainage valves. Tilt the unit slightly to encourage any residual water to flow out. If your model has a specific drainage port, open it to expedite the process. Allow the machine to sit for a few minutes to ensure all moisture is expelled.
Afterward, check the detergent tank if your unit features one. Empty and rinse it out to avoid any residue that could cause blockages or damage. Once everything is clear, it’s wise to run the cleaner briefly without water to ensure that the pump is free of any lingering liquid. This practice has saved me from costly repairs more than once.
Finally, store the cleaner in a dry area away from extreme temperatures. A well-maintained machine will serve you better in the long run, ready for action when you need it next.
Draining Your Equipment
Begin by disconnecting the water supply and unplugging the device from the outlet. This step prevents any accidental activation while you work. Look for a drain valve, usually located at the base or near the pump. If your model lacks a dedicated drain, you can use the hose connection to assist in removing residual water.
Steps to Remove Remaining Water
Follow these practical steps to ensure all water is expelled:
- Position the unit on a flat surface to facilitate water flow.
- Open the drain valve or hose connection to allow water to escape.
- Gently tilt the unit to encourage any trapped liquid to exit.
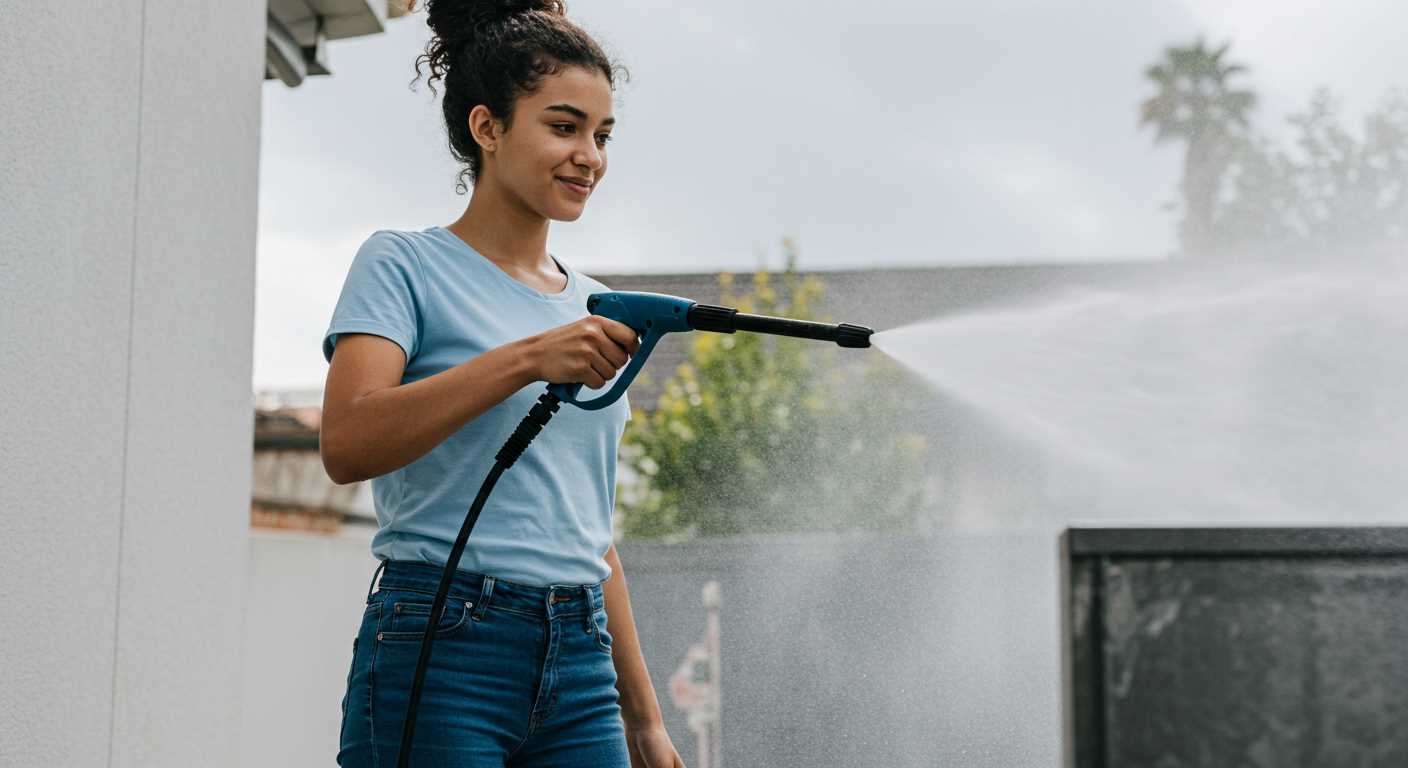
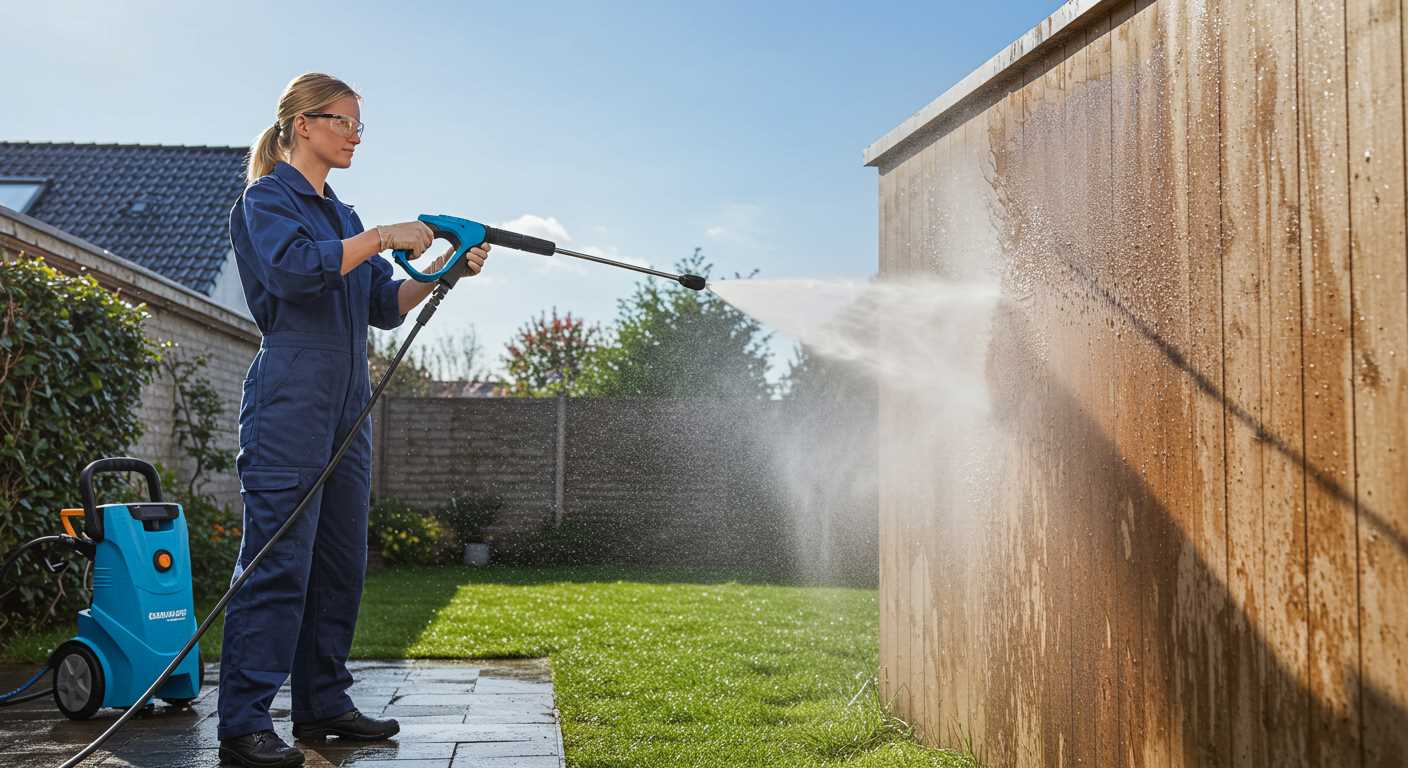
- Activate the trigger on the gun to relieve pressure and help clear the system.
Storage Tips
After ensuring all moisture is gone, store your equipment in a dry place. If you live in a colder climate, consider using antifreeze designed for cleaning devices to protect internal components from freezing damage.
| Tip | Description |
|---|---|
| Check Manufacturer’s Guide | Always refer to the user manual for specific instructions related to your model. |
| Regular Maintenance | Perform this procedure at the end of each season or after extended periods of inactivity. |
| Inspect for Leaks | While emptying, check for any signs of wear or potential leaks. |
Understanding When to Empty Your Pressure Cleaning Device
It’s crucial to empty your cleaning device after each use, especially if there’s a chance of freezing temperatures. Water left inside can freeze, expand, and damage internal components. I learned this the hard way during a particularly cold winter. A client called me in a panic after their unit wouldn’t start. Upon inspection, I found that the water had frozen and cracked the pump. A simple task of removing the remaining liquid could have saved them from an expensive repair.
Signs You Need to Empty the Unit
Pay attention to changes in performance. If you notice reduced pressure or a sputtering spray, it might indicate trapped water or air. Additionally, if you plan to store the device for an extended period, always ensure it’s completely emptied to prevent any issues down the line. I always recommend a quick check before storage, especially at the end of the season when devices are often neglected.
Routine Maintenance Checks
Incorporate emptying the system into your regular maintenance routine. After every few uses, run a quick inspection. This not only ensures optimal performance but also extends the lifespan of your equipment. I had an old model that I neglected for too long, leading to premature wear. Now, I make it a point to treat my devices well, and it pays off in reliability and results.
Gathering Necessary Tools for Draining
Before starting the process, ensure you have the right tools at hand. This preparation can save time and effort. Here’s a list of items I recommend:
- Flathead screwdriver: Useful for removing any stubborn connections or caps.
- Garden hose: A standard hose can help in directing any residual water away from your workspace.
- Bucket or container: Essential for catching any liquid that may escape during the emptying process.
- Soft cloth or towel: Handy for wiping down components after you finish.
- Protective gloves: Always a good idea to keep your hands safe while working with hoses and fittings.
During my time in the cleaning equipment industry, I learned that having these tools ready can make a significant difference. I remember one time I neglected to gather a bucket, and the cleanup took much longer than anticipated. It’s a simple step, but it pays off.
Double-check the connections and fittings on your device. Sometimes, a wrench is necessary for tightening or loosening parts, particularly if you’re dealing with a stubborn valve. Having a multi-tool can also come in handy for unexpected situations.
Being prepared will streamline the process and ensure that everything runs smoothly. Over the years, I’ve seen many people overlook this step and face unnecessary complications. Take a moment to organise your tools, and you’ll appreciate the efficiency it brings to the task ahead.
Turning Off and Unplugging the Pressure Washer
Before handling any maintenance, ensure the unit is powered down and disconnected from the electrical source. This step is critical for safety and prevents accidental activation. Here’s how to do it properly:
Steps to Safely Power Down
- Locate the power switch on the machine, typically found on the control panel.
- Switch it off and wait for any remaining pressure to dissipate. Listen for the sound of water flowing back into the unit.
- Unplug the machine from the electrical outlet. Always pull directly on the plug, not the cord, to avoid damage.
Additional Safety Measures
- Check the cord for any damage before unplugging. A frayed cord can pose a risk.
- Ensure that the area around the outlet is dry to prevent electrical hazards.
- If using an extension cord, verify it’s rated for the power requirements of your device.
In my experience, rushing this process can lead to complications. I once had a colleague who didn’t wait for the pressure to release and ended up with a surprising spray of water. It’s a simple step, but one that’s easily overlooked. Always prioritise safety and take your time with these initial actions.
Locating the Drain Plug on Your Pressure Washer
Identifying the drainage outlet is straightforward once you know where to look. Typically, you’ll find this component at the bottom of the unit, designed for ease of access. Manufacturers often place it near the pump or the base of the machine.
In my experience, it’s crucial to examine the user manual, as it provides specific details tailored to your model. If the manual isn’t available, a quick visual inspection will help. Look for a small plastic or metal plug, usually marked with a symbol that resembles a droplet or an arrow indicating “open” and “close.”
Here’s a quick reference table to help you identify the location more effectively:
| Washer Model | Drain Plug Location |
|---|---|
| Model A | Bottom right side of the chassis |
| Model B | Near the front, just below the handle |
| Model C | Under the pump assembly |
After pinpointing the location, ensure the surrounding area is clear of debris. This makes the process smoother and helps avoid any potential clogs. In my early days, I encountered a situation where I overlooked this, and it led to unnecessary complications. A clean workspace is always beneficial.
Lastly, if you’re unsure about the position, online forums or video tutorials can be invaluable resources, showcasing the exact location for various models. Always make sure to double-check before proceeding with the task at hand.
Preparing a Suitable Container for Water Collection

Choose a container that can hold the entire volume of water from your machine. A large bucket or a plastic tub works well. Ensure it’s sturdy enough to withstand water weight and won’t easily tip over. I once used a 10-gallon bucket, which was perfect for the job and didn’t spill any excess.
Check for any cracks or leaks in the container before starting. A damaged vessel can lead to messy situations, which I learned the hard way during one of my early experiences. If you’re using a bucket, make sure it has a wide opening for easy access. This can make the process smoother.
If you have access to a garden hose, consider placing the container on a slight incline. This helps the water flow into the container without creating a splash zone. I’ve found that positioning the bucket near the drain plug can minimise the effort needed to collect the water.
Using a bucket with a lid can also be beneficial. It keeps debris out, especially if you’re working in a dusty area. I’ve had instances where dirt and leaves ended up in my collection container, complicating cleanup later. A lid can save you that hassle.
Lastly, if you’re working in colder weather, make sure your container won’t crack from the low temperatures. A plastic tub designed for outdoor use can withstand the chill better than a regular bucket. I’ve had my share of frozen buckets that turned into ice sculptures instead of effective water collectors!
Removing Residual Water from the Cleaning Unit
To effectively eliminate leftover fluid from your cleaning unit, begin by placing a suitable container beneath the drainage area. During my time in the industry, I always made sure to use a bucket that could hold more than the expected volume, just to avoid any spills. Once the container is in position, it’s time to address the release mechanism.
Releasing Residual Liquid
Locate the valve designed for expelling fluid. This is typically situated at the base or side of the unit. I remember a time when I overlooked this step, thinking that the remaining water would evaporate. It didn’t, and I ended up with a messy situation. Once you find the valve, open it carefully. Allow all the liquid to flow into your container. You may need to tilt the unit slightly to encourage complete drainage, especially if the machine has been in use for a while.
Flushing the System
After the bulk of the fluid has been removed, I recommend running the unit briefly without connecting it to a water source. This will help push out any remaining moisture trapped in the internal components. Just a few seconds will suffice. Always ensure you’re following safety guidelines while doing this, as it can create some splatter. Once done, securely close the valve and store the unit in a dry place to prevent any future moisture-related issues.
Clearing Residual Water from Hoses
First, disconnect the hoses from the unit. This is crucial to prevent any accidental discharge while you work. Once detached, place the ends of the hoses at a slight angle to encourage the water to flow out naturally.
- Gently shake the hoses to dislodge any trapped water.
- Hold one end of the hose higher than the other and let gravity assist in removing residual liquid.
- If you have a long hose, consider folding it in sections to help push the water out.
After getting as much water out as possible, lay the hoses flat on a clean surface, ensuring that they are not coiled up. This will allow any remaining moisture to evaporate.
For a more thorough approach, use an air compressor to blow out any stubborn droplets. Insert the nozzle into one end of the hose and give it a short burst of air. This should effectively clear out any lingering moisture.
Check for any signs of damage or wear while you’re at it. A compromised hose can lead to leaks or reduced performance, so it’s wise to inspect them regularly.
Lastly, store the hoses in a dry, cool place to prevent any water from freezing or causing mould to develop. A little attention during the storage process can extend the life of your equipment significantly.
Preventing Damage During Winter Storage
To avoid costly repairs in spring, ensure all components are thoroughly protected from freezing temperatures. Start by using a non-toxic antifreeze solution designed for cleaning devices. Pour this solution into the water inlet and operate the machine briefly to circulate it throughout the system.
Remove any accessories, including hoses and nozzles, and store them separately in a dry location. This prevents moisture accumulation, which can lead to mould growth and damage. Wrap hoses carefully to avoid kinks that could impair future use. Consider investing in best pressure washer hoses to enhance longevity and performance.
Always store the unit in a climate-controlled environment if possible. If it must remain outside, cover it with a heavy-duty tarp to shield against snow and rain. Elevating the unit off the ground can also protect it from moisture ingress.
Regularly check your equipment during the winter months. A quick inspection can catch any potential issues before they escalate. Following these steps will ensure your cleaning equipment is ready to perform effectively when the warmer weather returns.
Checking for System Blockages After Draining
Inspect all hoses and connections for any signs of blockage. A simple visual check can reveal debris or kinks that might impede flow. If you’re experiencing low pressure or inconsistent performance, this step is crucial.
Inspecting the Nozzle
Remove the nozzle and examine it closely. A clogged nozzle can drastically reduce efficiency. Use a fine wire or a small brush to clear any debris lodged inside. Regular maintenance of this component prolongs its lifespan and ensures optimal cleaning performance.
Examining the Pump and Filters
Check the inlet filter for dirt and sediment. A clean filter promotes proper water flow to the pump. If you find build-up, rinse it under running water until clear. Also, inspect the pump for any signs of leaks or wear. Addressing these issues immediately will help maintain the integrity of your unit.
For those using equipment like a pressure washer for tractors, ensuring everything is clear and functional is particularly important, given the demands placed on these machines.

.jpg)


