



Begin with a thorough inspection of the surface. Identify areas plagued by mildew, stains, or heavy dirt build-up. A clear understanding of the condition helps in selecting the appropriate cleaning solution and nozzle type. For instance, if you spot tough grime, a rotating nozzle can tackle those stubborn spots more proficiently.
Before launching into the cleaning process, ensure you have the right attachments ready. A fan nozzle works wonders for general cleaning, while a concentrated tip will address more serious stains. In my experience, using a lower pressure setting initially can prevent damage and allow you to gauge the surface’s response.
It’s wise to keep a safe distance from the surface, typically around 30 cm, adjusting as needed based on the material’s resilience. I once made the mistake of getting too close, which resulted in unsightly marks. Patience pays off; gradually move closer only if necessary.
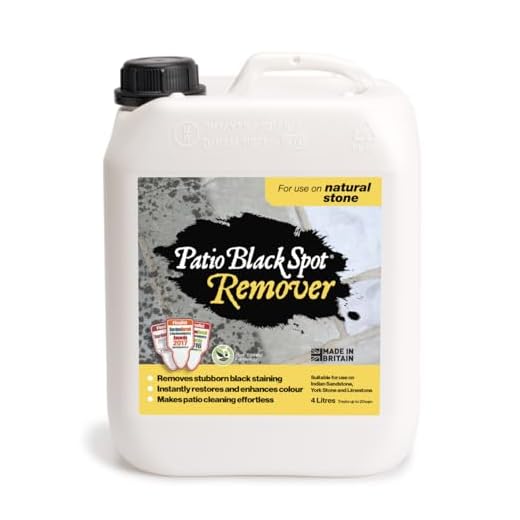
Utilising a cleaning solution designed for outdoor flooring can enhance results. Mix it according to the manufacturer’s instructions and apply it before using the cleaning unit. Allow it to soak for a few minutes, but avoid letting it dry completely. This method has always yielded the best outcomes for me.
Finally, rinse thoroughly with clean water, ensuring no residue remains. This step is crucial to prevent slippery surfaces once everything dries. After my first attempt, I learned the importance of this final rinse, as it kept my outdoor area safer for my family and guests.
Optimising Your Cleaning Technique
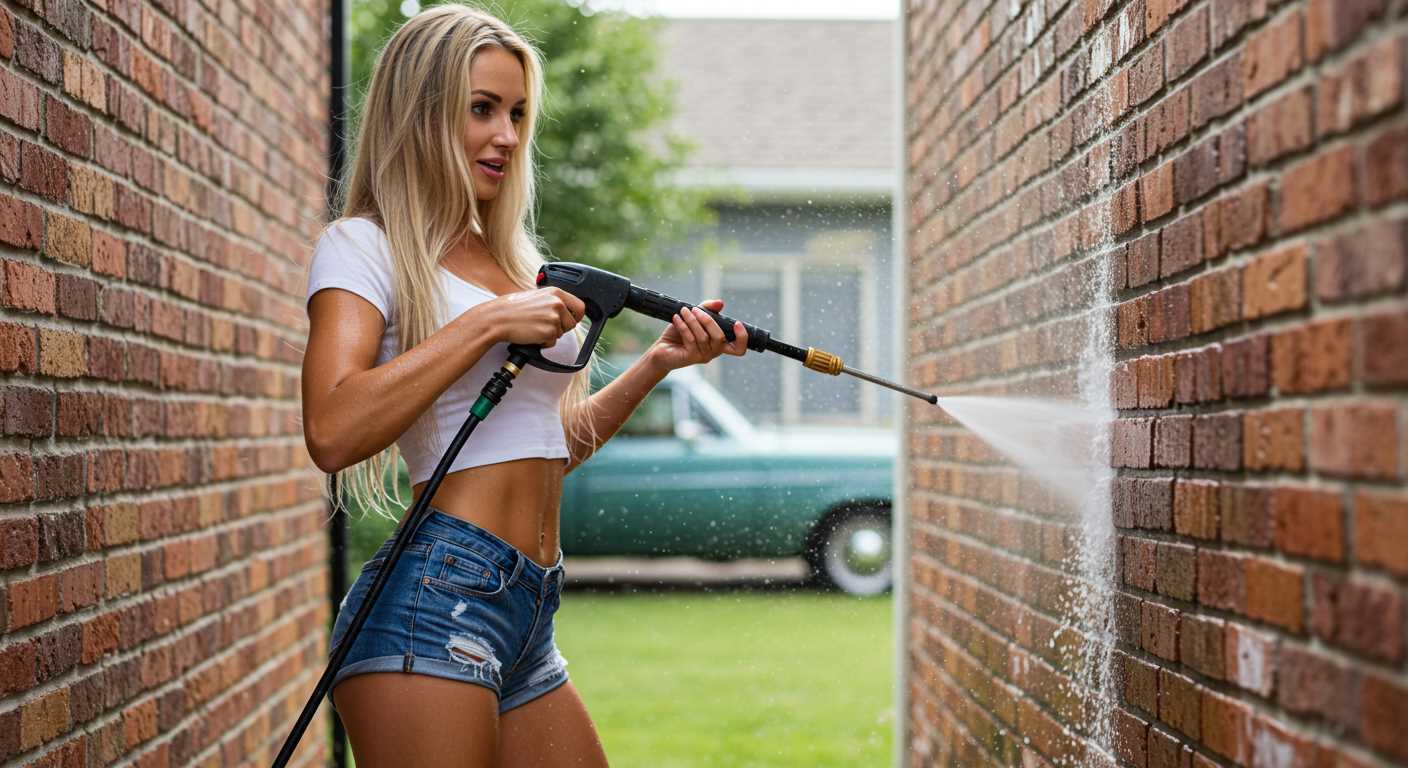
Start with the right nozzle. A 25-degree nozzle is perfect for most surfaces, providing a balance between power and safety. I’ve found that a narrower nozzle can strip wood if you’re not careful, while a wider one might not remove stubborn grime effectively.
Preparation Steps
- Clear the area of furniture and plants.
- Sweep away loose debris first.
- Inspect for any damage or rot before proceeding.
Next, consider applying a cleaning solution specifically designed for outdoor wood. I’ve seen significant improvements in cleaning results when I allow the solution to sit for 10-15 minutes before rinsing. This ensures the dirt has loosened adequately.
Technique Tips
Maintain a consistent distance of about 30 cm from the surface to avoid damage. Move the nozzle in a sweeping motion, overlapping each pass slightly. I typically work my way from one end to the other, ensuring I don’t miss any spots.
- Start at the highest point of your area.
- Always work downwards to prevent dirty water from running over clean areas.
- Take breaks to check for any missed spots or residual dirt.
After cleaning, it’s wise to let the surface dry completely before applying any sealants. This step is crucial for achieving a long-lasting finish. If you’re dealing with any potential contaminants, consider using the best air scrubber for asbestos to maintain a safe and healthy environment.
Finally, always store your equipment properly to prolong its life. A little maintenance goes a long way in keeping your tools ready for your next project.
Choosing the Right Pressure Washer for Your Decking
For optimal results in cleaning your outdoor flooring, selecting the appropriate cleaning device is crucial. I’ve tested numerous models over the years, and a few key factors stand out when it comes to making the right choice.
- Power Rating: Look for equipment with a power rating of at least 1500 PSI (pounds per square inch). This pressure is typically sufficient for removing dirt without damaging the wood.
- Flow Rate: A higher flow rate, measured in GPM (gallons per minute), will enhance your cleaning efficiency. Aim for at least 1.5 GPM to ensure effective rinsing.
- Nozzle Selection: Opt for adjustable nozzles or a model that includes different nozzle tips. A wide spray pattern is best for larger areas, while a narrower pattern can tackle stubborn grime.
- Weight and Portability: Consider the weight of the unit, especially if you have a multi-level outdoor area. A lightweight model with wheels can make manoeuvring much simpler.
- Electric vs. Gas: Electric models are quieter and easier to maintain, while gas options generally provide more power. Choose based on your cleaning needs and preferences.
One memorable experience I had was using a gas model on an old wooden patio. The additional power made quick work of years of grime, but I had to be cautious with the spray angle to avoid damaging the wood. Finding that balance between power and safety is essential.
Lastly, always check for warranty and customer support. A solid warranty can save you headaches down the road, especially if you encounter any issues. Investing time in selecting the right model can lead to outstanding results, making your outdoor space a pleasure once again.
Preparing Your Decking for Pressure Washing
Before getting started, ensure the area is free of furniture, planters, and any decorative items. This not only protects your belongings but also gives you unobstructed access to all surfaces. I once spent an hour moving items around on a sunny day, only to realise I had missed a few spots due to clutter. A clear space makes the job quicker and more thorough.
Inspect for Damage
Take a close look at the surface for any signs of wear, such as cracks, splinters, or loose boards. I remember a time when I rushed into a cleaning session without checking for damage, which only worsened existing issues. If you find any problems, it’s best to repair them beforehand to prevent further deterioration during cleaning.
Choose the Right Cleaning Solution
Select a suitable detergent for your material. For instance, hardwood may require a different solution compared to composite materials. I’ve experimented with various products over the years, and it’s clear that using the right cleaner can make a substantial difference in the outcome. Always read the labels and follow the manufacturer’s instructions for best results.
Lastly, give the surface a good sweep to remove any loose debris and dirt. This simple step can significantly enhance the overall effectiveness of the cleaning process. Trust me, it’s worth the extra few minutes to ensure your efforts yield the best possible results.
Selecting the Appropriate Nozzle for the Job
Choosing the right nozzle is pivotal for optimal results. The nozzle determines the spray pattern and pressure, which greatly impacts cleaning efficiency. For most outdoor surfaces, a 25-degree nozzle is a solid choice. It provides a good balance between coverage and power, making it ideal for general cleaning tasks. I often reach for this one when tackling grime on wood or composite materials.
Understanding Nozzle Types
There are typically four types of nozzles you’ll encounter: 0-degree, 15-degree, 25-degree, and 40-degree. The 0-degree nozzle delivers a concentrated jet, perfect for stubborn stains but risky for softer materials. I learned this the hard way when I accidentally gouged a wooden surface – not my finest moment. The 15-degree option offers a more aggressive clean without the risk of damage, making it suitable for tougher jobs. I often recommend this for concrete or stone.
Adjusting to the Task
If your goal is to remove mildew or dirt from less resilient surfaces, the 40-degree nozzle disperses water widely, ensuring a gentle touch. I’ve found it invaluable for rinsing away soap after applying a cleaning solution. Always remember to test the nozzle on a small, inconspicuous area first to gauge the effect on the material. This simple step can save you from costly mistakes and ensure a successful clean.
Adjusting Pressure Settings for Different Deck Materials
For hardwood surfaces like teak or mahogany, set the machine to around 1200-1500 PSI. This range ensures thorough cleaning without damaging the wood grain. I recall a time when I went a bit too high on the settings with a friend’s mahogany deck. The result was splintered wood in several areas, a costly mistake that taught me to respect the material’s integrity.
Composite materials, which are quite popular, can tolerate a bit more power, usually around 1500-2000 PSI. I once worked on a composite deck that had stubborn mould. I started at 1800 PSI, and it worked wonders. Just be cautious; too much force can strip away the protective layer, leading to quicker deterioration.
For softwoods like pine or cedar, I recommend staying in the 1000-1200 PSI range. These materials are more susceptible to damage. When I cleaned a cedar deck, I found that a gentle touch not only preserved the wood but also enhanced its natural beauty. A lower setting allowed me to lift dirt while maintaining the soft texture.
Always test on a small, inconspicuous area first. I’ve made it a habit to do this, even after years of experience. Each material can react differently, and a quick test can save you from unforeseen issues. Adjusting the pressure based on the deck’s condition and material type is key to achieving the best results without causing harm.
Using Cleaning Solutions Safely and Effectively
Always opt for biodegradable detergents specifically designed for outdoor surfaces. In my experience, these solutions break down dirt without harming plants or animals. I recall a job where I used a standard detergent, and it ended up discoloring the wood. Lesson learned–stick to eco-friendly products.
Before applying any cleaner, test it on a small, inconspicuous area. This simple step can save you from potential damage. I once skipped this and regretted it when I noticed the finish was stripped away on a visible part of the surface.
Apply the cleaning solution using a low-pressure setting to avoid damaging the surface. I typically mix the cleaner with water in a bucket and apply it with a brush or sprayer. This method allows for better control and ensures even distribution. Many times, I’ve seen people just pour the cleaner directly onto the surface, which leads to uneven results.
Let the solution sit for the recommended time stated on the label, usually around 10 to 15 minutes. This waiting period allows the product to penetrate and loosen grime. Don’t let it dry completely, as that can defeat the purpose of the cleaner. I often set a timer to keep track, as I’ve lost track of time before and ended up with a headache trying to scrub dried residue.
After letting the cleaner work its magic, rinse it thoroughly with clean water. A common mistake is not rinsing enough, which can leave a residue that attracts dirt faster. I’ve had instances where I thought I rinsed well, only to find a soapy film later. A thorough rinse ensures a clean finish and prolongs the life of the surface.
Finally, store any leftover cleaning solutions properly. I recommend keeping them out of direct sunlight and in a cool place to maintain their effectiveness. I’ve seen products degrade just because they were left in a hot garage. Treat your cleaning supplies with care, and they’ll reward you with better results.
Techniques for Pressure Washing Without Damage
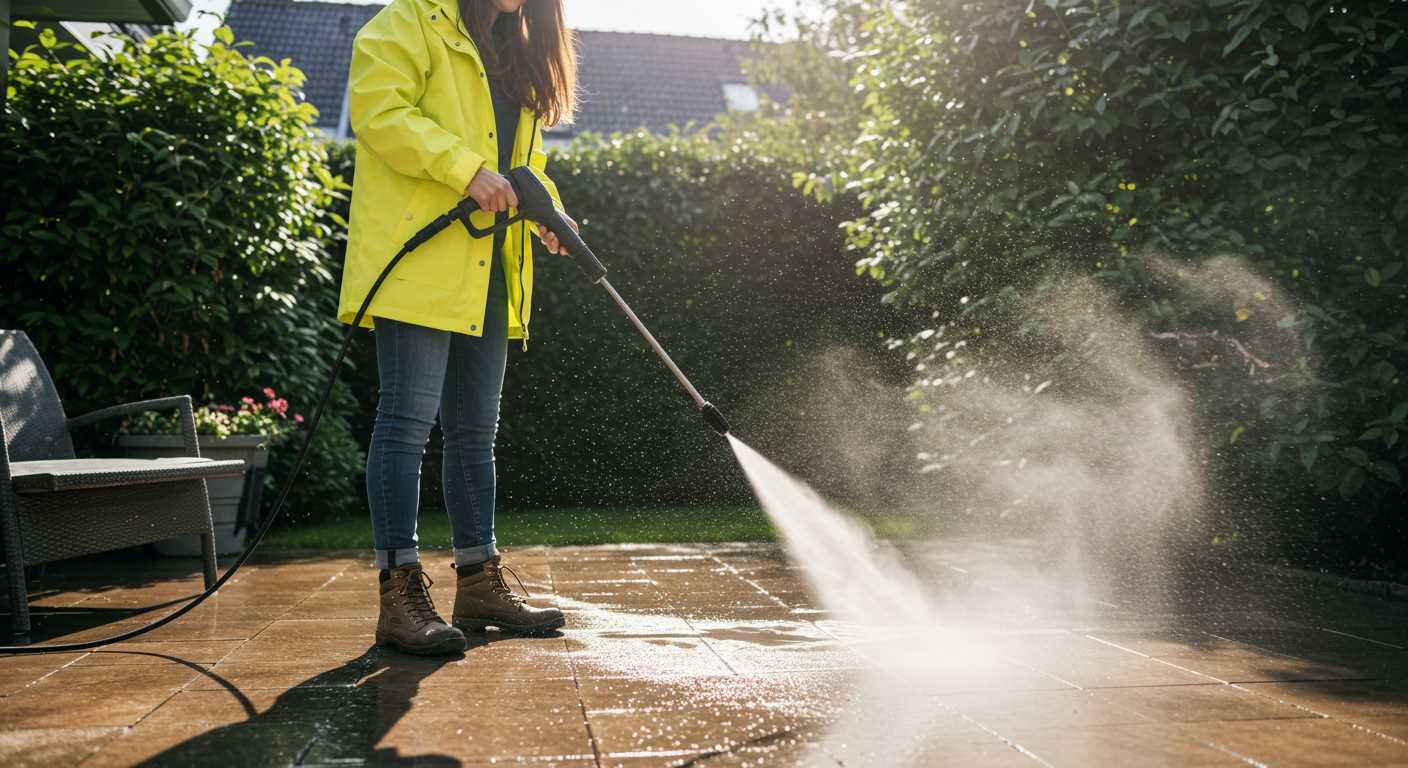
Begin with a sweeping motion, keeping the nozzle at least 30 cm away from the surface to prevent gouging or splintering. A steady, back-and-forth motion is key; this ensures even cleaning without concentrating the force on one spot. If you notice stubborn stains, approach them from different angles rather than increasing the intensity, which can lead to damage.
Utilise a fan pattern rather than a direct stream. This disperses the water over a larger area, reducing the risk of harm. For wooden surfaces, always follow the grain; this helps to preserve the integrity of the material. Avoid aiming at edges or corners directly, as these areas are more susceptible to wear.
When tackling different sections, practice a methodical approach. Start from one end and work your way across, overlapping slightly with each pass. This prevents missed spots and ensures uniform cleanliness. In case you encounter elevated grime, applying a gentle cleaning solution beforehand can loosen debris, allowing for a more straightforward wash.
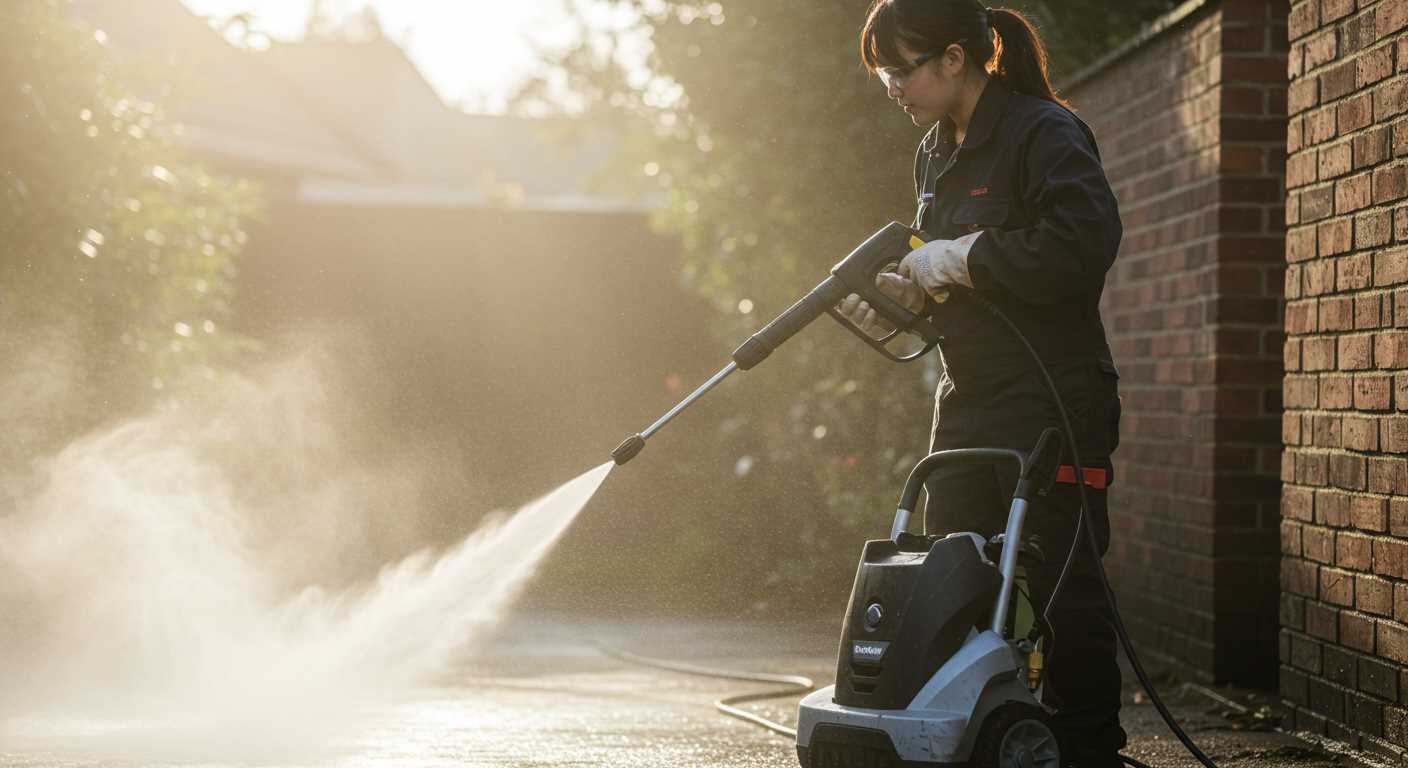
Remember to inspect the area for loose boards, protruding nails, or any structural issues before beginning. These can become hazards during the process. If using a portable pressure washer philippines, ensure it is stable and secure to prevent accidental tipping or movement.
Conclude by rinsing with clean water, ensuring all cleaning solutions are thoroughly removed. This final step is vital for preventing residue buildup and maintaining the longevity of your surfaces.
Post-Washing Care and Maintenance of Your Decking
After the cleaning session, it’s crucial to take immediate steps to protect your outdoor surface. First, ensure that the area is completely dry; this can take a few hours depending on the weather. Use a broom or blower to eliminate any debris that may settle during this time.
Applying a Sealant
Once the surface is dry, consider applying a sealant. This not only enhances the appearance but also provides a layer of protection against moisture and UV damage. I’ve seen how a good quality sealant can prolong the life of the wood significantly. Follow the manufacturer’s instructions for application; usually, a brush or a roller works best for even coverage.
Regular Inspections and Cleaning
Schedule regular inspections to catch any early signs of wear or damage. Look for loose boards, cracks, or signs of mould. A quick wash with mild soap and water every few months can prevent build-up of grime and keep the surface looking fresh. I recommend keeping a soft-bristle brush handy for this purpose. It’s gentle yet effective for maintaining the surface without risking scratches.
Finally, ensure that any furniture or pots placed on the area have protective pads underneath. This simple step can prevent scratches and indentations, keeping your outdoor space looking pristine for years to come.
Common Mistakes to Avoid When Pressure Washing a Deck
The first mistake I often see is choosing the wrong nozzle. A narrow spray can cause damage, while a wide one may not clean effectively. Always match the nozzle to the job. For wood surfaces, a 25-degree or 40-degree nozzle is usually best. I once had a client who used a 0-degree nozzle on their cedar deck. The result? Deep gouges that required extensive repairs. It’s vital to select a nozzle that balances cleaning power and safety.
Ignoring the Right Distance
Another common error is not maintaining the proper distance from the surface. I recommend keeping the lance at least 12 to 18 inches away. If you’re too close, you risk tearing up the wood fibres or pushing water into the seams. A friend of mine learned this the hard way after damaging his composite boards by getting too close. Always start at a distance and adjust as needed for stubborn spots.
Neglecting Surface Preparation
Many overlook preparing the area before starting. Cleaning debris, furniture, and plants is crucial. I remember a time when I forgot to move a potted plant, which ended up covered in muddy water. It took longer to clean that plant than to finish the job! Clear the area to avoid unnecessary mess and ensure a thorough clean.
| Mistake | Consequences | Solution |
|---|---|---|
| Wrong nozzle selection | Surface damage | Use a 25 or 40-degree nozzle for wood |
| Inadequate distance | Gouges and water penetration | Maintain 12-18 inches from the surface |
| Not preparing the area | Mess and longer cleaning time | Clear debris, furniture, and plants |
Also, don’t forget to check the weather. Washing under direct sunlight can dry out the cleaning solution too quickly, leaving streaks. I’ve faced this issue before and had to redo a job. Aim for an overcast day or work in the shade.
Lastly, avoid using harsh chemicals unless absolutely necessary. I had a customer who insisted on using bleach, which ended up damaging their wood finish. Stick to eco-friendly solutions that are safe for the environment and your deck.





.jpg)


