


If you’re in a pinch and lack a traditional container for your cleaning machine, there’s a straightforward alternative. Simply connect a garden hose directly to the water intake. This method not only saves time but also reduces the hassle of transferring water from one vessel to another.
Throughout my years in the cleaning equipment industry, I’ve seen many users overlook this simple solution. During a demonstration, a colleague struggled with a heavy bucket while I casually attached a hose. Within moments, I was up and running, while he was still wrestling with his setup. Connecting to a hose can streamline the process, allowing you to focus on the task at hand rather than logistics.

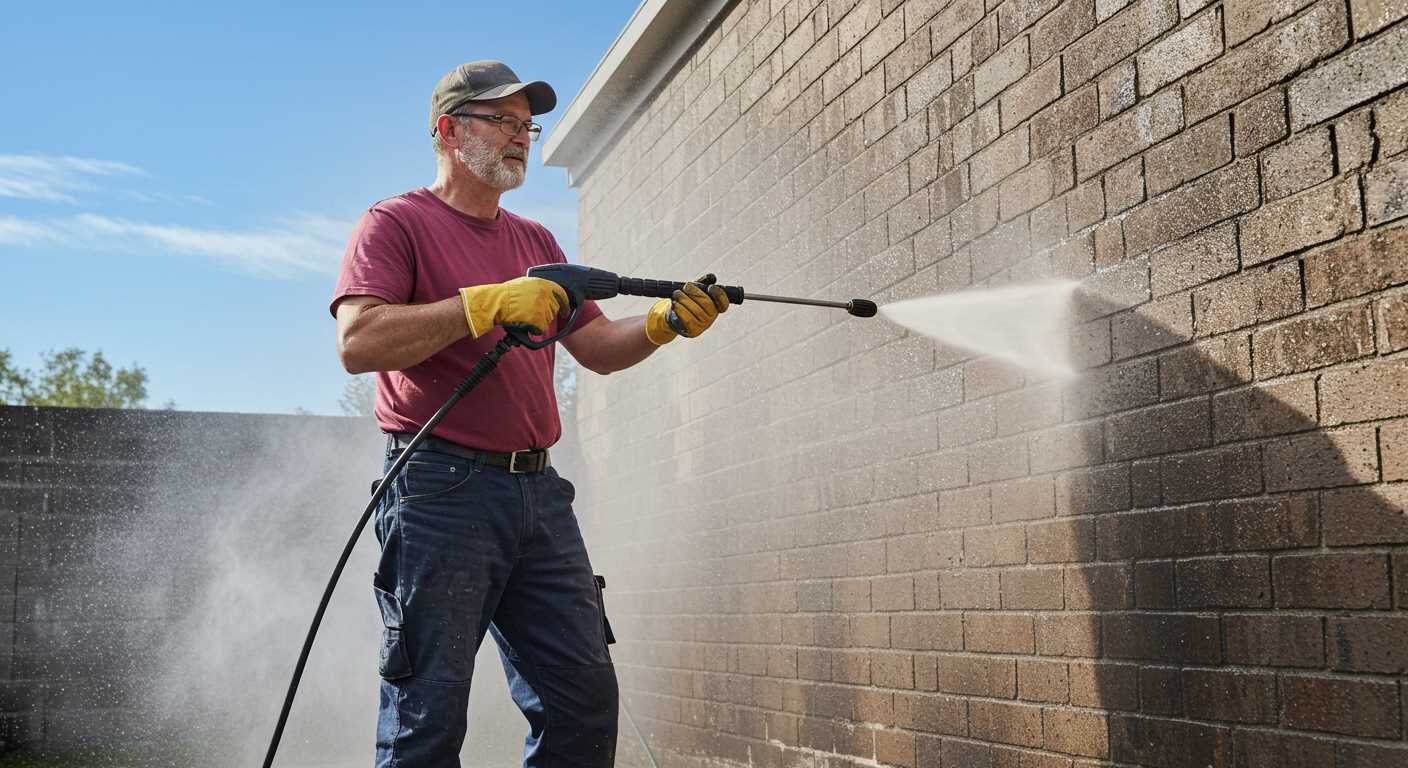
Another option is to use a water source that has a tap. If you’re outdoors, a nearby spigot can be a lifesaver. I’ve often found myself at clients’ homes where a quick hookup to the outdoor faucet made all the difference, especially during larger clean-up jobs. Just make sure to check the hose for any leaks or blockages, as these can hinder performance.
Remember, the key is to maintain a steady flow. If you’re using a hose, ensure it’s long enough to reach your working area without kinks. A smooth, uninterrupted water supply will enhance the cleaning power and efficiency of your machine, letting you tackle dirt and grime with ease.
Refilling Your Cleaner Efficiently
Using a hose is the most straightforward method to replenish the reservoir of your cleaning device. Just ensure that the hose is connected to a suitable water supply, and position it directly into the inlet of your machine. This approach guarantees a smooth water flow, allowing for a quick refill process without the need for additional containers.
Utilising a Garden Tap
If you have access to a garden tap, connect your hose directly to it. This setup not only provides a continuous water source but also eliminates the hassle of moving heavy containers. Once connected, simply turn on the tap and monitor the water level in your unit to prevent overfilling.
Employing a Water Source with a Pump
In situations where a traditional tap isn’t available, a submersible pump can be a lifesaver. Place the pump in any water source, like a pond or large container, and connect it to the inlet of your machine. This method allows you to draw water from alternative locations, making it especially useful in remote areas or during outdoor projects.
Understanding the Water Supply Needs of Your High-Pressure Cleaner
A steady water supply is critical for optimal performance. It’s important to know the requirements to prevent any mishaps during operation. Most devices work best with a minimum water flow rate of 5-8 litres per minute, and the pressure should be around 1-2 bar. This ensures adequate performance while preventing potential damage.
Water Source Options
Evaluate your available water sources. Here are some options:
- Garden Hose: A reliable choice, ensuring a consistent flow. Ensure the hose is free of kinks and leaks.
- Tap Connection: Connect directly to an outdoor tap for an uninterrupted supply. This is usually the easiest method.
- Water Tank: If you’re in an area without direct access to a tap, consider a water tank. Just be sure it’s elevated to allow gravity to assist with flow.
Maintaining Water Quality

Water quality can significantly impact the longevity of your equipment. Here are some tips:
- Use clean water to prevent clogging and damage to internal components.
- Avoid using water with high mineral content, as it can lead to scale build-up.
- If possible, filter the water before use to eliminate debris and particles.
Ensuring you have the right water supply setup can greatly enhance your cleaning efficiency. A well-maintained water source not only optimises performance but also extends the life of your machine. Trust me, it’s worth the effort!
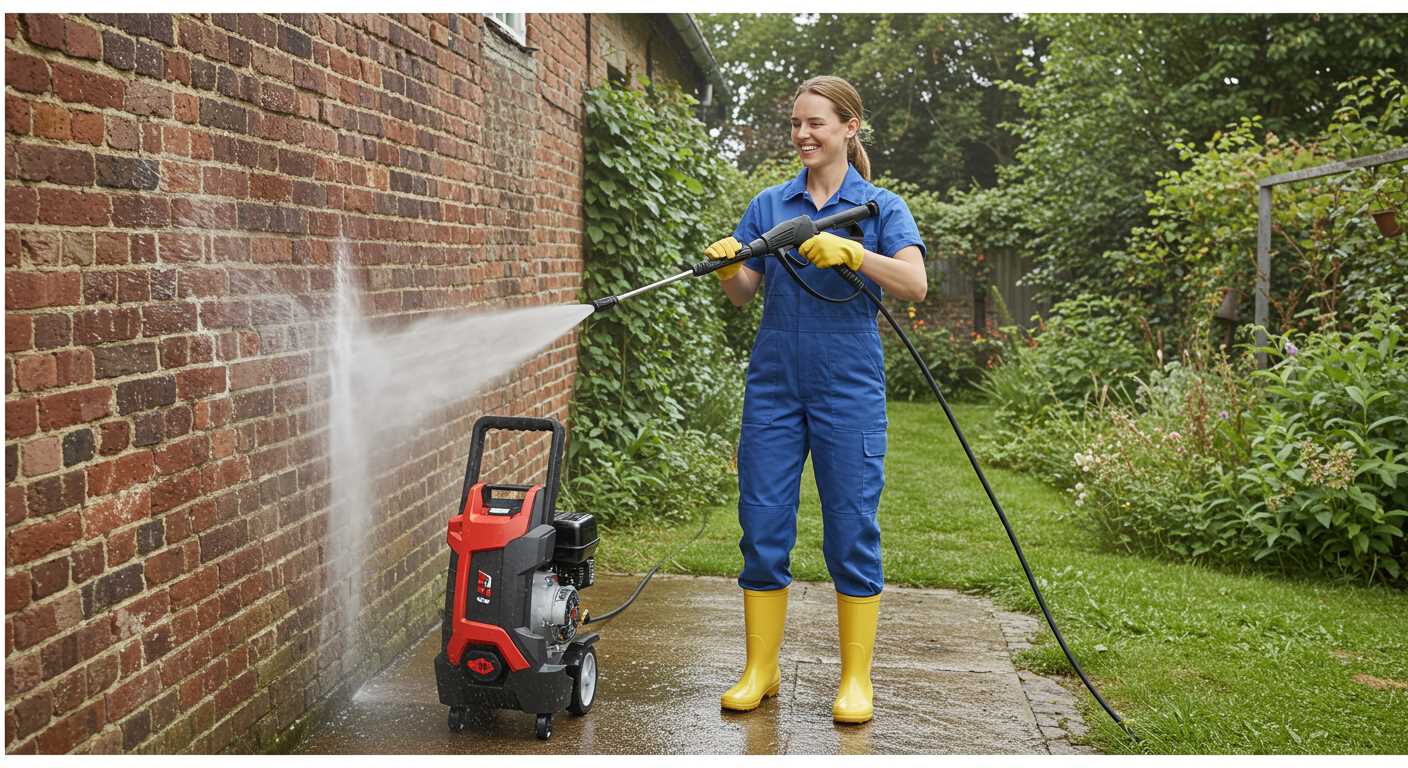
Using a Hose Directly from a Tap
Connect a hose straight to the tap for a seamless water supply. First, ensure the tap is turned off completely before you begin. Select a quality hose that fits snugly onto the tap’s connector, ensuring no leaks occur during use. Attach the other end to the water inlet of your cleaning device.
Once everything is securely connected, turn on the tap gradually. This prevents sudden bursts of water pressure that could damage components. Keep an eye on the connections for any signs of leakage. If you notice any drips, turn off the water and adjust the fittings before proceeding.
After establishing a steady flow, check the water supply’s pressure. Most models operate well at standard household pressure, but if you have low water flow, consider using a booster pump. This can enhance performance, especially for larger tasks.
In my experience, using a hose directly from the tap significantly reduces setup time. I recall a particular job where I had to clean a large driveway. By connecting directly to the water source, I completed the task efficiently without the hassle of moving buckets around. Always remember to disconnect the hose and turn off the tap when you’re finished to avoid wastage.
Connecting to a Rainwater Harvesting System
For those looking to utilise a rainwater harvesting system, it’s a straightforward process that can make your outdoor cleaning tasks more sustainable. First, ensure your rainwater collection tank is equipped with a suitable outlet for your equipment’s hose attachment. This setup will allow you to draw water directly from the tank, eliminating the need for traditional water sources.
Setting Up the Connection
Begin by locating the outlet valve on your rainwater tank. You’ll need a hose that fits snugly onto this valve. I recommend using a high-quality hose that can withstand varying water pressures. After securing the hose to the tank, connect the other end to your cleaning equipment. Make sure the connections are tight to avoid leaks, which could waste water and reduce pressure.
Considerations for Optimal Performance
When using collected rainwater, keep an eye on its quality. Although rainwater is generally clean, it can pick up debris during collection. A filter can be beneficial in ensuring that only clean water reaches your device. Also, check the water level in the tank regularly to avoid running dry during use.
| Aspect | Details |
|---|---|
| Hose Quality | Use a durable, high-pressure hose specifically designed for outdoor use. |
| Connection Type | Ensure a proper fit between the tank valve and the hose to prevent leaks. |
| Water Quality | Install a filter to keep debris from entering the equipment. |
| Monitoring | Regularly check the rainwater level to ensure a consistent supply. |
Utilising a Water Tank with a Pump
A water tank equipped with a pump can be a dependable solution for supplying a high-pressure cleaning device. Choose a tank that has sufficient capacity for your tasks. A tank with a minimum of 200 litres is ideal for extended cleaning sessions without interruptions. Ensure the pump is compatible with the flow rate required by your equipment, typically around 8-10 litres per minute.
Setting Up the System
Begin by placing the water tank in an easily accessible location. Connect the pump to the tank and ensure it is well sealed to prevent leaks. Use a sturdy hose that can withstand the pressure and connect it to the pump outlet. The other end of the hose should be attached securely to the inlet of your device. Always check for any kinks or blockages in the hose before starting the pump.
Maintenance Tips
Regularly inspect the tank and pump for any signs of wear or damage. Clean the tank periodically to prevent sediment build-up, which can affect performance. If your setup includes filters, make sure to clean or replace them as needed to maintain optimal flow. Testing the system before commencing any major cleaning tasks helps to ensure everything is functioning correctly.

| Component | Recommendation |
|---|---|
| Water Tank | Minimum 200 litres capacity |
| Pump | Flow rate of 8-10 litres per minute |
| Hose | Heavy-duty, pressure-resistant type |
| Maintenance | Inspect and clean regularly |
Employing a Portable Water Container
Using a portable water container is a straightforward solution for supplying your cleaning unit when no traditional water source is available. Opt for a sturdy container with a wide opening to facilitate easy filling and pouring. A capacity of at least 15 to 20 litres is ideal for extended cleaning sessions without constant refills.
When choosing a container, consider one with a spout or a tap for controlled dispensing. This feature minimizes spills and ensures a steady flow into the machine. Before starting, make sure the unit is compatible with the water pressure and volume your container can provide. Adjust the intake settings if necessary to accommodate the lower pressure from the container.
Keep in mind that certain models may require gravity feed or a specific angle for optimal performance. If your container is on the ground, position your machine slightly elevated to create a natural flow. For added convenience, you can use a small submersible pump inside the container to enhance water delivery, especially if the container is not easily accessible.
Always check for leaks and ensure the connections are secure. After usage, clean and dry the container to prevent any build-up or contamination for future use. This method not only provides flexibility in different environments but also allows you to use collected rainwater or other alternative sources, contributing to sustainability efforts.
If you’re looking for accessories to enhance your cleaning experience, consider a car pressure washer with foam gun for an effective wash.
Implementing a Gravity-Fed Water System
Using a gravity-fed water system is a straightforward method to ensure your cleaning device receives a steady supply of water. This approach takes advantage of gravity to move water from a higher elevation down to your machine, eliminating the need for manual filling or electric pumps.
Setting Up Your System
Here’s a step-by-step guide to establish your gravity-fed system:
- Choose your water source. A water tank or large container positioned on a raised platform works best. Ensure it is clean and can hold enough water for your tasks.
- Connect a sturdy hose to the outlet of the tank. Use a hose that fits snugly and is rated for outdoor use to prevent leaks.
- Position the tank so that it is at least a few feet higher than the inlet of your device. The greater the height difference, the better the water flow.
- Check for any kinks or obstructions in the hose that might impede water flow. Make adjustments as necessary to ensure a clear path.
Optimising Water Flow
To ensure the system functions smoothly:
- Consider using a larger diameter hose to improve water flow rate. This can significantly reduce the time it takes for the device to draw water.
- Install a valve at the tank outlet. This allows you to control the water flow and turn it off when not in use, conserving water.
- Regularly inspect the tank and hose for algae or debris buildup. Keeping these components clean avoids blockages and maintains optimal performance.
This method is particularly useful in outdoor settings where access to tap water may be limited. I’ve used this setup during various outdoor projects, and it has proven reliable, allowing me to focus on the task rather than worrying about refilling containers.
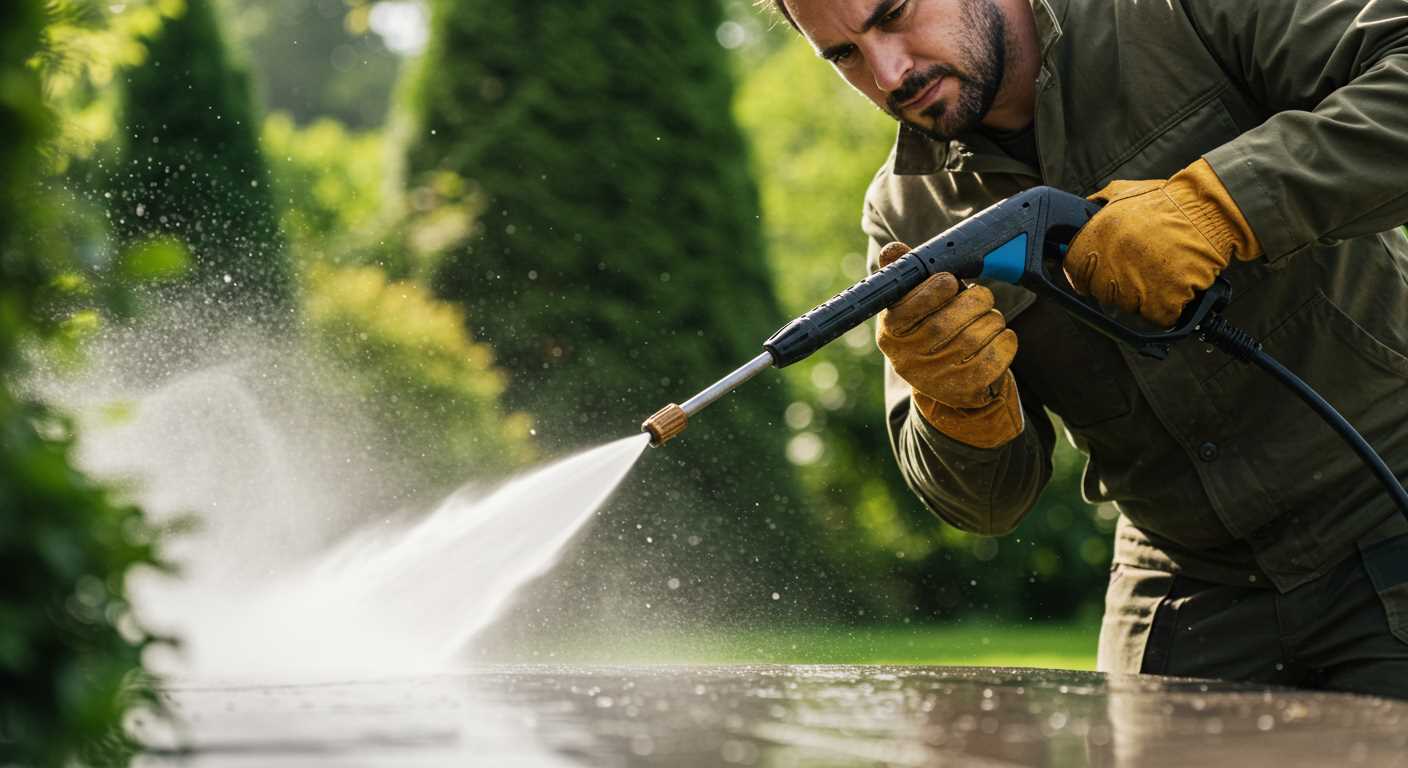
Maintaining Optimal Water Flow for Performance
Ensure a consistent water supply by regularly checking hose connections for leaks. A tight seal prevents pressure loss and maintains flow rate. I once had a client who neglected this and ended up with a sluggish machine, struggling to generate adequate pressure. A quick inspection revealed a worn-out washer in the hose connector. Replacing it restored the performance instantly.
Utilising the Right Hose Length and Diameter
Selecting the appropriate hose length and diameter is crucial. A long hose can lead to pressure drop, while a narrow diameter might restrict flow. For best results, I recommend using a hose that is no longer than necessary and has a diameter of at least 3/4 inch. This setup optimises water delivery and enhances cleaning efficiency. During one testing session, I switched to a wider hose and noticed a remarkable difference in cleaning power.
Clearing Debris from Filters
Regularly inspect and clean the water intake filter. Debris accumulation can restrict water flow, causing a decrease in performance. I recall a situation where a simple filter cleaning transformed a unit that had been underperforming for months. A quick rinse was all it took to restore its full capability. Establish a routine maintenance schedule to avoid similar issues.
For those looking to enhance their cleaning experience, consider investing in equipment like the best air compressor for duct cleaning. It can complement your setup, improving overall efficiency and effectiveness.
.jpg)


