


Begin with ensuring that the connection point on your cleaning unit is free from debris. A clean surface allows for a secure seal, preventing leaks during operation. I recall a time when I overlooked this step; the water pressure surged unexpectedly, creating quite a mess in my workshop.
Next, take the appropriate connector and align it with the inlet. Gently twist it into place; there’s no need for excessive force. A snug fit is all you need. Remember, many users make the mistake of overtightening, which can lead to damage. I once had to replace an entire assembly because of a simple oversight with a wrench.

After securing the connection, check for any signs of wear on the rubber O-ring. A damaged ring can cause leaks and should be replaced immediately. I learned this the hard way during a critical workday when I had to pause everything to find a replacement part. It’s a small detail that can save a lot of time and hassle.
Finally, turn on the water supply slowly to inspect for leaks. If everything looks good, you’re ready to power up the device and get to work. Each time I follow this routine, I find that it not only ensures functionality but also extends the lifespan of the equipment. Happy cleaning!
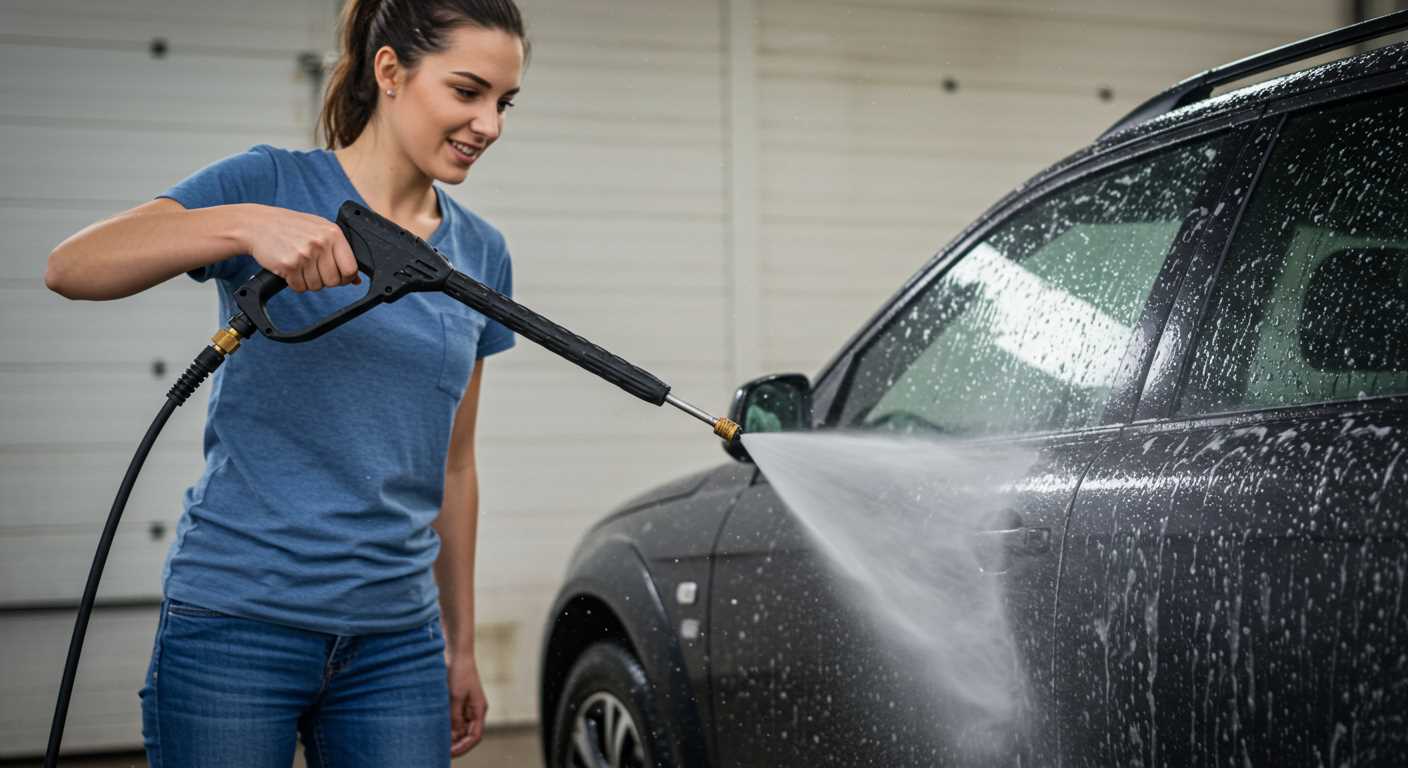
Connecting Your Hose to the McGregor Cleaner
To attach your water line to the McGregor cleaner, first ensure the device is powered off and unplugged. This safety measure is crucial before handling any connections.
Steps for Connection
- Locate the inlet connector on the machine’s body. This is typically situated at the front, clearly marked.
- Inspect the end of your water line for any debris or damage. A clean connection ensures optimal performance.
- Align the connector with the inlet, ensuring that any notches or grooves are properly aligned. This prevents cross-threading, which can lead to leaks.
- Twist the connector clockwise until it is snug. Avoid overtightening, as this can damage both the connector and the inlet.
Final Checks
- After securing the connection, turn on the water supply to check for leaks.
- If you notice any drips, recheck the connection and adjust as necessary.
- Once confirmed, you can proceed to plug in the cleaner and start your work.
From my experience, ensuring a proper connection not only enhances performance but also extends the lifespan of your equipment. Regular checks on the integrity of your connections can save you from potential issues down the line.
Identifying the Correct Hose Type for Your Model
To ensure compatibility, check the specifications of your device. Each unit often has unique requirements for the connector type and diameter. It’s crucial to refer to the user manual for precise details on the appropriate accessories.
Connector Types
- Quick Connect: Many models utilise a quick-connect system, allowing for easy attachment and detachment of accessories.
- Screw-on: Some variants require a threaded connection, providing a more secure fit, though they may take slightly longer to attach.
Diameter and Length
- Diameter: Measure the diameter of the existing attachment point. Common sizes include 1/4 inch and 3/8 inch, but always verify to avoid mismatches.
- Length: Consider the length needed for your cleaning tasks. Longer options provide greater reach but may affect pressure slightly.
In my experience, one of the most common issues arises from using the wrong diameter. I once had a customer who struggled with low pressure, only to find out the connector was too large for their unit. A quick swap resolved the issue, restoring functionality immediately.
In addition to diameter and connector type, pay attention to the material. Certain high-pressure systems perform better with reinforced hoses to withstand increased pressure levels. I’ve seen some users opt for cheaper alternatives, only to face leaks or bursts during operation.
Always ensure that the accessory you choose is rated for the pressure output of your device. Using an under-rated component can lead to unsafe conditions and damage to your equipment.
Preparing the Cleaning Equipment for Hose Attachment
Ensure the device is turned off and unplugged to avoid any accidents. Disconnect any existing attachments before proceeding. A clean work area is crucial; remove any debris around the inlet to prevent contamination. I once had a frustrating experience where dirt got into the system because I overlooked this step, resulting in a longer cleaning session.
Inspect the Inlet
Examine the inlet for any visible damage or wear. Look for cracks or deformities that could hinder a secure connection. During my years working with various models, I found that even a minor imperfection can lead to leaks or reduced performance. Replace any worn components before proceeding to ensure everything fits snugly.
Gather Required Tools
Collect all necessary tools for the job, including adjustable wrenches and pliers. Having everything on hand streamlines the process, as I’ve learned the hard way during my initial attempts to attach components without proper preparation. If you’re looking for additional cleaning solutions, consider checking out the best air scrubber for hvac for more effective results.
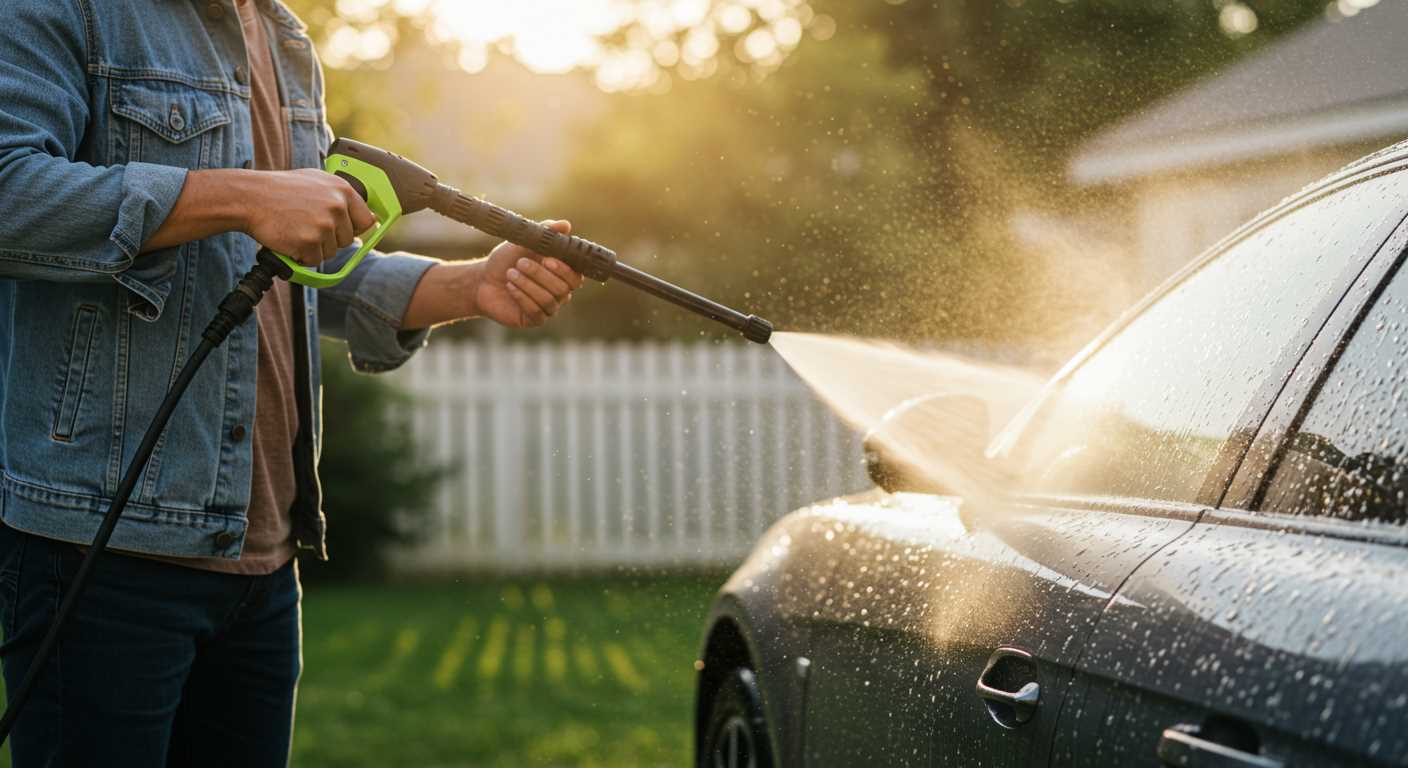
Step-by-Step Guide to Attaching the Hose
Begin by ensuring the equipment is powered off and disconnected from any electrical source. Safety is paramount. Lay the connector end of your tubing alongside the entry port of the machine, aligning it properly. A misalignment can lead to leaks or damage.
Connecting the Tube
Firmly insert the end of the pipe into the designated inlet. Most models have a twist lock mechanism. Turn the connector clockwise until you feel it secure. Avoid over-tightening, as this may cause cracks or breaks in the fittings.
Securing the Connection

After the initial connection, gently tug on the tubing to confirm it’s firmly attached. If it feels loose, disconnect and reattach, ensuring proper alignment and secure fitting. Once satisfied, check the other end of the piping for any necessary attachments for accessories or nozzles.
| Step | Action | Tips |
|---|---|---|
| 1 | Power off and unplug the unit | Safety first! |
| 2 | Align the tube with the inlet | Check for misalignments |
| 3 | Insert and twist the connector | Avoid over-tightening |
| 4 | Test the connection | Ensure it’s secure |
| 5 | Check attachment compatibility | Prepare for accessories |
Once everything is connected, you’re ready to proceed with your cleaning tasks. Regularly inspect the fittings for wear and tear to maintain optimal performance.
Ensuring a Secure Connection to Prevent Leaks
To achieve a leak-free experience, it’s crucial to ensure that all connections are tight and secure. Begin by inspecting the connection points for any signs of wear or damage. If you notice any cracks or frayed edges, replacing those components is essential to avoid complications.
Once you’ve confirmed that everything is in good condition, apply a small amount of thread seal tape to the threads. This simple step can significantly improve the seal, preventing water from escaping. Be careful not to overdo it; just a few wraps will suffice.
After applying the tape, hand-tighten the connections initially. Follow this up by using a wrench for a firmer grip, but avoid excessive force, as this can lead to stripping the threads. A snug fit is what you’re after.
Always check for leaks after making the connections. Turn on the unit briefly and observe each joint. If you see any signs of moisture, it’s a clear indicator that adjustments are necessary. Don’t hesitate to disassemble and reapply the tape if required. This diligence pays off in the long run, ensuring your equipment operates smoothly without any unexpected surprises.
Lastly, consider the environment where the equipment is stored. Temperature fluctuations can impact the integrity of the materials, so make sure everything is stored in a controlled setting to maintain those vital seals.
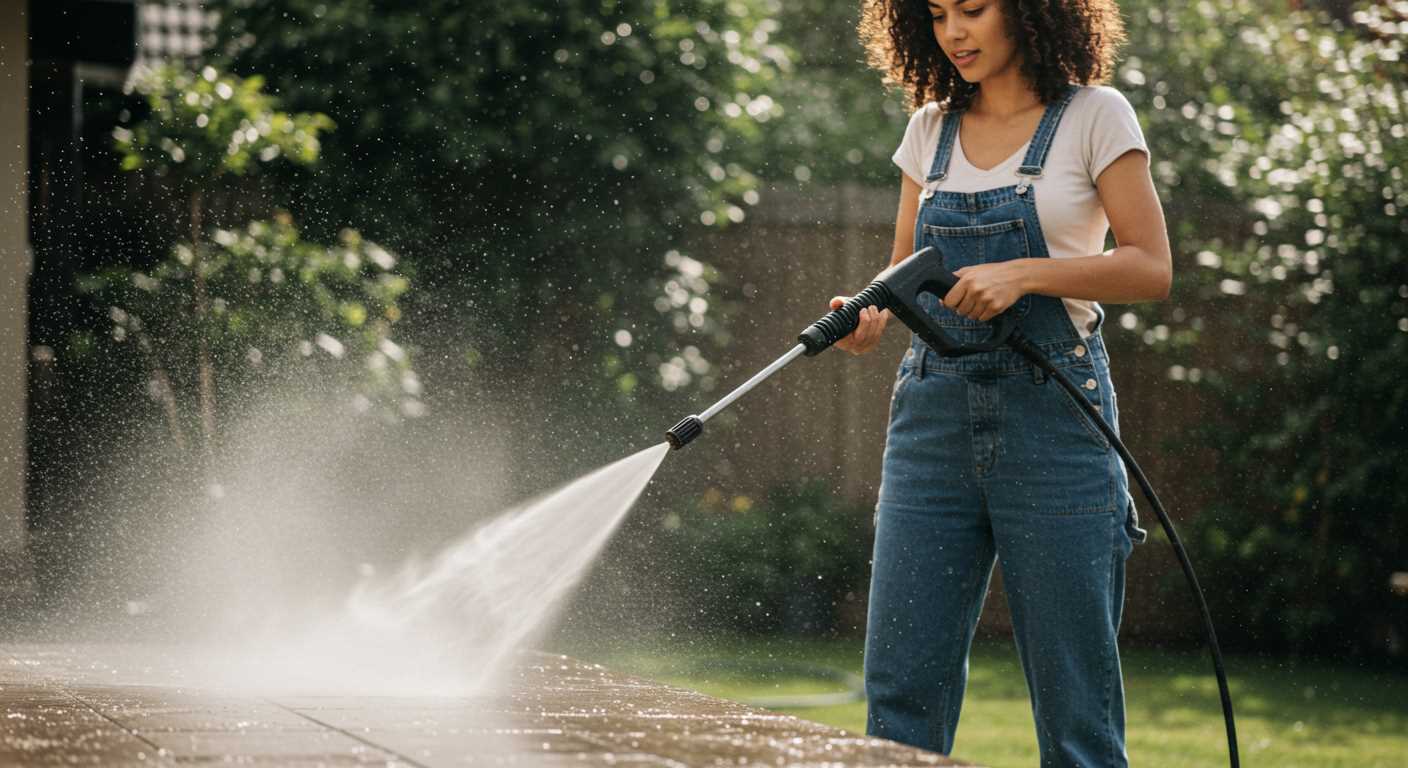
Testing the Hose Connection for Functionality
After securing the attachment, the next step involves verifying that everything operates smoothly. Begin by switching on the unit and allowing it to reach its operational pressure. Look out for any noises that seem unusual; a whistling sound might indicate a leak.
Conducting a Visual Inspection
While the equipment runs, visually inspect the attachment points. Any water escaping from the connection is a clear sign that adjustments are necessary. It’s best to tighten connections with a wrench if you spot any drips. Remember to check the entire length of the tubing as well; kinks or bends can hinder performance and reduce water flow.
Performance Testing
Next, test the functionality by using the device on a surface. For instance, if you’re cleaning wooden decks, assess how effectively the water sprays. If the spray pattern appears weak or inconsistent, you may need to revisit the connection. A robust stream should be expected; anything less indicates potential issues with the setup.
Additionally, if you’re considering a new model, look into options like a pressure washer for wooden decks. These can provide enhanced performance with specific attachments designed for various tasks.
Following these checks ensures that your cleaning sessions are efficient and prevents unnecessary equipment damage. A little attention at this stage can save a lot of hassle down the line.
Maintenance Tips for Long-lasting Hose Performance
Regular cleaning is key. After each use, disconnect and rinse your tubing with clean water to remove any detergent or debris. This simple step prevents residues from accumulating and prolongs the lifespan of your equipment.
Storage Solutions
Store your equipment in a cool, dry place. Avoid leaving it in direct sunlight or extreme temperatures, as UV rays and heat can cause materials to degrade. A dedicated storage reel can keep your tubing neatly coiled, preventing kinks and twists that lead to damage.
Periodic Inspection
Check for signs of wear and tear regularly. Look for cracks, bulges, or leaks; addressing these issues early can save you from more significant problems later. If you notice any damage, replace the affected sections to ensure optimal performance.
.jpg)


