


Start by ensuring you have the right accessories on hand. The connection point on your cleaner is typically located at the rear of the unit. Make sure you have the correct type of connector compatible with the equipment you’re using. This small detail can save you a lot of frustration later on.
Next, examine the existing connection. If there’s an old or damaged line attached, remove it carefully. Look for any signs of wear or debris that might obstruct a proper fit. A clean start is crucial for optimal performance. I once encountered a situation where a clogged connection led to a significant drop in water pressure, which was easily resolved by ensuring a clean attachment point.
Once everything is clear, align the new line with the connector. It should slide in smoothly without excessive force. If it resists, double-check for any misalignment. Remember, the goal is a snug fit that prevents leaks. I’ve found that a little patience during this step pays off in the long run.

After securing the connection, give it a gentle tug to ensure it’s firmly in place. It’s a simple test, but it can prevent unexpected disconnections during use. In my experience, a securely fastened line has saved me countless interruptions while tackling tough cleaning tasks.
Finally, turn on the unit to check for leaks. If you spot any, it’s a sign that the connection isn’t tight enough. Adjust as necessary and retest. Following these steps will ensure that your cleaning sessions are both productive and hassle-free.
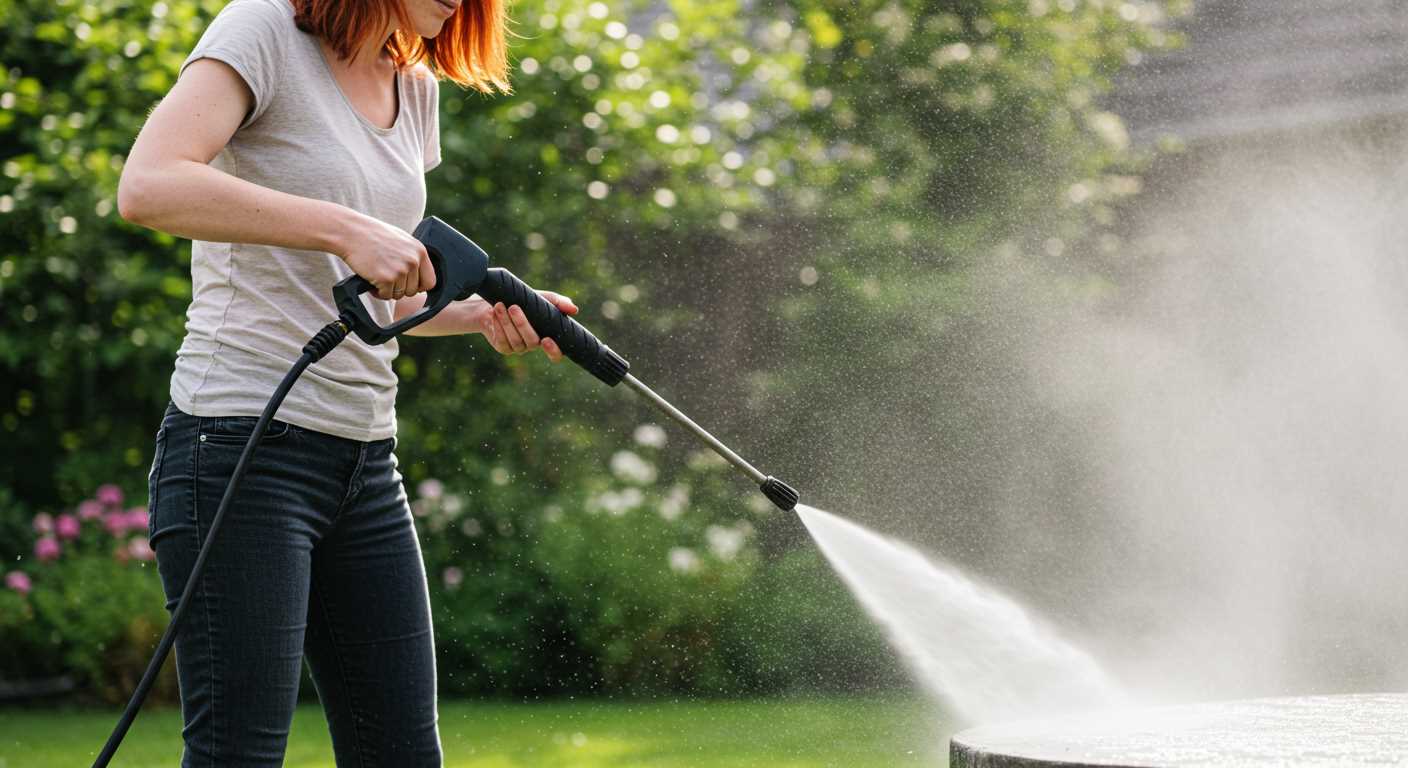
Attaching Your High-Pressure Cleaning Line
Begin by ensuring both ends of your cleaning line are free from dirt or debris. A clean connection prevents leaks and ensures optimal performance. Next, locate the coupling on your unit; this is where your line will attach.
Position the connection point of the line over the coupling, aligning it carefully. With a firm push, slide the line into the coupling until you hear a click. This sound indicates a secure fit. For extra security, twist the connection slightly while pushing to lock it in place.
To detach, simply pull back on the release collar while gently pulling the line out. I’ve seen many users struggle with this, but the key is to apply even pressure without forcing it. Always store the line without kinks, as this prolongs its lifespan and maintains performance.
During my years with cleaning equipment, I often encountered users who faced issues due to improper connections. Taking a moment to ensure everything is properly aligned can save time and frustration later. Remember, your equipment works best when all components are properly engaged.
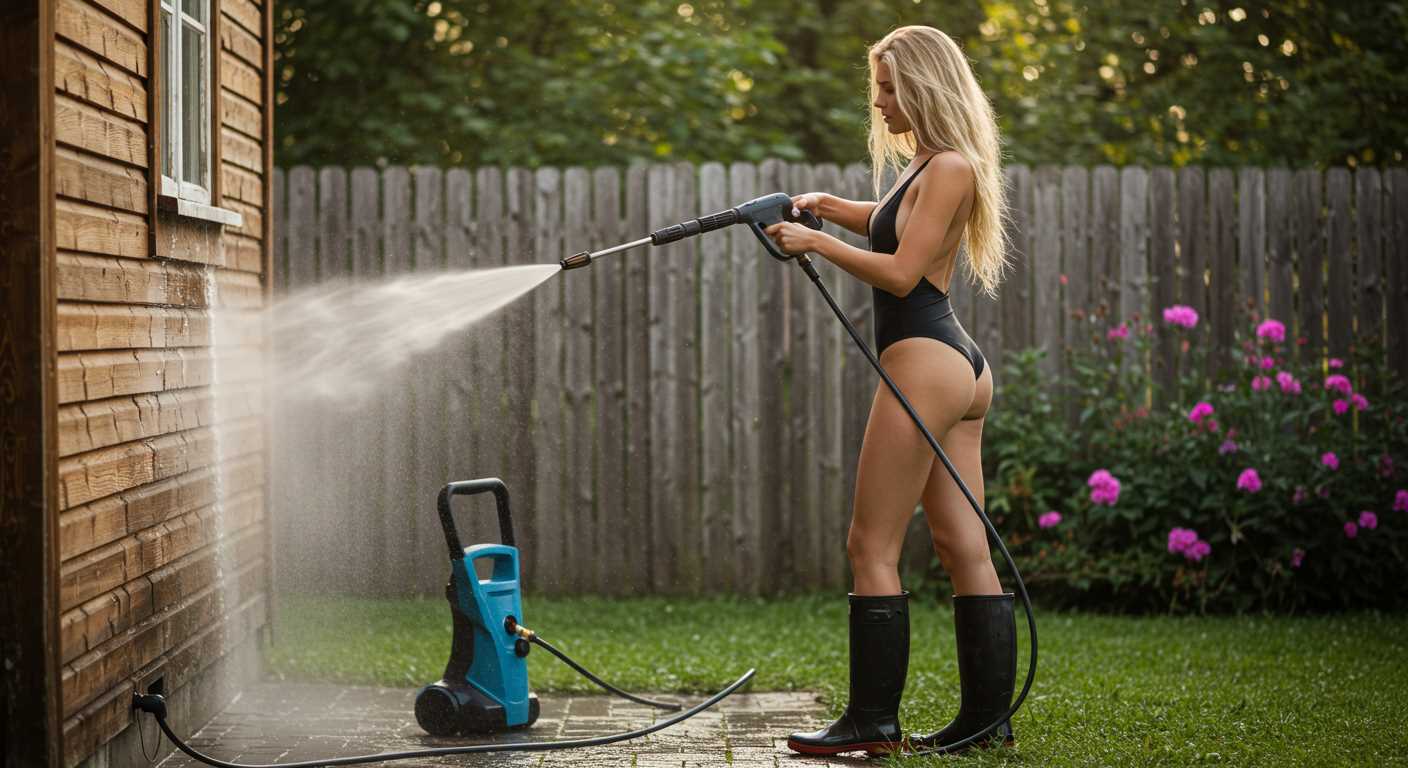
Choosing the Right Hose for Your Karcher Model
To ensure optimal performance, select a compatible replacement line that matches your specific machine’s model. It’s crucial to check the diameter and length to avoid any operational issues. For instance, many users prefer a 6mm or 8mm diameter, as these sizes often provide a solid balance between water flow and pressure retention.
Material Matters
Opt for a robust material, such as reinforced PVC or rubber, which can withstand high pressures and resist kinks. I remember using a lower-grade option once; it didn’t last long and caused frustrating interruptions during cleaning tasks. A quality hose can significantly enhance the longevity and reliability of your equipment.
Compatibility and Accessories
Always verify compatibility with your unit. Sometimes, additional connectors or adaptors are necessary to ensure a secure fit. I had a situation where I purchased a great line, but it required an adaptor to connect properly, which delayed my work. If you’re in search of a powerful alternative for tough jobs, you might also consider a petrol pressure washer in Ireland, as these options can provide higher performance for larger tasks.
Preparing the Pressure Cleaner for Hose Installation
First, ensure the unit is turned off and unplugged. This simple step prevents any accidental activation while you’re working. Next, check that the water supply is disconnected to avoid any unexpected sprays during the process.
Inspect the connection point where the new attachment will be installed. Look for any debris or damage that could hinder a secure fit. A clean, dry surface is crucial for ensuring a proper seal once the new line is in place. Use a damp cloth to wipe down the area if necessary.
Gather your tools. For this task, you’ll typically need a wrench for tightening connections, and sometimes a pair of pliers can be useful for stubborn fittings. It’s always wise to have these tools on hand before starting to avoid interruptions.
Additionally, reviewing the manufacturer’s manual for specific instructions related to your equipment model can save you time and frustration. Each model may have unique requirements or tips that enhance the installation process. If the manual is misplaced, many brands provide downloadable versions on their websites.
Lastly, if you’re replacing an old line, inspect it for wear and tear. This can prevent future issues and ensure optimal performance from your equipment. Here’s a quick checklist to follow:
| Step | Action |
|---|---|
| 1 | Turn off and unplug the machine |
| 2 | Disconnect water supply |
| 3 | Clean connection points |
| 4 | Gather necessary tools |
| 5 | Review manufacturer’s manual |
| 6 | Inspect old line for damage |
By following these steps, you’re setting up for a smooth and efficient installation process. Trust me, a little preparation goes a long way in ensuring everything goes according to plan.
Identifying Connection Points on the Pressure Cleaner
First, locate the inlet and outlet ports on your cleaning machine. The inlet, typically at the rear, is where the water supply connects, while the outlet is at the front, directing pressurised water through the nozzle. Familiarising yourself with these points simplifies the attachment process.
Inlet Port
- Often features a threaded connector.
- May require a filter or screen to prevent debris from entering.
- Check for compatibility with your water supply hose.
Outlet Port
- Usually has a quick-release mechanism or threaded connection.
- Some models allow for different nozzle attachments; ensure you have the correct fitting.
- Inspect for wear or damage, as a good seal is crucial for performance.
Identifying these connection points can save time and prevent frustration during installation. Always refer to the manufacturer’s manual for specific details related to your model, as variations exist among different machines.
Attaching the Hose Securely to Prevent Leaks
For a tight seal that prevents leaks, ensure the connections are clean and free from debris. I’ve seen many users overlook this step, resulting in frustrating drips during usage. Here’s a straightforward approach to secure those connections:
Steps for a Secure Connection
- Check the rubber O-ring on the nozzle and the water inlet. If damaged or worn, replace it before proceeding.
- Align the connection points carefully. Twist them together until you feel resistance, indicating a snug fit.
- Use pliers to turn the connection slightly more, but avoid over-tightening as this can cause damage.
- After attaching, turn on the water supply to test for leaks. If water seeps from the joint, tighten it a little more.
Additional Tips
- Consider using thread seal tape on threaded connections for an extra layer of protection against leaks.
- Regularly inspect connections and seals for wear; replacing them promptly can save you from larger issues down the line.
- Keep the hose coiled properly after use to prevent kinks that can lead to leaks in the future.
Maintaining a secure connection not only enhances performance but prolongs the lifespan of your equipment. For those interested in additional practical tips, check out this guide on how to can diced tomatoes with a pressure cooker–you might find it quite handy!
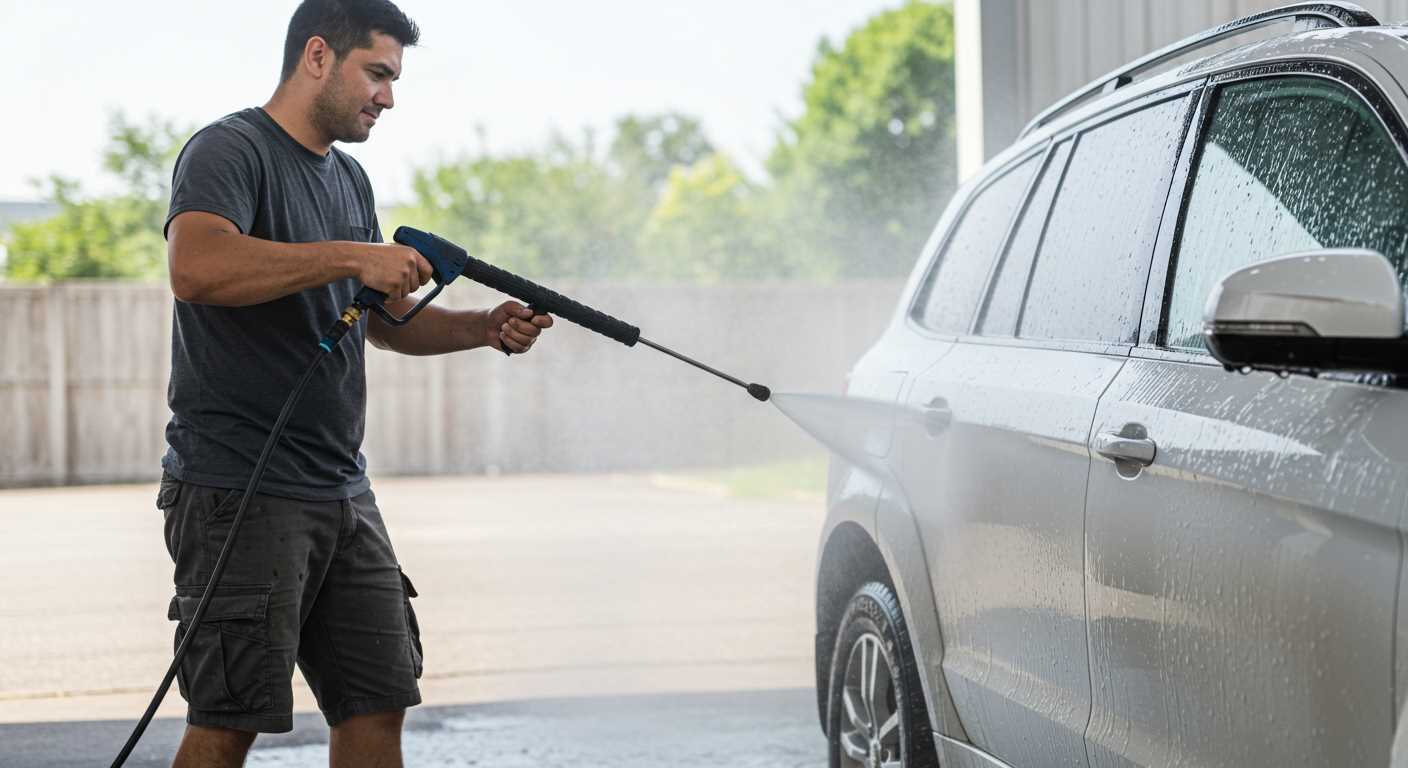
Testing the Hose Connection for Functionality
After securing the attachment, it’s time to ensure everything is functioning correctly. Begin by turning on the water supply without activating the motor. This helps to check for any leaks around the connection points. Stand back and observe closely; any visible drips or streams indicate a need to tighten or readjust the fittings.
Conducting a Pressure Test
Once you’ve confirmed there are no leaks, it’s wise to carry out a pressure test. Engage the motor and allow water to flow through the system. Pay attention to the pressure gauge, if available. A consistent reading without fluctuations suggests a solid connection. If you notice a drop in pressure, it may signal a blockage or a loose connection that requires your attention.
Listening for Unusual Sounds
While the system is running, listen for any odd noises. A whistling sound can indicate air leaks, while rattling may point to loose fittings. These issues shouldn’t be overlooked, as they can affect the overall performance. If you detect anything unusual, turn off the unit, and inspect the connections thoroughly.
By following these steps, you can ensure that your setup is ready for action, ultimately leading to more effective cleaning results. A little diligence at this stage can save a lot of hassle later on.
Maintaining Your High-Pressure Cleaner’s Hose for Longevity
Regular upkeep of your cleaning equipment’s tubing is vital for extending its lifespan. After years in the field, I’ve seen how neglect leads to wear and tear that could easily be avoided. Start by rinsing the pipe after every use to eliminate soap residues and debris. This simple act prevents buildup that can degrade the material over time.
Storing the Hose Correctly

When it comes to storage, coiling the line properly is key. Avoid tight knots or sharp bends, as these can cause kinks that weaken the structure. Instead, create loose loops, preferably on a reel or hanger to keep it tidy and ready for the next task. Ensure it’s kept in a shaded area to prevent UV damage, which can make the material brittle.
Inspecting for Damage
Conduct regular inspections for any signs of wear. Look for cracks, leaks, or bulges, especially at connection points. If you spot any issues, address them immediately. A small leak may not seem significant, but it can lead to larger problems down the line. I once ignored a tiny crack, and it escalated into a complete replacement of the entire setup.
Using the correct fittings is also crucial. Ensure that the connectors match the specifications of your cleaning unit. Mismatched components can lead to leaks or pressure loss, causing inefficiencies. Always have backups of essential parts on hand to avoid downtime during your cleaning tasks.
By implementing these practices, you’ll not only protect your equipment but also enhance its performance, allowing you to tackle challenging projects with ease.
FAQ:
How do I attach the hose to my Karcher pressure washer?
Attaching the hose to your Karcher pressure washer is a straightforward process. First, ensure that the machine is turned off and unplugged for safety. Locate the high-pressure outlet on the washer, which is typically found at the front of the unit. Take one end of the pressure hose and align it with the outlet. You will usually hear a click or feel a slight resistance as the hose locks into place. Finally, check that the connection is secure before turning on the washer.
What should I do if the hose won’t fit properly?
If you’re having trouble fitting the hose onto your Karcher pressure washer, first check for any debris or damage on both the hose and the connection point. Ensure that you are using the correct hose for your specific model, as Karcher produces various types of hoses that may not be compatible with every machine. If the hose appears undamaged and is the correct type, try rotating it slightly while pushing it into the connector. If the problem persists, consult the user manual or contact Karcher customer support for assistance.
Can I use a different brand hose with my Karcher pressure washer?
Using a hose from a different brand with your Karcher pressure washer is generally not recommended. Karcher designs its hoses to work specifically with its machines, ensuring optimal performance and safety. If you do decide to use a different brand, make sure that it is compatible in terms of connection type and pressure rating. However, be aware that using non-Karcher hoses could void your warranty and lead to performance issues.
How can I maintain my Karcher pressure washer hose?
Maintaining your Karcher pressure washer hose is important for ensuring its longevity and performance. After each use, rinse the hose with clean water to remove any detergent or debris. Store the hose in a cool, dry place, avoiding sharp bends or kinks that can cause damage. Regularly inspect the hose for signs of wear, such as cracks or leaks. If you notice any issues, replace the hose promptly to avoid further damage to your pressure washer.
.jpg)


