


Start by ensuring that the bottle of cleaning solution is compatible with your high-pressure sprayer model. I remember the first time I attempted to use a new formula without checking compatibility. The result was a messy experience that left me frustrated. Always verify the manufacturer’s guidelines to avoid mishaps.
Next, locate the injection system on your sprayer. This is typically found near the nozzle or lance. A well-defined connection point for the cleaning solution will help you avoid leaks. I learned the hard way to ensure all connections are tight; otherwise, you could end up with a rather slippery workspace.
Once the connection is secure, adjust the nozzle to the correct setting. Different solutions require varying levels of pressure and spray patterns. I’ve often found that a wider spray is more effective for distributing cleaning agents evenly across surfaces. Experimenting with settings has often saved me time and effort.
After setting up, start the sprayer and allow the solution to mix with water. Keep an eye on the flow; if it seems inconsistent, recheck your connections. There was a time when I thought everything was perfect, only to find out the solution wasn’t mixing properly due to a loose fitting. Patience is key.
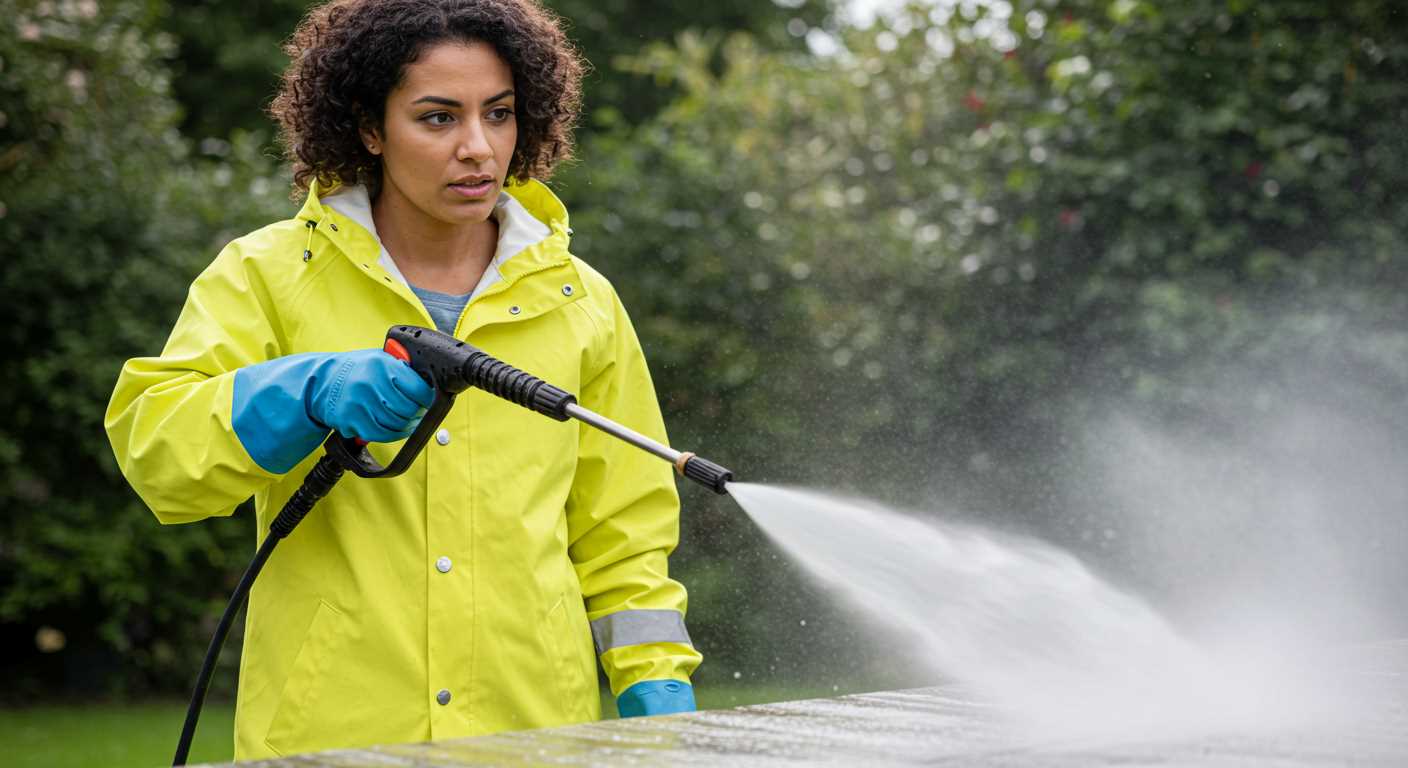
Finally, as you begin your cleaning task, maintain a steady motion and distance to achieve the best results. I’ve discovered that rushing can lead to streaks or uneven cleaning. Take a moment to appreciate the transformation as the grime disappears, revealing the true potential of your outdoor spaces.
Attaching Cleaning Solution to Your Karcher Device
Begin with the container of your selected cleaning solution. Ensure it is compatible with your model by checking the label for compatibility indications. Most solutions come in a bottle designed to fit directly into the suction tube of the device.
Next, locate the suction hose. This is often a flexible tube that connects to the detergent container. Remove any existing attachments from the hose if necessary. If your device has a dedicated detergent tank, you can pour the solution directly into that instead.
Securely attach the suction hose to the cleaning solution bottle, ensuring a tight fit to prevent leaks. If using a tank, close the lid firmly after filling it with the solution. Ensure that the device is turned off before proceeding to connect any hoses.
Once connected, adjust the nozzle on the lance to the appropriate setting for applying detergent. Usually, a low-pressure setting is recommended at this stage. This allows for even application without causing overspray or wastage.
Before starting the operation, run a quick test to ensure the solution is being drawn into the system. Activate the water supply and turn on the unit. You should see the solution begin to mix with the water flow within a few moments.
If the solution does not appear, check for any blockages in the hose or nozzle. Clear any obstructions and ensure that all connections are secure. Consistent performance relies on keeping the system clean and well-maintained.
| Step | Action |
|---|---|
| 1 | Select compatible cleaning solution. |
| 2 | Locate suction hose or detergent tank. |
| 3 | Attach hose securely to the solution container. |
| 4 | Adjust nozzle to low-pressure setting. |
| 5 | Test the system for proper solution flow. |
After use, remember to flush the system with clean water to prevent any residue from clogging the system. This simple maintenance step will prolong the life of your equipment and ensure optimal performance for future applications.
Choosing the Right Cleaning Solution for Your Karcher
When selecting a cleaning solution for your Karcher, consider the surface type and the specific contaminants you need to tackle. For instance, if you’re dealing with stubborn algae or moss, a solution designed to tackle organic growth will yield the best results. I recall a time when I faced a particularly grimy patio covered in green patches. Using a targeted formula made a noticeable difference, allowing me to restore the surface’s original appearance without excessive scrubbing.
Surface Compatibility
Always check the compatibility of the cleaning agent with the material of your surfaces. For natural stone, a gentle, pH-neutral option is advisable to prevent damage. I once made the mistake of using a harsh cleaner on a sandstone patio, resulting in discolouration. Since then, I’ve learned to favour products specifically labelled for use on sensitive surfaces.

Concentration and Application Method
Pay attention to the concentration of the solution. Highly concentrated products may require dilution, while ready-to-use formulas offer convenience. I prefer concentrated solutions, as I can adjust the strength based on the level of grime. For application, consider using a dedicated attachment for optimal coverage. I’ve found that using the right nozzle makes all the difference in achieving an even application without waste.
In summary, choose a cleaning solution based on the specific requirements of your surfaces and the type of dirt you’re tackling. This approach will not only save time but also enhance the longevity of your outdoor areas.
Understanding the Detergent Tank System of Karcher Pressure Washers
To maximise the performance of your cleaning unit, grasping the workings of the detergent tank system is critical. This system is designed to seamlessly blend cleaning solutions with water, enabling a more thorough cleanse for various surfaces.
Here’s what you need to know:
- Tank Capacity: Most models come with a built-in tank that typically holds around 1 litre of solution. This allows for extended cleaning periods without frequent refills.
- Mixing Ratio: Some units offer adjustable settings for the concentration of the solution, providing flexibility based on the level of grime or the type of surface being treated.
- Application Method: The system uses a siphoning method, drawing the solution from the tank as water flows through. This ensures an even distribution of the cleaner.
Regular maintenance of the tank is necessary. After each use, it’s advisable to rinse out any residual product. This prevents clogs and ensures the longevity of the unit. If you’re curious about the best practices for maintaining your equipment, I recommend checking out the pressure washer detailing world for more insights.
For those who wish to explore various attachments and enhancements, the right nozzle can make a significant difference. A high-quality nozzle can improve the cleaning efficiency and versatility of your setup. You may find useful recommendations for this at best car wash nozzle for pressure washer.
Understanding the detergent tank system and its capabilities will greatly enhance your cleaning experience. It’s all about making informed choices and leveraging the right tools for the job.
Preparing Your Karcher Pressure Washer for Detergent Application
Before introducing cleaning solutions, ensure your machine is in optimal condition. Begin by inspecting the water inlet filter; a clean filter prevents clogs. Remove it with a simple twist, rinse under running water, and reattach it securely.
Next, check the high-pressure hose for any kinks or leaks. Any damage can lead to reduced performance. If you notice any issues, it’s better to replace the hose before proceeding.
Connecting the Detergent System
Locate the detergent tank or the external suction hose, depending on your model. If your unit has a built-in tank, ensure it is clean and free of residue. For models using an external hose, ensure it’s securely connected to the detergent container. It’s crucial that there are no air leaks in the system, as this can affect the flow of the solution.
Setting the Right Pressure and Nozzle
Adjust the pressure settings to a lower level suitable for applying the cleaning solution. A fan spray nozzle is often the best choice; it covers a wider area and allows for even distribution. Test the spray pattern on a small section to ensure it’s working as intended before proceeding with the entire area.
Correctly Mixing the Patio Cleaner with Water
To achieve optimal results when using your cleaning solution, measure the correct ratio of concentrate to water as specified on the product label. Typically, a 1:10 ratio is recommended, meaning one part cleaner to ten parts water. However, if you’re dealing with particularly stubborn stains, you may consider adjusting to a 1:5 ratio for a stronger mix.
Preparing the Mixture
Use a clean container to mix your solution. I prefer using a bucket or a large mixing jug. This prevents contamination and ensures the solution is well-blended. Pour the required amount of water first, followed by the concentrate. Stir gently to avoid excessive foam, which can lead to inefficient application.
Storage and Handling Tips
Once mixed, use the solution promptly to maximise its effectiveness. If you have leftover product, store it in a cool, dry place away from sunlight to maintain its potency. Always label your containers clearly to avoid confusion with other products.
Attaching the Detergent Hose and Selecting the Right Nozzle
First, connect the detergent hose to the designated port on your machine. This is typically located near the water inlet. Ensure the connection is secure to prevent any leaks during operation. I’ve seen many users overlook this step, resulting in wasted cleaning solution and messy work areas.
Next, select the appropriate nozzle for your task. For most cleaning applications, a wide-angle nozzle works best, as it covers a larger surface area. If you’re tackling stubborn stains, switch to a narrow jet nozzle for increased pressure. From my experience, using the right nozzle not only enhances cleaning efficiency but also reduces the need for repeated passes.
Adjusting Settings for Optimal Performance
Before you start, adjust the pressure settings on your machine according to the surface you’re cleaning. Softer surfaces require lower pressure, while tougher materials can handle higher settings. Always start with a lower pressure to avoid damage, especially on delicate surfaces. I recall a time when a friend accidentally used too much pressure on a wooden deck, resulting in deep gouges that took considerable effort to fix.
Testing the Setup
After attaching everything, run a quick test to ensure the solution is being drawn correctly. If you don’t see any detergent coming through, check the hose for blockages or ensure it’s properly connected. This quick check can save you time and frustration later. I’ve had to troubleshoot many machines, and it’s often the simplest steps that get overlooked.
Always remember, taking these steps will significantly enhance your cleaning experience and results. Happy cleaning!
Applying the Patio Cleaner and Cleaning Techniques
Before starting, ensure the surface is free from loose debris. I always begin by sweeping the area with a broom to remove leaves and dirt. This simple step prevents dirt from mixing with the solution and ensures a more effective cleaning process.
Next, apply the mixture generously across the surface. I prefer using a low-pressure spray to avoid splattering the solution too far. This method allows for even coverage. It’s crucial to work in sections, especially on larger areas. I usually tackle one section at a time, ensuring each area is treated before moving on.
Once the solution is applied, let it dwell for 5 to 10 minutes. This waiting period allows the cleaner to break down stubborn stains, making it easier to wash away. While waiting, I often clean my tools or prepare my equipment for the next phase.
After the dwell time, I switch to a high-pressure setting for rinsing. I find a fan nozzle works best for this, as it covers a larger area without concentrating the force too much, which could damage the surface. I start from the top of the section and work my way down, ensuring the solution is thoroughly rinsed away.
Pay attention to areas with heavy staining. If needed, I go over them a second time, applying a bit more cleaner before rinsing. In my experience, persistent stains may require a more hands-on approach. Sometimes, I use a stiff-bristled brush to agitate the cleaner on particularly tough spots.
After completing the cleaning, I inspect the area for any missed spots or stubborn stains. If any remain, I repeat the application and rinsing process. It’s all about patience and being thorough. Once satisfied, I allow the surface to dry completely before walking on it or placing furniture back.

.jpg)


