


To smoothly attach a compact water supply line to your cleaning device, ensure you have the correct adapters on hand. In my experience, the right fittings make all the difference in achieving a secure connection and preventing any leaks. I recommend using brass fittings for durability; plastic ones may crack under pressure.
Begin by disconnecting the existing line from the device. Inspect the connection point for any debris or damage. A clean surface is essential for a proper seal. Once you’ve prepared the area, take your new compact line and align it with the fitting. It’s crucial to tighten it by hand first; over-tightening can lead to stripping threads, which will cause issues down the line.
After securing the connection, perform a quick test by running the machine briefly. Watch for any signs of leakage. If you notice any, simply tighten the fitting a little more until it seals correctly. I’ve had instances where a little extra torque made all the difference in ensuring a leak-free operation.
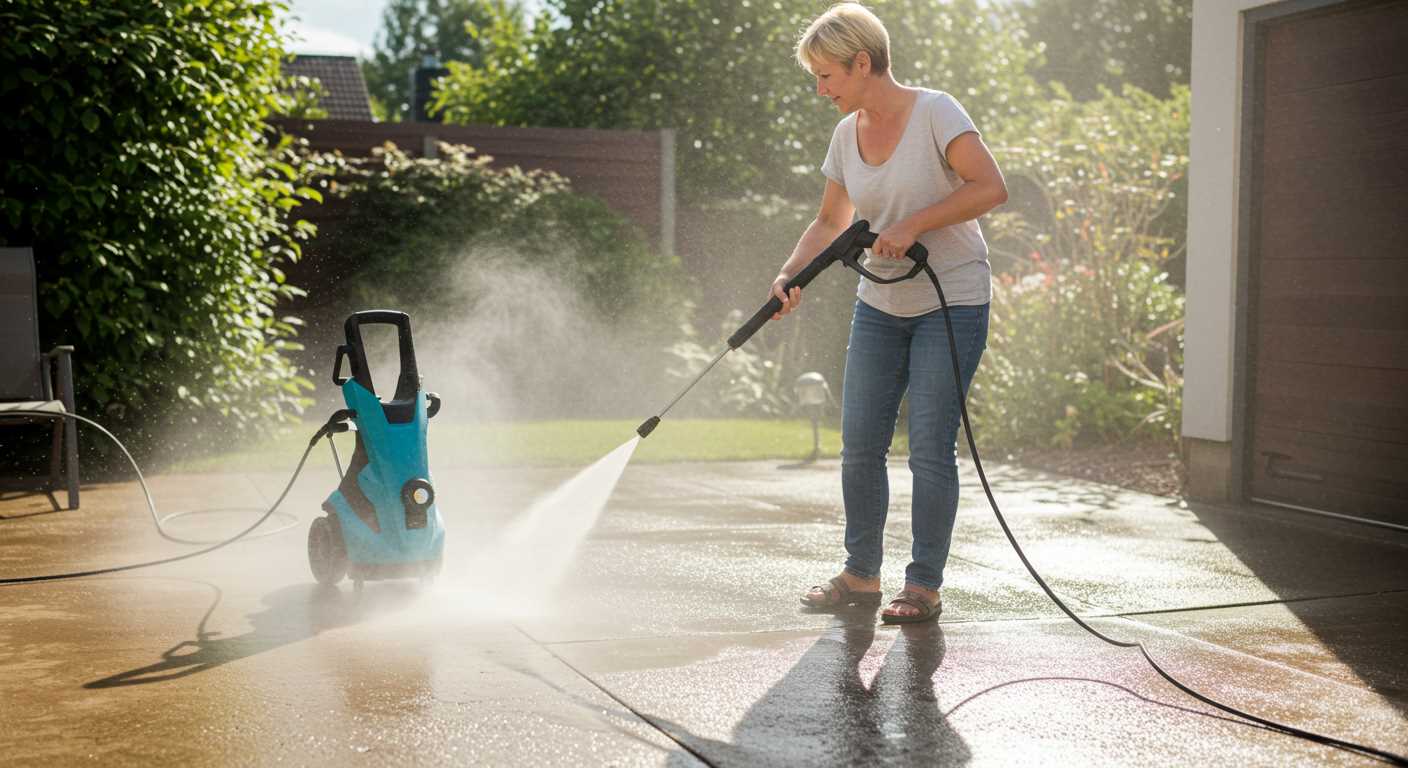
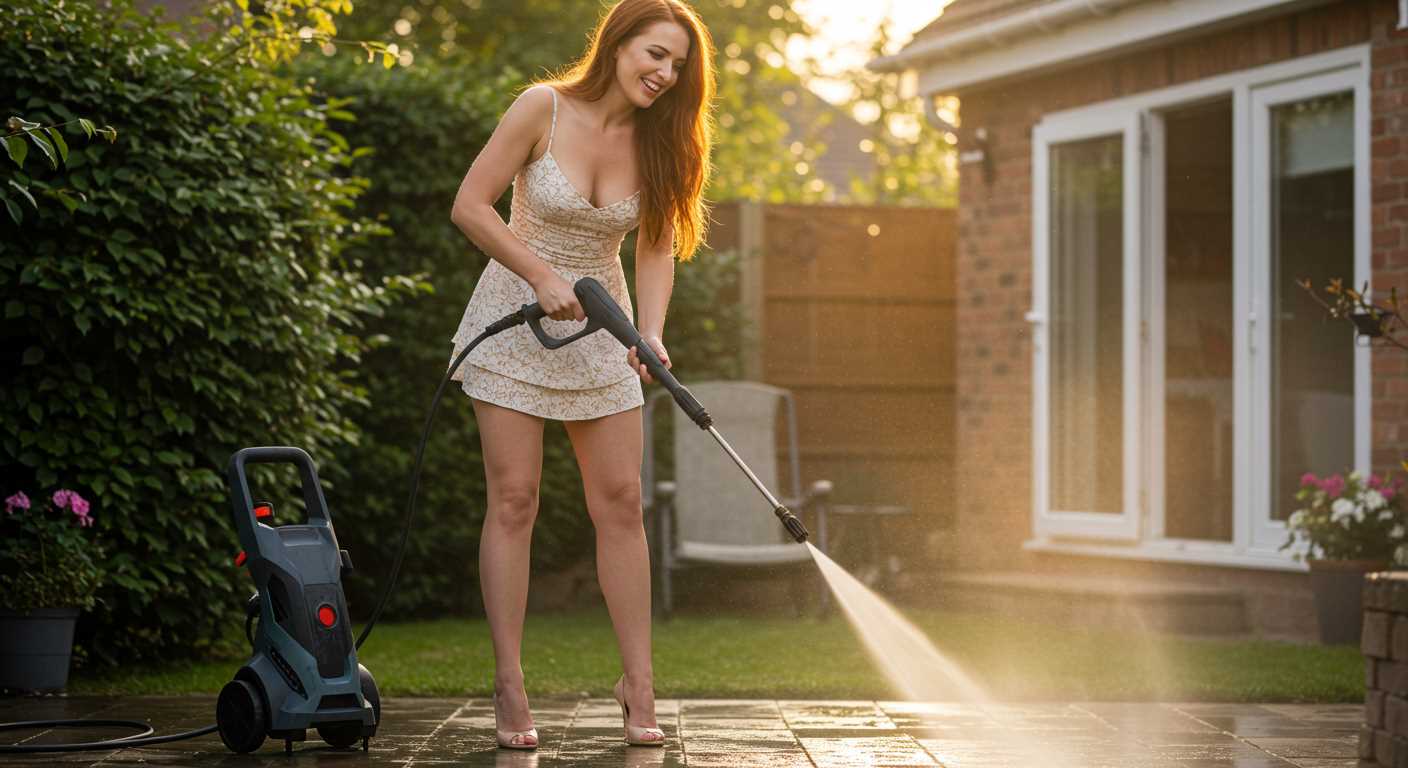
Choosing the Right Short Pressure Hose for Your Power Washer
When selecting the ideal compact line for your cleaning equipment, focus on compatibility, material, and length. Here’s what I’ve learned from years in the field.

- Compatibility: Always check if the connector fits your equipment. Most brands have specific fittings. I once made the mistake of purchasing a line that didn’t match my unit, which turned a simple task into a frustrating afternoon.
- Material: Opt for high-quality materials like reinforced rubber or thermoplastic. They resist kinks and abrasion. I remember using a cheaper alternative once, and it didn’t last a season. Investing in a robust option will save you headaches and money in the long run.
- Length: Consider the distance you need to cover. While a more extended line might offer flexibility, a compact version can reduce pressure loss, ensuring a more concentrated stream. I often prefer a shorter length for specific tasks, as it allows for better control.
Pay attention to the pressure rating too. Using a line not rated for your unit’s output can lead to leaks or even bursts. I learned this the hard way during a job that required high performance, and I ended up soaked!
Lastly, don’t overlook maintenance. Regularly checking for wear and tear can significantly extend the lifespan of your line. A quick inspection before each use can save you from sudden failures mid-cleaning.
Gathering Necessary Tools for Installation
Start with a sturdy adjustable wrench. This tool will make it easy to tighten or loosen fittings without the risk of damaging them. I remember the first time I tried to install a connection without one; it turned into a frustrating experience. An adjustable wrench saves time and effort, ensuring a secure attachment.
Next, grab a pair of pliers. They come in handy for gripping and twisting any stubborn connections. I once encountered a particularly tight fitting that required a bit more grip than the wrench could provide. A good pair of pliers made all the difference.
Additional Supplies
Don’t forget a bucket or container to catch any water that might leak during the process. It’s a simple precaution, but it prevents mess and keeps your workspace clean. I learned this the hard way when I had to deal with a puddle on my garage floor after a hasty installation.
Lastly, consider having some thread seal tape on hand. It’s invaluable for ensuring a watertight seal between connections. I once skipped this step, thinking it wasn’t necessary, only to find myself dealing with leaks shortly after. A little preparation goes a long way in avoiding future headaches.
Preparing the Equipment for Hose Attachment
First, ensure the machine is unplugged and disconnected from the water supply. This eliminates any accidental activation during the procedure. It’s a simple step, but I’ve seen many skip it, leading to unwanted surprises.
Next, inspect the connectors on both the unit and the new attachment. Look for any debris or wear that might affect the seal. I once encountered a situation where a small piece of dirt caused a significant leak. A quick wipe with a clean cloth can save you from future headaches.
Check for Compatibility
Confirm that the new accessory matches the specifications of your cleaning device. This includes checking the diameter and thread type. I vividly recall a client who purchased a seemingly perfect accessory only to find that it wouldn’t connect properly. Always consult the manual if you’re unsure about compatibility; it can save you time and frustration.
Positioning for Ease
Position the machine on a stable surface. Secure it so that it won’t tip over while you’re working. I once had a unit slide off an uneven surface while I was trying to attach a new line, resulting in a minor disaster. Stability is key for a smooth and safe installation process.
Connecting the Short Pressure Hose to the Pump
First, ensure the connector on the end of the flexible line aligns with the pump outlet. This part typically features a threaded section designed to screw into the pump securely. If you’re working with a quick-connect fitting, simply push it onto the pump until you hear a click, confirming a tight seal.
It’s wise to apply a small amount of thread seal tape to the threads of the connector if you’re using a threaded connection. This tape helps prevent leaks and ensures a snug fit. Remember to wrap it in the direction of the threads to avoid unravelling when you screw it in.
While tightening, use your hand for the initial connection. Avoid using tools at this stage; overtightening can damage the threads or the pump. If it feels loose, you can then gently tighten it with a wrench, but exercise caution to maintain the integrity of the components.
After securing the connection, inspect it for any visible gaps or misalignment. A good connection should be flush against the pump with no noticeable space. If everything looks good, turn on the water supply and check for leaks. It’s better to catch any issues now before starting your cleaning tasks.
In my experience, ensuring a proper seal at this stage can save a lot of frustration later. I once skipped this step during a rush and ended up with a significant spray that not only wasted water but also caused a mess that took longer to clean than the task itself. Always double-check your work!
Securing the hose to prevent leaks
To ensure no leaks occur during operation, start by tightly fastening the fittings. Use a wrench to tighten connections, but avoid over-tightening, as this can damage the threads. I’ve seen a few friends strip their connectors by being too aggressive, leading to frustrating leaks.
Consider applying Teflon tape around the threads of the connectors. This simple step creates a better seal and can significantly reduce the risk of leaks. I’ve relied on this method countless times, and it has always served me well. Just be sure to wrap the tape clockwise, so it doesn’t unravel when you screw the connector on.
Regular inspections

Make it a habit to inspect the connections regularly. Check for any signs of wear or damage, especially after heavy use. If you spot any cracks or worn-out parts, replace them immediately. I once overlooked a small crack, and it turned into a major leak during a job, which wasted both time and water.
Choosing the right fittings
Opt for high-quality fittings made from durable materials. Plastic connectors may seem cheaper, but they can easily break under pressure. I’ve switched to brass fittings for their longevity and reliability. They not only secure the connection better but also withstand wear and tear far longer.
For those interested in enhancing their washing capabilities, check out pressure washer soap for vinyl siding to get the best results. Additionally, if you’re looking for a way to apply foam effectively, the best car wash foam gun for pressure washer can make your cleaning tasks much easier and more efficient.
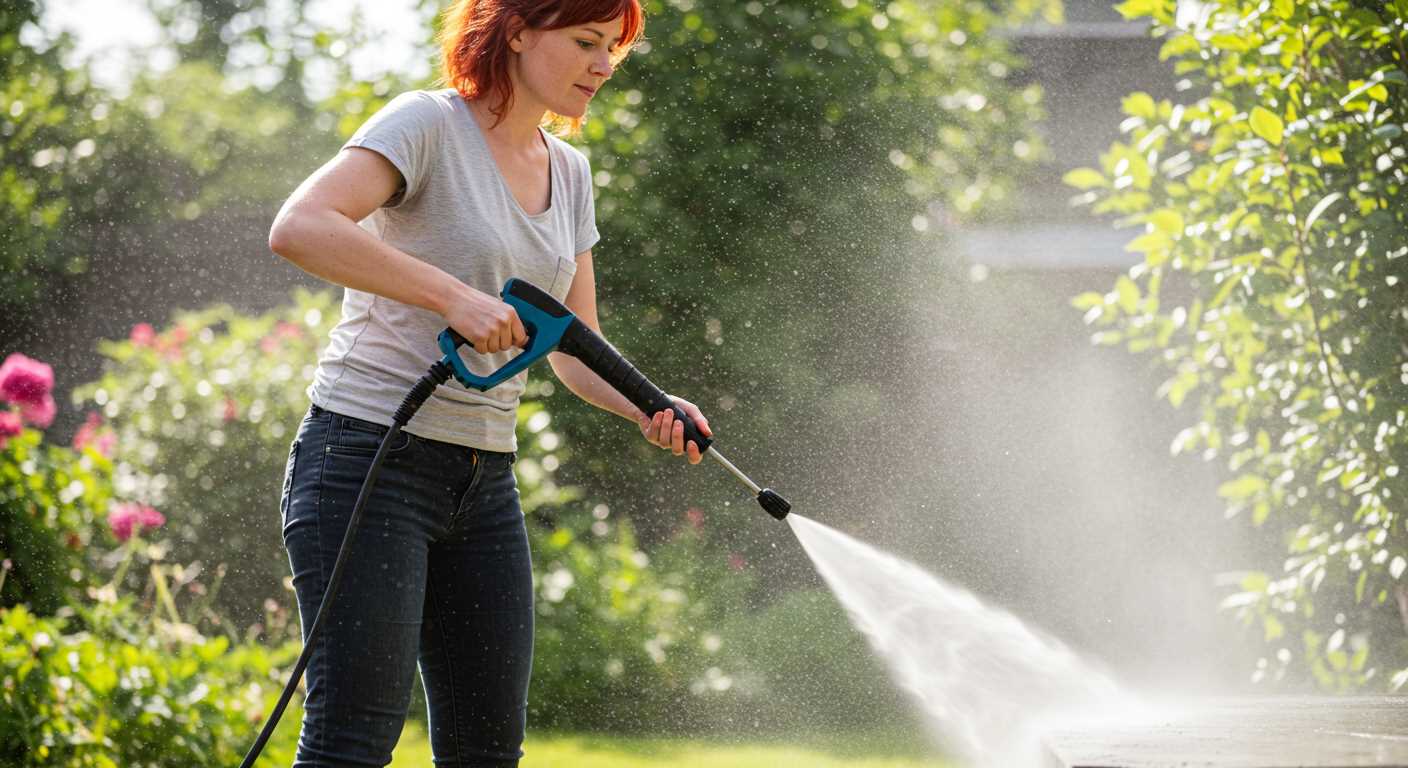
Testing the Connection for Proper Functionality
After securing the connection, it’s time to ensure everything operates smoothly. First, turn on the machine without activating the trigger on the lance. This allows you to check for any leaks at the junctions. Look closely at the areas where the attachments meet to identify potential issues.
- If you notice any drips or moisture, turn off the unit immediately and recheck the fittings.
- For a more thorough examination, consider using a cloth to wipe the area dry before turning the unit back on. This makes spotting leaks easier.
Next, activate the machine and engage the trigger on the lance. Observe the water flow. It should be steady and consistent. Any sputtering or irregular flow indicates a possible blockage or a loose connection.
- Listen for unusual sounds. Whistling or hissing may suggest air in the system, which can occur if the fittings aren’t tight enough.
- Pay attention to the pressure. If it feels weak, there might be a problem with the attachment or an obstruction in the line.
If everything seems normal, proceed to perform a short cleaning test on a small area. This will help you gauge the performance and ensure that the setup is functioning as intended. After testing, inspect all connections again for any signs of wear or leaks.
In my experience, taking the time to ensure proper functionality after connecting equipment can save a lot of hassle down the line. It’s better to catch a minor issue now than to face a major setback later while in the middle of a cleaning task.
Maintaining Your Short Pressure Hose for Longevity
Regular maintenance extends the lifespan of your tubing significantly. After each use, it’s crucial to drain any residual water. This prevents stagnation and potential mildew buildup, which can deteriorate the material over time. Simply detach the tubing, hold it at a downward angle, and let the water flow out completely.
Cleaning Techniques
Cleaning the exterior is just as important as internal care. Use a mild detergent mixed with water and a soft cloth to wipe down the surface. Avoid abrasive cleaners that could scratch or damage the finish. For stubborn stains, a soft brush can be helpful. Rinse thoroughly to remove any soap residue.
Storage Practices
Proper storage protects your equipment. Always coil the tubing loosely without kinks or twists. This prevents stress on the fittings and the material itself. Store it in a cool, dry place away from direct sunlight to prevent UV damage. If applicable, use a dedicated storage reel to keep it organized and prevent tangling.
| Maintenance Task | Frequency | Notes |
|---|---|---|
| Drain residual water | After each use | Prevents mildew |
| Exterior cleaning | Monthly | Use mild detergent |
| Check for wear and tear | Before each use | Look for cracks or leaks |
| Proper storage | Always | Avoid direct sunlight |
Finally, inspect for any signs of wear before each operation. Look for cracks, leaks, or abrasions. If any are found, consider replacement to avoid operational issues. Keeping these practices in mind will ensure your equipment remains in optimal condition for years to come.
Troubleshooting common issues with hose fitting
When faced with compatibility troubles, double-check the threading on both the attachment and the connector. Mismatched threads can lead to leaks or failure to secure properly. It’s often a simple fix–just switch to the correct adapter or connector that matches your equipment specifications.
Addressing leaks
If you notice water seeping from the connection, first ensure that the joint is tightened adequately. A wrench can help secure it, but avoid over-tightening, as this can damage the threads. If leaks persist, inspect the rubber washers or O-rings for wear and replace them if necessary. These components are often the culprits behind unwanted drips.
Connection stability issues
Should you encounter a loose connection while in use, it’s wise to check for debris or dirt at the attachment points. Cleanse both ends thoroughly to ensure a snug fit. Additionally, consider using a hose clamp for added security, especially if the hose is subjected to frequent movement or strain. This extra support can prevent accidental disconnections during operation.
.jpg)


