


First, gather your materials: a sturdy piece of duct tape, a pair of scissors, and some hose clamps. You’d be surprised how effective this simple approach can be. I once faced a similar issue while working on a job site; the equipment was leaking just before a big client meeting. A quick fix saved the day and allowed us to complete the task without delay.
Start by identifying the exact location of the leak. Run your fingers along the length of the tubing while the machine is operating to feel for any escaping water. Mark the spot with a piece of tape. In my experience, making a precise note of the damage is crucial for a reliable repair.

Next, cut a strip of duct tape about 10 inches long. Wrap it tightly around the damaged area, ensuring there’s an overlap on either side. This method has worked for me on numerous occasions, providing a temporary seal that can hold up long enough to finish a job. If the damage is significant, consider using a hose clamp to further secure the tape in place. This extra step has saved me from having to replace equipment prematurely.
Once everything is secured, run a test to ensure that the seal holds. If the leak persists, don’t hesitate to repeat the process or consider a more permanent solution, such as replacing the damaged section. I’ve found that being proactive about repairs can extend the life of your tools significantly.
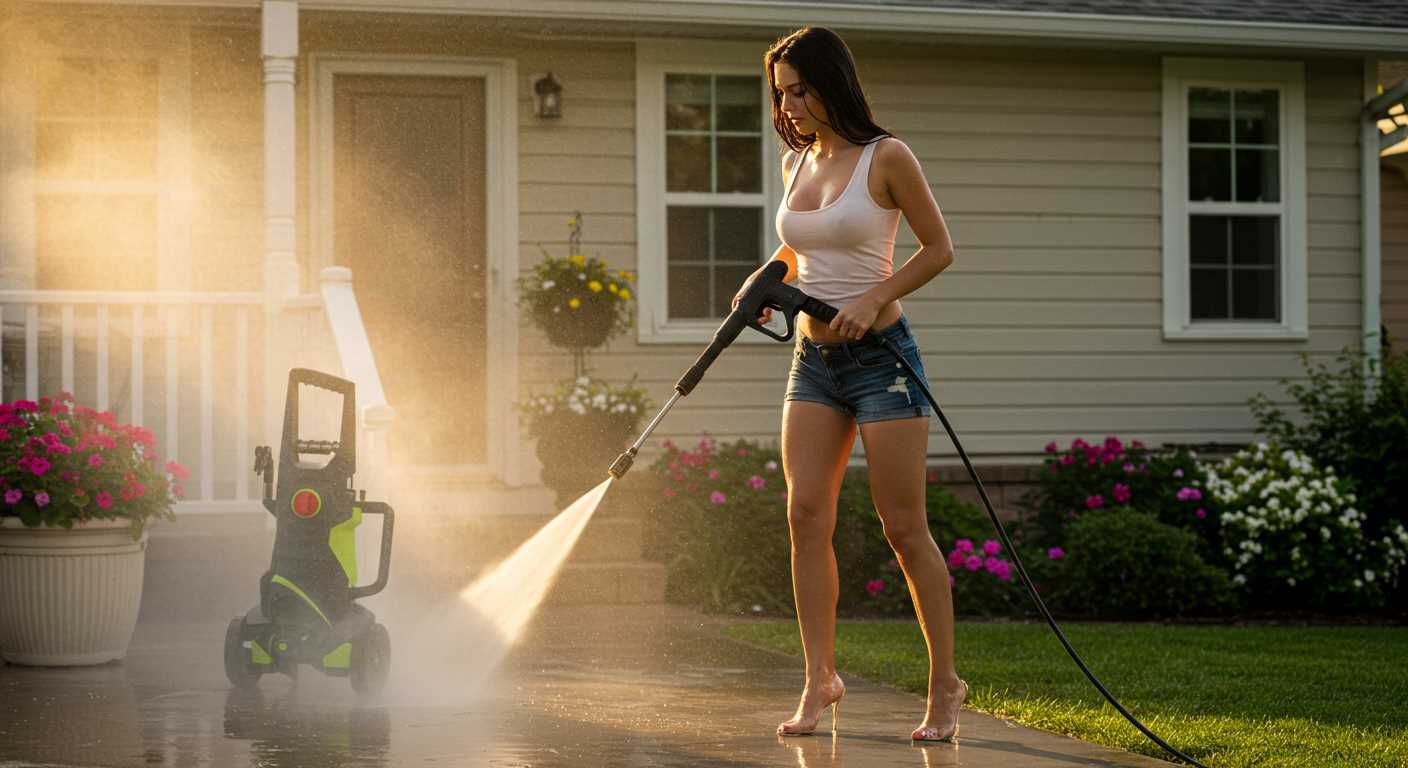
Repairing a Leak in a High-Pressure Cleaning Line
First, locate the damaged section of the cleaning line by running your hand along its length. Look for any signs of moisture or air escaping. Once identified, clean the area thoroughly to ensure the adhesive or patching material adheres properly.
Utilise a high-quality hose repair tape, designed specifically for high-pressure applications. Wrap the tape around the damaged section, overlapping it by at least half its width to create a solid seal. For added durability, consider applying a second layer, making sure to follow the same wrapping technique.
If the damage is more extensive, a hose repair kit might be necessary. These kits typically include connectors and clamps. Cut out the damaged section with a sharp utility knife, ensuring the remaining ends are clean and straight. Insert the connectors at both ends, securing them with the provided clamps to create a watertight seal.
After completing the repair, test the line under pressure. Monitor for any leaks during operation. If all looks good, your equipment is ready for use again. Regularly check the repaired area to ensure it remains intact, as wear and tear can occur over time.
Identifying the Location and Size of the Hole
To effectively address any damage in your cleaning equipment’s tubing, pinpoint the exact location and dimensions of the breach. Start by conducting a thorough visual inspection of the entire length of the pipe, paying close attention to areas where the material may have become frayed or worn. Often, vulnerabilities arise at the connection points or bends, so these are crucial areas to examine closely.
Using Water Pressure for Detection
One practical method I’ve found useful is to pressurise the system without water flowing through it. Look for any signs of leakage–bubbles or hissing sounds can indicate the presence of a tear or crack. If you’re unsure, you can submerge the tubing in water while pressurising it. Any escaping air will form bubbles, revealing the exact site of the issue.
Measuring the Size
Once you locate the breach, use a measuring tape or ruler to determine its diameter. This measurement will help you select the appropriate patching material. For small punctures, a simple adhesive patch may suffice, while larger damages might require a more robust solution.
| Type of Damage | Recommended Action |
|---|---|
| Small Puncture | Adhesive Patch |
| Frayed Area | Wrap with Tape |
| Large Tear | Replacement Section |
For those looking to enhance their cleaning experience, consider investing in pressure washer surface cleaners. They can provide a more thorough clean while reducing the strain on your equipment. After all, every little detail counts, just like ensuring your holiday treats are perfectly warmed through–like how long to reheat xmas pudding in pressure cooker. Attention to detail matters in every task we undertake!
Gathering Necessary Tools and Materials for Repair
First, ensure you have a pair of sturdy scissors or a utility knife on hand. These will help you cut the damaged section cleanly, making it easier to apply a patch or connector. A tape measure can be handy too, allowing for precise measurement of the area needing repair.
Next, gather some high-quality adhesive tape designed for hoses. Look for products specifically labelled for water resistance and durability, as not all tapes are created equal. Additionally, consider getting a hose repair kit. These kits typically include connectors, clamps, and rubber patches that can provide a reliable solution for various sizes of damage.
Consider Your Environment
If you’re working outdoors, having a workbench or a flat surface can make the process smoother. A clean cloth to wipe the area around the damage will help ensure the adhesive sticks properly. If the weather is damp, avoid working until conditions are dry, as moisture can interfere with the bonding process.
Safety Gear
Don’t forget to wear protective gloves. While the materials are generally safe, it’s best to protect your hands from any sharp edges or chemicals in the adhesive. Safety goggles might also be a good idea if you’re using a utility knife, as this keeps your eyes safe from any accidental slips.
With the right tools and materials gathered, you’ll be well-prepared to tackle the task ahead. Remember, proper preparation can significantly enhance the quality and longevity of your repair work.
Preparing the Hose for Patch Application
Before applying a patch, ensure the damaged section is dry and clean. I’ve found that using a cloth or paper towel to wipe away any moisture or soap residue is crucial. If there’s any dirt or grease, a mild detergent can work wonders. Just remember to rinse it off thoroughly and dry the area again.
Next, inspect the area surrounding the damage. Sometimes, small cracks or frays can be hiding nearby. By addressing these minor issues beforehand, you prevent future complications. It never hurts to be thorough; I once missed a small crack during a repair, and it led to an even bigger mess later.
Once the surface is clean, mark the damaged area with a piece of tape or a marker. This not only helps you keep track of where to apply the patch but also ensures you cover the entire affected area. In my experience, being visual about it reduces the chances of missing spots.
Finally, gather all your materials before starting the patching process. Having everything at hand minimizes interruptions and keeps the workflow smooth. I remember one time I had to stop midway because I couldn’t find my adhesive; it turned a quick fix into an all-day project. So, gather your patch material, adhesive, and any tools you need, and you’ll be ready to go.
Applying a Repair Patch Securely
To ensure a lasting bond when applying a repair patch, follow these detailed steps for optimal results.
1. Clean the Area Thoroughly
- Use a clean cloth to wipe down the surface around the damaged section.
- If there’s any debris or residue, a mild soap solution can help. Rinse and dry the area completely.
- Make sure there’s no moisture left, as this can interfere with adhesion.
2. Cut the Patch to Size
- Choose a patch material compatible with the type of tubing you’re working on, such as rubber or a specialised adhesive tape.
- Cut the patch slightly larger than the damage; this provides a better grip on the surrounding material.
3. Apply the Adhesive
- If using a patch with adhesive backing, peel off the protective layer. For non-adhesive patches, apply a suitable adhesive evenly on the patch side.
- Be generous with the adhesive, ensuring full coverage to avoid any leaks later.
4. Position and Press
- Carefully position the patch over the cleaned area, ensuring it covers the damage completely.
- Press firmly for at least 30 seconds to ensure a good bond; this step is crucial for durability.
5. Secure with Additional Wraps (If Needed)
- If you have extra adhesive tape or wrap, consider going around the patch for extra security. This can provide additional support and prevent any lifting.
- Make sure the wrap is tight but not so tight that it compromises the integrity of the tubing.
6. Allow to Cure
- Follow the adhesive manufacturer’s instructions regarding curing time. Typically, waiting at least 24 hours before use will yield the best results.
- Avoid exposing the area to water or pressure during this period to ensure the patch sets properly.
In my experience, taking the time to apply a patch with care can save you from future headaches. Each step is a chance to reinforce the repair, ensuring your equipment remains reliable. Remember, diligence in the application process pays off in performance.
Testing the Hose for Leaks After Repair
Once you’ve patched the damaged section, it’s critical to ensure your repair is sound before putting the equipment back into action. Here’s how to test the integrity of your tubing effectively.
Visual Inspection
- Examine the repaired area closely for any visible signs of damage or poor adhesion.
- Check the surrounding sections for any wear or additional issues that might have been overlooked.
Leak Test Procedure
- Reconnect the tubing to the unit and tighten all connections securely.
- Turn on the power to the machine without engaging the spray trigger.
- Observe the patched area for any water seeping through.
- Once you’re satisfied that there are no visible leaks, proceed to the next step.
- Engage the trigger briefly to see if the repair holds under pressure. Keep an eye on the patch while doing this.
If water starts to escape from the repaired section during any of these tests, the patch may need to be reapplied or reinforced. Regularly monitoring the condition of your tubing will help prolong its lifespan and maintain high performance.
Maintaining the Hose to Prevent Future Damage
Regular inspections are key. Check the tubing for any signs of wear or fraying at least once a month. This proactive approach can help catch issues before they escalate into larger problems. I recall a time when I overlooked a small kink in the line. Within weeks, that minor issue turned into a full-blown tear, resulting in downtime and extra costs.
Proper Storage Techniques
When you’re not using the line, store it properly. Avoid coiling it too tightly, as this can create weak spots. Instead, use a hose reel or hang it loosely on a hook. I’ve seen hoses that were simply tossed aside end up with twists and bends that led to leaks. Also, keep it out of direct sunlight for extended periods; UV rays can degrade the material over time.
Cleaning and Maintenance Routine
After each use, rinse the inside of the tubing to remove debris and soap residue. A simple flush can prolong its lifespan significantly. I’ve made it a habit to run clean water through mine after every session, and it’s paid off. Additionally, consider using a dedicated cleaner designed for high-pressure lines to maintain flexibility and prevent cracking.

.jpg)


