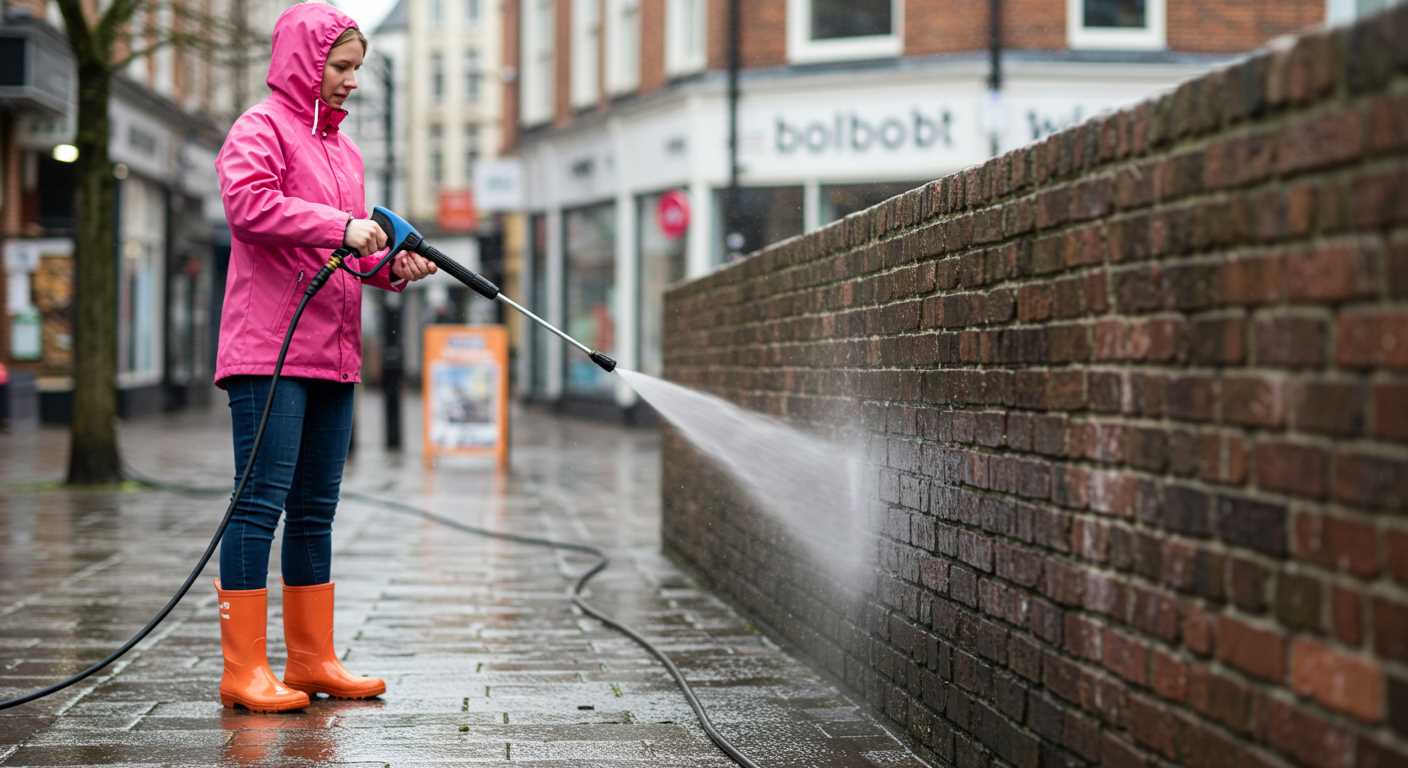
First things first, check the O-rings and seals. I can’t count the number of times a simple O-ring replacement has resolved issues for me. Over time, these parts can wear out, leading to unwanted leaks. Remove the housing, inspect the seals, and replace them if they show signs of damage or degradation. This quick step can save you from more complicated repairs down the line.
Next, pay attention to the pump housing itself. I’ve seen units where cracks or chips have formed, often from rough handling or age. It’s essential to identify these vulnerabilities early. Depending on the extent of the damage, you might consider using a sealant designed for plastics or metals to create a watertight barrier. My experience tells me that this can extend the life of your equipment significantly.
Another common culprit is the inlet and outlet fittings. These areas are under constant pressure and can loosen over time. Regularly tightening these fittings can prevent leaks before they start. If you notice wear on the threads, it might be time to replace those components. I’ve had fittings cause more issues than I care to admit, so don’t overlook this part of your maintenance routine.
Lastly, always check the fluid levels and the type of fluid you’re using. I’ve made the mistake of using incompatible fluids, which can lead to premature wear and leaking. Stick to the manufacturer’s recommendations for the best results. Keeping your unit well-maintained will not only enhance its performance but also reduce the likelihood of future issues.
Identifying the Source of the Leak
Start by examining the area around the unit. A wet or damp surface can indicate where the fluid is escaping. Pay attention to the connections between hoses and the motor; these are common culprits. Use a flashlight to inspect any shadowy spots where water may be pooling. If you notice drips, trace them back to their origin.
Check the Seals and O-Rings
Inspect the seals and O-rings thoroughly. Over time, these components can wear out or become brittle. If you find any cracks or deformation, it’s likely they need replacing. I once had a model where a simple O-ring change resolved persistent dripping. Don’t forget to lubricate new O-rings with a bit of petroleum jelly to ensure a snug fit.
Examine the Housing and Valves
Next, scrutinise the housing and valves. Cracks in the housing can lead to significant leaks. If you suspect a crack, remove the unit’s casing and inspect it closely. For valves, check for any signs of corrosion or wear. I recall a situation where a worn-out valve led to a steady stream of fluid, which was easily resolved with a replacement. If you find issues in this area, it’s often best to consult your manual to get the right replacement parts.
Gathering Necessary Tools and Materials
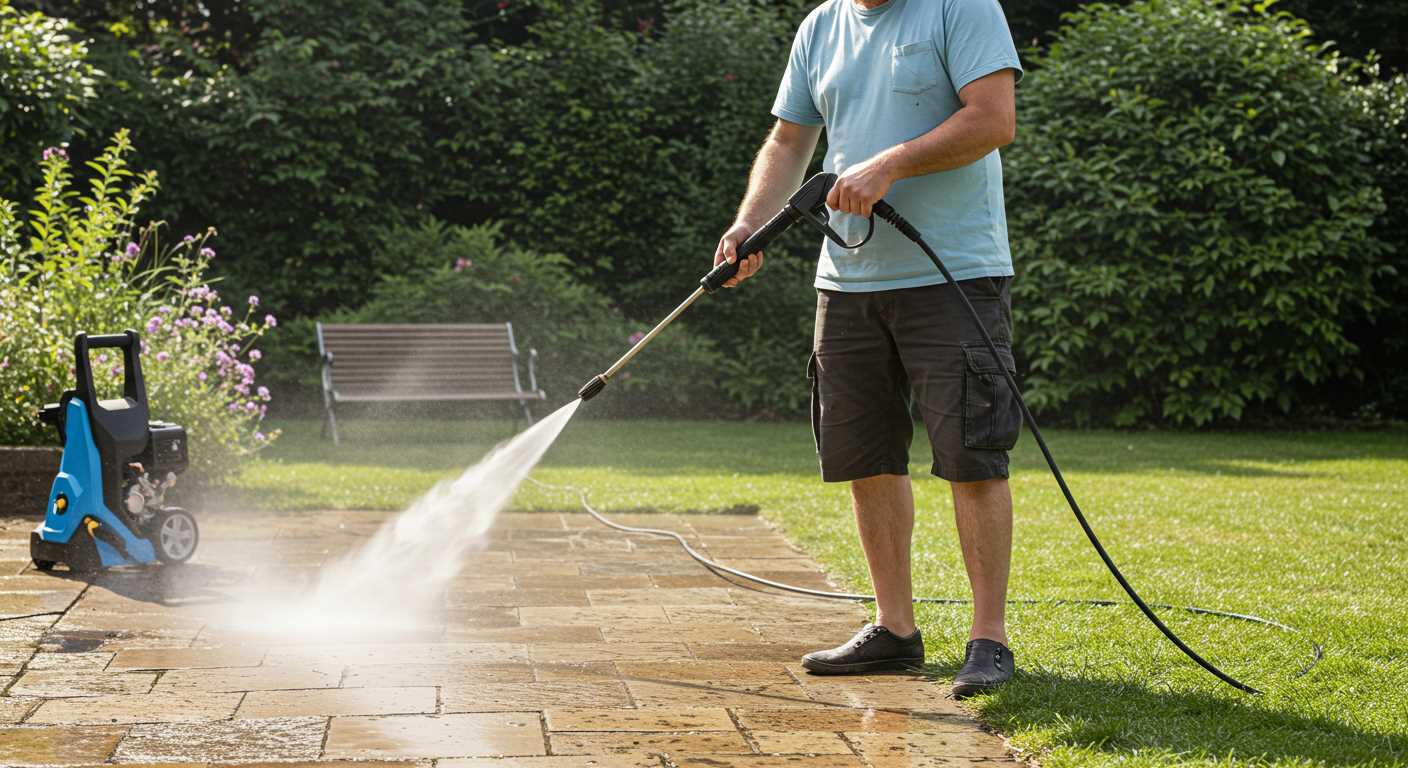
Before starting any repairs, ensure you have the right tools at hand. I’ve encountered many situations where a simple fix turned into a lengthy process due to missing equipment. Here’s a concise list of what you’ll need:
| Tool/Material | Purpose |
|---|---|
| Socket Wrench Set | To remove and tighten nuts and bolts on the unit. |
| Screwdriver Set | For loosening or securing screws on various parts. |
| Replacement Seals and O-rings | To replace worn or damaged components that cause leaks. |
| Thread Seal Tape | To ensure watertight connections on threaded fittings. |
| Cleaning Brush | For clearing debris from components to ensure a proper seal. |
| Protective Gloves | To keep your hands safe from chemicals and sharp edges. |
| Bucket | To catch any residual water or fluid during repairs. |
Having a best cordless garden leaf vacuum can also be useful for cleaning up any mess you make. It’s a handy tool for keeping your workspace tidy, especially when dealing with water and debris. I once had a repair session turn chaotic due to a lack of organisation; now I always make sure to have everything in place before getting started. This not only saves time but also prevents frustration.
Once you’ve gathered the tools and materials listed, you’ll be well-prepared to tackle the task ahead. Each item plays a crucial role in ensuring a smooth repair process, so don’t overlook any detail.
Draining the Pump and Preparing for Repairs
Begin with disconnecting the water supply to prevent any accidental flooding. Open the nozzle to relieve any residual pressure, ensuring safety during the draining process.
Next, locate the drain plug on the unit. This is typically found at the bottom of the housing. Prepare a suitable container to catch the fluid. Unscrew the plug carefully, allowing the fluid to flow out completely.
- Ensure the container is large enough to hold all the fluid.
- Wear gloves to protect your hands from any chemicals that may be present in the fluid.
While the fluid is draining, inspect the surrounding area for any signs of wear or damage. This is a good opportunity to check the hoses and connections for any issues that could contribute to future problems.
After the fluid has fully drained, reattach the drain plug securely. It’s important to ensure no leaks occur at this stage, as it could lead to complications later.
Now, gather your materials for the repair. You’ll need:
- Replacement seals or gaskets, depending on the identified source of the issue.
- Tools such as wrenches or screwdrivers specific to your model.
- Lubricant to ease the installation of new parts.
Before proceeding with repairs, review the manufacturer’s manual for specific instructions regarding your model. This will help in ensuring all steps are followed accurately, minimising the risk of errors during the process.
Replacing Damaged Seals and O-Rings
Start by removing the cover of the unit to access the internal components. Carefully take out any screws or fasteners. Make sure to keep them in a safe place, as you’ll need them for reassembly.
Next, inspect the seals and O-rings for signs of wear, such as cracks or deformation. These components are often the culprits behind fluid escape. If they appear damaged, it’s time for a replacement.
- Purchase compatible seals and O-rings from a reputable supplier. Always check the specifications to ensure a proper fit.
- Once you have the new components, gently remove the old seals and O-rings. A small flathead screwdriver can help pry them out without damaging the housing.
- Clean the grooves where the seals were seated. Any debris can affect the performance of the new parts.
- Before installing the new O-rings and seals, apply a thin layer of lubricant. This will help them slide into place and create a better seal.
- Carefully insert the new seals and O-rings, ensuring they sit evenly in their grooves.
After installation, reassemble the cover and securely fasten any screws or fasteners. Double-check that everything is tight and in place, then perform a test run. Monitor for any signs of fluid escape to confirm that the replacements are functioning properly.
In my experience, addressing these components promptly prevents more severe issues down the line. Regular maintenance checks can save you time and money, ensuring your equipment runs smoothly for years to come.
Checking and Tightening Fittings and Connections
Begin by ensuring that all fittings and connections are secure. Loose connections can often be the source of unwanted fluid escape. Grab a wrench and check each connector, focusing on the areas where hoses meet the unit and the nozzle. A snug fit is crucial; if you can turn any of the fittings by hand, it’s time to tighten them.
During my years of working with cleaning equipment, I discovered that the simplest adjustments often yield the best results. I recall a particular situation where a colleague struggled with a device that seemed to be dripping from various points. After a quick assessment, we found that a few screws were barely finger-tight. A few turns with the wrench resolved the issue entirely, showcasing the importance of regular checks.
Inspect the rubber gaskets at each connection. Over time, these can wear down, leading to gaps. If tightening doesn’t resolve any leaks, consider replacing any damaged gaskets. Always carry a selection of spare gaskets; they’re lightweight and can save time during repairs.
Don’t forget to check the quick-connect fittings. They can be prone to wear and should be inspected regularly. If you notice any cracks or significant wear, replacing them is a straightforward task that can prevent more significant issues later on.
For those looking to extend the lifespan of their equipment, maintaining connections is just one part of the puzzle. Regular upkeep is vital to ensure your device operates at its best. For further insights, check out this guide on how to properly maintain your pressure washer so it operates at peak efficiency.
Testing the pump after repairs
Once you’ve completed the necessary adjustments, it’s crucial to ensure everything operates smoothly. Begin by reconnecting the water supply, making sure all connections are tight and secure. Turn on the water and allow it to fill the system for a minute. This will help eliminate any air pockets that might have formed during repairs.
Next, power up the unit and observe for any unusual sounds or vibrations. A healthy machine should run quietly, with a steady hum. If you hear a rattling noise, it may indicate an internal issue or misalignment. If the noise is consistent with the previous problem, you may need to revisit your earlier steps.
Check the flow of water. Aim the nozzle at a safe surface, and activate the trigger. The spray should be strong and consistent. If the pressure fluctuates or the stream is weak, inspect the seals and connections again. Sometimes, even a slight oversight can cause a drop in performance.
Allow the unit to run for a few minutes and keep an eye out for any signs of leaks. Look around joints and fittings. If you notice water escaping, it indicates that seals may need further attention. Remember, small leaks can escalate quickly, leading to more significant issues.
After a thorough test, it’s wise to turn off the unit and allow it to cool down. Check for any residual water in the system, particularly in areas you’ve recently repaired. Proper maintenance after testing can prolong the life of your equipment and prevent future complications.
Lastly, document your findings. Keeping a record of repairs and tests can help you identify patterns or recurring issues over time. This will not only assist you in future maintenance but can also be beneficial if you decide to sell or upgrade your equipment. It’s all about ensuring reliability and performance in the long run.


.jpg)


