


Start by disconnecting the appliance from the power source. Safety is paramount, and this step ensures that you avoid any electrical mishaps while working on the device. Once it’s unplugged, inspect the connections carefully. Loose or damaged hose fittings can lead to leaks and reduced performance. A simple tightening or replacement of these components can often resolve many issues.
Next, check the filtration system. Over time, debris can accumulate, obstructing water flow and causing inefficiencies. Remove the filter and rinse it under running water to clear any blockages. If the filter appears worn or damaged, replacing it can significantly enhance the unit’s functionality.
Another common concern is the pump mechanism. If you’re experiencing reduced pressure during operation, it may be due to air trapped within the system. To release the air, turn on the appliance briefly after ensuring all connections are secure. This simple act can restore optimal performance without the need for complex repairs.

If your unit shows signs of leaks, inspect the seals and gaskets. These components can wear out over time, leading to water escaping from various points. Replacing these parts is often straightforward and can be accomplished with minimal tools. Always consult your user manual for specific details related to your model.
Finally, regular maintenance is key. Clean the exterior and storage areas to prevent dirt buildup, and check hoses for any signs of wear. This proactive approach not only enhances the longevity of your appliance but also ensures it operates at peak efficiency whenever you need it.
Steps to Resolve Issues with a High-Pressure Cleaning Unit Connected to a Laundry Appliance
Start by inspecting the connection point where the high-powered cleaning unit interfaces with the laundry appliance. A loose or damaged coupling can lead to leaks or inadequate performance. Ensure that all fittings are tightened securely.
- Check the inlet filter for debris. A clogged filter can restrict flow, affecting operation. Clean or replace it as necessary.
- Examine the hoses for kinks or wear. Any damage can impede water flow. If you spot any issues, consider replacing the affected hose.
- Look at the pressure regulator. If the pressure is too low, it may require adjustment or replacement. Refer to the manufacturer’s specifications for the correct settings.
Next, assess the power supply to the cleaning unit. Insufficient power can lead to inconsistent performance. Use a multimeter to verify that the voltage matches the required specifications. If you find discrepancies, check the circuit breaker or fuse.
Particularly, pay attention to the operational sounds. Any unusual noises could indicate mechanical failure. If the motor is making strange sounds, the bearings or pump may need lubrication or replacement.
- Disconnect the unit from the power source before performing any maintenance.
- Inspect the motor for any visible signs of wear or damage.
- Consult the user manual for specific troubleshooting steps related to your model.
If all else fails, consider reaching out to a professional technician. Sometimes, the complexity of internal components requires expert attention. It’s better to address issues promptly to avoid further damage.
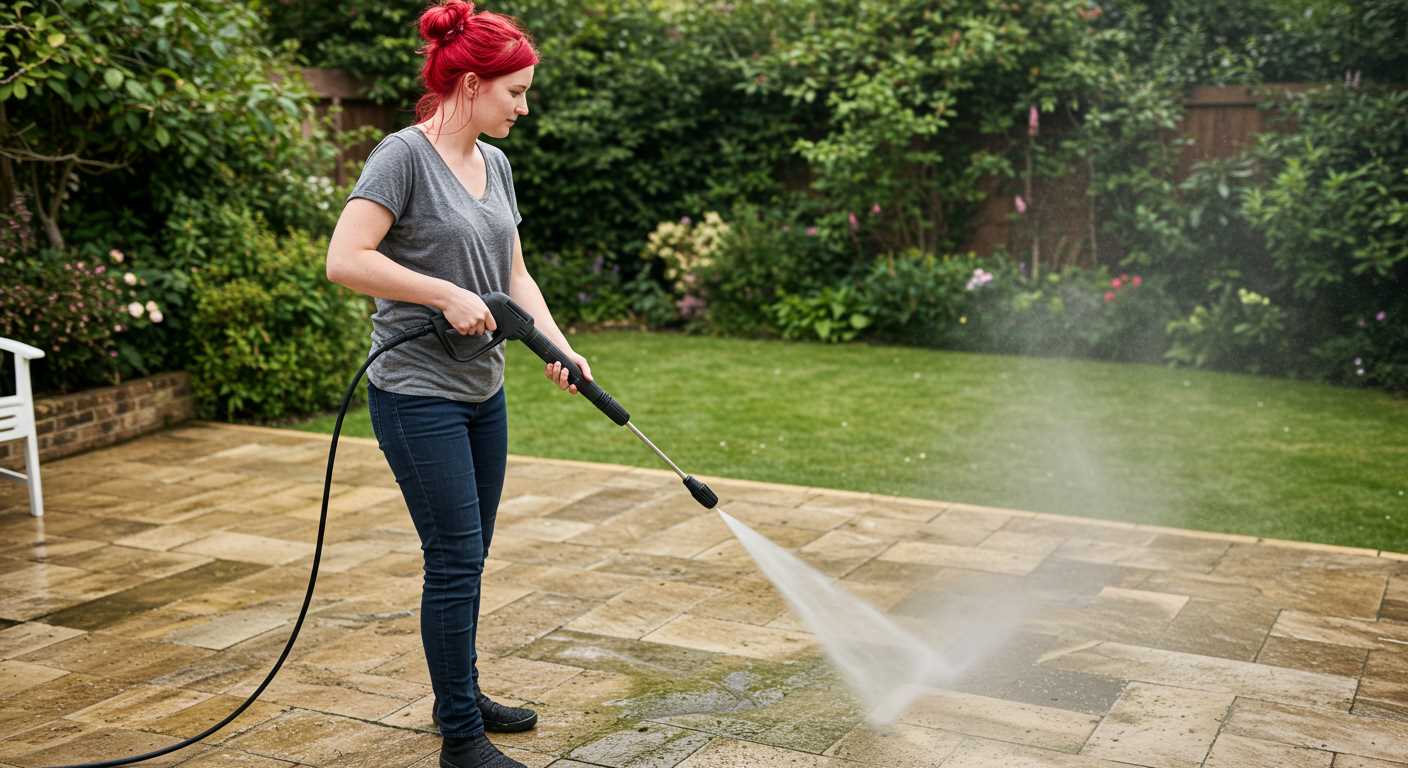
Identifying Common Pressure Washer Issues
When tackling common problems, start by checking for a lack of water flow. This often stems from a blocked inlet filter. I recall a time when a customer called in, frustrated that their unit wouldn’t start. After a quick inspection, it turned out that the filter was clogged with debris. A simple rinse resolved the issue, and they were back in business.
Another frequent concern is inconsistent pressure. This could be due to a faulty nozzle. I remember testing various nozzles during my time as a consultant. Some would underperform simply because they were worn out or damaged. Replacing the nozzle can significantly enhance performance. Always keep an extra on hand to avoid downtime.
Leak Troubles
Leaks are a common headache. They typically occur at the connections or hoses. During one particularly busy season, I encountered multiple units with leaks due to worn O-rings. A quick replacement of these seals can save you a lot of hassle. Always check the connections before assuming a more significant issue.
Engine Performance Issues
If the engine struggles to start or stalls, it’s often linked to fuel quality. I’ve seen many machines fail due to old or contaminated fuel. Regularly changing the fuel and using stabilisers can prevent this problem. Additionally, ensure the air filter is clean. A dirty filter can choke the engine, leading to poor performance.
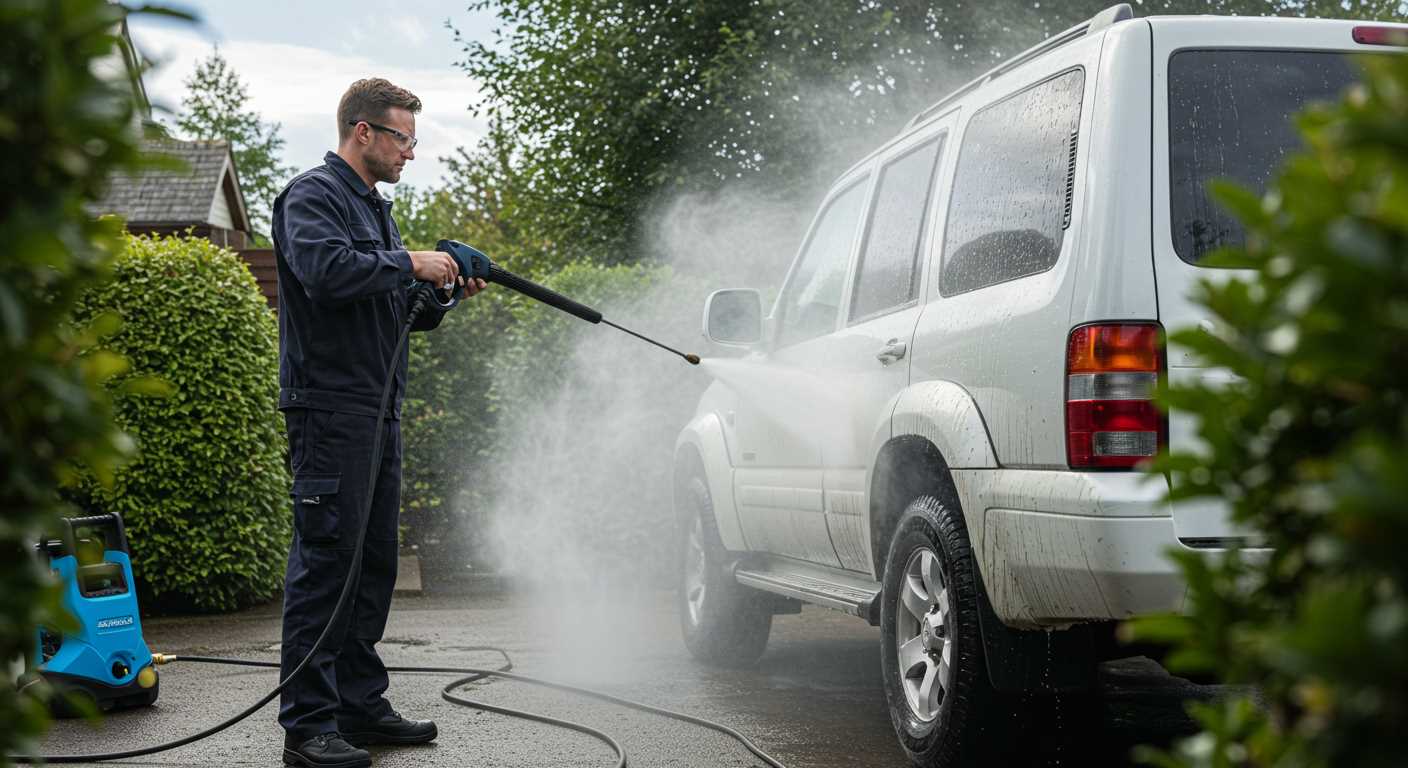
Tools Required for Pressure Washer Repair

To tackle issues with high-pressure cleaning devices, having the right tools at your disposal is paramount. Carefully selecting your equipment can significantly streamline the repair process.
Basic Tools
- Socket Set: A complete socket set is crucial for removing and tightening various screws and bolts. Ensure you have both metric and imperial sizes.
- Screwdriver Set: A selection of flathead and Phillips screwdrivers will help you access different components. Magnetic tips can be handy for retrieving dropped screws.
- Adjustable Wrench: This versatile tool is essential for loosening or tightening fittings and hoses.
- Pliers: Needle-nose and standard pliers are useful for gripping, twisting, and cutting wires or small parts.
Specialty Tools
- Pressure Gauge: To measure the output pressure accurately, a gauge can help diagnose performance issues.
- Multimeter: Useful for checking electrical connections and diagnosing issues with the motor or other electronic components.
- Torque Wrench: Ensures that fasteners are tightened to the manufacturer’s specifications, preventing damage from over-tightening.
- Sealant or Gasket Maker: In case of leaks, having sealants on hand can provide a quick solution to minor issues.
During my years in the field, I encountered various situations where having the right tool saved me time and frustration. For instance, I once had to replace a damaged hose on a unit, and my adjustable wrench made the job far simpler, allowing me to access tight spaces without hassle. Each tool has its purpose, and understanding that can make a substantial difference in your repair experience.
Step-by-Step Guide to Disassembling the Pressure Washer
Begin by unplugging the unit and disconnecting the water supply. This prevents any accidental activation during disassembly. Using a screwdriver, remove the screws securing the casing. Keep these screws in a safe place; they can easily get lost.
Carefully lift off the outer casing. Take note of how everything is arranged; taking pictures can be beneficial for reassembly. Inspect the internal components for any visible signs of wear or damage, particularly around seals and gaskets.
Next, detach the motor assembly. This usually involves unscrewing a few bolts. Be gentle with the wiring; if you’re unsure, label each connector before removal to avoid confusion later.
Once the motor is free, focus on the pump. Remove any hoses connected to it, taking care to note their positions. Use a wrench to loosen any fittings. If you encounter resistance, apply penetrating oil and let it sit for a few minutes.
After the pump is detached, inspect the valves and seals. These are common failure points that can cause leaks or reduced performance. Consider replacing them if they appear worn. For specific needs like concrete cleaning, check out a pressure washer nozzle for concrete.
Finally, clean all components thoroughly before reassembly. A clean unit not only functions better but also lasts longer. Follow the reverse order of disassembly, ensuring everything is securely fastened and correctly connected.
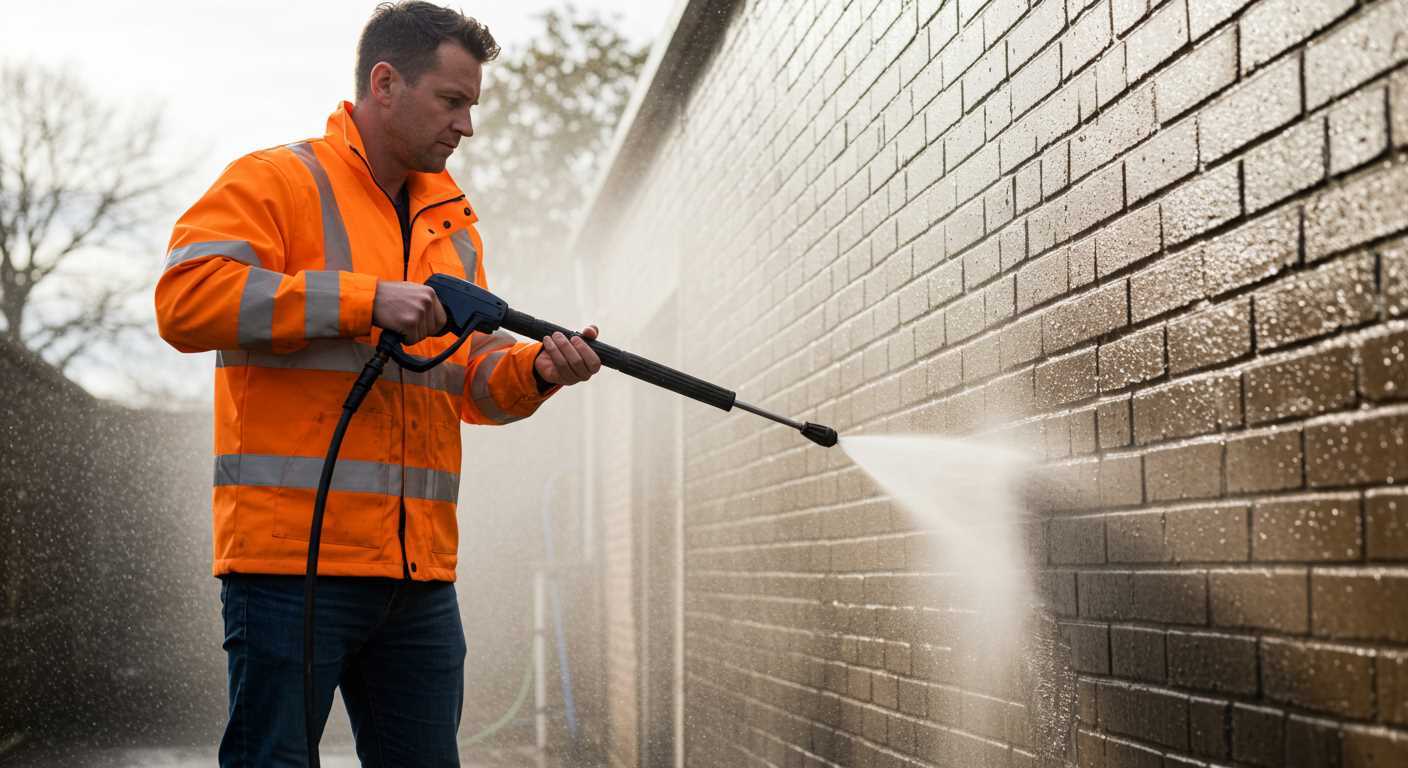
Common Repairs for Leaks and Blockages
One of the most frequent issues I encountered in my years working with cleaning equipment is leaks. Often, a simple tightening of connections resolves the problem. Start by inspecting all fittings; sometimes, they just need a quarter turn to seal properly. If the leak persists, consider replacing worn-out O-rings or seals, which can easily degrade over time due to pressure and exposure to detergents.
Blockages are another common headache. I remember a particularly stubborn case where the nozzle was completely clogged. A thorough cleaning of the nozzle with warm soapy water and a soft brush did wonders. If that doesn’t work, a gentle poke with a thin wire can help dislodge any stubborn debris. Always check the inlet filter as well; it can accumulate dirt and reduce flow significantly.
Regular Maintenance Tips
To prevent future issues, regular maintenance is key. After each use, I always rinse out the system to remove any residue. This practice extends the life of components. Additionally, keeping an eye on the hoses for cracks or wear can save you from sudden leaks. For anyone dealing with hard water, consider descaling your system periodically. This not only improves performance but also prevents blockages. If you need a guide for cleaning other equipment, check out this link on how to clean an aquarium air stone.
Dealing with Persistent Issues
If leaks and blockages continue to plague your equipment, consider the age of the unit. Sometimes, older models simply need replacement parts that are no longer in production. In those cases, retrofitting newer components can breathe new life into your system. Don’t hesitate to consult the user manual for specific troubleshooting tips tailored to your model.
Reassembling the Pressure Washer Correctly
Ensure all components are clean and dry before starting the assembly. This prevents contamination and guarantees a proper seal when everything is put back together. Begin with the pump assembly. Align the pump with the motor, ensuring that the drive shaft fits snugly into the corresponding slot. Use a torque wrench to secure the bolts to the manufacturer’s specifications for optimal performance.
Next, focus on the inlet and outlet valves. Check the O-rings for wear and replace them if necessary. Slide the valves into their respective positions, making certain they sit flush against the surfaces. A misalignment here can lead to leaks. Use a small amount of lubricant to help the O-rings seat properly.
For the hose connections, inspect the fittings for any debris. Clean them thoroughly before reattaching. When reconnecting hoses, ensure that they are securely tightened, but be careful not to overtighten, as this can damage the threads. A simple visual check can confirm that everything is aligned correctly.
Here’s a quick reference table to assist with the assembly process:
| Component | Steps for Assembly | Common Mistakes |
|---|---|---|
| Pump Assembly | Align with motor; secure with bolts. | Incorrect torque settings. |
| Inlet/Outlet Valves | Check O-rings; align and insert valves. | Misalignment causing leaks. |
| Hose Connections | Clean fittings; tighten securely. | Over-tightening damaging threads. |
After assembling, connect the power supply and run a short test cycle. Listen for unusual noises and check for leaks. If all sounds normal and there are no leaks, you’ve successfully put everything back together. Remember, each component plays a vital role in functionality, so pay close attention during this process. I’ve seen units fail simply because a small part wasn’t fitted correctly.
Testing the Pressure Cleaner After Repair
Begin the evaluation by connecting the unit to a water supply and ensuring all fittings are tight. A loose connection can lead to leaks, which you want to rule out before powering it on. Once the water is flowing, check for any signs of drips or moisture around the hoses and connectors.
Next, plug in the device and switch it on. Pay attention to any unusual sounds or vibrations. A well-functioning model should operate smoothly without excessive noise. If there’s a rattling or grinding sound, it might indicate that components are misaligned or damaged.
After the initial power-up, test the spray pattern. Point the nozzle at a safe surface and activate the trigger. The stream should be consistent and powerful. If it’s weak or splattering, there may still be blockages or issues with the pump. This is a key indicator that further inspection is necessary.
During this phase, observe the performance under pressure. If you have adjustable settings, try them out to ensure they respond correctly. A failure to change the intensity could mean that the pressure regulation system isn’t functioning as it should.
Lastly, take a moment to assess the overall operation. Look for any leaks during use and ensure that the water flow is steady. After a few minutes of running, you should also check for overheating. If the unit becomes excessively hot, this could signal an internal issue that requires attention.
Once you’ve completed these checks, record your findings. If everything runs smoothly, it’s a good sign that your repairs were successful. If not, it’s worth revisiting the steps taken and considering further disassembly for a deeper look at the internal components.
.jpg)


