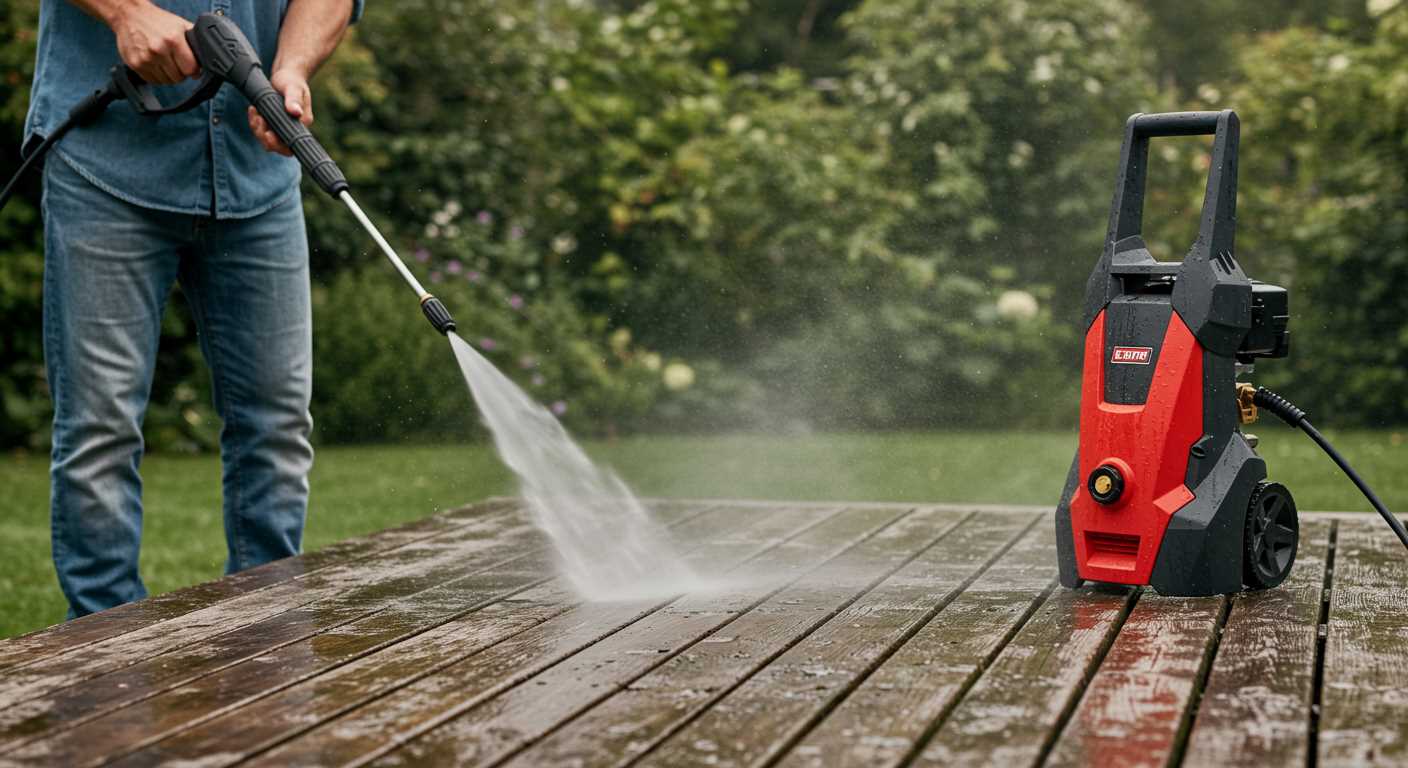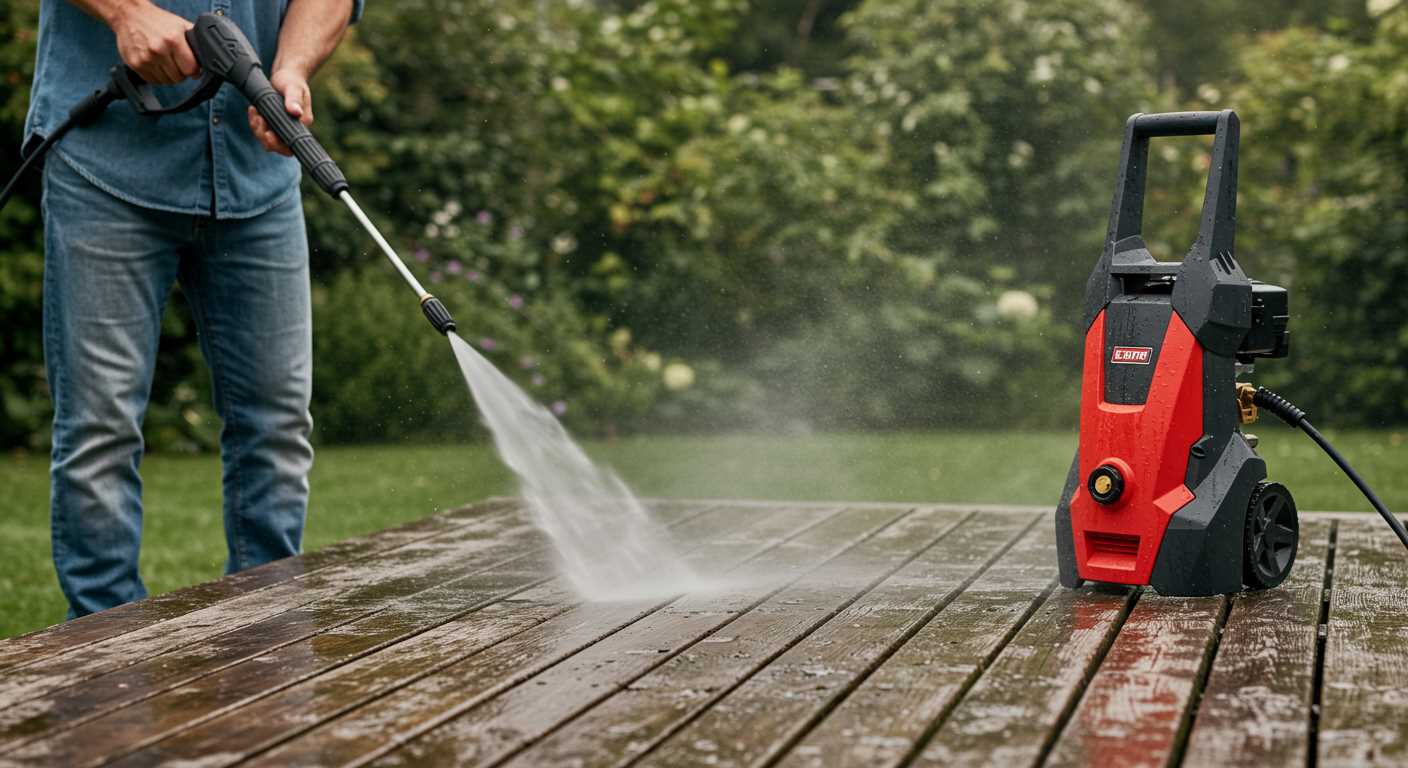


First, ensure that the starting mechanism is disengaged from the assembly. This often involves removing the outer casing of the motor. Use a screwdriver to gently detach the screws holding the casing in place, taking care not to strip them. Once removed, inspect the recoil spring and the guide for any signs of wear or damage.
Next, if the spring appears to be broken or dislodged, carefully rewind it into its housing. Position the spring so that it sits snugly within the unit, ensuring it aligns correctly with the guide. If the spring is intact, check the rope for fraying or knots, which can impede smooth retraction. Replace the rope if necessary, following the manufacturer’s specifications for length and thickness.
After reassembling the unit, test the mechanism by pulling the starting handle. It should move smoothly without resistance. If any issues persist, double-check your connections and ensure that all components are seated properly. Taking these steps will not only restore functionality but will also prolong the life of your equipment.
Identifying the Symptoms of a Faulty Starting Mechanism
Recognising issues with the starting mechanism can save time and effort. Here are the key signs to watch for:
1. Difficulty in Pulling
- If you notice resistance when trying to engage the mechanism, it’s often a sign of a malfunction.
- Excessive force required to initiate movement typically indicates a problem with the internal components.
2. Inconsistent Engagement
- A situation where the mechanism occasionally catches and sometimes doesn’t can point to wear or misalignment.
- If it starts once and fails to engage again, check for proper alignment and tension.
3. Visible Damage or Wear
- Inspect the housing for cracks or breaks; these can prevent effective operation.
- Look for frayed or damaged components that could hinder performance.
In my experience, it’s often the less obvious signs that lead to bigger issues down the line. Regular checks can prevent more significant repairs later on.
Gathering Necessary Tools for the Repair
To tackle the task of restoring your equipment’s start mechanism, you’ll need a few specific tools. First, grab a screwdriver set with both flathead and Phillips heads. These are crucial for accessing the housing and any screws that hold components in place. A socket wrench set comes in handy as well, particularly for tightening or loosening bolts that may be present.
Additional Items to Consider
Next, a pair of pliers will be beneficial, especially for gripping and pulling on stubborn pieces. A utility knife can assist in cutting through any frayed cords or materials that need replacing. Lastly, having a pair of gloves is a smart choice; they protect your hands from sharp edges and keep them clean while you work.
Workspace Preparation
Don’t forget to set up a clean and well-lit workspace. This makes it easier to see what you’re doing and prevents losing small parts during the repair. A magnetic tray can be particularly useful for keeping screws and nuts organised. With these tools and preparations in place, you’ll be equipped to proceed with the restoration process efficiently.
Removing the casing of the pressure cleaner
Begin by disconnecting the device from any power source. This step is non-negotiable for safety. Next, locate the screws securing the outer shell; these are usually situated around the edges of the casing. Use a screwdriver that fits the screws properly to avoid stripping them.
Once the screws are removed, gently pry the casing apart. Be cautious of any clips or latches that may not be immediately visible. I’ve had instances where I rushed and cracked the shell due to excessive force. A little patience goes a long way here.
After separating the outer shell, pay attention to the internal components. Often, you’ll find the recoil assembly where the string may be tangled or broken. Ensure you don’t lose any small parts during this process; I recommend using a shallow container to keep everything organised.
In my experience, it’s helpful to take pictures as you go. This practice aids in reassembly, especially if you’re not familiar with the layout. Just a couple of snapshots with your phone can save you a lot of headaches later.
Once you’ve accessed the mechanism, you can proceed to examine it thoroughly. Look for signs of wear or damage, which could provide clues to the issues you might be facing. Remember, a clean workspace helps maintain focus and reduces the risk of losing parts.
Inspecting the pull cord for damage
Begin by closely examining the line for frays or breaks. A worn area can lead to malfunction when you try to start the engine. Run your fingers along the length of the rope, feeling for any rough spots or inconsistencies. If you notice any significant wear, it’s time for a replacement.
Next, check the termination points. The ends should be securely fastened; if they’re loose or detached, that could cause issues when you attempt to crank the machine. Ensure the knot at the end is tight and not slipping out of the handle or spool. If the knot looks questionable, it’s wise to retie it properly.
Don’t forget to inspect the recoil mechanism itself. Occasionally, dirt or debris can get lodged within the housing, hindering the line’s retraction. Clear any obstructions you find, as they can affect the overall performance. A clean environment allows the cord to operate smoothly.
Lastly, if you hear any unusual sounds while pulling the line, it may indicate that the internal components are worn or damaged. Listen carefully while testing the action; any grinding or unusual friction signals a deeper issue that needs addressing. Trust your instincts–if something feels off, it probably is.
Replacing a Broken Pull Cord Step-by-Step
Begin by securing the replacement cord, ensuring it’s the correct length and strength for your device. A standard length for most models is around 4 to 6 feet, but verify specifics based on your model.
Next, open the recoil assembly. Locate the screws holding the assembly together and remove them carefully. Be cautious of any springs that might be under tension; these can be tricky if they shoot out unexpectedly. Once the casing is removed, you’ll see the spool where the line is wound.
Carefully unwind any remaining old cord from the spool. If the spool is damaged, replace it entirely rather than attempting to salvage it. If the spring is intact, take note of how it is wound. This detail will be crucial when reinstalling the new cord.
Thread the new line through the spool’s hole, leaving an adequate length for the handle. Wind the new cord around the spool in the same direction as the old line. This ensures the tension remains correct for proper retraction. Once sufficiently wound, thread the end through the handle and tie a secure knot.
Reassemble the recoil unit, ensuring everything sits flush. When tightening screws, be careful not to overtighten, as this can crack the casing. Test the mechanism by gently pulling the cord to ensure it retracts smoothly.
With the assembly back in place, reconnect any parts removed during the disassembly. Check for any misalignments or loose components that could affect performance. Once everything is reassembled, conduct a quick test to see if the machine starts properly. If all is well, you’re ready to go!
After completing repairs, if you’re looking to tidy up outdoor surfaces, consider checking out how to clean concrete blocks with or without a pressure washer. It’s a great way to maintain your equipment and your surroundings.
Lastly, remember that maintaining your tools extends their lifespan and performance. Regular inspections and timely repairs are key. Speaking of tools, have you ever thought about how gadgets like cameras impact the environment? Check out whether are digital cameras bad for the environment for some interesting insights.
Reattaching the Recoil Mechanism Correctly
To ensure the recoil assembly functions smoothly, alignment is key. Begin by positioning the mechanism within the housing, ensuring that the spring is properly seated in its designated slot. The spring should not be twisted or kinked; check that it unwinds freely.
Follow these steps for a successful reattachment:
- Align the recoil mechanism with the mounting holes in the casing.
- Insert screws or bolts to secure the assembly, tightening them evenly to avoid misalignment.
- Check the cord’s routing through the guide. It should not rub against any sharp edges.
- Pull the cord gently to test the recoil action. It should retract smoothly without resistance.
After securing the mechanism, double-check all connections. A loose fitting can lead to malfunction. Once satisfied, replace the outer casing and secure it with the appropriate fasteners. Ensure all screws are tightened uniformly to prevent any stress points.
If you notice the cord is still not retracting properly, you may need to disassemble and inspect once more. Sometimes, a simple misalignment or a snag can cause issues. Trust me, taking a moment to verify your work pays off.
Testing the Recoil Mechanism Functionality
Once repairs are complete, ensuring the recoil mechanism operates smoothly is crucial. First, stand the unit upright on a stable surface, ensuring no obstructions are in the way. Pull the handle firmly and observe the movement. It should retract smoothly without resistance or jamming.
What to Look For
Pay attention to the following aspects during the test:
| Observation | Expected Result | Action if Not Met |
|---|---|---|
| Smooth retraction | Cord retracts fully without hesitation | Check for kinks or misalignment |
| Consistent tension | Tension remains even throughout the pull | Inspect spring for damage or incorrect installation |
| Noise level | Minimal noise during operation | Lubricate components if necessary |
| Handle grip | Handle remains securely attached during use | Tighten or replace handle if loose |
Final Checks
After the initial test, give it a few more pulls to ensure consistency. If everything operates smoothly, you can confidently consider the repair successful. If issues persist, revisit the assembly process to confirm all components are correctly installed and functioning as intended.
Preventative maintenance for starter ropes
Regular inspection and upkeep of the starter rope mechanism can prevent future issues. I always recommend checking the rope for fraying or wear after every few uses. This simple habit can save you time and hassle down the line. When I worked in the field, I would often encounter customers who overlooked this crucial step, only to find themselves stranded with a malfunctioning machine.
Lubrication is key
Applying a light lubricant to the recoil mechanism can help ensure smooth operation. I used a silicone spray for this purpose, which worked wonders in maintaining flexibility and reducing friction. Remember to wipe away any excess to avoid attracting dirt or debris, as that can lead to more significant problems later.
Storage considerations
When not in use, store the equipment in a dry, sheltered location. Extreme temperatures, especially cold, can cause the rope materials to harden and become brittle. I once had a customer who kept their unit outside during winter, and the starter rope snapped on the first pull come spring. A simple cover or indoor storage could have prevented that mishap.
When to Seek Professional Help for Repairs
Engaging a technician is wise when you encounter persistent issues after your attempts at repair. If the starting mechanism still fails to operate correctly despite replacements or adjustments, it’s a sign that further expertise is needed.
Additionally, if you notice unusual sounds, excessive friction, or if components appear damaged beyond simple fixes, these are indicators that a trained professional should assess the situation. Components such as the recoil spring or the housing may require specialised tools or knowledge for effective resolution.
Complexities arise when the engine or other internal systems are involved. If disassembly leads to confusion or uncertainty about reassembly, reaching out for assistance can save time and prevent further complications.
In cases where the equipment has been subjected to extensive wear and tear, professional evaluation will help determine whether repairs are feasible or if replacement is a more economical choice.
Lastly, if you lack the tools or confidence to proceed with repairs, seeking expert guidance ensures safety and reliability in restoration. Your equipment deserves the best care, and sometimes that means letting a professional handle it.


.jpg)


