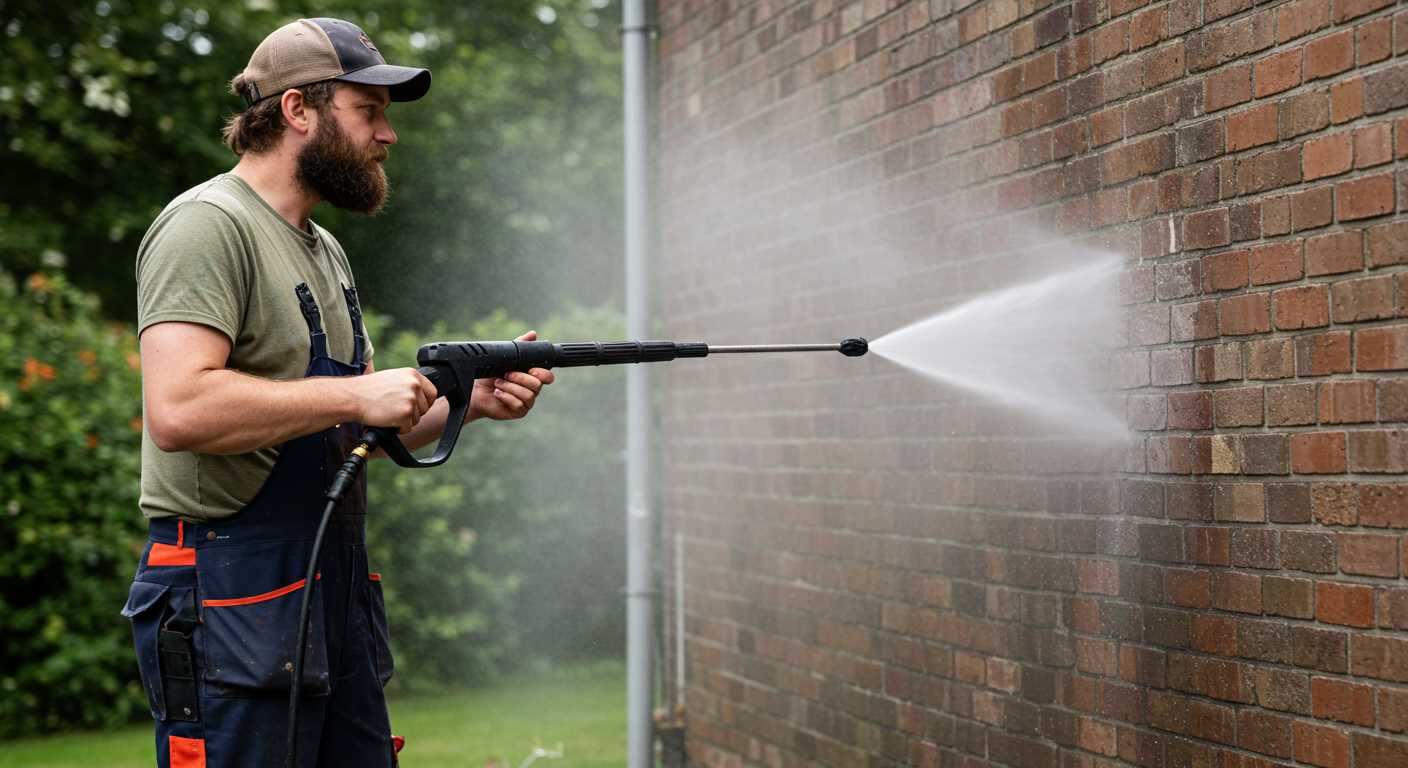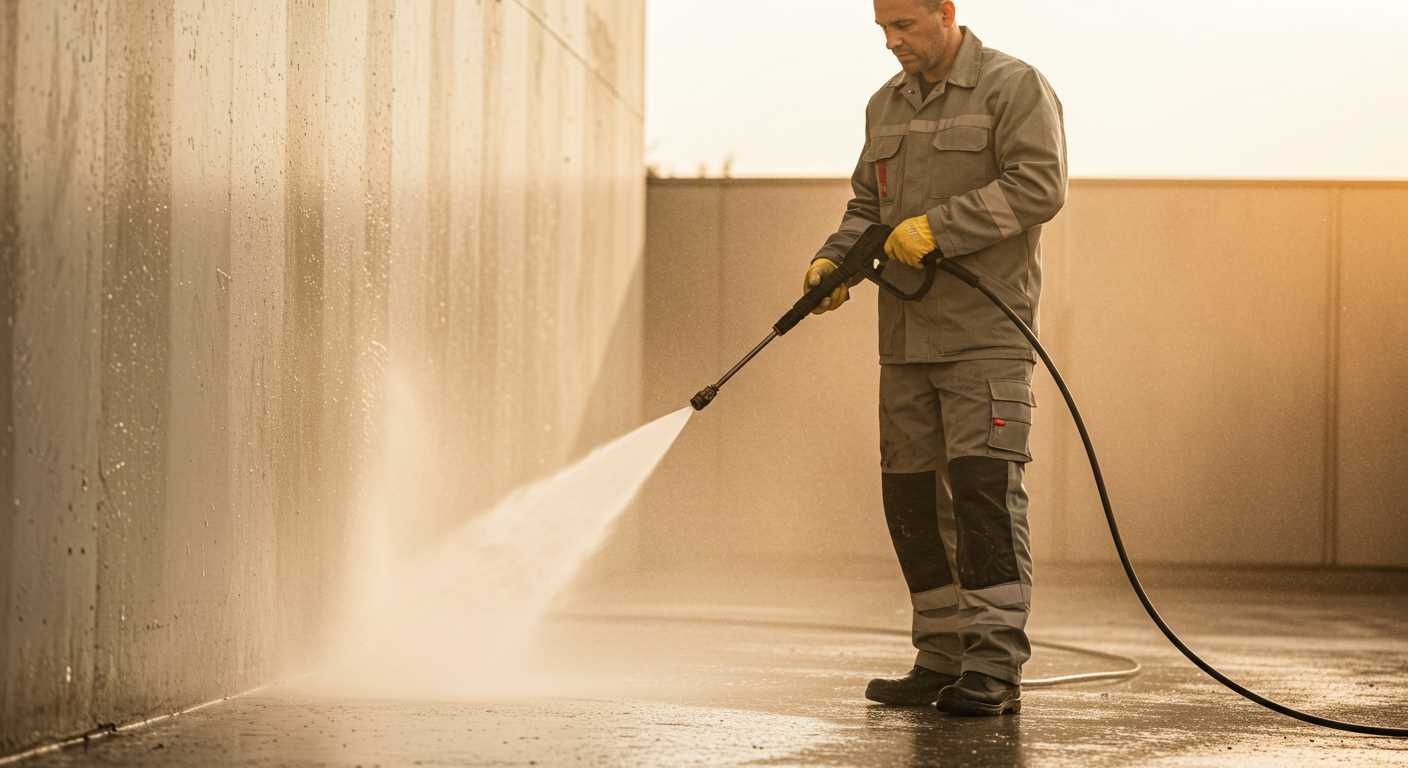


To restore functionality to a malfunctioning cleaning device, begin with a thorough assessment of the ignition system. Check the spark plug for wear or carbon build-up. Replacing the spark plug can often breathe new life into the unit. I recall a unit I had on my workbench that wouldn’t start; a simple replacement transformed it completely.
Next, inspect the fuel system. Old or contaminated fuel can lead to performance issues. Draining the fuel tank and replacing it with fresh petrol can work wonders. I once encountered a machine that sat idle for months, and after replacing the stale fuel, it roared back to life. Always ensure the fuel filter is clean; a clogged filter can restrict flow, causing the motor to stall.
Examine the oil level and condition. Low or dirty oil can hinder performance significantly. If the oil appears murky or has a burnt smell, change it immediately. I learned this lesson the hard way during a busy season when a colleague’s unit failed due to neglecting this simple task. A quick oil change saved the day!
Lastly, check for any mechanical obstructions. A jammed component can prevent the motor from starting. Manually turning the crankshaft can help identify any resistance. I remember once finding debris lodged in a gearbox, which, once cleared, allowed the machine to function smoothly again.
Repairing a Stuck Motor on Your Cleaning Equipment
Begin with a thorough inspection of all components. Disconnect the power source and remove any attached hoses. This eliminates potential hazards and prepares you for the task ahead.
Next, check for any visible obstructions in the crankcase or combustion chamber. Sometimes, debris can block movement, so removing the spark plug and inspecting the cylinder can reveal what’s causing the issue. If you notice any foreign objects, gently extract them.
Applying penetrating oil into the spark plug hole can aid in loosening the internal parts. Let it sit for several hours, allowing the lubricant to seep into the components. Afterward, attempt to manually rotate the crankshaft using a wrench. If it resists, apply more oil and give it additional time.
If the motor still won’t budge, take a closer look at the fuel system. Stale fuel can lead to varnish buildup, which may affect the pistons. Draining the fuel tank and replacing it with fresh fuel might resolve hidden issues.
Should these steps not yield results, disassembly may be necessary. Carefully take apart the unit, documenting each step to ensure proper reassembly. Examine the bearings and seals for damage. If they’re worn, replacing them is often a quick solution to restore functionality.
Before reassembling, clean all parts thoroughly. Removing grime and old lubricant can help prevent future problems. Once everything is cleaned and checked, reassemble the unit, ensuring all components are aligned correctly.
Upon completion, conduct a thorough test. Monitor for any unusual sounds or vibrations during operation. If all goes well, you should have a fully functioning machine ready for use.
Identifying Symptoms of a Seized Engine
Listen for any unusual sounds when starting the machine. A grinding or clattering noise can indicate internal damage. If you hear a loud pop or a sudden stop, it’s a strong signal that something is wrong.
Check for any resistance when pulling the starter cord. If it feels stuck or overly tight, this could be a sign of internal components being jammed. A smoothly operating pull should have some tension but not be impossible to pull.
Look for oil leaks or excessive smoke during operation. A significant oil leak may suggest a critical failure within the motor. If the unit emits thick smoke, this can indicate overheating or burning components.
Monitor the exhaust. If there’s a strong smell of burnt oil or a change in colour, it may point to severe issues. A healthy exhaust should emit a clear or slightly smoky discharge, not a heavy cloud.
Inspect the spark plug for signs of wear or damage. A fouled or corroded spark plug can prevent the machine from starting and might indicate deeper problems in the combustion chamber.
Lastly, check for any fluid in the fuel tank that appears discoloured or has a foul odour. Contaminated fuel can lead to poor performance and might result in internal complications that could cause the motor to seize.
Gathering Necessary Tools and Materials
Begin with a socket set, particularly one that includes metric and imperial sizes. This will help you remove various bolts and components without hassle. A combination of ratchets and extensions is invaluable for reaching those awkward spots that can be typical in compact machinery.
Next, grab a torque wrench. It ensures that when you reassemble parts, they are tightened to the correct specifications, preventing future issues. A good-quality torque wrench can make all the difference in achieving proper assembly.
Lubrication and Cleaning Supplies
You’ll also need penetrating oil, like WD-40 or a similar product. This will assist in loosening components that have become stuck due to rust or grime. Don’t forget to have rags on hand for cleaning up any spills or excess oil. A wire brush is useful for scrubbing away stubborn dirt and corrosion on metal surfaces.
Safety Gear
Safety goggles and gloves are a must. Protecting your eyes and hands while working with machinery should never be overlooked. A pair of sturdy work gloves will help you grip tools better and protect your skin from sharp edges or hot components.
Lastly, consider having a manual for your specific model. It serves as a great reference point for torque specifications and assembly diagrams. If you’re feeling adventurous, you might also find time to explore other DIY projects, such as how to can deer meat without a pressure cooker, while you’re at it.
Removing the Engine from the Pressure Cleaner
First, disconnect the spark plug wire to prevent accidental ignition. This is a simple yet critical step to ensure safety during the removal process.
Next, gather the necessary tools: a socket set, screwdrivers, and pliers. Make sure you have a clean workspace to keep track of all components.
Begin by removing any panels covering the motor. Typically, this involves unscrewing several screws or bolts. Keep these fasteners in a labelled container for easy reassembly later.
- Check for any electrical connections. Carefully disconnect them, noting their positions for later reconnection.
- Inspect the fuel lines. If they are attached to the unit, gently detach them, taking care to avoid fuel spillage.
Now, locate the mounting bolts securing the motor to the frame. Use your socket set to remove these bolts. It’s advisable to support the unit while loosening the last bolt to prevent it from falling.
With the bolts removed, lift the motor straight up and away from the frame. If it feels stuck, double-check for any remaining connections or fasteners that may have been overlooked.
Once removed, place the motor on a stable surface. From my experience, keeping it upright can prevent any potential leaks from residual fluids.
After completing these steps, you’ll have the motor separated and ready for inspection or repairs. Always remember to document each step with photos or notes to aid in reassembly.
Inspecting Internal Components for Damage
Begin by removing the cylinder head to expose the internal parts. Inspect the piston for scoring or scratches. A damaged piston can significantly affect performance, so look closely for any signs of wear. If you notice deep grooves or pits, replacement is necessary.
Cylinder Inspection
Next, examine the cylinder walls for damage. Use a flashlight to spot any cracks or excessive wear. A smooth surface is critical for proper seal and function. If the cylinder appears damaged, honing or replacement may be required. Check the cylinder head gasket as well; a blown gasket can lead to further issues.
Connecting Rod and Crankshaft
After that, assess the connecting rod and crankshaft. Rotate the crankshaft manually if possible, feeling for any resistance or unusual sounds. Any play in the connecting rod can indicate wear; if it feels loose, it might need replacing. Inspect bearings thoroughly for signs of damage or wear as well.
Carefully check all seals and gaskets for leaks. Replacing worn seals can prevent future complications. Lastly, clean all components meticulously before reassembling, ensuring no debris remains that could cause further issues.
Applying Lubrication to Free the Seized Parts
Begin by selecting a suitable lubricant such as penetrating oil or a light machine oil. These products are designed to penetrate tight spaces and break down rust and grime. Apply the lubricant generously to the affected areas, focusing on the crankshaft, connecting rod, and any visible bolts or screws that may be rusted or stuck.
Allow the lubricant to sit for a minimum of 30 minutes. In my experience, patience pays off here. During this time, the oil can seep into the tight spots and begin to do its work. If the first application doesn’t seem effective, repeat the process. A second or even third application may be necessary for stubborn components.
After the waiting period, gently tap the components with a rubber mallet. This encourages any stubborn parts to loosen without causing damage. Be cautious; excessive force can lead to further complications.
Once you feel some movement, try to rotate any shafts or pistons. If they begin to move, continue applying lubricant while gently working them back and forth. This gradual approach helps to ensure that everything is freed without causing additional harm.
| Lubricant Type | Application Method | Recommended Wait Time |
|---|---|---|
| PENETRATING OIL | Apply generously, focus on rusted areas | 30 minutes |
| MACHINE OIL | Apply to moving parts and joints | 1 hour |
| GREASE | For thicker components, apply directly | 24 hours |
Once the parts are free, clean any excess lubricant to prevent future build-up. Regular maintenance, including occasionally lubricating the moving parts, can help prevent these issues from reoccurring. If you find yourself needing to clean surfaces without using pressure equipment, consider cleaning the terrace gently without a pressure washer as an alternative method.
Reassembling the Engine and Testing for Functionality
After ensuring all internal components are free from damage and lubricated, it’s time to put everything back together. Align the crankcase halves carefully, making sure that all gaskets and seals are in their correct positions to prevent any leaks. Tighten the bolts in a crisscross pattern to maintain even pressure across the casing. This step is crucial; I’ve seen many units fail due to improper sealing, leading to oil leaks and operational issues.
Next, reinstall the spark plug, ensuring it’s torqued to the manufacturer’s specifications. A well-fitted spark plug is vital for smooth ignition. I remember one instance where a simple oversight here caused frustration during testing. Double-check all connections, especially electrical ones, ensuring they’re secure and free from corrosion.
Once everything is reassembled, it’s time to conduct functionality tests. Begin by adding the appropriate fuel and oil. I recommend using fresh fuel to avoid starting issues caused by stale gasoline. Crank the unit a few times without starting to allow the oil to circulate. This practice can prevent unnecessary wear on the components upon initial ignition.
With everything set, start the machine and listen carefully. Pay attention to any unusual sounds that might indicate problems. A smooth, even running sound signifies that everything is functioning as it should. If the unit struggles to start or runs roughly, turn it off immediately to prevent further damage. In my experience, troubleshooting at this stage can save a lot of time and effort in the long run.
Finally, after a successful test, run the washer at idle for a few minutes before applying any load. This step helps in warming up the motor and ensures all components are operating correctly under normal conditions. Regular checks and maintenance afterwards will keep your equipment in top shape, prolonging its lifespan and performance.
Preventative Maintenance to Avoid Future Seizures
Regular care is key to prolonging the life of your cleaning machine. Here are a few practices I’ve found invaluable over the years:
- Routine Oil Changes: Change the oil every 50 hours of operation or at least once a year if not used frequently. This keeps internal parts lubricated and prevents build-up that can lead to issues.
- Fuel Quality: Always use fresh fuel and consider adding a fuel stabiliser if the unit will sit unused for an extended period. Stale fuel can cause clogs and poor performance.
- Check Air Filters: Clean or replace air filters as needed to ensure proper airflow. A clogged filter can cause overheating and strain on components.
- Inspect Hoses and Connections: Look for signs of wear, cracks, or leaks. Replace damaged hoses to maintain efficiency and avoid pressure loss.
- Run Clean Water: When not in use, run clean water through the system to flush out any detergent residues. This prevents internal corrosion.
- Store Properly: Keep the equipment in a dry, protected area, away from extreme temperatures. Consider using a cover to shield it from dust and debris.
I remember a time when I neglected to change the oil on a unit. The result was a catastrophic failure that could have been avoided with simple maintenance. By following these steps, you can significantly reduce the risk of future complications and ensure your equipment remains in top working order.


.jpg)


