


One of the most straightforward methods to address a damaged water pump is to replace the seals. In my experience, worn-out seals often lead to leaks and reduced performance. Begin by draining any residual water from the unit. After that, remove the pump from the motor by unscrewing the bolts that hold it in place. Once detached, take a close look at the seals. If they appear cracked or brittle, it’s time for a replacement.
Next, procure a seal kit specific to your model. I recall a time when I attempted a repair without the correct parts; it only led to further complications. After obtaining the right kit, carefully install the new seals, ensuring they’re seated properly. Reassemble the pump, making certain to tighten the bolts evenly to avoid any misalignment.
Once everything is back in place, it’s crucial to perform a test run. Before powering it on, check for any signs of leaks. In one instance, I overlooked this step and faced a minor flood in my workshop! If all looks good, you should be back in action, enjoying the benefits of a fully operational unit once again.
Repairing a Damaged Water Delivery Unit
Begin by draining any residual fluid from the unit to prevent spills during the repair process. Once empty, carefully inspect the area with the damage. Clean it thoroughly using a wire brush to remove debris and old sealant, ensuring a solid surface for the next steps.

For minor fractures, a high-quality epoxy resin can be applied. Mix according to the manufacturer’s instructions, then apply it generously over the affected area. Use a putty knife to smooth it out and fill any gaps. Allow plenty of time for it to cure, as per the product guidelines, before testing the system again.
If the damage is more extensive, a replacement part may be necessary. Identify the model and serial number of your unit, then search for compatible components online or through local suppliers. Often, manufacturers provide parts directly, which can simplify the replacement process. Ensure that the new part is installed securely, paying attention to any seals or gaskets that may need replacement as well.
After the repair, conduct a thorough check for leaks. Refill the unit, reconnect all hoses, and run a test cycle. Monitor for any unusual sounds or pressure fluctuations. If everything operates smoothly, your restoration efforts were successful.
Always keep an eye on wear and tear in the future. Regular maintenance, including seasonal checks, can significantly prolong the lifespan of your cleaning equipment and prevent similar issues from arising again.
Identifying the Location and Severity of the Crack

First, thoroughly inspect the casing of the unit. Start by examining the exterior for any visible signs of damage. Pay close attention to areas where water leaks may originate. A flashlight can help illuminate dark spots, revealing small fractures that might otherwise go unnoticed.
Next, run your fingers along the seams and edges of the assembly. Often, cracks can be felt even if they aren’t immediately visible. The sensation of roughness or unevenness can indicate a potential issue. If you detect any irregularities, mark them for further examination.
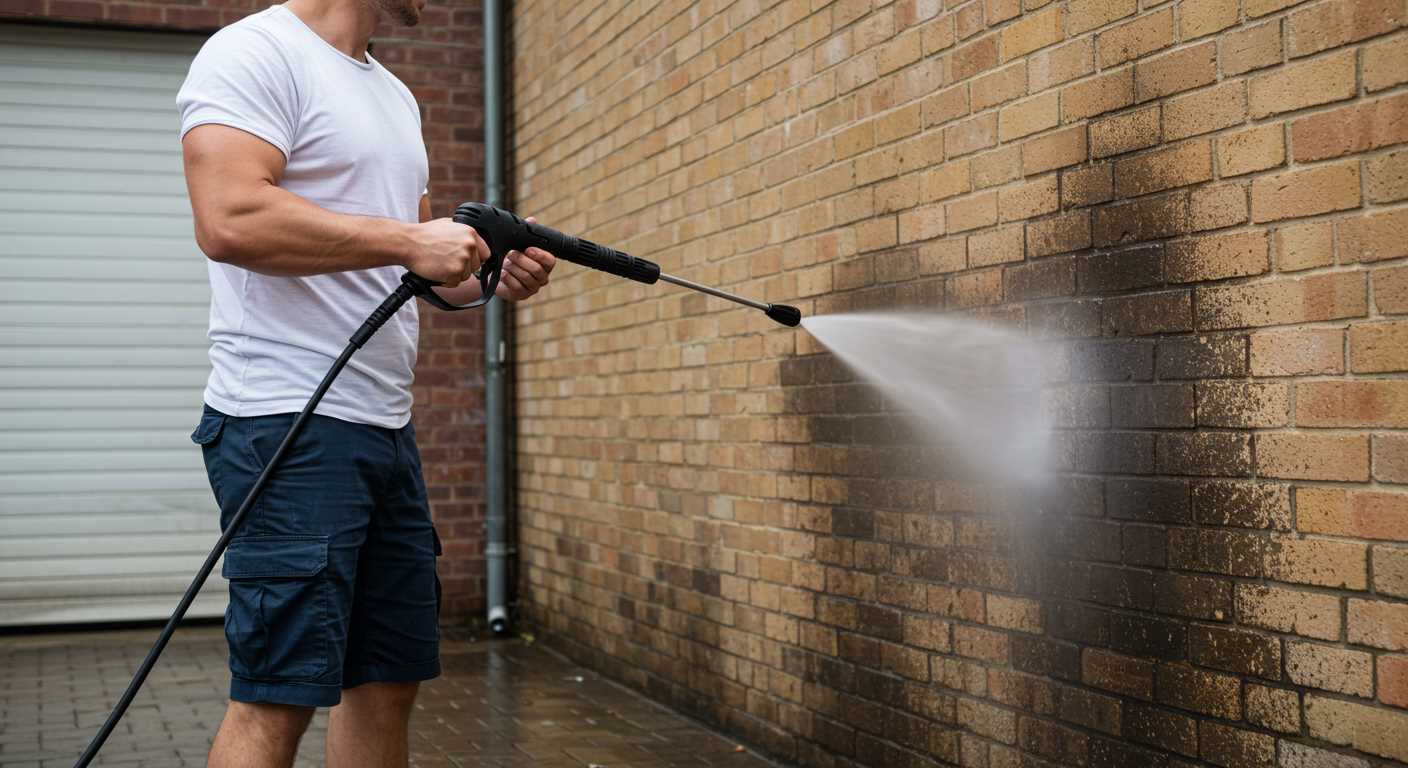
For a more detailed assessment, consider conducting a water test. Reconnect the unit to a water source and power it on without engaging the sprayer. Observe for any leaks, which can indicate the precise location of a fracture. Take note of how the water escapes; a steady drip suggests a significant fissure, while a fine mist may signal a minor imperfection.
In addition to visual and tactile inspections, listen closely during operation. Unusual sounds such as hissing or sputtering can point to air escaping from a break. This auditory cue can be invaluable in pinpointing the exact spot that requires attention.
Evaluate the size of the crack as well. Small hairline fractures may be manageable, while larger splits could compromise functionality. If the crack extends into critical internal components, it’s likely a more serious situation that may require replacement rather than repair.
Document your findings. Take photos or jot down notes about the locations and sizes of any cracks you discover. This record will assist in planning the next steps and help when sourcing replacement parts or discussing the issue with professionals.
Draining the Pressure Cleaner and Preparing for Repair
Begin by ensuring the machine is entirely off and disconnected from the power source. Safety first! Next, locate the water supply connection and detach the hose. This step prevents any chance of water spilling while you’re working on the unit.
Follow these steps to drain the remaining water:
- Open the trigger gun to release any built-up pressure in the system.
- Position the unit over a drain or a suitable container to catch water.
- Remove the drain plug or any accessible drain point to let the water flow out completely.
- After the bulk of the water has drained, run the unit briefly without water to expel any residual liquid.
Next, prepare the area for the repair process:
- Gather necessary tools: wrenches, screwdrivers, and sealant materials.
- Keep a clean cloth on hand for any spills and to wipe down surfaces.
- Set up good lighting to clearly see the damaged section.
Before starting the repair, inspect the components around the damaged area. Look for any debris or build-up that could interfere with the repair process. A tidy workspace can save time and prevent future issues.
Remember to take notes or sketches of the disassembly steps. This practice helps in reassembling the unit correctly after making the necessary repairs. Keeping everything organised will ease the process and ensure no parts are lost.
Choosing the Right Repair Materials for Your Pump
For a successful repair, selecting appropriate materials is key. Based on my years of experience, I recommend using a high-quality epoxy resin for sealing the damaged area. This type of adhesive creates a robust bond and withstands water pressure effectively. Ensure the resin is specifically formulated for plastic or metal, depending on your pump’s material.
Sealants and Adhesives
In addition to epoxy, consider using silicone sealant for any joints or seams that may need reinforcement. Silicone is flexible and can handle the thermal expansion that occurs during operation. It’s also waterproof, providing an extra layer of protection against leaks.
Replacement Parts
Sometimes, a crack might be a sign that a component is worn out. If you’re dealing with a damaged valve or gasket, sourcing OEM (Original Equipment Manufacturer) parts is wise. These parts are designed specifically for your model, ensuring compatibility and longevity. Check online retailers or local suppliers for availability.
| Material | Type | Application |
|---|---|---|
| Epoxy Resin | Adhesive | Sealing cracks |
| Silicone Sealant | Sealant | Joint reinforcement |
| OEM Replacement Parts | Component | Direct replacement |
Gathering the right materials can save time and avoid further issues down the line. For additional tips on maintaining equipment, check out this guide on how to clean a fish tank without killing the fish. It’s all about using the right approach for the job at hand.
Step-by-Step Guide to Sealing the Crack
Begin by cleaning the area around the fracture thoroughly. Use a wire brush or sandpaper to remove any debris, rust, or paint. This ensures that the adhesive bonds properly with the surface.
Gather Necessary Tools and Materials
- Epoxy resin or sealant specifically designed for metal
- Putty knife or spatula for application
- Clamps or duct tape to hold the repair in place
- Protective gloves and safety goggles
Applying the Sealant
- Mix the epoxy resin according to the manufacturer’s instructions. Ensure that you have the right proportions for a solid bond.
- Apply the mixed resin directly to the crack using a putty knife. Ensure that the material fills the entire gap and extends slightly beyond the edges.
- Smooth out the surface to create an even finish. This will help in blending the repair with the surrounding area.
- Use clamps or duct tape to hold the sealant in place while it cures. Follow the recommended curing time specified on the product label.
- Once cured, sand the repaired area lightly to achieve a smooth surface. This can help in painting or further finishing if desired.
Always ensure the working environment is well-ventilated while using adhesives. I recall a time when I neglected this aspect, and the fumes became overwhelming. Safety first, every time.
Testing the Repair for Leaks and Performance
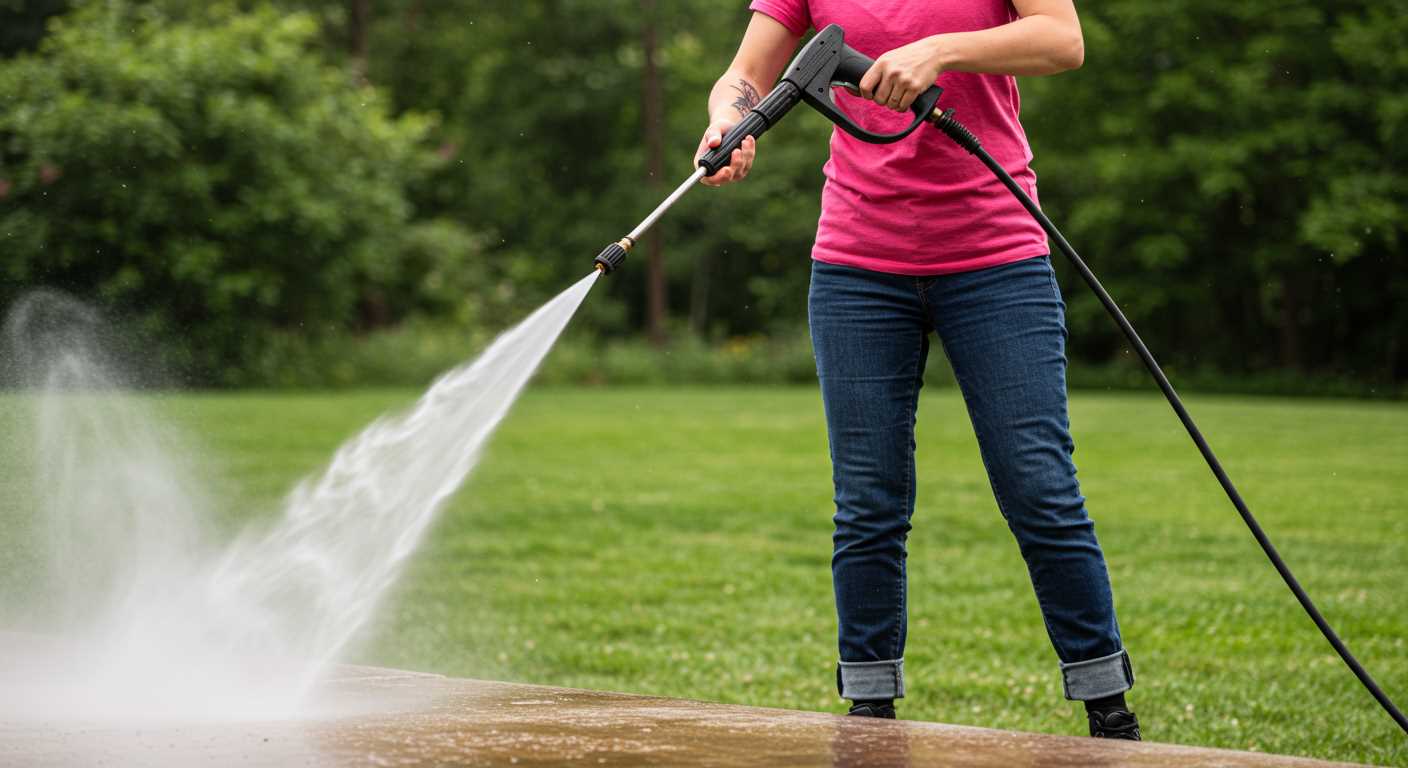
After sealing the fissure in your equipment, the next step is to verify the integrity of your repair. First, reconnect the water supply and power source, ensuring all connections are tight. Turn on the machine without pressing the trigger, allowing water to flow through the system for a few minutes. This initial phase helps to identify any leaks around the repair site.
Pay close attention to the area you worked on. If you notice water seeping from the patched location, it indicates that the seal isn’t holding. In such cases, you may need to re-evaluate your sealing method or materials used. A reliable adhesive or epoxy should provide a watertight bond, but not all products are created equal.

Once you confirm there are no leaks, it’s time to assess performance. Engage the trigger while maintaining a safe distance from the nozzle. Observe the water pressure and spray pattern. A consistent and strong stream is a positive sign that your repair is functioning as intended. If the flow is weak or erratic, further investigation is required.
Monitor the machine for unusual sounds during operation. A smooth, steady hum indicates everything is in order. Conversely, grinding or rattling noises may suggest internal damage or misalignment, potentially stemming from the initial issue that caused the crack.
Finally, test the equipment under different operational conditions. Alternate between high and low-pressure settings to ensure the repair withstands various demands. This comprehensive testing will confirm the reliability of your work and restore your confidence in using the machine for your cleaning tasks.
Preventive Measures to Avoid Future Cracks
Regular maintenance is key. I always recommend inspecting the unit before each use. Look for any signs of wear, especially around the seals and connections. A little attention can save you from significant issues down the line.
Proper Storage Techniques
Store your equipment in a climate-controlled environment, away from extreme temperatures. I’ve seen too many units suffer damage from freezing temperatures. If you live in a colder area, consider draining the water completely after each use to prevent ice from forming inside.
Use Recommended Fluids
Utilising the correct type of detergent and fluids is critical. I’ve often witnessed units suffering from internal corrosion due to improper cleaning agents. Always check the manufacturer’s guidelines to ensure compatibility. For instance, if you have a Briggs and Stratton pressure washer, following their recommendations will keep your machine running smoothly.

.jpg)


