


First things first, tackle any marks or etches left behind by the high-pressure equipment. A straightforward solution involves using a bag of ready-mix patching compound. Simply follow the instructions on the package, and you’ll find it easy to mix and apply. Start by cleaning the area thoroughly, removing any loose debris or dust. This ensures a solid bond between the patch and the surface.
In my experience, applying the mixture with a trowel provides the best results. Spread it evenly, filling in any gaps or uneven spots. After applying, smooth the surface to match the surrounding area. Allow it to cure as per the manufacturer’s recommendations, which typically ranges from 24 to 48 hours, depending on environmental conditions.

Next, consider sealing the surface once everything has dried. A quality sealant protects against future wear and tear. I’ve seen the difference a good sealant makes, especially in areas subjected to weather conditions. Apply the sealant evenly, ensuring complete coverage, and let it dry fully. This not only enhances the appearance but also prolongs the life of your work.
Regular maintenance plays a key role too. Routine cleaning and inspections will help you catch any issues before they escalate. I recommend a gentle wash rather than another high-pressure clean, as it’s kinder to the surface. Incorporating these steps into your care routine maintains the integrity of the surface while keeping it looking fresh.
Assessing the Extent of Concrete Damage
Begin by examining the surface closely. Look for visible signs such as cracks, pitting, or scaling. A magnifying glass can be helpful for spotting fine cracks that may not be immediately noticeable. Document areas of concern with photographs for future reference.
Next, perform a simple water test. Splash water onto various sections. If it absorbs quickly, that indicates a potential issue with the surface integrity. Areas where the water beads up may still be in good condition. Take notes on where the absorption occurs, as this will guide any restoration efforts.
Utilise a hammer or a similar tool to tap on different spots. A hollow sound suggests delamination or spalling beneath the surface. Mark these areas clearly. If you hear a solid sound, the substrate is likely intact.
Pay attention to the environment. Check for signs of wear caused by freezing and thawing cycles, especially in regions with harsh winters. This can lead to hidden damage that might not be visible at first glance.
For deeper issues, consider a core sample if feasible. This will reveal the condition of the material beneath the surface layer. Consult with a specialist if you’re unsure about interpreting the results. Understanding the severity of the problem is crucial for planning any repair work.
Finally, assess the overall condition of surrounding areas and joints. Look for separation between the concrete and any adjacent surfaces. This could indicate broader structural concerns that need to be addressed as part of any maintenance strategy.
Choosing the Right Repair Materials for Concrete
Selecting appropriate materials is key. For minor surface issues, a polymer-modified repair compound works wonders. It adheres well and provides flexibility, which is crucial for areas that experience movement. In my experience, these compounds are easy to mix and apply, making them ideal for DIY enthusiasts.
For Larger Repairs
When dealing with significant flaws, consider using epoxy or polyurethane resins. These products can fill voids and bond effectively to existing surfaces. I recall a project where a friend used epoxy to restore a driveway, and the results were impressive–smooth and durable. Always ensure the chosen resin is suitable for outdoor applications if the area is exposed to the elements.
Surface Treatments
For enhancing appearance and protection, explore sealers designed for exterior use. A quality sealer not only protects against moisture but also adds a layer of resistance to stains. Remember, applying a sealer after repairs can prolong the lifespan of the work. I’ve seen too many properties suffer because they skipped this step.
Preparing the damaged surface for repair
Before commencing any restoration work, ensure the area is thoroughly cleaned. I recommend using a stiff-bristled brush or a broom to remove loose debris, dirt, and any remaining residue from the cleaning process. A clean surface promotes better adhesion for the repair materials used later.
Next, inspect for cracks or chips. If you find any larger fissures, consider using a chisel to widen them slightly. This allows for deeper penetration of the filling material, facilitating a stronger bond. I once overlooked this step, resulting in a less durable repair that needed redoing. Trust me, a little extra effort pays off.
Moisture management
Assess the moisture levels in the surface. If the area is wet, waiting for it to dry is crucial. Applying repair materials to a damp surface can hinder adhesion and lead to future complications. I often use a moisture meter to gauge levels accurately. If necessary, allow adequate drying time or use fans to accelerate the process.
Surface preparation techniques
For optimal results, consider grinding the surface lightly. This creates a rough texture that enhances the bond between the existing material and the repair compound. I’ve found that even a small amount of grinding can make a significant difference in the long-term success of the repair. After this, clean the area again to eliminate any dust created during the grinding process.
Applying Concrete Patching Compounds Correctly
Ensure the surface is clean and dry before applying any patching compound. A well-prepared area guarantees better adhesion and a more durable repair. Here are the steps I recommend based on years of experience:
- Choose the Right Compound: Select a patching material suitable for your specific needs. For instance, use a vinyl concrete patch for thin repairs and a thicker, heavier mix for deeper holes.
- Follow Manufacturer Instructions: Each product comes with specific guidelines. Mixing ratios, setting times, and application techniques may vary significantly. Adhering strictly to these instructions is key to achieving optimal results.
- Mixing the Compound: Use a clean bucket and a mixing paddle for uniform consistency. Avoid over-mixing, as this can introduce air bubbles, compromising the strength of the repair.
- Application Technique: Use a trowel to apply the compound. Press firmly into the repair area, ensuring it fills all voids. For larger areas, consider using a squeegee for an even finish.
- Smoothing and Finishing: After applying, smooth the surface with a trowel or float. Create a texture that matches the surrounding area to ensure a seamless appearance.
- Curing Process: Allow the repair to cure as per the manufacturer’s instructions. Protect the area from moisture and temperature fluctuations during this time. Covering with plastic sheeting can help maintain humidity levels.
I’ve seen too many repairs fail due to rushed applications or improper mixing. Take your time, and you’ll achieve a long-lasting solution.
Sealing Repaired Areas to Prevent Future Damage
After completing the repair, applying a high-quality sealer is crucial to protect the newly restored sections. I recall a project where I overlooked this step, only to find the repair compromised within months. The right sealer acts as a barrier against moisture, stains, and wear, significantly extending the life of your restoration.
Choosing the Right Sealer
Select a breathable masonry sealer designed for exterior surfaces. These sealers allow moisture to escape while preventing water infiltration. I’ve found that silane or siloxane-based products perform exceptionally well in repelling water and resisting UV damage. Always check the manufacturer’s recommendations for compatibility with the repair materials used.
Application Techniques
Before applying the sealer, ensure the surface is clean and fully cured. Use a roller or sprayer for even coverage, applying the product in thin layers. I’ve learned that multiple coats enhance protection, especially in high-traffic areas. Allow adequate drying time between applications, as this ensures optimal adhesion and effectiveness.
Maintaining concrete surfaces after repair
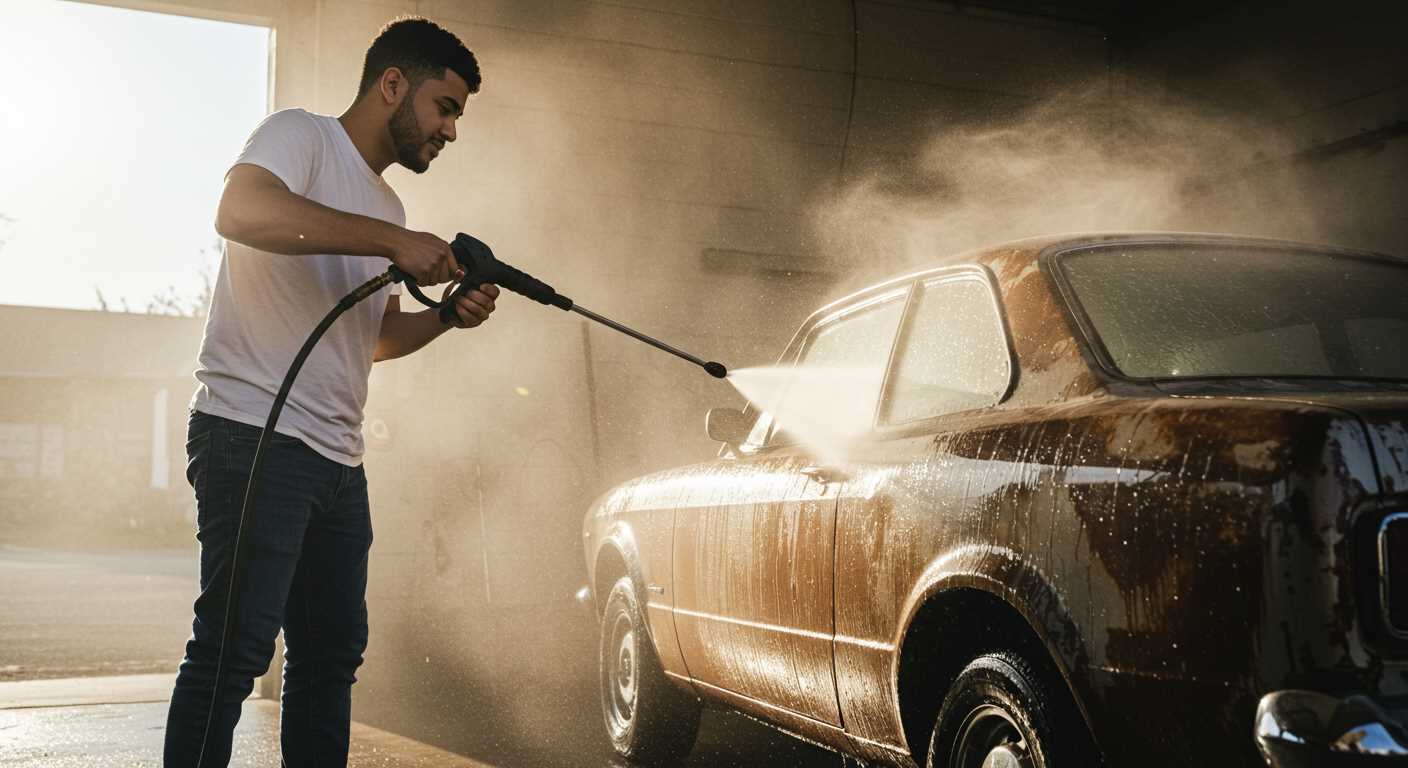
.jpg "How to fix damaged concrete from pressure washer")

Regular upkeep is key to prolonging the life of recently restored areas. Begin with a thorough cleaning to remove any dirt or grime that may accumulate over time. For optimal results, consider using a clean concrete blocks with or without pressure washer method, ensuring that you don’t damage the newly applied materials.
- Routine Inspections: Check for signs of wear or degradation periodically. Look for cracks, stains, or any signs of moisture penetration.
- Prompt Repairs: Address minor issues immediately before they escalate. Small cracks can often be filled with appropriate sealants.
- Surface Cleaning: Use a broom or blower to keep the area free from debris. For tougher stains, refer to guides like how to clean stained teaspoons a step by step guide for effective cleaning solutions.
- Sealing: Reapply sealant every few years or as recommended based on product specifications. This protects the surface from moisture and stains.
Consistency in maintenance not only enhances appearance but also guards against future deterioration. By following these steps, the integrity of the repaired surfaces will be upheld, ensuring they remain robust and visually appealing for years to come.
Knowing When to Consult a Professional for Repairs
Recognising the right moment to bring in an expert can save time and resources. If the surface has significant cracks wider than a quarter of an inch or there are deep holes, it’s best to seek professional assistance. These issues often require specialised techniques and experience to ensure a durable and lasting resolution.
Signs Indicating Professional Intervention
Look for the following indicators that suggest a specialist’s help is needed:
| Sign | Explanation |
|---|---|
| Extensive Cracking | Multiple cracks or large fissures can compromise structural integrity. |
| Spalling or Flaking | Loss of surface material may indicate underlying issues requiring expert evaluation. |
| Water Pooling | Inadequate drainage could lead to further deterioration and demands a professional assessment. |
| Uneven Surfaces | Significant settling or heaving may require specialised equipment for correction. |
| Previous Repair Failures | If prior attempts to restore the area have not succeeded, a professional’s input is advisable. |
Evaluating Repair Complexity
Consider the scale of the restoration work. If the task involves extensive resurfacing or reinforcing the foundation, an expert can provide the necessary skills and tools. From my experience, there are times when a DIY approach may seem feasible, yet the long-term benefits of hiring a professional far outweigh the initial costs. Their expertise can offer solutions that prevent repeating mistakes and ensure a stable outcome.
FAQ:
What causes damage to concrete when using a pressure washer?
Using a pressure washer on concrete can lead to damage if the pressure is set too high or if the nozzle is too close to the surface. High pressure can erode the concrete surface, causing pitting, flaking, or even cracking. Additionally, if the concrete is old or already weakened, the force from the pressure washer can exacerbate existing issues, leading to further deterioration.
How can I assess the extent of damage to my concrete after pressure washing?
To assess the damage, visually inspect the concrete for cracks, pitting, or flaking. Run your hand over the surface to feel for rough areas or loose material. You can also perform a water test: pour water on the surface and see if it pools or soaks in quickly. If water pools, it may indicate that the surface is compromised. For deeper damage, consider consulting a professional to evaluate the structural integrity of the concrete.
What are the best methods to repair damaged concrete?
Repairing damaged concrete can be done through several methods, depending on the severity of the damage. For minor surface damage, a concrete resurfacer can be applied to fill in cracks and restore a smooth finish. For larger cracks, use a concrete patching compound, ensuring it’s mixed according to the manufacturer’s instructions. For extensive damage, it may be necessary to remove and replace the affected sections of concrete. Always ensure the surface is clean and dry before applying any repair materials.
Can I prevent further damage to my concrete after using a pressure washer?
Yes, there are several ways to prevent further damage. Firstly, ensure that you adjust the pressure setting on your washer to a lower level suitable for concrete. Secondly, use a wider nozzle to distribute the pressure more evenly. After repairing the concrete, consider applying a sealant to protect it from moisture and stains. Regular maintenance, such as cleaning and sealing every few years, can also help prolong the life of your concrete surfaces.
Is it necessary to hire a professional for concrete repair, or can I do it myself?
Whether to hire a professional or do it yourself depends on your comfort level and the extent of the damage. For minor repairs, many homeowners find they can successfully use patching compounds or resurfacers with some guidance. However, for significant damage, structural issues, or if you are unsure about the repair process, hiring a professional can ensure the job is done correctly and safely. Assess your skills and the repair needs before making a decision.
What steps should I take to repair concrete that has been damaged by a pressure washer?
To repair concrete damaged by a pressure washer, begin by assessing the extent of the damage. If there are small cracks, you can use a concrete filler or epoxy resin to seal them. For larger areas that have spalled or flaked off, you may need to patch those sections with a concrete repair compound. Clean the area thoroughly to remove any debris and dust before applying any repair materials. Once applied, allow sufficient time for the repair compound to cure, following the manufacturer’s instructions. Finally, consider sealing the entire surface to protect it from future damage.

.jpg)


