


Start with the power source. Ensure the outlet is functioning properly and check the extension cord for any damage. I recall a time when a friend struggled with their unit, convinced it was malfunctioning, only to discover a blown fuse in the wall socket. A simple fix, but it saved them a trip to the repair shop.
If the machine is receiving power but not operating, inspect the trigger gun. A common issue I’ve encountered is a blocked nozzle or trigger lock engaged. Regular maintenance is key; I often recommend cleaning the nozzle after every use to prevent clogs. It’s a quick task that can save hours of frustration later.

Next, examine the hoses for any kinks or leaks. A damaged hose can drastically reduce performance. In my experience, replacing a worn-out hose can bring a struggling device back to life. Don’t underestimate the importance of this component; it’s the lifeline for the water flow.
Finally, if the pressure still seems low, check the water supply. Ensure that the inlet filter isn’t clogged and that the water supply is adequate. I learned the hard way that even a partially closed valve can lead to disappointing results. Keeping these tips in mind will enhance your cleaning experience and prolong the life of your equipment.
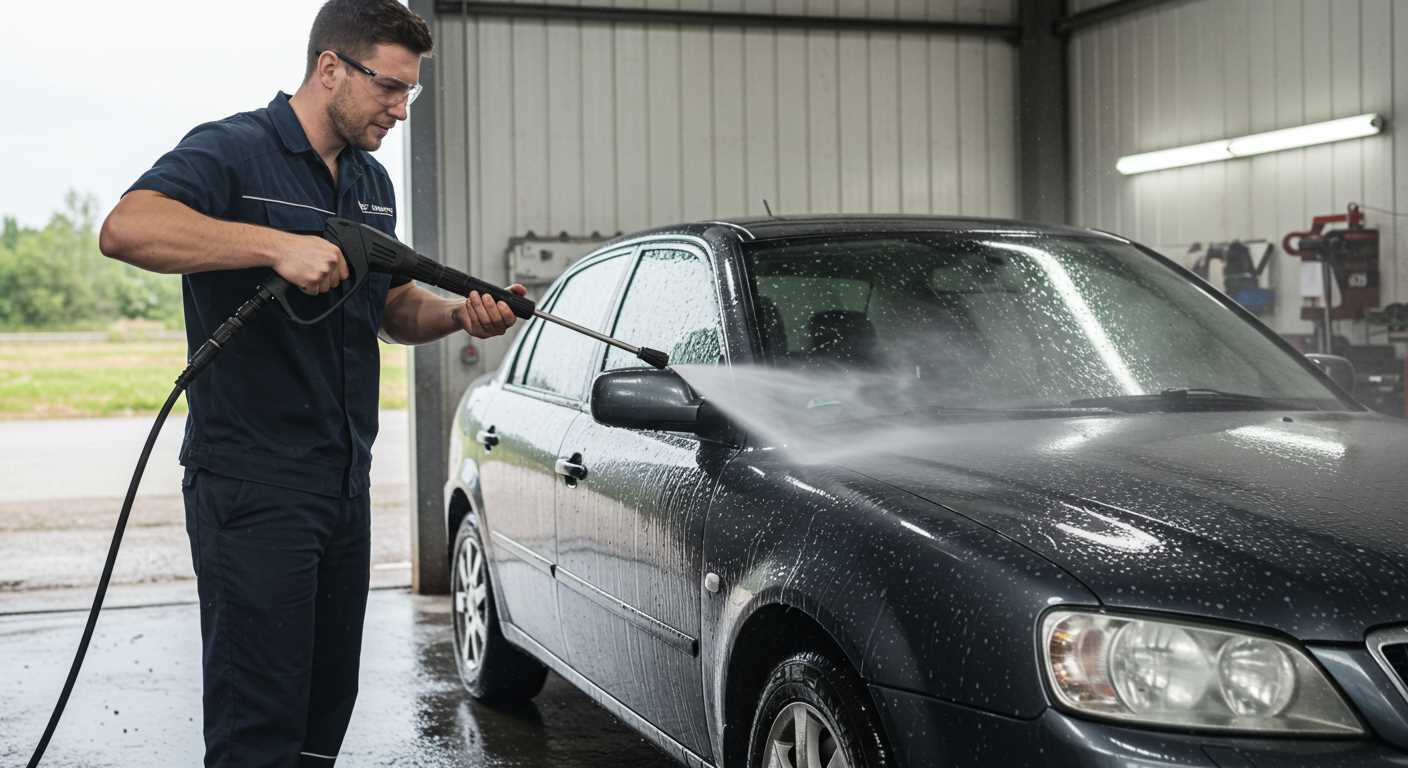
Repairing Your Pressure Cleaning Equipment
Inspect the power cord first. Frayed wires often lead to failure. I recall a client who was baffled by his unit not starting. A quick look revealed a damaged cord. Replacing it solved the issue immediately. Ensure the cord is securely connected to the outlet and check for any tripped circuit breakers. This simple step can save unnecessary hassle.
Water Flow Issues
If water isn’t flowing, examine the inlet filter and hose for blockages. I had a customer who experienced low pressure, which turned out to be a clogged filter. Cleaning it restored full functionality. Also, check for kinks in the hose; they can disrupt the flow significantly. Regular maintenance of these components ensures optimal performance.
Motor Problems
Listen for unusual sounds from the motor. A grinding noise might indicate a failing component. I once had a machine that made a strange sound and overheated. It was due to a worn-out bearing. Replacing it brought the equipment back to life. Always ensure that the motor is free from debris and well-ventilated to avoid overheating.
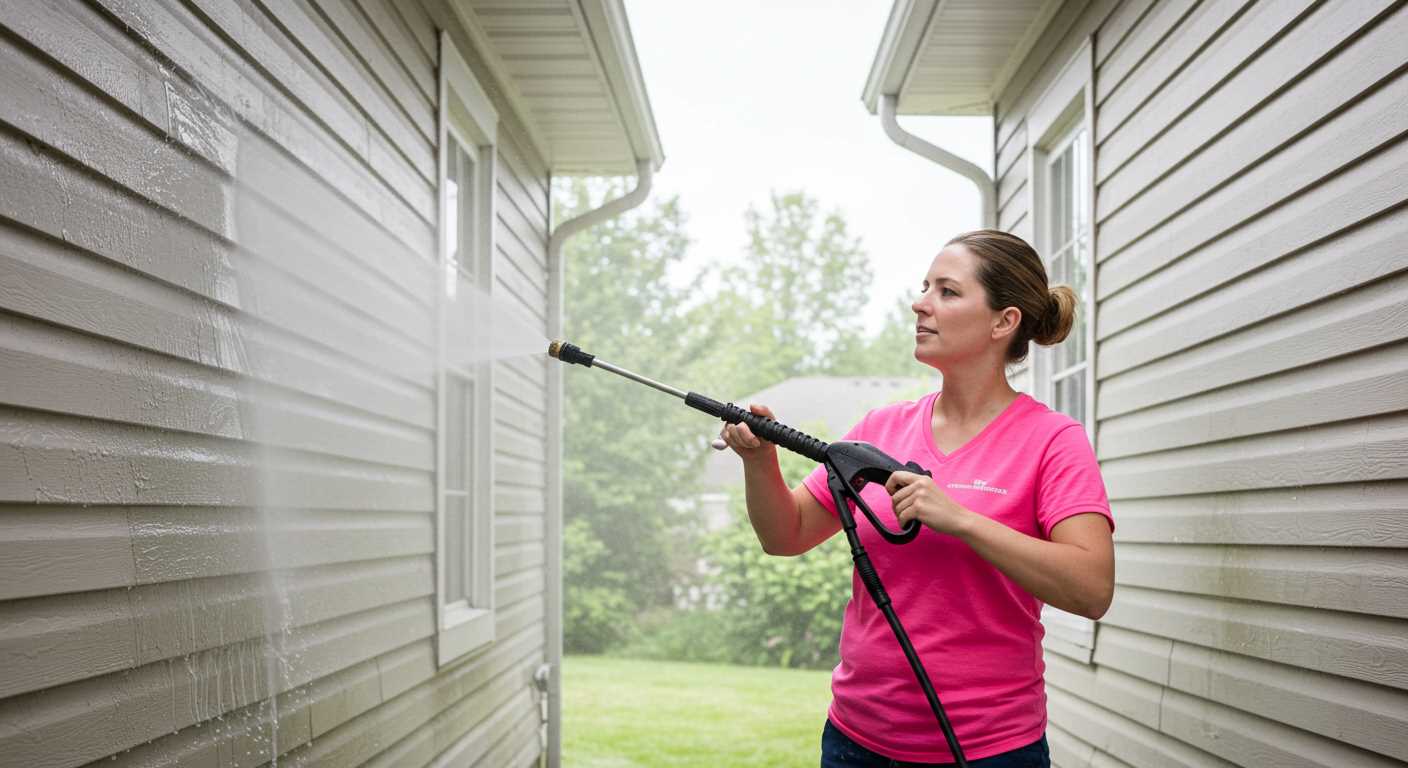
Troubleshooting Common Issues with Karcher Pressure Washers
First, check the power supply. Ensure the unit is plugged in and the outlet is functional. Sometimes, tripped circuit breakers or blown fuses can disrupt operation. I recall a client who called me about a unit that wouldn’t start. A quick inspection revealed a faulty extension cord that wasn’t delivering power.
If water isn’t flowing, inspect the hose for kinks or blockages. I’ve seen several cases where debris in the hose or a clogged filter prevented water from reaching the pump. It’s a simple fix–remove the hose, flush it out, and clean the filter. Always verify that the water source is adequate as well; a low water supply can lead to pressure issues.
Listen for unusual noises while in operation. A grinding sound often indicates a problem with the motor or pump. One time, a customer reported a loud whirring noise. After examining the unit, I found that the pump had lost its lubrication due to a leak. Regular maintenance can help prevent such issues.
If you notice a loss of pressure, examine the nozzle and spray wand for blockages. I remember a situation where a customer was frustrated by weak water flow. It turned out that the nozzle was partially blocked with dirt. Cleaning it restored full pressure and saved the customer a service call.
Another frequent issue is the presence of water leaks. Check all connections and seals to ensure they are tight. I’ve encountered multiple leaks in units due to worn O-rings. Replacing them is usually straightforward and can be done with minimal tools.
Monitor for overheating. If the machine shuts off unexpectedly, it might be overheating due to prolonged use or blocked vents. I’ve advised clients to take breaks during long cleaning sessions to allow the unit to cool down. Keeping the air intake clear also helps maintain proper operation.
Lastly, keep an eye on the detergent system. If cleaning solution isn’t being drawn in, check the siphon hose for cracks or blockages. I’ve seen this issue arise from a simple kink in the hose that prevented proper suction. Clearing that can make a world of difference in cleaning performance.
Identifying and Replacing Faulty Power Cords
Start by inspecting the cord for any visible damage. Look for frayed wires, burn marks, or cracks in the insulation. If you notice any of these signs, it’s time to replace the cord. A damaged power supply can lead to unsafe operating conditions and hinder performance. Make sure to disconnect the unit from the mains before proceeding with any checks.
Testing the Power Cord
Use a multimeter to check for continuity. Set the multimeter to the resistance setting and place the probes on each end of the cord. A reading of zero indicates a good connection, while an infinite reading suggests a break somewhere in the cord. If the cord fails this test, replacement is necessary.
Replacing the Power Cord
To replace the cord, you’ll need a new one that matches the specifications of the original. Cut the old cord close to the housing, and carefully remove the outer insulation to expose the inner wires. Strip the ends of the new cord and connect them to the terminals inside the unit, ensuring that the colours match: typically, brown is live, blue is neutral, and green/yellow is earth. Secure everything tightly and reassemble the casing.
Once replaced, plug the unit into an outlet and test it. If everything operates smoothly, you’ve successfully resolved the issue. If problems persist, further investigation may be required. For those who want to maximise their cleaning efficiency, consider a flow rate pressure washer for enhanced performance.
Cleaning and Unclogging the Spray Nozzle
To restore proper function, remove the spray nozzle and inspect it for blockages. A common issue arises from dirt and debris clogging the tiny holes. I often found that a simple rinse under warm water would dislodge most obstructions. If the blockage remains, use a small needle or toothpick to gently clear any stubborn particles.
Cleaning the nozzle regularly can prevent future clogs. After each use, I suggest rinsing it thoroughly to keep it in optimal condition. If you notice a decrease in pressure, this is often a sign that the nozzle needs attention. Always ensure that the washer is turned off and unplugged before performing any maintenance.
For deeper cleaning, a mixture of vinegar and water can be effective. Soak the nozzle in this solution for about 15 minutes, then rinse. This method helped me remove mineral deposits that sometimes build up, particularly in areas with hard water.
After cleaning, reattach the nozzle securely. Test the spray pattern; it should be even and powerful. If you experience uneven spray or low pressure, further inspection may be necessary. Sometimes, it’s not just the nozzle but the entire assembly that requires examination.
| Common Issues | Possible Causes | Solutions |
|---|---|---|
| Low pressure | Clogged nozzle | Clean or replace the nozzle |
| Uneven spray | Damaged nozzle | Replace the nozzle |
| No spray | Blocked hose | Inspect and clear the hose |
Regularly cleaning and maintaining the spray nozzle not only enhances performance but extends the lifespan of your equipment. Investing a little time in this process pays off in the long run. For other garden tools that can assist with maintenance tasks, check out the best flymo garden vacuum. It’s incredibly handy for keeping your workspace tidy.
Checking and Replacing the Water Filter
Regularly inspecting the water filter is key to maintaining optimal performance. Start by locating the filter, usually found where the water inlet connects to the unit. Remove it carefully, ensuring you don’t damage any surrounding components.
Once extracted, clean the filter under running water. Use a soft brush to remove any accumulated debris or sediment. If the filter appears damaged or overly clogged, replacing it is necessary. Most models have easily replaceable filters available through various retailers or online.
When installing a new filter, ensure it fits snugly and is properly seated in its housing. A loose filter can lead to operational issues and reduced water flow. After replacing the filter, run the machine briefly to check for leaks and confirm everything is functioning as it should.
In my experience, neglecting the water filter can lead to significant problems down the line, including pump damage or inconsistent spray patterns. I’ve seen many users overlook this simple step, only to face costly repairs later. Keeping this component clean and functional will save you time and effort in the long run.
Repairing or Replacing the Pump Assembly
Begin with disconnecting the unit from the power source and ensuring the water supply is turned off. The pump assembly is often the heart of the machine, and any issues here can lead to significant performance problems. If you notice leaks or a decrease in pressure, it’s time to assess this component.
Identifying Issues
Common signs of a malfunctioning pump include:
- Inconsistent water flow.
- Unusual noises during operation.
- Visible leaks around the pump.
- Overheating during use.
If you encounter any of these issues, it may be necessary to inspect the pump assembly closely. Look for cracks, wear, or damage to seals and O-rings, as these can lead to leaks and pressure loss. A thorough visual inspection can often reveal the source of the problem.
Repair Process
If damage is minor, you might be able to replace seals or O-rings. Here’s how:
- Remove the pump cover by unscrewing the bolts.
- Carefully extract the damaged components using a flathead screwdriver.
- Install new seals, ensuring they fit snugly.
- Reassemble the pump cover and secure it tightly.
For severe damage, replacing the entire pump assembly may be your best option. Here’s the process:
- Disconnect the water inlet and outlet hoses from the pump.
- Unscrew the pump from its mounting bracket.
- Install the new pump by reversing the disassembly steps.
- Reconnect the hoses and ensure there are no leaks before testing.
It’s crucial to consult the user manual to find the correct replacement part that matches your model. Using the wrong pump can lead to further complications and inefficiencies.
After replacing or repairing the pump, run the unit briefly to check for leaks and proper operation. If everything operates smoothly, you’ve successfully restored your machine’s functionality. Don’t hesitate to reach out to a professional for assistance if challenges persist; sometimes, expert guidance can save time and resources.
Addressing Electrical Problems with Circuit Breakers

Inspect the circuit breaker panel immediately if your cleaning device fails to power on. Often, a tripped breaker is the culprit. Resetting it is straightforward: locate the switch that has moved to the ‘off’ position and flip it back to ‘on’. If the breaker trips again, avoid repeated resets, as this indicates a deeper issue.
In my experience, one common cause of circuit breaker issues is overloading. Ensure that your device is not sharing the same circuit with high-wattage appliances like heaters or refrigerators. It’s wise to dedicate a separate circuit for your equipment, especially if you use it regularly.
Should the breaker reset without incident, but the unit still fails to operate, examine the power cord for damage. A frayed or worn cord can result in insufficient power reaching the motor, causing it to shut down or not start at all. Replace any faulty cords promptly.
If everything checks out and the breaker continues to trip, consider consulting a qualified electrician. They can assess the integrity of the wiring and the breaker itself, ensuring that everything is functioning safely and efficiently.
Regular maintenance of your electrical connections can prevent many issues. Ensure that all plugs and sockets are clean and free from debris. Dust and moisture can interfere with connections, leading to performance issues.
Keep track of any unusual sounds or smells while operating the device. These can be indicators of electrical faults that warrant immediate attention. Addressing these problems early can save you time and money in the long run.
Maintaining Your Pressure Cleaner for Longevity
Regular upkeep of your cleaning device significantly extends its lifespan. Following a few straightforward practices can prevent many common issues.
- Storage: Always store the unit in a dry, sheltered area. Extreme temperatures can damage components, particularly the motor and seals.
- Winterisation: Before the cold season, ensure all water is drained from the system. Use a pump protector to prevent freezing and internal damage.
- Routine Inspections: Periodically check hoses for cracks or leaks. A damaged hose can lead to performance issues and may require replacement.
During my tenure in the industry, I encountered numerous clients who overlooked simple inspections. I recall one customer who faced significant issues due to a worn-out seal. A quick replacement would have saved them time and money.
- Filter Maintenance: Clean or replace the water filter regularly. A clogged filter can cause low pressure and strain the pump.
- Check Oil Levels: If your model has an oil reservoir, ensure it’s filled to the recommended level to maintain pump efficiency.
- Cleaning Accessories: After each use, rinse nozzles and accessories to prevent debris buildup. This simple step can prevent clogs and ensure optimal performance.
Always refer to the manufacturer’s guidelines for specific maintenance recommendations. I’ve seen equipment last well beyond its expected lifespan simply because the owner adhered to these basic practices.
- Professional Servicing: Occasionally, consider having the unit serviced by a professional. They can perform checks that you might not be able to identify, ensuring everything runs smoothly.
- Documentation: Keep a maintenance log. Tracking repairs and replacements helps you understand when certain parts may need attention.
In my experience, proactive maintenance is the key to avoiding costly repairs. Treat your cleaning device with care, and it will reward you with reliability and performance for years to come.
.jpg)


