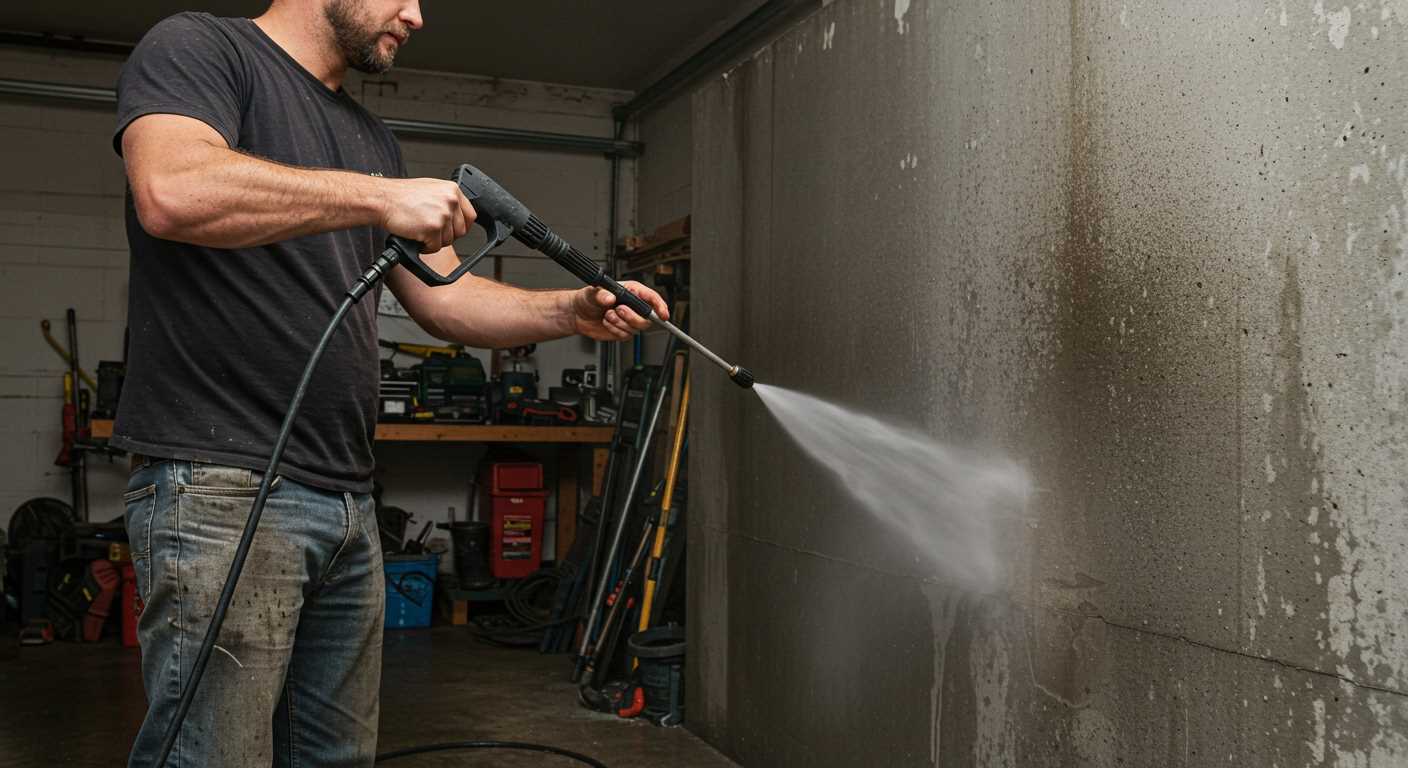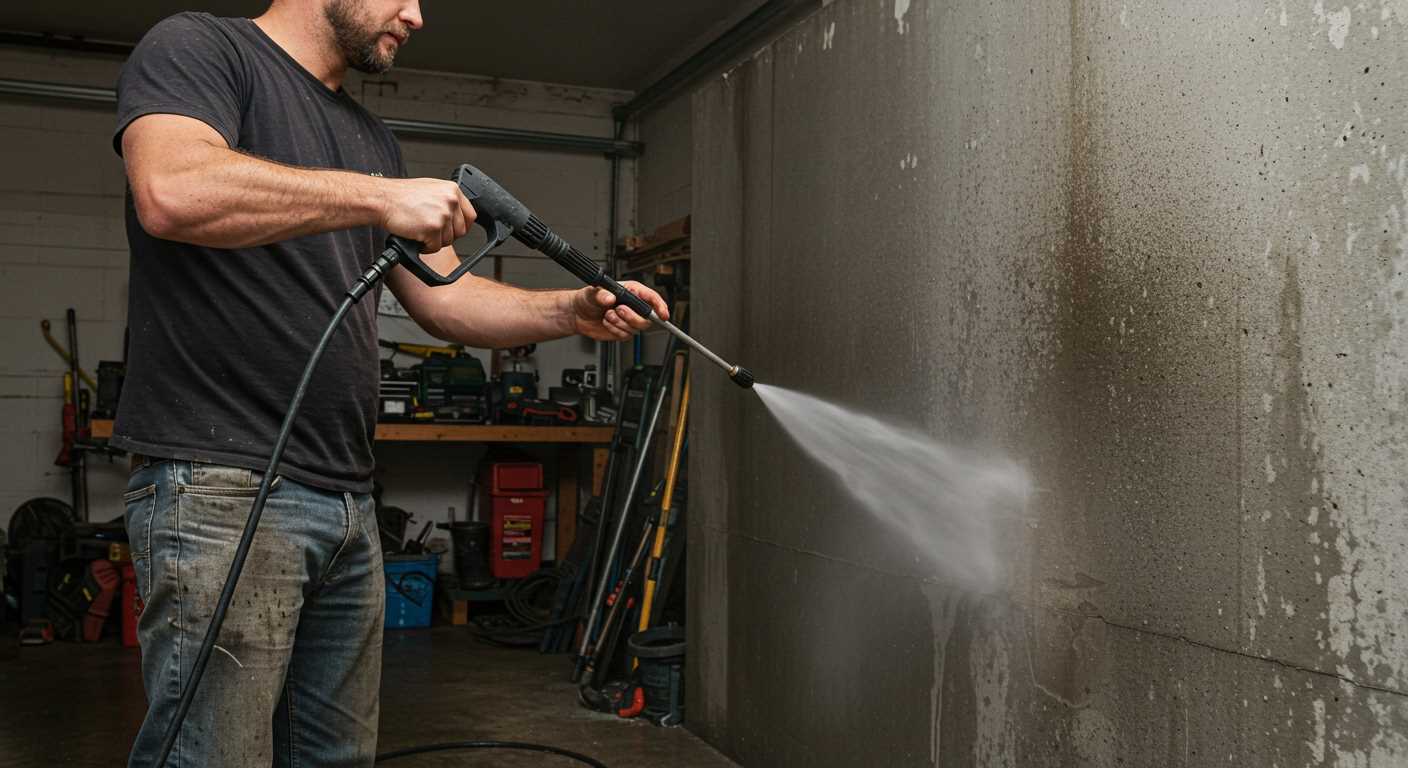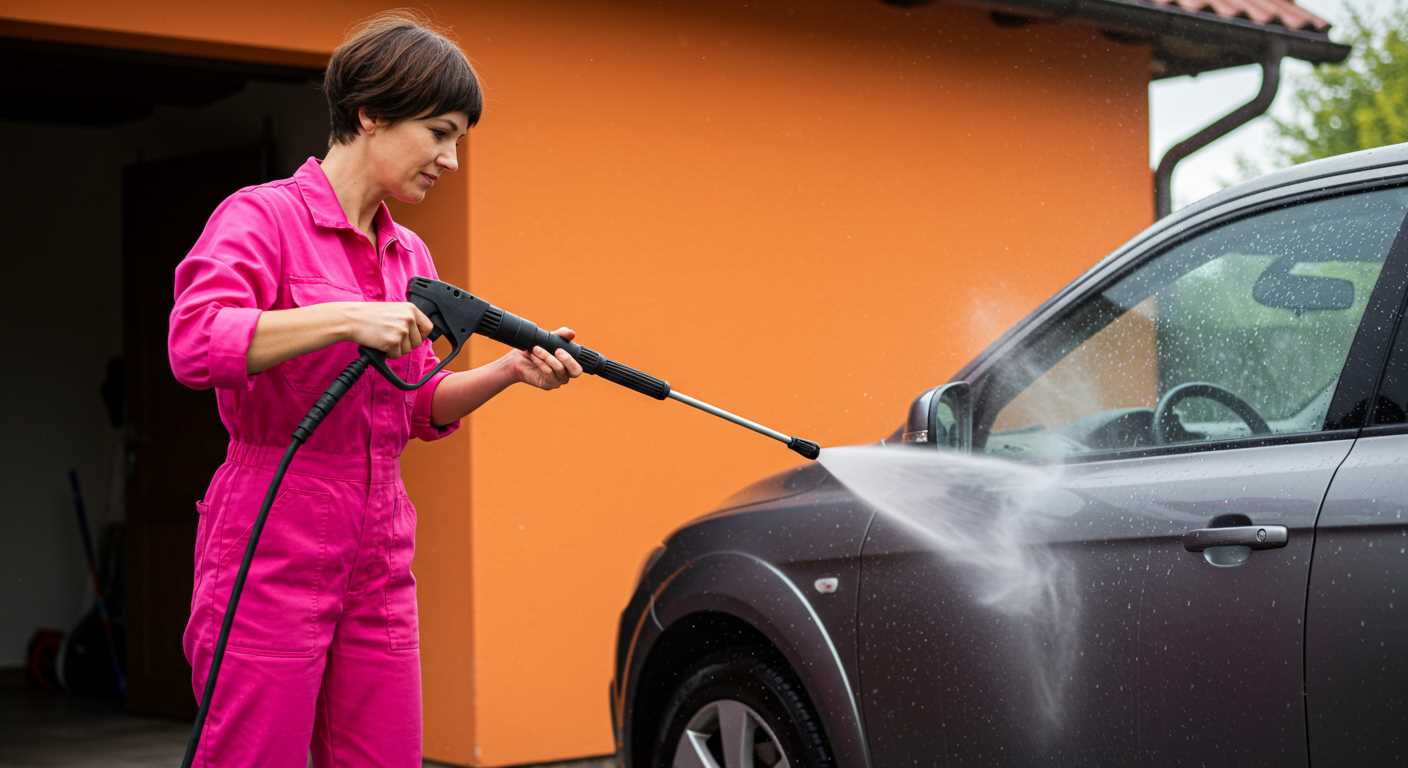


First, ensure that the detergent is correctly mixed with water according to the manufacturer’s instructions. A concentrated solution can clog the delivery system, so a proper dilution is key to avoid blockages.
Next, inspect the hose connecting the detergent tank to the nozzle. Look for any kinks or damage that might restrict flow. Replacing a worn or damaged hose can significantly improve performance. I once encountered a similar issue where a small crack was causing a drop in pressure; replacing that hose made a noticeable difference.
Check the filter and screen, if available. A clogged filter can impede the flow of cleaning solution. Cleaning these components regularly can prevent future issues. During my time in the industry, I found that many users overlook this step, leading to persistent problems that could have been easily resolved.
Lastly, examine the nozzle or tip. Different nozzles can affect how the detergent is delivered. Ensure you’re using the correct one for your machine. I recall a case where a customer was using a narrow nozzle intended for rinsing, which was hindering the soap’s delivery. Switching to the right tip solved the problem instantly.
Identifying common soap injector issues
Check for clogs in the soap intake tube. After years of working with various models, I’ve seen plenty of instances where debris builds up, blocking the flow. Disconnect the tube and give it a thorough clean; a simple brush or a rinse with warm water can do wonders.
Signs of malfunction
- Weak or no foam when applying detergent.
- Unusual noises from the unit during operation.
- Detergent leaking from fittings or connections.
Next, inspect the nozzle. A worn or damaged nozzle can significantly affect performance. Replace it if you notice any cracks or chips. I remember a time when a minor nozzle issue led to a frustrating cleaning session, wasting more time than it should have.
Examining the detergent tank
- Ensure the tank is filled with the right type of cleaning solution.
- Look for any signs of contamination or old detergent that may have thickened.
- Check for proper sealing of the tank; leaks can prevent the correct amount of solution from being drawn into the system.
A common oversight is the pressure level. If it’s set too high, the siphoning action may be compromised. Adjust the settings according to the manufacturer’s recommendations. I once encountered a machine that was running at maximum pressure, making it nearly impossible for the detergent to mix properly.
Lastly, don’t forget about the connections. Loose or damaged fittings can disrupt the flow of detergent. Tighten any loose parts and replace worn seals. I’ve had my fair share of cleaning jobs interrupted by a simple loose connection. Always keep an eye on those details for a seamless experience.
Checking and Cleaning the Soap Injector Filter
Begin by disconnecting the equipment from the power source and water supply. Safety first! Locate the filter, typically found at the entry point of the detergent line. This component plays a pivotal role in ensuring a smooth flow of cleaning solution.
Steps to Inspect the Filter
- Remove the filter using pliers or by hand, depending on the design.
- Examine it for any signs of blockage or damage. Common culprits include soap residue, dirt, or debris.
- Rinse the filter under warm water to dislodge any accumulated gunk.
- If necessary, use a soft brush to scrub away stubborn deposits gently.
- Inspect for cracks or wear; replace it if it appears compromised.
Reinstallation Tips
- Ensure the filter is completely dry before reinstalling.
- Secure it firmly to prevent leaks.
- Reconnect the detergent line and check for any loose connections.
After everything is back in place, reconnect the equipment to the water supply and power source. Test the solution flow by activating the system. If liquid flows freely, you’ve successfully restored functionality to this critical component. Regular maintenance of the filter will keep your cleaning tasks hassle-free and efficient.
Examining the Soap Injector Assembly for Damage
Begin by inspecting the assembly closely for any visible cracks or wear. These components are often subjected to harsh conditions, and even a small crack can lead to significant leaks or loss of pressure. Pay particular attention to the areas where the assembly connects to the main unit and hoses; these spots are prone to stress fractures.
Checking O-Rings and Seals
Next, remove the injector and examine the O-rings and seals. Over time, these rubber components can degrade, becoming brittle or swollen. If you notice any signs of wear or damage, replacing them can restore proper functionality. Ensure that the new O-rings are the correct size to maintain a proper fit.
Inspecting the Nozzle and Venturi System
Don’t overlook the nozzle and venturi design. These parts play a critical role in the mixing of detergent and water. A blocked or damaged nozzle can disrupt the flow, leading to inadequate mixing. Clean any debris and check for bends or kinks in the venturi that might restrict fluid movement. If you find any issues, consider replacing the entire assembly to ensure optimal performance.
Testing the Suction Function of Your Cleaning Device
Begin by ensuring that the unit is powered off and disconnected from any electrical source. Attach the appropriate nozzle, preferably one designed for low-pressure application, to maintain optimal suction. Fill a separate container with the desired cleaning solution and position it at a lower elevation than the machine for effective suction.
Conducting the Test
With everything set, switch the device on while observing the feed line leading to the detergent tank. If the liquid begins to flow through the line towards the pump, you have a functioning suction mechanism. If no fluid is drawn through, check for kinks or blockages in the line.
Next, place your thumb over the end of the detergent line or fitting. This simple action can help determine if the suction is adequate. You should feel a strong pull if the system is working correctly. If the pull is weak or nonexistent, you may have an issue needing further investigation.
Evaluating the Output
Switch to a test surface to observe the mixing of the cleaning agent with the water. Apply the mixture at a low pressure and watch for consistent application. If the solution appears to be diluted or absent, revisit the previous checks for any obstructions or leaks.
| Potential Issue | Testing Method | Solution |
|---|---|---|
| Weak suction | Check for kinks in the line | Straighten or replace the line |
| No flow | Inspect feed line connections | Tighten or replace fittings |
| Inconsistent output | Observe mixture on a surface | Clean or replace the feed line |
By following these steps, you can effectively assess the suction capabilities of your cleaning apparatus. Regular testing can help maintain optimal performance and prolong the life of your equipment.
Adjusting the soap-to-water ratio for optimal performance
For getting the best results from your cleaning equipment, it’s crucial to fine-tune the mix of detergent and water. I’ve found that starting with a ratio of 1:10 is a solid baseline. This means one part soap to ten parts water. However, this can vary based on the type of grime you’re tackling. For heavy stains or grease, you might need to increase the soap concentration to about 1:5.
Always test the mixture on a small, inconspicuous area first. This helps you gauge its effectiveness without risking damage to surfaces. If the solution doesn’t seem to work as intended, don’t hesitate to adjust the ratio. It’s a bit of trial and error, but once you find the sweet spot, the results are well worth it.
Additionally, pay attention to the nozzle settings. A wider spray pattern can dilute the mixture quickly, whereas a narrower stream will deliver a more concentrated solution. I recommend experimenting with both to see which works best for your specific cleaning task.
Lastly, if you’re preparing for a big clean-up, consider using a high-quality air scrubber to enhance the efficiency of your cleaning process. If you’re looking for one, the best air scrubber for rent can be a great addition to your toolkit, ensuring you have a clean and healthy environment while you work.
Replacing the Soap Injector if Repairs are Unsuccessful
When attempts to restore your chemical dispenser fail, replacement may be necessary. Start by ensuring you have the correct part for your model. Refer to the manufacturer’s manual or their website for specifications. Ordering the right component is crucial; mismatches can lead to further complications or inefficiency.
Steps to Replace the Component
1. Disconnect the device from the power source and water supply. Safety is paramount.
2. Locate the injector unit, often mounted on the pump or near the hose connection.
3. Remove any screws or clips securing the unit, then gently detach it from the assembly.
4. Install the new injector by reversing the removal process. Ensure a snug fit to prevent leaks.
5. Reconnect everything and test the new unit with the cleaning solution to confirm proper operation.
Post-Replacement Checks
After installation, monitor for leaks and ensure the chemical mixture is dispensing correctly. It may help to adjust the mixing ratio for optimal results. If you’re looking to enhance your cleaning capabilities further, consider integrating a rotating brush for pressure washer for better surface contact and efficiency.


.jpg)


