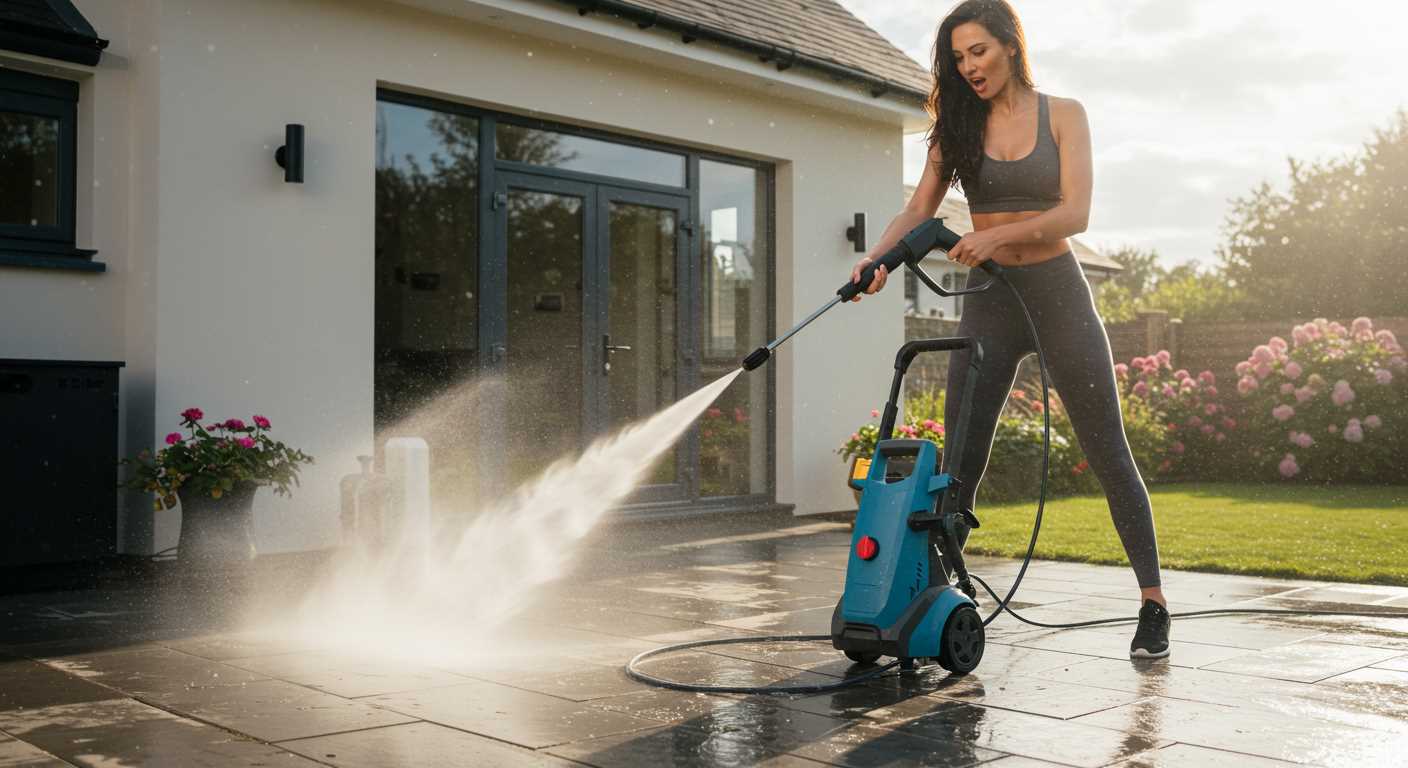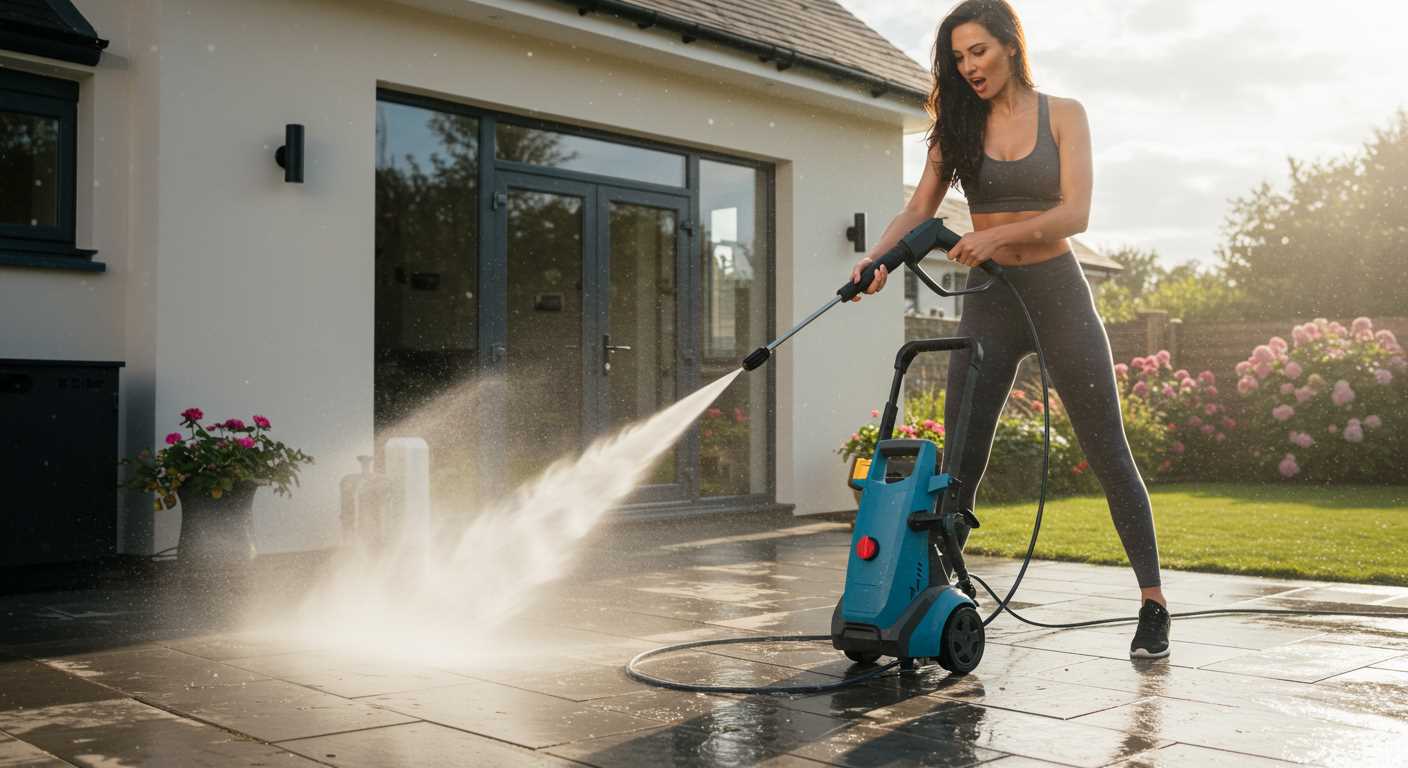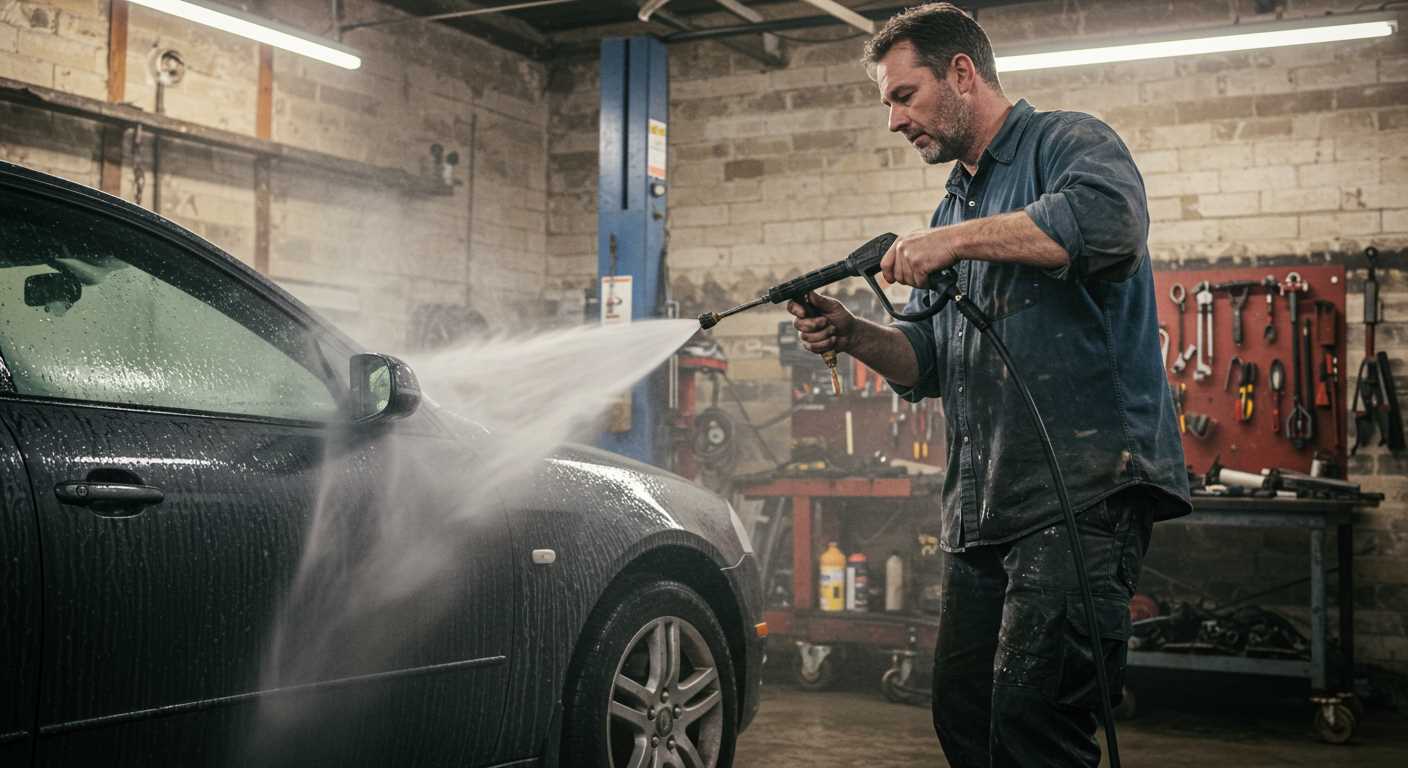


To easily detach the spray tip from your cleaning device, start by ensuring the machine is turned off and disconnected from the power source. This step is crucial to avoid any accidental activation, which could lead to injury or damage.
Next, locate the release mechanism. Many models feature a simple push-and-twist system, while others may have a locking collar that requires you to pull back or twist to unlock. If you’re unsure, consult your user manual for specific instructions tailored to your equipment.
In my experience, applying a bit of lubricant to the connection can help if you encounter resistance. A few drops of penetrating oil can work wonders in loosening any debris or grime that may have caused the tip to stick. Allow it to sit for a few minutes before attempting to remove it again.
If the spray tip remains stubborn, using a pair of rubber gloves can provide extra grip. Be cautious not to apply excessive force, as this could damage the connector. In the rare event that you still can’t remove it, consider seeking assistance from a professional or contacting the manufacturer for further guidance.
Understanding the Different Types of Nozzles
Choosing the right attachment can significantly influence your cleaning results. I’ve seen countless users struggle with the wrong type, leading to frustration and less effective cleaning. Here’s a breakdown of the main types I’ve encountered.
Standard Spray Tips
These tips usually come in a range of degrees, typically from 0° to 40°. The lower the degree, the narrower the spray pattern. A 0° tip delivers a concentrated stream ideal for tough stains, while a 40° tip produces a wider spray, better suited for gentle cleaning tasks. In my experience, the 25° tip serves as a great middle ground, offering versatility for various surfaces.
Rotary and Turbo Nozzles
These attachments rotate the water stream, providing a powerful cleaning action. I’ve found them especially effective on concrete and brick surfaces. The rotating motion increases the impact without risking damage, making them a favourite for more demanding jobs. Just be cautious; they can be too aggressive for delicate surfaces like wood or painted areas.
Gathering the necessary tools for removal
To successfully detach the attachment from your cleaning equipment, a few specific tools are essential. Here’s a concise list of what you’ll need:
| Tool | Description |
|---|---|
| Wrench | A standard adjustable wrench will help grasp the base of the component firmly without damaging it. |
| Screwdriver | A flathead or Phillips screwdriver may be necessary if screws are securing the piece in place. |
| Pliers | Use pliers for extra grip on stubborn parts that might not budge easily. |
| Lubricant | A penetrating oil can loosen any rust or debris that may hinder removal. |
| Bucket | Place a bucket underneath to catch any residual water, preventing a mess. |
Before starting, ensure all equipment is powered down and depressurised. I once spent an afternoon struggling with a stubborn attachment until I realised I needed a little lubrication. A few sprays of penetrating oil did wonders, and the piece finally came loose. Always keep these tools handy for an efficient process. Happy cleaning!
Inspecting the nozzle for any damage or wear
Begin by examining the tip closely. Look for any signs of chipping, cracking, or deformation. A damaged tip can lead to inconsistent spray patterns and reduced effectiveness.
- Check for blockages: Debris can accumulate inside the opening, affecting water flow. Use a thin wire or a soft brush to clear any obstructions.
- Assess the orifice: Ensure that the orifice is smooth and intact. Any wear in this area can change the pressure and dispersion of water.
- Inspect the sealing ring: If equipped, this component should be intact and flexible. A worn seal can lead to leaks and decreased performance.
- Look for rust or corrosion: Metal parts can deteriorate over time, especially if exposed to moisture. Any signs of rust suggest it may be time for a replacement.
In my experience, I once overlooked a small crack in the tip of a sprayer. It seemed minor at first, but it resulted in a significant drop in cleaning power. A quick replacement restored its efficiency, reminding me of the importance of thorough inspections.
Regular checks can save time and ensure optimal performance. If you notice any damage, consider replacing the part to maintain the best results for your cleaning tasks.
Identifying the locking mechanism on the nozzle
Examine the attachment closely for any visible locking features. Many models utilise either a simple push-and-turn mechanism or a button-release system. Understanding which type your model has is key to a smooth removal process.
- Push-and-turn: Look for a collar or ring that you can twist. This typically involves pushing the attachment towards the lance and turning it counter-clockwise to release.
- Button-release: Check for a small button or lever near the base of the attachment. This often requires pressing down while pulling the attachment away from the lance.
During my years in the field, I’ve encountered various designs. Some nozzles had a more complex locking system that included safety features to prevent accidental disconnection. Always inspect the locking mechanism carefully; any debris or damage may hinder its functionality.
After identifying the type of mechanism, ensure you have a clear line of sight to engage it properly. For those difficult-to-reach areas, using a mirror can provide a better view without straining your neck or arms.
In one instance, I had a stubborn attachment that seemed impossible to remove. Upon closer inspection, I discovered a small piece of sand lodged in the locking mechanism, preventing it from functioning correctly. A quick clean resolved the issue, and the attachment came off without further hassle.
Using lubrication to ease the removal process
Applying a lubricant can significantly simplify the task of detaching the spray attachment. A silicone-based lubricant or penetrating oil is particularly effective for this purpose. Just remember to choose a product that’s safe for plastic components, as some lubricants can cause damage.
Steps to Lubricate
First, ensure the machine is completely powered down and disconnected from any water source. Spray a small amount of lubricant around the connection site, allowing it to seep into any tight areas. I’ve found that letting it sit for a few minutes can help break down any grime or corrosion that may have built up over time.
Wipe Away Excess
After allowing the lubricant to work its magic, use a clean cloth to wipe away any excess. This prevents dirt from sticking to the area later. Once you’ve done this, attempt to detach the attachment again. You may find that it comes off with much less resistance. In my experience, this method not only helps with removal but also prolongs the life of the components by reducing wear and tear.
Always remember to keep the connection points clean and apply a light film of lubricant periodically, especially if you often switch attachments. This will help maintain smooth operation and ease future detachments.
Applying Appropriate Force to Detach the Nozzle
To safely remove the attachment, apply steady, even pressure while gripping it firmly. Start by positioning your hands on the body of the accessory rather than the head to prevent slippage. Use your body weight to lean into the task, giving you better leverage without risking damage.
If the component is particularly stubborn, a gentle twisting motion can help break the seal created by dirt or debris. Avoid sudden jerks or excessive force, as this can lead to injury or damage to both the attachment and the lance. If you encounter resistance, it might indicate that the locking mechanism wasn’t fully disengaged. Double-check that all parts are properly aligned and released before applying more force.
In some instances, a friend can assist by holding the main unit steady while you focus on the attachment. This team approach can significantly reduce the required effort and ensure a smoother removal process.
Consider the environment too; if the weather is damp or chilly, materials can expand or contract, making detachment trickier. If you’re struggling, take a break to reassess and try again later. This methodical approach not only preserves the integrity of your equipment but also enhances your overall experience. For more tips on maintaining your cleaning tools, check out how to clean laminate floors tips and tricks for spotless flooring.
Cleaning the wand and sprayer after removal
Once you’ve successfully detached the sprayer from the hose, immediate cleaning is key. I recommend rinsing both the wand and sprayer thoroughly with clean water. This step ensures that any leftover detergent or debris doesn’t cause clogs later on.
For deeper cleaning, use a soft brush or cloth to scrub the surfaces, paying attention to any hard-to-reach areas. A mixture of warm water and mild soap can help break down stubborn grime. Just avoid harsh chemicals that could damage the materials.
After scrubbing, rinse again with clean water. It’s crucial to ensure no soap residue remains, as it can affect performance during your next use.
Inspect the fittings after cleaning. If you notice any dirt or residue in the connections, use a toothbrush or a small wire brush to clean them out. This will help maintain a secure fit when reattaching components.
Before storing, let everything dry completely to prevent rust and corrosion. If you have a garden water hose for pressure washer, it’s a good idea to hang it up or keep it in a dry place to extend its life and performance.
Reattaching the nozzle securely to prevent leaks
Align the connector of the spray attachment with the wand’s end piece. Ensure that any locking mechanisms are in the correct position before pushing them together. A firm push until you hear a click confirms proper seating.
Check for any gaps between the wand and the attachment; a snug fit is crucial to preventing leaks. If you encounter resistance, do not force it. Instead, inspect both components for debris or damage that might hinder a tight seal.
After securing the connection, give the attachment a gentle tug to verify stability. If it’s loose, detach and reassess the connection. Sometimes a light application of lubricant can help create a better seal, especially if you notice wear on the rubber gaskets or O-rings.
Finally, once everything is reattached, perform a brief test run. Look for any signs of water escaping at the junction. If leaks are present, re-evaluate the fit and ensure everything is correctly positioned. A secure attachment is key to optimal performance and avoiding unnecessary water loss.


.jpg)


