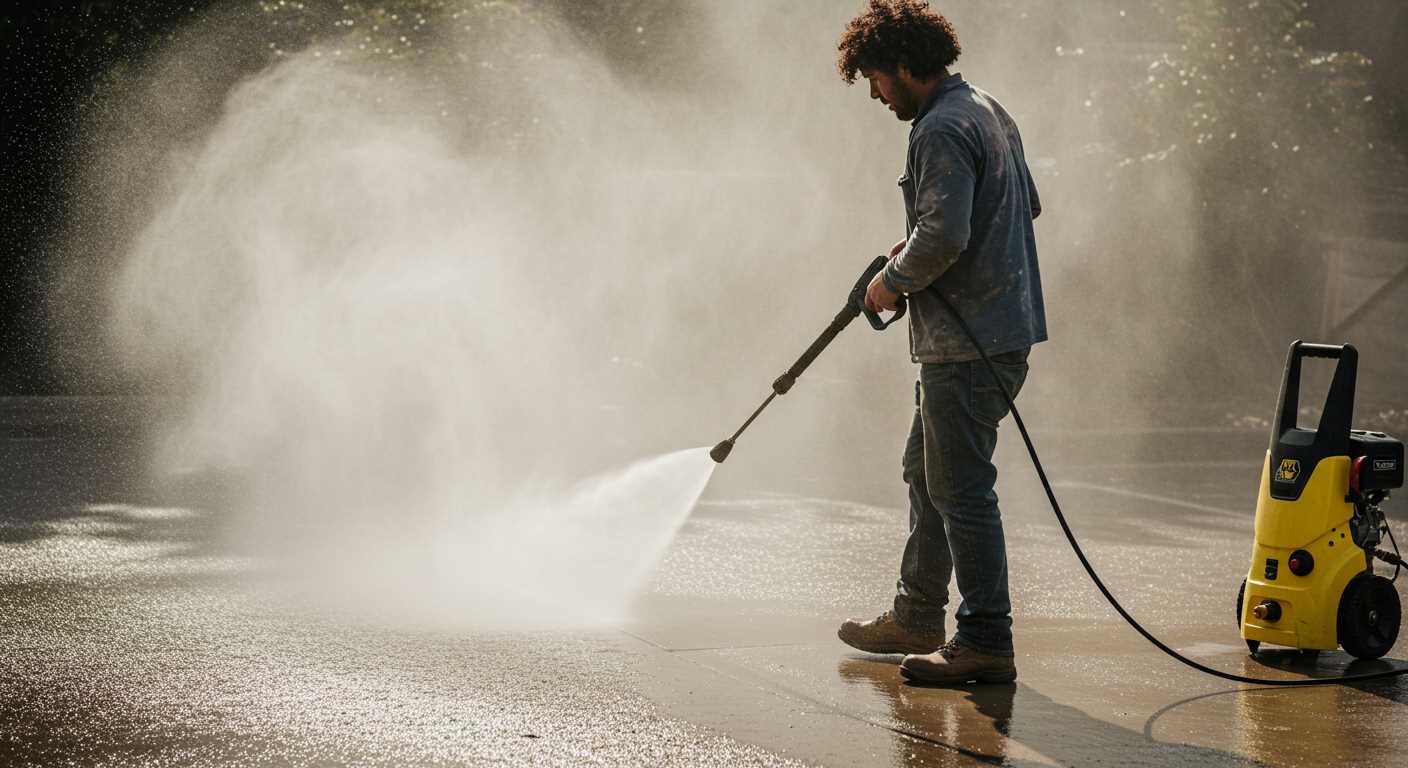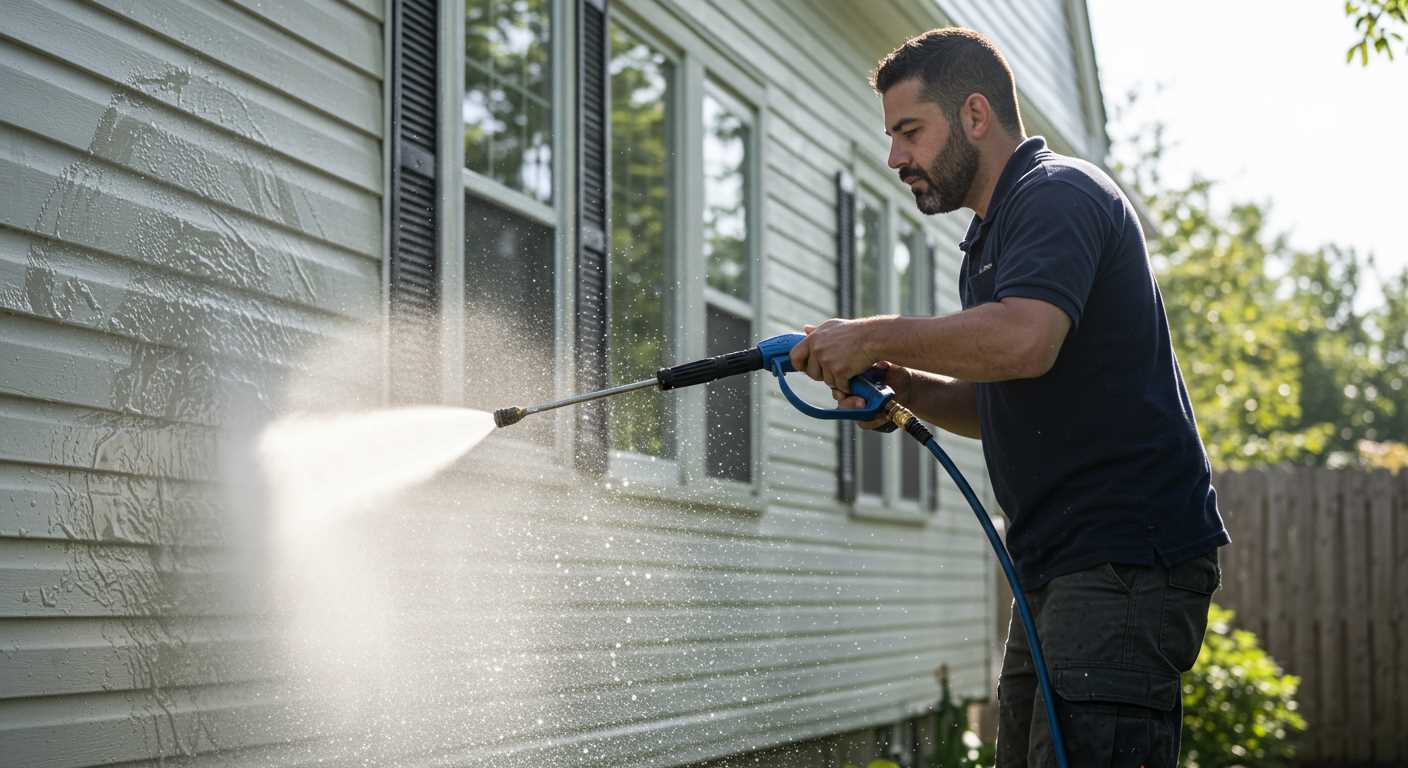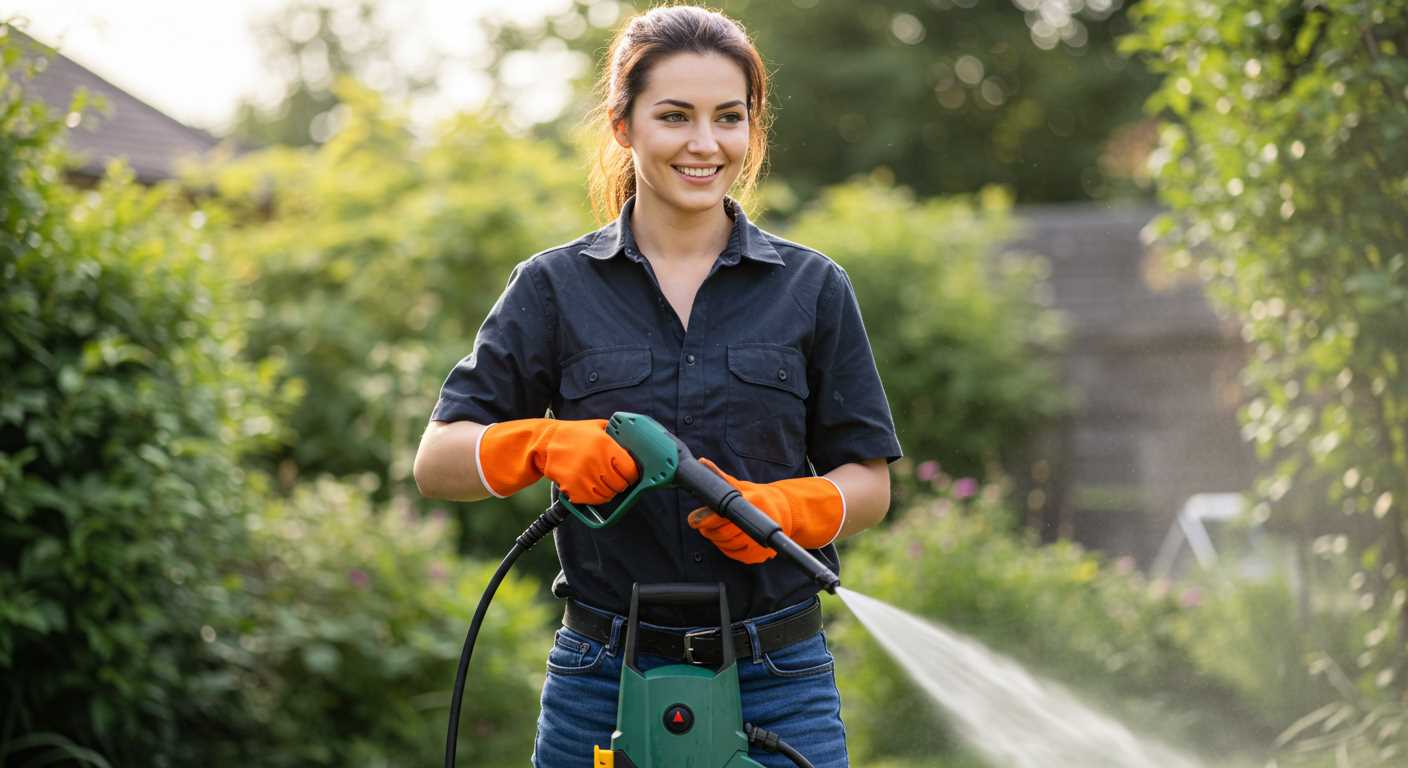


To ensure a smooth release of cleaning liquid, connect the appropriate attachment to your machine. The right nozzle or detergent injector is key; many models come with a dedicated injector designed to mix the solution effectively. I’ve had success using a low-pressure nozzle, which allows for better mixing and application of the cleaner, providing a thorough wash without damaging surfaces.
During my years in the cleaning equipment industry, I often encountered issues with the consistency of the blend. One common mistake is using too thick a solution. Always dilute your cleaner according to the manufacturer’s guidelines. I recall a time when a client insisted on using a concentrated formula straight from the bottle. The result was a clog that took hours to fix. By sticking to the recommended dilution, you’ll not only avoid blockages but also achieve better cleaning results.
Another tip from my experience: priming the system can make a significant difference. Before starting your session, run some water through the system without the detergent attached. This primes the pump and helps prevent air locks, ensuring that the cleaning agent mixes seamlessly when you switch over. Trust me; this step can save you a lot of frustration down the line.
Shampoo Dispensing from a High-Pressure Cleaner
Start by ensuring the detergent tank is filled with the right solution. I always recommend using a low-pressure nozzle or a dedicated foaming attachment for optimal results. When I first tried this method, I noticed a significant difference in application. It allows the cleaning agent to mix properly with water, ensuring even distribution.
Adjusting Settings for Optimal Performance
Set the machine to a low-pressure setting. Many users overlook this step, thinking high pressure is always better. I learned the hard way that too much pressure can prevent the cleaning solution from being drawn into the system effectively. Once I switched to lower pressure, the detergent began to dispense smoothly, covering surfaces uniformly.
Maintaining the Equipment
Regular maintenance is key to ensuring that everything works as it should. Clean the nozzle and filters frequently; any blockage can hinder the flow of the cleaning solution. I make it a habit to inspect these parts after every use. A simple rinse can make a world of difference in performance and longevity of the equipment.
Selecting the Right Shampoo for Your Pressure Washer
Opt for a detergent specifically formulated for high-velocity cleaning tools. These products ensure compatibility and optimal performance without damaging surfaces or your equipment. During my years in the industry, I learned that using a non-compatible cleaner can lead to clogs or even mechanical failures.
Consider Your Cleaning Needs
Identify the type of surface you’ll be treating. For vehicles, a pH-neutral formula works wonders, while for tougher jobs like decks or patios, a degreaser or mould remover is advisable. I once used a general-purpose cleaner on a car and ended up with streaks. Now, I always match the product to the task.
Check for Environmental Considerations
Many brands offer eco-friendly options. These are biodegradable and less harmful to surrounding plants and wildlife. I’ve personally switched to greener alternatives, and the results are impressive without the guilt. If you’re unsure, researching common issues is beneficial, such as those found in typical problems when a high pressure cleaner is defective.
Understanding the Pressure Washer’s Soap Dispenser System
.jpg)
To ensure optimal performance of the cleaning unit, it’s crucial to comprehend how the soap dispenser works. The dispenser typically operates using a siphoning method, where the detergent is drawn from a reservoir and mixed with water flowing through the system. This process is influenced by several factors, including the nozzle type, pressure settings, and the distance from the nozzle to the surface being cleaned.
In my experience, the initial step involves checking the detergent container for blockages. If it’s clogged, the solution won’t be drawn effectively. It’s also advisable to examine the hose connected to the dispenser; any kinks or damages can disrupt the flow. I’ve often found that using the correct nozzle–usually a low-pressure option–enhances the mixing of the detergent with water, resulting in better coverage.
Another aspect to consider is the dilution ratio specified by the detergent manufacturer. Using a concentrated formula without proper dilution can lead to issues with the siphoning process. I learned this the hard way when a strong detergent caused the system to malfunction, requiring a complete clean-out before I could continue working.
Here’s a quick reference table summarising key elements of the soap dispenser system:
| Component | Function | Tip |
|---|---|---|
| Detergent Container | Holds the cleaning solution | Ensure it’s free of blockages |
| Siphon Hose | Draws detergent into the system | Check for kinks or damage |
| Nozzle | Controls pressure and spray pattern | Use low-pressure nozzles for detergent application |
| Pressure Settings | Affects the mixing ratio | Adjust to match detergent requirements |
Maintaining the soap dispenser system is essential for achieving the desired cleanliness. Regular checks and understanding its mechanics can save you time and ensure effective results during your cleaning tasks.
Preparing the Pressure Appliance for Shampoo Use
Begin by disconnecting the unit from the power source to ensure safety. Next, check the water inlet filter for debris. A clean filter guarantees a smooth supply of water, which is crucial for optimal mixing with detergent. If you notice any blockages, remove and rinse the filter under running water.
Ensure that the detergent tank is empty and clean. Residual chemicals can interfere with the new solution you intend to use. Rinse the tank thoroughly and examine the inlet hose for any signs of wear or damage. Replacing a worn hose now can prevent future leaks and save time.
Mixing the Cleaning Solution
Once the tank is clean, prepare your cleaning solution according to the manufacturer’s recommendations. Using the correct dilution ratio is paramount; too concentrated and it may harm surfaces, too diluted and it won’t clean effectively. If your equipment features an adjustable nozzle, set it to the soap setting to ensure proper application.
Testing the System
Before you start cleaning, it’s wise to run a quick test. Fill the tank with your mixed solution, reconnect the appliance, and turn it on. Allow the water to flow through the system for a minute to ensure that the detergent is being pulled into the stream. This quick check saves you from any surprises later in the cleaning process.
Mixing Shampoo with Water: The Correct Ratio
For optimal results, combine detergent with water in a 1:10 ratio. This means one part soap to ten parts water. For example, if you use 100 ml of cleaning agent, mix it with 1 litre of water. This concentration efficiently removes dirt without overwhelming the dispenser.
Adjusting for Tough Stains
In cases of stubborn grime, consider increasing the soap concentration to a 1:5 ratio. This can enhance cleaning power while still maintaining safe usage for your equipment. Always test on a small area first to ensure compatibility with surfaces.
Storage and Application Tips
Once mixed, store the solution in a clean container. Shake well before use to ensure even distribution. Remember, using a pre-mixed solution can save time and effort during your cleaning tasks. If you’re curious about other kitchen appliances, you might find it interesting to read about how long to put oxtail in pressure cooker.
Adding Shampoo to the Pressure Washer: Step-by-Step
Begin by ensuring that the unit is turned off and disconnected from the power source. Locate the detergent tank, which is usually situated at the rear or side of the unit. If your model employs a siphon system, identify the hose that draws the cleaning solution from the container.
Next, carefully pour the formulated liquid into the tank or attach the siphon hose to the container filled with the cleaning agent. If you’re using a tank, fill it according to the manufacturer’s instructions, making sure not to exceed the maximum fill line.
Using the Right Tools
Attach the appropriate nozzle to the lance for applying the mixture. A low-pressure nozzle is typically recommended to ensure that the solution is applied evenly without foaming excessively. Once everything is set, reconnect the power supply and turn the machine on.
Activating the System
With the unit powered, engage the trigger to begin the application process. Allow the liquid to saturate the surface for a few minutes before rinsing. Observing the dwell time is key; it allows the cleaner to work effectively on grime and stains. After the recommended time has passed, switch to a high-pressure nozzle to rinse off the surface thoroughly.
Adjusting Pressure Settings for Optimal Shampoo Flow
Set the unit to a lower pressure setting, ideally between 1000 to 1500 PSI, for the best results with cleaning solutions. This range ensures that the mixture adheres to surfaces without splattering excessively, allowing for even distribution.
During my time testing various models, I found that too much force can hinder the effectiveness of the detergent. For example, while working with a well-known brand, I realised that switching to a gentler setting allowed the soap to cling better to the surface, leading to a more thorough clean.
Always observe the manufacturer’s guidelines regarding pressure levels for the specific detergent being used. Some products may require particular settings to activate their full cleaning potential. I once overlooked this detail and ended up with a subpar clean, which taught me to double-check compatibility.
Adjust the nozzle to a wider spray pattern. A fan spray helps disperse the solution over a larger area, facilitating better coverage and ensuring that the product penetrates grime effectively. I’ve had excellent results by experimenting with nozzle types, discovering that a 25-degree nozzle often works best for applying cleaning agents.
After mixing the solution, run a brief test on a small section before proceeding with the entire area. This allows for quick adjustments if the pressure needs tweaking, ensuring optimal performance throughout the task.
Be mindful of the temperature settings as well; cooler water can sometimes enhance the performance of certain cleaning solutions. I’ve noticed that a drop in temperature, combined with the right pressure, can yield impressive results without damaging sensitive surfaces.
Common Issues Preventing Shampoo Flow and How to Resolve Them
Clogged filters are a frequent culprit. Regularly inspect and clean the strainer that sits at the water intake. A simple rinse can often do the trick, but if it’s heavily soiled, a deeper clean or replacement may be necessary.
Blockages in Hoses and Connectors
Check all hoses and connectors for debris. Even small particles can impede the liquid passage. Here’s a quick checklist:
- Detach hoses and inspect for kinks or twists.
- Flush hoses with water to remove any obstructions.
- Examine connectors for any signs of wear or damage.
Incorrect Dilution Ratios
The blending of cleanser and water must adhere to the manufacturer’s guidelines. Using too much or too little can cause an inadequate mixture. Always measure accurately:
- Use a measuring cup for precision.
- Check the label for recommended ratios.
- Mix thoroughly before adding to the system.
Another common issue is the soap dispenser setting. Ensure it’s set to the correct position for dispensing. If the adjustment is not clear, refer to the user manual for guidance.
Sometimes, a malfunctioning injector can be the reason behind inadequate product delivery. If you suspect this, inspect it for blockages or damage. Cleaning it with a soft brush can revive its functionality.
Lastly, water temperature can impact how well the mixture is drawn into the system. If the water is too cold, the liquid may not mix properly. If possible, use warm water to enhance the mixing process and improve effectiveness.
Cleaning the System After Using Shampoo
Once the task is complete, it’s crucial to clear the system to avoid residue buildup and ensure longevity. Follow these steps for effective maintenance:
- Detach the chemical injection hose. This prevents any leftover product from sitting in the line.
- Fill the detergent tank with clean water. This will help flush out any remaining solution.
- Run the machine for a few minutes. This should be done with the nozzle pointed away from surfaces to avoid unintended spraying.
- Switch to a high-pressure nozzle. This will help push out any remaining cleaning agent from the system.
- If your model has a soap nozzle, attach it and spray clean water for another minute. This ensures the soap dispenser is fully cleared.
After finishing the flushing, inspect the hoses and connectors for any signs of wear or damage. If you notice any issues, it’s wise to replace those parts before the next use. I remember one time I neglected this step and faced clogs that took hours to resolve. Maintenance pays off.
- Always store the equipment in a dry place to prevent moisture from causing corrosion.
- Regularly check the filters and clean them to maintain optimal performance.
- Consider using a vinegar solution for an occasional deep clean of the entire system.
Following these steps ensures that your equipment remains in top condition, ready for the next cleaning challenge. Regular upkeep has saved me countless hours of troubleshooting over the years.


.jpg)


