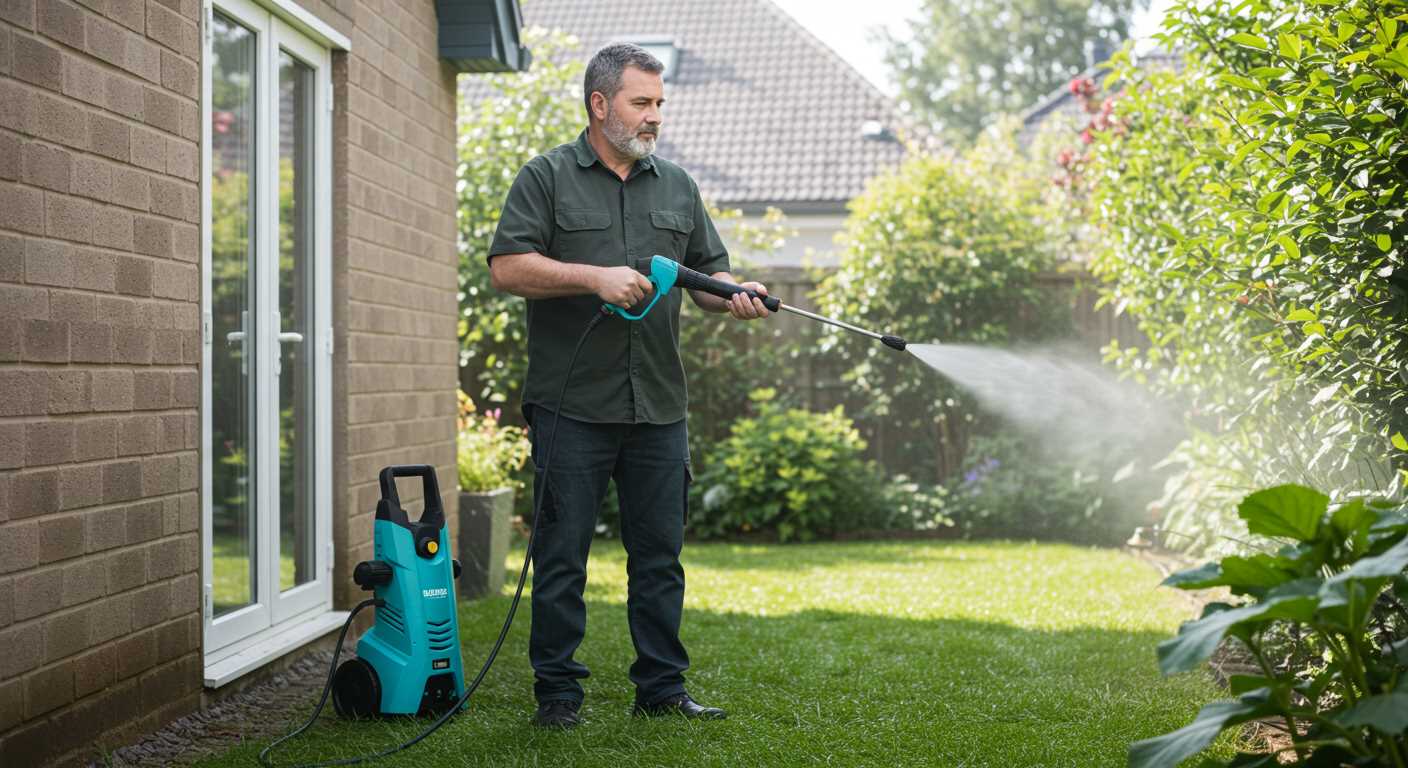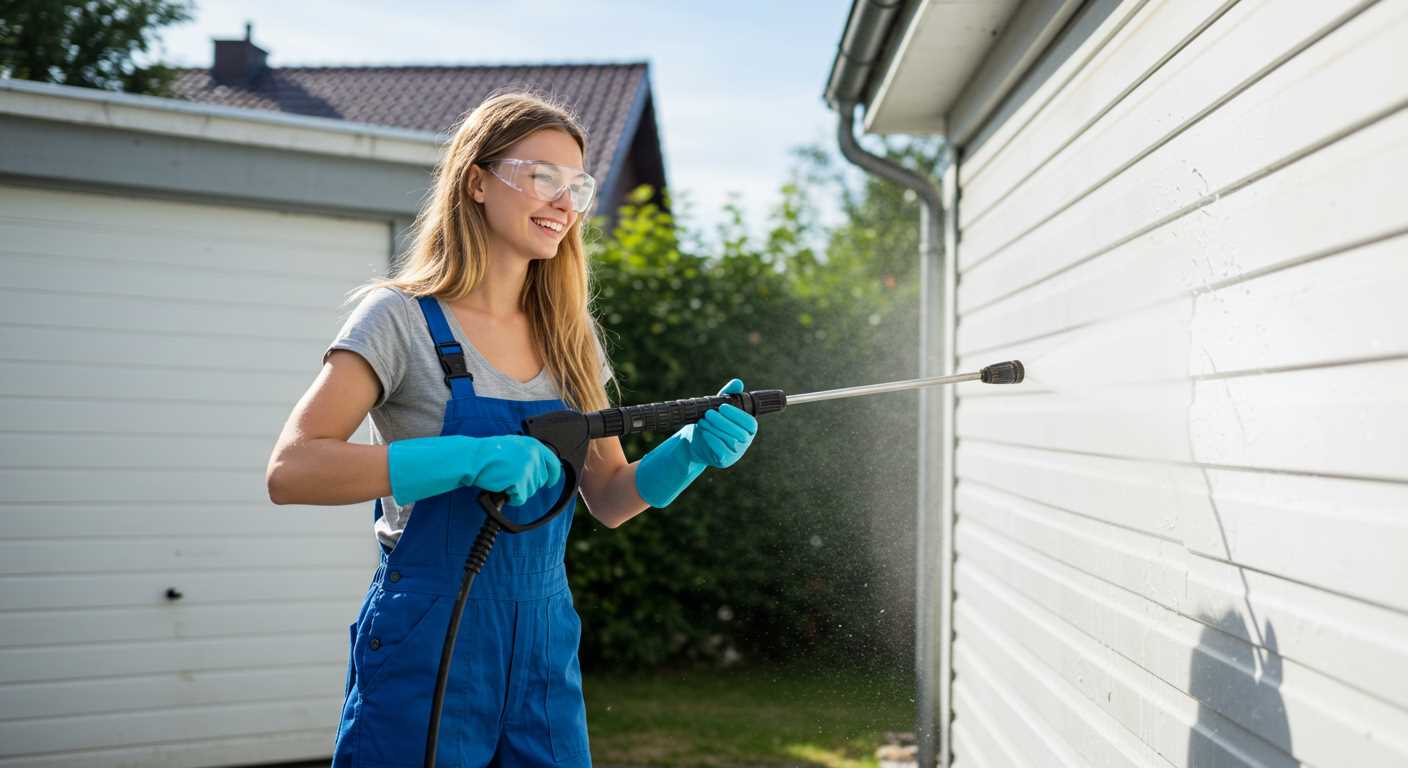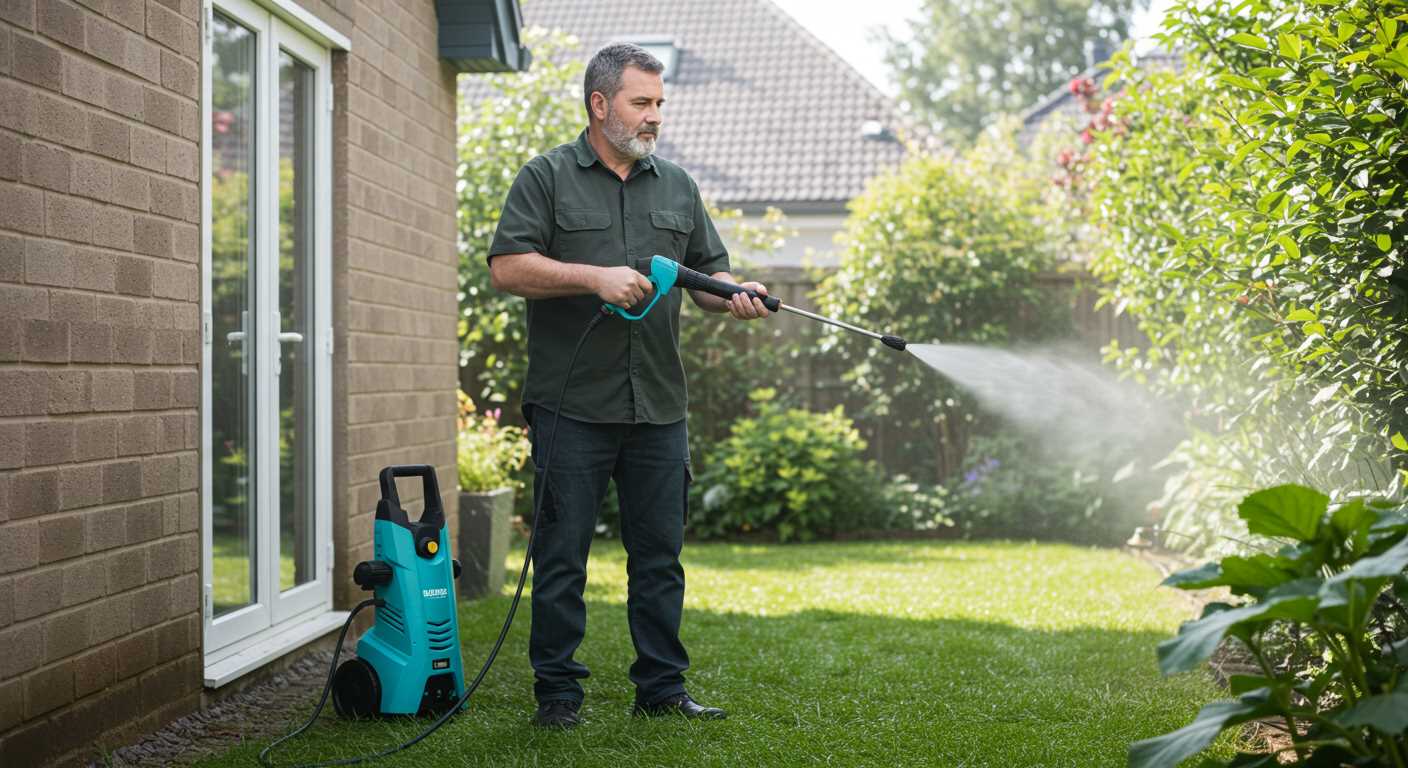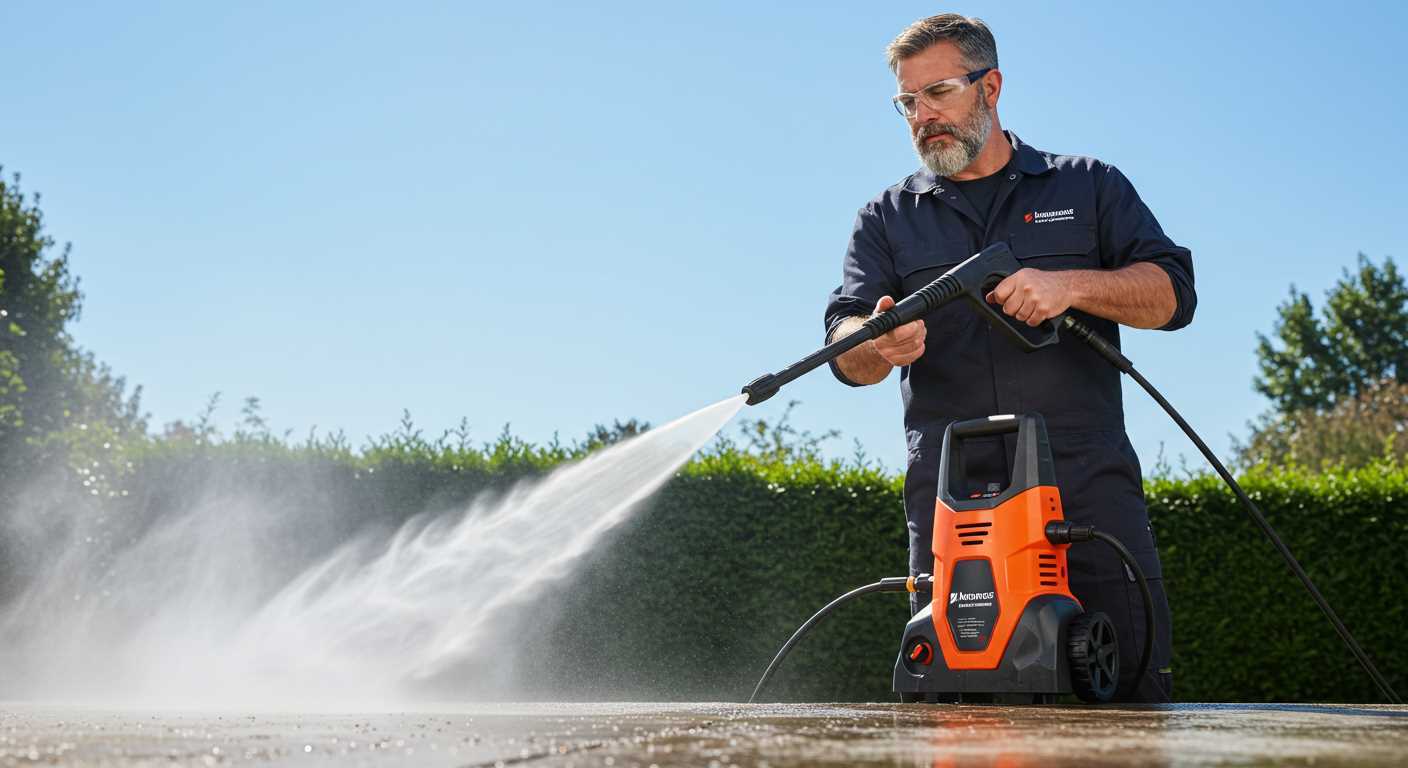


To ensure that your cleaning apparatus produces a rich layer of foam, start by using a dedicated foam cannon compatible with your unit. This attachment optimizes the mixing of detergent and water, creating a thick lather that clings to surfaces, enhancing the cleaning process significantly.
Next, it’s crucial to select a high-quality detergent specifically formulated for use with such devices. Many standard household cleaners lack the necessary viscosity or foaming agents, resulting in ineffective cleaning. Always check the manufacturer’s recommendations to guarantee compatibility.
Adjusting the ratio of soap to water can greatly impact foam production. A common guideline is to use one part detergent to four parts water, but feel free to experiment with this ratio to find what works best for your specific cleaning needs. In my experience, a slightly stronger mixture often yields superior results, particularly for stubborn grime.
Make sure your appliance is set to low pressure when applying the cleaning solution. This prevents the foam from being blown away too quickly and allows it to adhere better to surfaces. After application, let the foam sit for a few minutes to break down dirt and stains effectively before rinsing.
Lastly, regular maintenance of your equipment is vital. Clean the foam cannon and any hoses after each use to prevent clogs and ensure optimal performance during your next cleaning session. With these tips, you’ll achieve impressive results and extend the lifespan of your cleaning device.
Check if your pressure washer has a soap nozzle
First, inspect the attachment options that came with your machine. Many models include a specific nozzle designed for foam application. This nozzle typically has a wider opening compared to standard ones and is often marked with a different colour. Ensure you have this tool handy, as it’s key for foaming solutions.
Identifying the Soap Nozzle
Look for these characteristics to confirm you have the correct nozzle:
- Wider spray pattern – it should create a broad mist rather than a focused jet.
- Distinct labelling or colour coding – manufacturers often differentiate these nozzles to avoid confusion.
- Compatibility – check the model specifications or user manual for compatibility with cleaning agents.
Using the Right Nozzle
Once identified, attach it securely to the lance. A loose connection may hinder the flow of cleaning agents. It’s worth testing the connection before starting any cleaning task. If your device didn’t come with a dedicated nozzle, consider purchasing one from a trusted retailer.
In my experience, having the right nozzle makes a significant difference in both application and cleaning efficiency. I once tried using a standard nozzle on a particularly grimy patio, and the results were far from satisfactory. Switching to the foam nozzle transformed the task, making it not only easier but also more effective. Always ensure you have the right tools for the job; it saves time and effort in the long run.
Identify the Correct Soap for Your Pressure Washer
Choosing the right cleaning agent is crucial for optimal results. Always opt for a detergent specifically formulated for high-pressure cleaning devices. These products are designed to work efficiently with your equipment, ensuring that they do not cause damage or reduce performance.
Consider the surface you are treating. For instance, if you are cleaning vehicles, a car wash concentrate will be effective without harming the paintwork. On the other hand, for outdoor surfaces like patios or driveways, a powerful degreaser may be more suitable to tackle tough stains.
Pay attention to the manufacturer’s recommendations. Each model has specific guidelines regarding compatible cleaning solutions. For example, using a non-approved product could void your warranty. Always check the user manual or the manufacturer’s website for a list of suitable detergents.
Concentrates often require dilution, so follow the instructions carefully. A mix that is too strong can lead to residue left on surfaces, while a weak solution may not clean effectively. Experiment with different concentrations on less visible areas to find the right balance.
Here’s a quick reference table to help you choose a detergent based on the surface:
| Surface Type | Recommended Detergent |
|---|---|
| Vehicles | Car wash concentrate |
| Decking | Wood cleaner |
| Concrete | Heavy-duty degreaser |
| Brick | Brick cleaner |
If you’re working with a model providing 150 bar pressure, such as those found at 150 bar, ensure that your chosen detergent can handle such intensity without causing harm. Always test a small area first to avoid any potential issues.
In my experience, using the right cleaning agent not only enhances the cleaning process but also prolongs the life of your equipment. Make informed choices, and you’ll achieve outstanding results every time.
Fill the Soap Tank Properly and Avoid Overfilling
To achieve optimal performance, fill the detergent reservoir with the appropriate amount of cleaning solution. Overfilling can lead to leaks and inefficient mixing with water, resulting in subpar results when cleaning. Here are some practical steps I recommend:
- Use a funnel for precision. This helps prevent spills and ensures the solution reaches the correct level.
- Check the manufacturer’s guidelines for the maximum fill line. Do not exceed this limit.
- If the tank is removable, take it out for easier filling and cleaning. This also allows you to inspect for any residue from previous use.
- Consider diluting concentrated products if necessary. Following the dilution ratios on the label maximises effectiveness without causing overflow issues.
During my years of testing various models, I found that a well-filled tank enhances the distribution of the product, allowing it to cling to surfaces better. After all, a clean car or patio starts with proper preparation.
Once you’ve filled the tank, always double-check that the lid is securely fastened. An improperly sealed tank can lead to leakage during operation, wasting your cleaning solution and creating a mess. If you’re looking for the best nozzle to pair with your equipment, check out the best car wash nozzle for pressure washer. A compatible nozzle can significantly improve your cleaning experience.
Remember, taking the time to fill your tank correctly not only maximises efficiency but also prolongs the life of your equipment. Happy cleaning!
Adjust the Soap Dial or Settings According to the Model
Each model varies in its interface, so it’s crucial to consult the user manual for specific adjustments. On most units, you’ll find a dial or a switch for controlling the mixture ratio. For example, some models allow for a range from low to high concentration, while others might have set points for different cleaning tasks.
In my experience, I’ve encountered machines where the soap setting is marked clearly, and others where it’s less intuitive. One time, I worked with a machine that had a sliding scale. It took a few minutes to figure out that a slight adjustment made a significant difference in the foaming action. A lower setting worked better for light cleaning, while a higher setting was necessary for more stubborn grime.
Pay attention to the colour coding or markings on the dial. Some manufacturers use standardised colours to indicate settings; for instance, green for light, yellow for medium, and red for heavy-duty tasks. This can save a lot of time if you’re switching between types of jobs on the same day.
Additionally, if your unit features interchangeable nozzles, ensure you’re using the correct one as specified in the manual when adjusting the soap settings. The wrong combination can hinder performance and lead to unsatisfactory results. The last thing you want is to waste time and materials due to improper settings.
Finally, after adjusting, conduct a quick test on a small, inconspicuous area first. This will help gauge the effectiveness and prevent any potential damage to surfaces. From my experience, fine-tuning these settings leads to optimal results and saves on cleaning products in the long run.
Test the soap dispensing function before use
Always conduct a preliminary check of the detergent mechanism to ensure it operates correctly. I recall a situation where I was eager to tackle a particularly stubborn stain, only to find that the cleaning agent wouldn’t flow. To avoid such disappointments, follow these steps.
Inspect connections and settings
Start by making certain that all hoses and fittings are securely attached. Any air leaks can disrupt the flow. Next, adjust the settings on the machine, ensuring the dial or control is set to the appropriate level for the cleaning solution. It’s worth testing the system at a lower pressure first, allowing you to observe if the liquid is being drawn into the spray lance.
Perform a functionality test

With everything in place, aim the lance at a designated area and activate the unit. Watch closely for any sign of the fluid mixing with the water stream. If you notice a lack of suds, reassess your earlier steps. I’ve seen instances where a simple blockage in the hose or nozzle can lead to a failure in delivery. Clearing any obstructions can often resolve the issue and ensure you’re ready for your cleaning task.
Clean the soap injection system regularly for optimal performance
Regular maintenance of the detergent injection system is crucial. I’ve seen too many machines underperform simply because the soap lines were clogged or dirty. After each use, it’s advisable to flush the system with clean water. This not only prevents residue build-up but also ensures the lines remain clear and functional.
When I worked in the field, I often used a dedicated cleaning solution specifically designed for these systems. It’s a straightforward step that can significantly enhance performance. A quick soak of the injector in this solution can dissolve any stubborn deposits that might accumulate over time.
Inspect the filter regularly as well. A blocked filter restricts flow, leading to inconsistent mixing. I remember one instance where a friend’s unit was barely spraying any cleaning agent. After checking, we found the filter was completely clogged. A simple cleaning restored the function.
Lastly, consider the climate where you operate your equipment. In areas with hard water, mineral deposits can accumulate more quickly. In such cases, a seasonal deep clean of the entire injection system can save you headaches down the line. Trust me, staying ahead with this maintenance will keep your machine running smoothly and efficiently.


.jpg)
.jpg)


