


For optimal results, ensure that the detergent reservoir is filled with the correct cleaning agent, specifically formulated for use with high-pressure units. I’ve personally found that using the right product can dramatically enhance the cleaning power, especially when tackling stubborn grime. Avoid generic soaps; instead, choose ones designed specifically for the equipment.
Check the dilution ratios on the detergent label. Following these instructions is key; using too concentrated a solution can lead to blockages and damage. From my experience, mixing according to the manufacturer’s guidelines always yields the best outcomes.

Next, inspect the nozzle and ensure it is compatible with the cleaning agent. A narrow nozzle will create higher pressure, which can be beneficial for certain tasks. I’ve often switched nozzles during projects to adapt to varying levels of dirt and surface types. Adjusting the spray pattern can make a significant difference in cleaning efficiency.
Lastly, don’t forget to prime the system before starting. This involves running water through the machine without detergent to remove any air pockets and ensure a smooth flow. I’ve encountered issues in the past when neglecting this step, resulting in uneven application of the cleaner. A little preparation goes a long way in achieving that spotless finish.
Understanding the Components of Your Cleaning Device
Familiarity with the different parts of your cleaning device is key to optimising its performance. Here’s a breakdown of the essential components that play a significant role in its operation:
- Motor: This is the heart of your machine. A robust motor ensures high efficiency and durability. When testing models, I often noticed that powerful motors could handle tougher jobs without overheating.
- Pump: The pump pressurises the water, enabling the force needed to remove grime. Different types include axial and triplex pumps. From my experience, triplex pumps tend to offer longer service life and better performance.
- Hose: A high-quality hose is essential for maintaining pressure. Look for reinforced materials that can withstand high psi without kinking. I’ve seen hoses fail during use, leading to frustrating delays.
- Nozzle: The nozzle determines the spray pattern and intensity. Adjustable nozzles give flexibility for various tasks. I’ve found that having a range of nozzle types on hand can make a significant difference in cleaning efficiency.
- Detergent Tank: This component holds cleaning agents. Ensure it’s compatible with your formula. I’ve encountered models where the tank was poorly designed, causing leaks and messy clean-ups.
- Wheels: Consider the mobility of your unit. Larger wheels are beneficial for uneven terrain. I once struggled with a model that had small wheels on a gravel driveway; it was cumbersome to manoeuvre.
- Trigger Gun: This is your interface with the device. A comfortable grip and responsive trigger mechanism enhance control. I’ve used guns that were hard to squeeze for long periods, leading to fatigue.
Understanding these components allows for better maintenance and effective troubleshooting. Regular checks and familiarity with each part can save time and extend the lifespan of your equipment.
Choosing the Right Soap for Your Pressure Cleaner
Opt for a detergent specifically formulated for high-powered cleaners. In my experience, using the wrong type can lead to residue buildup or even damage your equipment. For instance, a few years back, I tested a generic all-purpose cleaner, and it left streaks on the surface I was cleaning. Switching to a dedicated product made a world of difference.
Consider the surfaces you’ll be tackling. For vehicles, a pH-neutral car wash is ideal, while for patios or driveways, a tough degreaser can cut through grime effectively. I recall a time when I underestimated the power of a specialised deck cleaner; it not only restored the wood’s appearance but also helped prevent future mould growth.
Check compatibility with your device. Many manufacturers provide guidelines on suitable cleaning agents. I often refer to these recommendations to avoid using anything abrasive that could void the warranty. For example, I once misused a highly concentrated cleaner, thinking it would enhance performance, but it ended up clogging the nozzle.
Always test a small area first, especially if you’re unsure how a product will interact with the surface. I’ve learned this lesson the hard way; a patch test saved me a lot of trouble when a cleaner discoloured a painted fence.
When in doubt, consult reviews or go for products that have a solid reputation. Websites dedicated to cleaning tools often feature user feedback, which can guide your choice. One resource I recommend is finding the best portable pressure washers, as they often list compatible soaps and detergents.
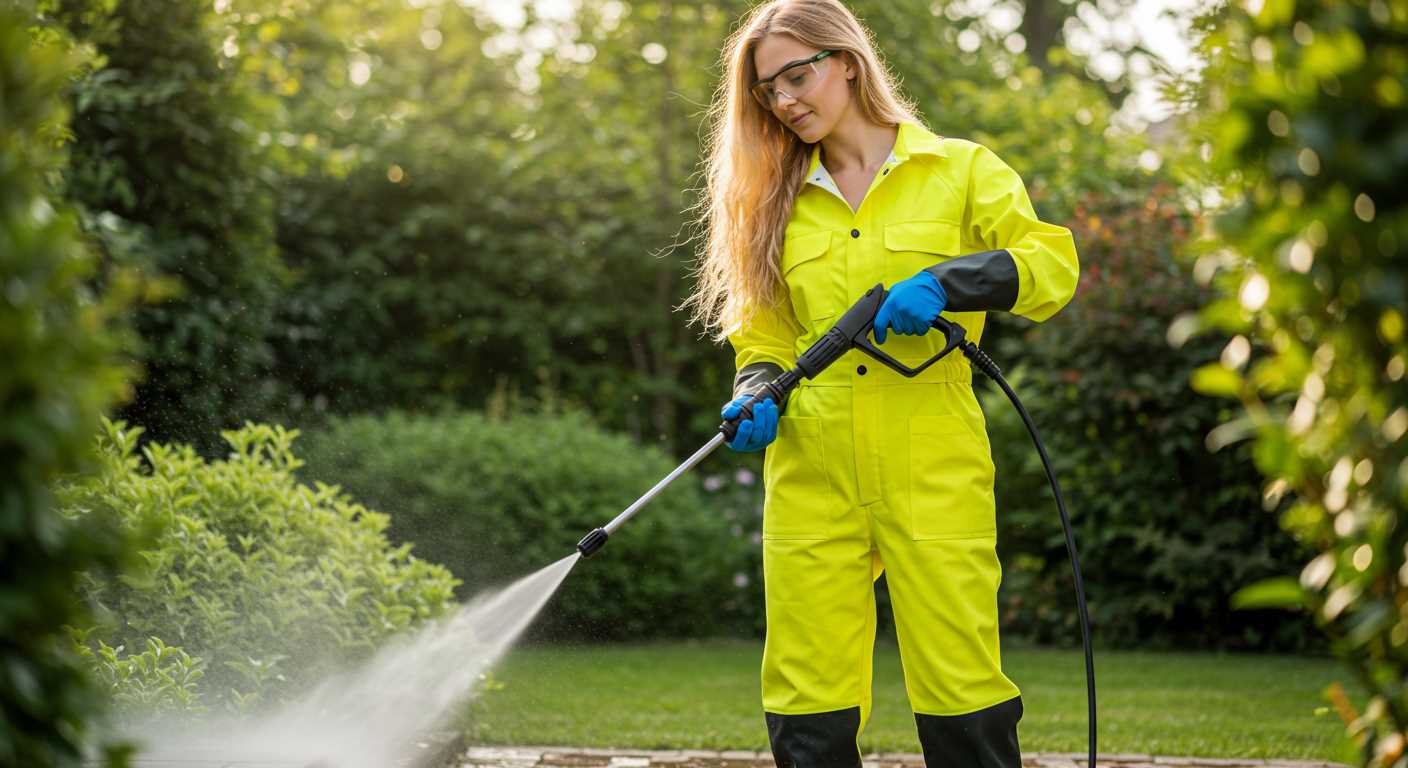
Preparing Your Cleaning Equipment for Soap Application
Begin by ensuring your unit is turned off and completely disconnected from the power source. This prevents any accidental starts while you’re setting things up. Next, make sure the detergent tank is clean and free of any residues from previous cleaning agents. I can’t stress enough how a clean tank can significantly affect the performance of the new cleaning solution.
Fill the detergent reservoir with your chosen cleaning agent, adhering to the manufacturer’s recommendations for dilution ratios. Many times, I’ve seen people skip this step, thinking more soap means better results. In reality, using the correct amount is crucial for optimal performance.
Attach the appropriate nozzle for soap application. Typically, this is a low-pressure nozzle, often identified by its wider angle, which allows the solution to be drawn into the stream more effectively. I recall a time when I used a high-pressure nozzle inadvertently and ended up with a mess instead of a clean surface.
Before applying the mixture, conduct a quick test spray to ensure the soap is being drawn into the flow correctly. This quick check can save you time and frustration later on. If no soap is coming out, double-check your connections and the setting of your unit. Sometimes, a simple adjustment can solve the issue.
Finally, ensure all hoses and attachments are securely in place. A loose connection can lead to leaks, which not only waste your detergent but can also create a slippery environment that’s hazardous. I’ve had my share of near slips because I overlooked this simple step!
Mixing Soap with Water Correctly
Start with a clean container, preferably one that can hold at least a gallon of liquid. Measure the concentrated cleaning solution according to the manufacturer’s instructions. Typically, a dilution ratio of 1:10 is common, but always verify the specifics for the product you are using.
Water Temperature Matters
Use lukewarm water for mixing. Cold water can prevent the cleaning agent from dissolving properly, while hot water may compromise its effectiveness. Aim for a temperature around 20 to 30 degrees Celsius. This balance ensures optimal mixing and performance.
Mixing Technique

Pour the measured cleaning solution into your container first, followed by the water. This order helps to avoid foaming, which can occur if water is added first. Stir the mixture gently with a stick or a whisk until fully combined, allowing no lumps or residue to remain. If you notice excessive bubbling, allow it to settle before transferring to your application system.
After mixing, let the solution sit for a few minutes. This helps any remaining bubbles dissipate and ensures a homogeneous mixture. Always test a small area before applying to larger surfaces to confirm compatibility with your materials.
Following these steps ensures that your cleaning mixture is effective and ready for use, maximising the cleaning potential of your equipment.
Setting up the cleaning device for detergent use
Begin by connecting the water supply to the machine, ensuring a tight fit to prevent leaks. Turn on the water and check for any issues before starting the unit. Next, attach the correct nozzle, typically the one with a wider spray pattern, to allow for better soap application.
Locate the detergent tank, which is usually situated on the side or at the rear of the unit. Fill it with the pre-mixed solution, ensuring you don’t exceed the maximum fill line. If your model has a dedicated detergent injector, ensure it’s clean and free from blockages.
Set the pressure setting to a lower level, as high pressure can inhibit proper soap distribution. If your model has a specific soap setting, switch to that mode for optimal results. Test the flow by pulling the trigger on the lance; check that the detergent begins to mix with the water.
After confirming everything is in order, position the nozzle at the target surface approximately two feet away. This distance allows for effective cleaning without damaging the material. Maintain a steady motion while applying the mixture to ensure even coverage.
Once the application is complete, allow the detergent to sit for a few minutes before rinsing with clean water. This step enhances cleaning effectiveness by breaking down dirt and grime. Regular maintenance of the machine will ensure longevity and consistent performance.
Applying Cleaning Solution with the High-Pressure Unit Effectively
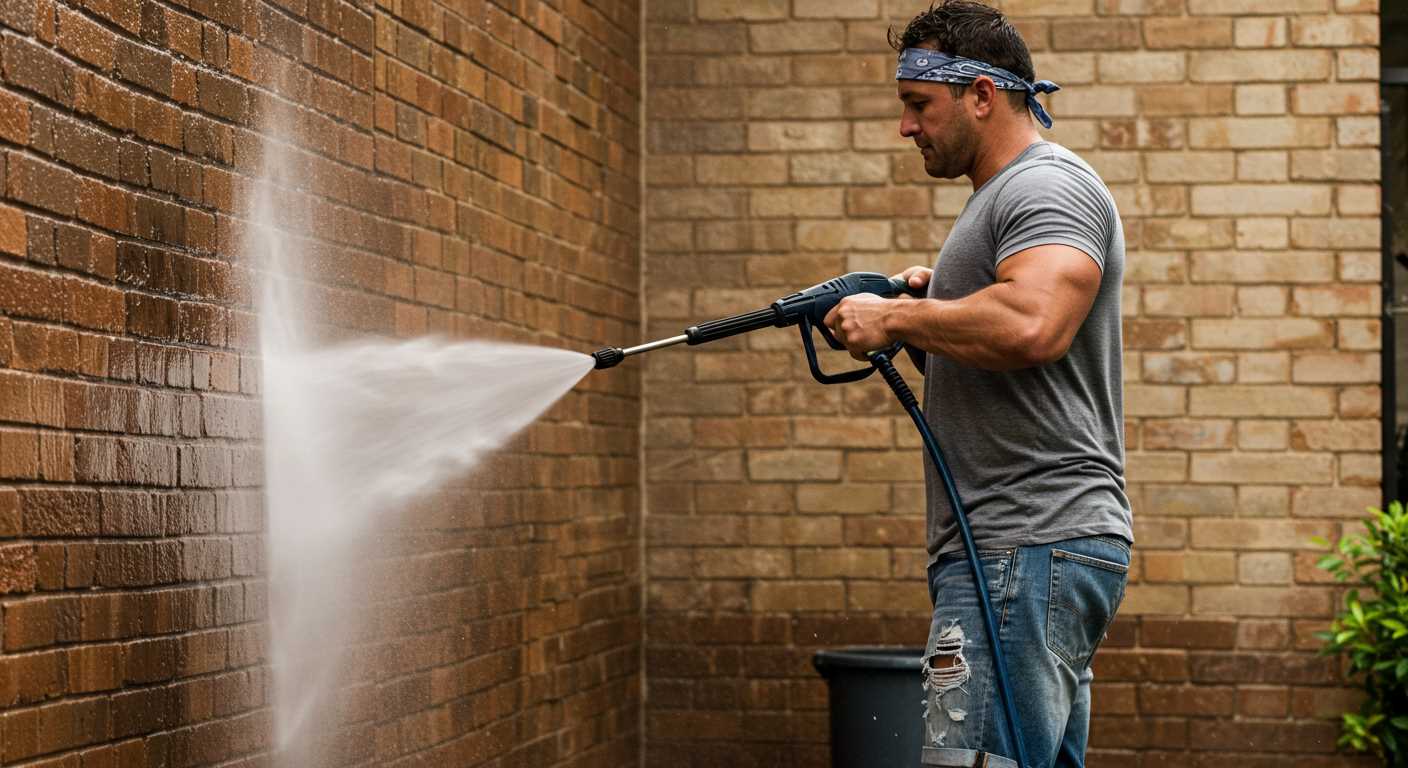
Start with a narrow nozzle; it focuses the stream and enhances the solution’s penetration into surfaces. I recall a time when I used a wide spray and ended up pushing dirt around rather than lifting it. Adjusting to a more precise angle made a significant difference.
Maintain a distance of about 2 to 3 feet from the surface. Too close, and you risk damaging paint or delicate materials. I learned this the hard way on an old wooden deck–keeping that distance allowed the cleaner to work while avoiding any unwanted damage.
Overlap your strokes slightly. When applying the mixture, ensure each pass covers a portion of the previous one. This technique ensures consistent coverage and prevents streaks. I remember the first time I didn’t overlap properly; I ended up with uneven results that required a second pass.
Allow the cleaning solution to dwell for a few minutes before rinsing. This waiting period gives the formulation time to break down grime and stains. I often set a timer to avoid rushing this step; letting it sit too long can dry it out, reducing effectiveness.
After applying, switch to a higher-pressure nozzle for rinsing. This transition clears away the loosened dirt effectively. I once made the mistake of using the same nozzle for both steps and struggled with stubborn spots. The change in pressure made quick work of it.
Finally, always test a small inconspicuous area first, especially on sensitive surfaces. I’ve had my share of surprises after not doing this, leading to unnecessary repairs. A little precaution goes a long way.
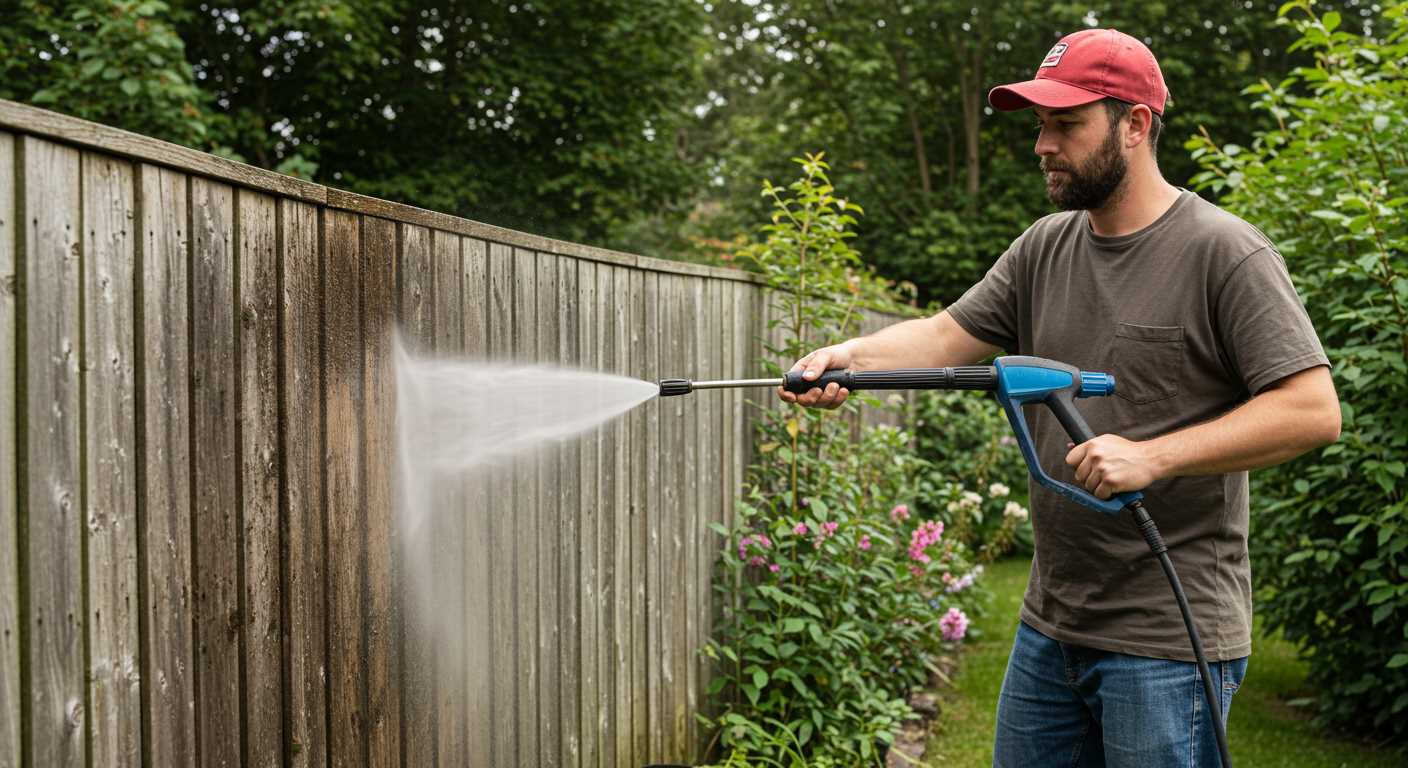
Adjusting Spray Patterns for Optimal Coverage
For achieving the best results while applying cleaning solutions, it’s crucial to adjust the spray pattern on your device. A fan spray is ideal for broad coverage, allowing the solution to coat surfaces evenly without wasting product. On the other hand, a narrow jet is perfect for targeting tough stains or grime. When I first started using these machines, I made the mistake of sticking to one setting, which resulted in uneven application and wasted effort.
Choosing the Right Nozzle
The nozzles usually come in different colours, each representing a specific spray angle. A 25-degree nozzle works well for general cleaning of large areas, while a 15-degree nozzle is better suited for more stubborn dirt. I remember once tackling an old patio that hadn’t been cleaned in years. Switching to the 15-degree nozzle made a noticeable difference; I was able to remove grime that I thought was permanent.
Finding the Sweet Spot
Distance also plays a key role. Maintain a consistent distance from the surface, ideally around 2 to 3 feet. If you get too close, the force can damage softer materials like wood or vinyl siding. In my experience, adjusting the distance helped me avoid damage while still ensuring that the cleaning solution was applied effectively. Regularly checking your settings can make the difference between a good clean and a great one. For those considering options, exploring a mid range pressure washer can provide a balance of power and versatility for various tasks.
Rinsing Off Soap Properly After Application
To ensure a clean finish after applying cleaning solution, rinse thoroughly using a wide spray pattern. This helps to remove any residue effectively without damaging surfaces.
Steps for Proper Rinsing
- Start from the top of the surface and work downwards. This prevents dirty water from running over areas you’ve already cleaned.
- Maintain a distance of around 2-3 feet from the surface to avoid etching or stripping paint, especially on delicate materials.
- Use a consistent sweeping motion, overlapping each pass by about 50% to ensure even coverage.
- Pay special attention to corners and crevices where residue might collect. Angle the nozzle to reach these spots effectively.
Tips for Optimal Results
- Flush the nozzle regularly to prevent soap clogging. A clean nozzle maintains pressure and improves rinsing efficiency.
- If you notice soap residue after initial rinsing, consider a second pass with clean water, adjusting the spray pattern to a narrow setting to concentrate the flow.
- For large areas, divide the surface into sections. Rinse one section at a time, ensuring thorough removal of any cleaning agents.
- Monitor the water temperature; warmer water can aid in breaking down stubborn residues.
After rinsing, visually inspect the surface for any missed spots. A final quick rinse can help ensure everything is spotless and ready for drying.
Maintaining Your Equipment for Future Use
Regular upkeep can extend the lifespan of your cleaning device considerably. After every use, it’s crucial to flush out the detergent system. Simply run clean water through the soap inlet to prevent clogs and residue build-up.
Routine Checks
Inspect hoses and connections for wear. Look for cracks or kinks that could lead to leaks. Replace any damaged components immediately to avoid larger issues later.
| Maintenance Task | Frequency | Notes |
|---|---|---|
| Flush detergent system | After each use | Use clean water to remove residues. |
| Inspect hoses | Weekly | Check for cracks or wear. |
| Clean filters | Monthly | Ensure optimal performance. |
| Check oil levels | Monthly | Keep engine well-lubricated. |
Storing Your Device
Before storing, ensure your machine is completely dry to prevent mould and mildew. If possible, keep it indoors in a climate-controlled environment. If outdoor storage is necessary, cover it with a protective tarp to shield it from the elements.
Every few months, start the device and let it run for a few minutes. This helps keep the engine components lubricated and ready for action. By following these straightforward steps, you’ll ensure your cleaning equipment remains in peak condition for every project.
.jpg)


