
.jpg)


.jpg "How to gravity feed a pressure washer")
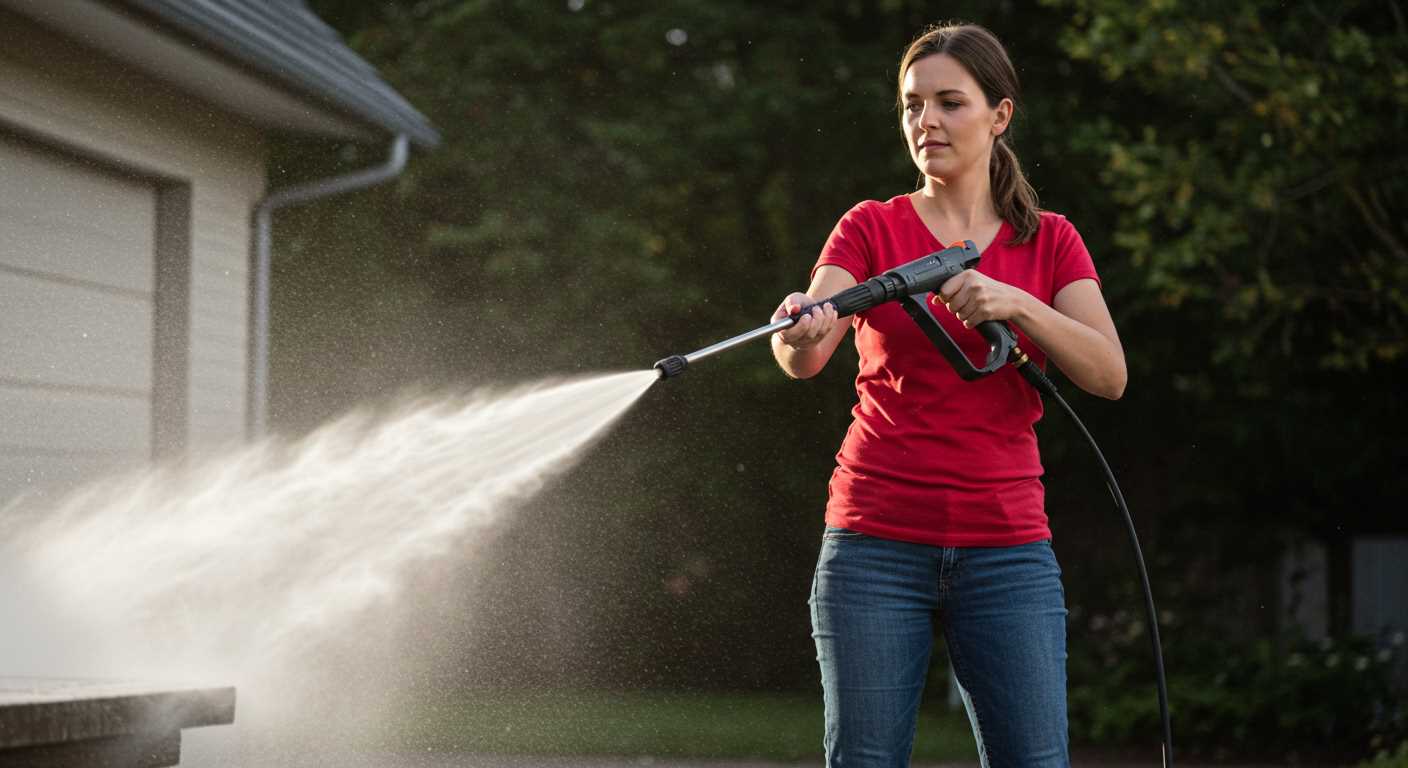
For optimal operation, ensure the water source is elevated at least 3-5 feet above the inlet of your cleaning apparatus. This height creates sufficient pressure for a seamless flow, making your task smoother. I’ve seen countless users struggle with inadequate water supply, leading to performance issues. Trust me, a reliable water source is key.
Utilise a sturdy, clear hose to monitor the flow and avoid any blockages. I recall a time when I used a worn-out hose, thinking it would suffice. The result was a frustrating experience, as the pressure dropped significantly. A transparent hose lets you quickly identify any kinks or clogs, saving you time and effort.
Consider employing a water filter if you’re drawing from a natural source. During my years in the field, I’ve encountered debris causing major headaches. A simple filter can prevent sediment from entering the system, ensuring a steady stream and prolonging the life of your equipment.
Another tip: keep an eye on the hose length. I’ve learned the hard way that longer hoses can lead to pressure loss. Aim for a direct route to minimise resistance, and always check for any twists or turns that might impede flow.
Lastly, ensure all connections are secure. A loose fitting can result in leaks, which not only wastes water but can also affect performance. Tighten connections regularly, especially after extensive use. Experience has taught me that a little maintenance goes a long way.
Gravity Supply for Your Cleaning Device
Ensure the container is elevated above the device’s water intake. This simple adjustment generates the necessary flow without the need for pumps. I’ve set up systems using barrels and tanks, achieving remarkable results.

Use a hose that matches the intake size, ensuring a snug fit to prevent leaks. During my tests, I found that a 3/4-inch hose often provides an optimal balance between flow rate and pressure. Adjust the length as necessary, but keep it as short as possible to maintain efficiency.
Check for blockages in your supply line. I once encountered issues with sediment buildup in a tank, which severely limited performance. Regularly inspect and clean your hose and connections to avoid disruption.
Temperature matters. Cold water works fine for most tasks, but if you’re cleaning oily surfaces, consider warming the water slightly. I’ve noticed that a slight increase in temperature can enhance cleaning power without compromising the unit’s integrity.
Monitor the water level in your storage container. Running dry can lead to air entering the system, which may damage seals and lead to malfunctions. I always keep a spare container on hand just in case.
| Tip | Description |
|---|---|
| Elevation | Place your water source higher than the intake of the unit. |
| Hose Size | Use a 3/4-inch hose for optimal performance. |
| Regular Checks | Inspect and clean hoses to prevent blockages. |
| Water Temperature | Consider slightly warming the water for tough grime. |
| Water Level | Keep an eye on the tank to avoid running out. |
After implementing these tips, my cleaning sessions became smoother and more efficient. It’s all about ensuring the right setup for optimal performance.
Choosing the Right Equipment for Gravity Operation
When selecting a model suitable for gravity operation, focus on the water intake design. Look for machines equipped with a strong and reliable suction mechanism. This ensures that the unit can draw water efficiently from the source, whether it’s a barrel or a tank. I recall testing a unit that had a particularly robust intake system, which allowed it to perform effectively even with lower water levels.
Flow Rate and Compatibility

Consider the flow rate of the unit. A higher flow rate is beneficial for maintaining consistent performance under gravity conditions. During my time in the field, I found that certain models with adjustable flow settings provided flexibility, allowing users to tailor the output based on their specific needs. Additionally, ensure that the hose connections are compatible with standard fittings to avoid any leaks or inefficiencies.
Durability and Maintenance
Opt for durable materials that can withstand the rigours of outdoor use. Units featuring brass fittings tend to last longer than those made from plastic. I’ve seen too many machines fail prematurely due to wear and tear caused by subpar materials. Regular maintenance is also key; keep filters clean and inspect hoses for damage to prolong the lifespan of your equipment. If you’re looking for a reliable model that pairs well with foam applications, check out this car pressure washer and foam guide for recommendations.
Understanding Gravity Feed Systems and Their Components
For optimal performance, focus on key elements of a system that relies on the pull of weight. First, the tank plays a crucial role; it should be positioned higher than the cleaning unit to ensure a steady flow. Choose a container with a large capacity to reduce the need for frequent refills, especially during extended tasks.
Key Components
Next, consider the tubing. Opt for high-quality, flexible hoses that can withstand the pressure without kinking. A wider diameter can facilitate a better volume of liquid, ensuring the equipment operates without interruptions. Additionally, the connectors should be robust; plastic fittings might not hold up under consistent use, so metal options are preferable.
Gravity Mechanism
Understanding the dynamics of liquid movement is essential. The design should promote unrestricted flow; any bends or obstructions can significantly hinder performance. Incorporating a shut-off valve can prevent spills and allow for easier management during operation. Monitor the system regularly for any signs of wear or leaks to maintain efficiency.
In my experience, a well-constructed setup transforms challenging jobs into effortless tasks. Maintaining these components ensures a reliable and consistent cleaning experience, allowing you to focus on the job at hand.
Setting Up a Gravity Feed System for Your Pressure Washer
To establish an effective supply arrangement for your cleaning device, ensure the water source is elevated above the machine’s inlet. This simple principle allows gravity to assist in delivering water, eliminating the need for additional pumps. I’ve set up numerous systems over the years, and the key is to get the right height–ideally, at least 3 feet above the inlet. This elevation significantly aids in maintaining a steady flow.
Tools and Components Needed
Gather the necessary components: a suitable container, preferably with a wide opening for easy filling, a length of sturdy hose compatible with your machine’s intake, and an inline filter to prevent debris from clogging the system. I once made the mistake of skipping the filter, and it led to a frustrating blockage during a job. Using a filter saves time and hassle.
Installation Steps
Attach the hose securely to the water container, ensuring there are no leaks. Next, connect the other end to the inlet of your equipment. Make sure all connections are tight. Once everything is set, fill the container with clean water and elevate it properly. It’s also wise to periodically check the setup for any signs of wear or leaks. I’ve seen systems fail simply because a small leak went unnoticed for too long.
Connecting Hoses and Ensuring Proper Flow
Ensure your hoses are securely connected to prevent leaks. Start by using high-quality connectors that fit snugly; I recommend brass or stainless steel for durability. Always check the threading on both ends of the hoses to avoid cross-threading. When I first set up my equipment, I learned the hard way that a simple misalignment could waste time and resources.
Selecting the Right Hose Length
Choosing the correct hose length is crucial. Too long, and you risk losing power; too short, and you may not reach your cleaning area. I typically opt for a length that allows easy manoeuvrability without excess slack. A 10-15 metre hose tends to work well for most domestic tasks.
Maintaining Proper Water Flow
To maintain optimal water flow, it’s vital to clear any blockages. I’ve encountered clogged filters more times than I can count. Regularly inspect your intake and ensure it’s free from debris. A clean system allows for consistent performance and reduces wear on your equipment. For those curious about pet ownership without barriers, check out this link: can I have a dog without a fence uk.
Lastly, monitor your water source. Gravity systems rely on adequate supply; if your reservoir runs low, your machine will struggle. In my experience, a larger tank can be a game changer for prolonged use. Always keep an eye on the levels to ensure uninterrupted operation.
Adjusting Pressure Settings for Optimal Performance
To achieve the best results, calibrating the output intensity is crucial. Here’s a straightforward method to fine-tune those settings:
-
Start with the Manufacturer’s Guidelines:
Always refer to the specifications provided by the manufacturer. They often include recommended settings for various tasks.
-
Initial Setup:
Begin with a mid-range setting. This provides a good baseline for a variety of cleaning assignments.
-
Testing on Surfaces:
Perform a quick test on a small, inconspicuous area. This helps gauge whether adjustments are needed.
-
Adjust Gradually:
Make small incremental changes. If the output is too strong, reduce the intensity slightly; if it’s not effective, increase it a notch.
-
Observe the Results:
After each adjustment, check the cleaning effectiveness. Look for even results without damaging the surface.
-
Consider the Surface Type:
Different materials require different levels of force. For example:
- Concrete: Needs higher settings for deep cleaning.
- Wood: Requires lower settings to prevent splintering.
- Glass: Should be approached with caution, using lower intensity.
-
Regular Maintenance:
Check nozzles and hoses frequently. A clogged nozzle can impact the force and lead to ineffective cleaning.
-
Experiment with Nozzle Types:
Using different spray patterns can also help adjust the cleaning intensity. A narrow jet can increase impact, while a wide spray can cover more area gently.
Each task may require a unique approach, so don’t hesitate to tweak settings until you find what works best. My experience has shown that patience in adjustment often yields the best results.
Maintenance Tips for Gravity Feed Systems
Regularly inspect all hoses and connections for wear and leaks. During my years in the field, I found that even a small crack can lead to significant performance issues. Replace any damaged parts immediately to prevent further complications.
Keep your tank clean and free from debris. I once encountered a blocked inlet that caused the entire system to underperform. Flushing the tank periodically with clean water helps avoid sediment build-up, ensuring a consistent flow.
Check the seals and gaskets on the tank and connectors. These components can deteriorate over time, leading to leaks. I recommend replacing them annually, especially if you use the system frequently.
Use a strainer or filter at the tank inlet. This prevents contaminants from entering the pump, which I learned the hard way. A clogged filter can disrupt flow and create excessive wear on internal components.
Monitor the water level in the tank. Running the system low on liquid can cause the pump to draw air, leading to cavitation and potential damage. I always suggest keeping a close eye on the gauge or using a float switch for automatic monitoring.
Perform routine maintenance on the pump according to the manufacturer’s guidelines. I’ve seen too many systems fail due to neglecting scheduled servicing. Clean the pump regularly and ensure all moving parts are lubricated to maintain optimal performance.
Finally, store your equipment properly. Protect it from extreme temperatures and direct sunlight, as prolonged exposure can degrade materials. I learned that a little care in storage goes a long way in extending the lifespan of the system.
.jpg)


