
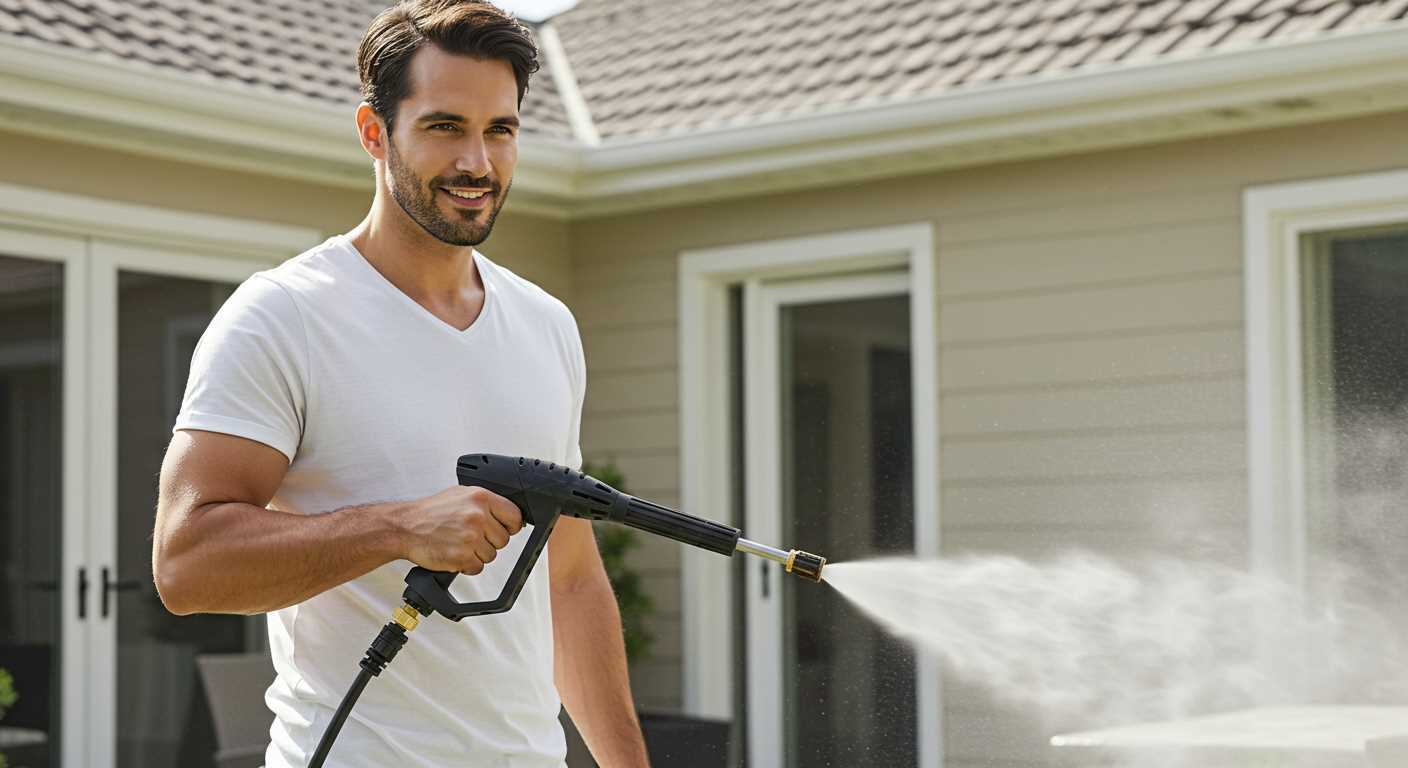


First things first, always ensure your cleaning device is powered off before making any connections. This simple step will save you from potential mishaps. Begin by securing the high-pressure hose to the nozzle at the front of the unit. You should feel a solid click when it’s properly attached, indicating a tight seal.
Next, take the water supply hose and connect it to the inlet on the machine. It’s critical to use a garden hose that’s free of kinks or leaks. I recall one time I rushed through this, only to find myself battling a significant leak that hindered my cleaning task. A quick inspection can save a lot of hassle down the line.

After securing both hoses, turn on the water supply and check for any leaks at the connections. If everything looks good, proceed to prime the system. Pull the trigger on the spray gun while the device is still off; this removes any air trapped in the hoses. Once the water flows smoothly, you’re ready to power up the unit and start your cleaning project.
Always keep an eye on the pressure settings. Adjust them according to the surface you’re cleaning to avoid damage. I’ve seen too many people overlook this and end up with stripped paint or damaged surfaces. Remember, taking a moment to ensure everything is connected correctly will lead to a smoother, more effective cleaning experience.
Connecting Your Troy Bilt Cleaning Device
Begin with ensuring the machine is on a flat, stable surface. This prevents any accidental tipping and enhances safety during operation. Locate the water supply hose and connect it to the inlet on the device. Ensure the connection is tight to avoid leaks. I once overlooked this step, resulting in a messy situation that could have been easily avoided.
Next, attach the high-pressure hose to the outlet on the unit. It’s crucial to secure this connection firmly. I’ve encountered instances where a loose connection caused the hose to detach unexpectedly, leading to a spray of water that caught me off guard. Always check that the fittings are snug.
Now, you’ll want to connect the other end of the high-pressure hose to the spray gun. Again, make sure it’s tight. I prefer to give it a little twist to ensure it’s secure. This small detail can save you from an inconvenient moment when you’re in the middle of a cleaning task.
Fill the device with detergent if required, using the correct type for the task at hand. Refer to the manual for specifics. I’ve seen many users choose the wrong detergent, which can damage surfaces or not clean effectively. Trust me, taking a moment to verify this can save you hours of frustration.
Before turning on the device, ensure the spray gun is in the ‘off’ position. This is a simple step, but skipping it can result in an unintended spray when you power up the machine. I’ve experienced the shock of being unexpectedly sprayed, and it’s not pleasant!
Lastly, turn on the water supply and check for leaks once more. If everything is secure, start the machine following the manufacturer’s instructions. Always remember to engage the safety features before use. I’ve seen first-hand how these precautions can prevent accidents.
| Step | Action |
|---|---|
| 1 | Place unit on a stable surface. |
| 2 | Connect water supply hose to inlet. |
| 3 | Attach high-pressure hose to outlet. |
| 4 | Connect hose to spray gun. |
| 5 | Add the correct detergent. |
| 6 | Ensure spray gun is in ‘off’ position. |
| 7 | Turn on water supply and check for leaks. |
| 8 | Start the machine as per manual instructions. |
Gather Necessary Tools and Materials
Before you start setting up your cleaning machine, make sure you have everything at your fingertips. You will need a few items to ensure a smooth assembly process. First, grab a garden hose that is compatible with your unit; typically, a standard 3/4-inch hose will do the trick. Ensure it is long enough to reach your water source without any kinks.
Next, a suitable nozzle is vital. Most models come with interchangeable nozzles that adjust the spray pattern. If yours doesn’t, consider picking up a multi-purpose nozzle separately. This will allow for versatility when tackling different cleaning tasks.
Don’t forget a source of power! If your equipment is electric, check that you have the appropriate extension cord. A heavy-duty cord rated for outdoor use will work best, ensuring it can handle the amperage without overheating.
Having a pair of pliers or a wrench on hand is also wise. These tools will help secure any connections tightly, preventing leaks during operation. If your model requires any assembly, a screwdriver might be necessary too.
Lastly, consider safety gear. Although it’s often overlooked, goggles and gloves can protect you from debris and spray. I learned this the hard way during my first experience; a rogue jet of water caught me off guard, and I ended up soaked! Having the right gear can save you from unexpected mishaps.
Gathering these tools and materials will set you on the right path for a successful setup. Trust me, having everything ready at the start makes the process far more enjoyable.
Identify the Components of Your Cleaning Device
Begin with the motor or engine, the heart of the unit. It powers the pump, driving the water at high velocity. Next, locate the pump itself, which pressurises water and is typically situated right behind the motor. Make sure to check the oil level in the pump if applicable, as this can affect performance.
Then, identify the water inlet, where the garden hose connects to supply water. This is usually at the base of the machine. Don’t forget the high-pressure outlet, where the hose attaches to the pump. It’s essential to ensure these connections are secure to avoid leaks.
Next, examine the nozzle options, as various nozzles provide different spray patterns. For instance, a narrow jet is excellent for stubborn stains, while a wider spray is suitable for rinsing. Also, look for the detergent tank, if your model includes one, which allows for easy application of cleaning solutions. For effective cleaning, consider investing in a pressure washer suction hose that can enhance your cleaning capabilities.
Finally, familiarise yourself with the safety features, such as the trigger lock and pressure relief valve, which help prevent accidents during operation. Understanding these components ensures you operate the machine efficiently and safely.
Connect the Water Supply Hose
Begin by selecting a quality garden hose that is compatible with your machine. Ensure the hose is at least 5/8 inch in diameter to accommodate adequate water flow.
Attach one end of the hose to a suitable water source, like a tap. Make sure the connection is tight to prevent leaks. I once had a client who experienced significant pressure loss due to a poorly secured connection. That’s a hassle you want to avoid.
Next, take the other end of the hose and connect it to the inlet on the unit. This is usually located at the rear of the unit, clearly marked for your convenience. Hand-tighten the connection; a wrench isn’t necessary here, as overtightening can damage the fittings.
After securing the hose, turn on the water supply slowly. Look for any signs of leaks at both connection points. I’ve seen many users overlook this step, only to encounter problems later on. If you spot any drips, recheck your fittings.
Finally, ensure the hose is free from kinks or sharp bends, as this can restrict water flow. A smooth, unobstructed line will make a significant difference in performance. I’ve often had to remind users that a little attention to detail can save a lot of frustration later. Now, you’re set for the next step in using your cleaning machine effectively.
Attach the High-Pressure Hose
Secure the high-pressure hose to the outlet on the front of the unit. Align the connector of the hose with the fitting and push it in firmly. You should hear a click, indicating it’s locked in place. Make sure to tighten any locking mechanism if your model has one, ensuring a leak-free connection.
Next, extend the hose to your cleaning area. It’s best to avoid sharp bends or kinks, as these can restrict water flow and reduce performance. I’ve seen hoses get damaged from improper handling, which can lead to costly repairs or replacements. Always lay the hose out straight before starting work.
Once in position, check the entire length of the hose for any signs of wear or damage. I’ve encountered situations where a small crack led to significant pressure loss, making the task take much longer than necessary. It’s a good practice to inspect your equipment before each use.
If you’re using different nozzles, make sure they are compatible with the hose. Attach the chosen nozzle securely at the end of the high-pressure line. Again, a firm push followed by a twist will usually do the trick. I’ve found that a good fit is crucial for ensuring that the water exits at the right pressure and angle for effective cleaning.
Install the Spray Gun and Nozzle
Attach the spray gun to the high-pressure hose by aligning the connection points. Push the gun onto the hose end and twist it clockwise until it’s securely locked in place. You’ll want to ensure there’s no gap between the two components; any loose connection can lead to leaks during operation.
Select the Appropriate Nozzle
Choose the right nozzle for your task. Each nozzle delivers a different spray pattern and pressure level:
- 0-degree: A pinpoint stream for tough stains.
- 15-degree: Great for removing paint or grime.
- 25-degree: Ideal for general cleaning.
- 40-degree: Perfect for delicate surfaces.
Slide the selected nozzle onto the spray gun’s tip. It should click into place, indicating a secure fit.
Test the Connection
Before starting the machine, test the connections by gently pulling on the spray gun and nozzle. If they hold firm, you’re ready to proceed. Always wear protective gear, including goggles and gloves, as a safety precaution.
Once you’re confident everything is secure, you can turn on the water supply and power up the machine. You’ll be prepared to tackle various cleaning tasks with confidence.
Check for Leaks in Connections
After connecting all components, verifying for leaks is critical. A small leak can lead to loss of pressure and inefficient operation. Here’s how I approach this step:
Visual Inspection
- Examine all fittings and connections closely. Look for any signs of water dripping or pooling.
- Ensure that the hoses are securely attached. Sometimes, hand-tightening isn’t enough; use a wrench for a snug fit if needed.
Pressure Test
- Turn on the water supply without starting the motor to pressurise the system.
- Observe the connections for a minute. If you see water escaping, you have a leak.
- For any leaks identified, turn off the water, tighten the connections, and repeat the test.
In my experience, the most common culprits are the hose-to-machine and hose-to-gun junctions. Ensuring these are leak-free can save you hassle during operation. If leaks persist, consider using plumber’s tape on threaded connections for an extra layer of sealing. It’s a simple fix that often resolves the issue.
Fill the Fuel Tank (if applicable)
Before getting started with your machine, ensure the fuel tank is adequately filled. If your unit uses gasoline, I recommend using fresh, clean fuel to avoid complications. Over the years, I’ve seen numerous machines suffer from clogged fuel lines due to old, stale gasoline. Always check the manufacturer’s guidelines for the appropriate fuel type.
Steps to Fill the Fuel Tank
1. Locate the fuel tank cap, usually found at the top of the engine. Remove it carefully to avoid spills.
2. Using a funnel, pour in the recommended fuel until it reaches the appropriate level. Avoid overfilling, as fuel expansion can lead to leaks.
3. Replace the fuel cap securely, ensuring it’s tightened to prevent any leaks during operation. A loose cap can cause fuel to spill, which is not only wasteful but can be hazardous.
Safety Precautions
Always work in a well-ventilated area when handling fuel. Store any unused fuel in an approved container away from heat sources. I’ve had my share of close calls with fuel spills, so keeping a clean workspace can save you from unnecessary accidents.
| Fuel Type | Notes |
|---|---|
| Unleaded Gasoline | Use fresh fuel for best performance. |
| Two-Stroke Oil (if applicable) | Mix with gasoline as per manufacturer’s instructions. |
For additional insights on equipment and technology, check out this article on are digital cameras better than film cameras.
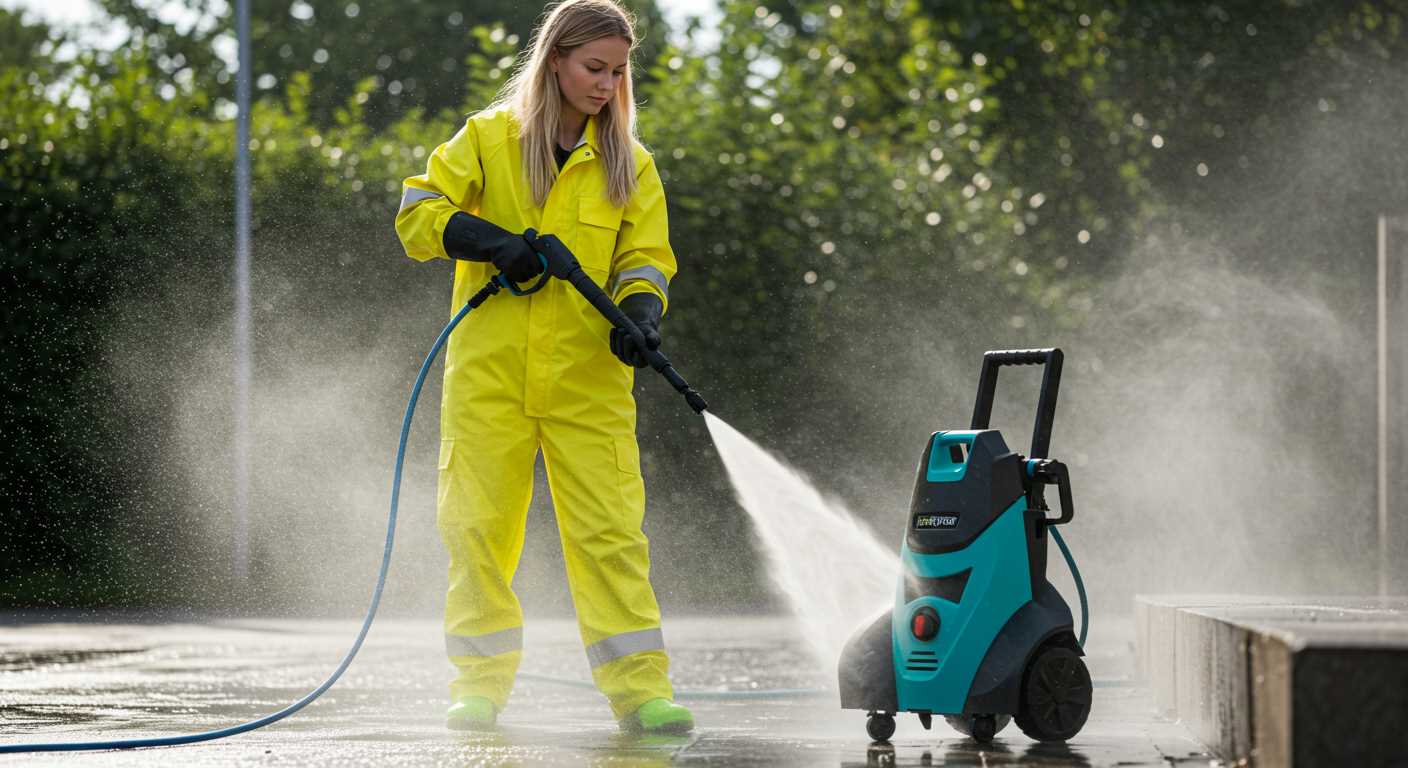
Start the Washer Safely
Before turning on the machine, ensure you’re wearing the appropriate personal protective equipment. Safety goggles and sturdy footwear are non-negotiable. I once underestimated the power of the spray and ended up with a nasty bruise when a rock shot out unexpectedly. Trust me; it’s better to be cautious.
Check that all connections are secure. A loose hose can lead to unexpected bursts of water that not only create a mess but can also cause injury. I’ve seen hoses whip around like snakes when they aren’t properly attached, and it’s not a pretty sight.
If your model requires fuel, make sure you’re using the right type. I recall a colleague who used the wrong gasoline and ended up with a sputtering machine that wouldn’t start. Always refer to the manual for guidance on fuel specifications.
Ensure the area is clear of bystanders, especially children and pets. High-pressure water can be dangerous, and a clear zone helps prevent accidents. I always take a moment to survey the surroundings before I begin.
Finally, before starting the machine, give a quick check to the oil level if your unit has an engine. Running it on low oil can lead to serious damage. I once had a friend whose washer failed simply because he skipped this step in his haste. A quick glance can save you a lot of trouble later.
Adjust Settings for Desired Pressure
Set the pressure according to the surface you’re working on. For delicate materials like wood, reduce the intensity to avoid damage. Conversely, for concrete or brick, increase the pressure for effective cleaning.
Steps to Adjust Pressure
- Locate the pressure adjustment knob or dial on your machine.
- Turn the knob clockwise to increase pressure or counterclockwise to decrease it.
- Test the output on a small, inconspicuous area to ensure it meets your needs.
Pressure Recommendations by Surface
- Wood Decks: 1200-1500 PSI
- Cars: 1300-1900 PSI
- Concrete Driveways: 2500-3000 PSI
- Brick Walls: 2000-2500 PSI
Adjusting the pressure not only improves cleaning efficiency but also prolongs the life of your surfaces. I once underestimated this aspect while cleaning my patio; a few extra PSI caused noticeable damage to the wood. Always double-check settings before commencing your task.

.jpg)


