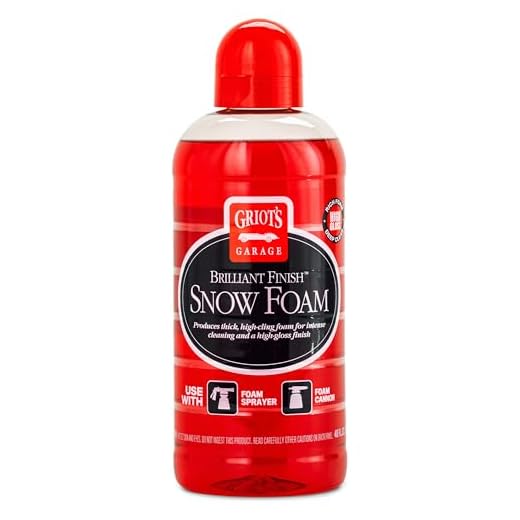


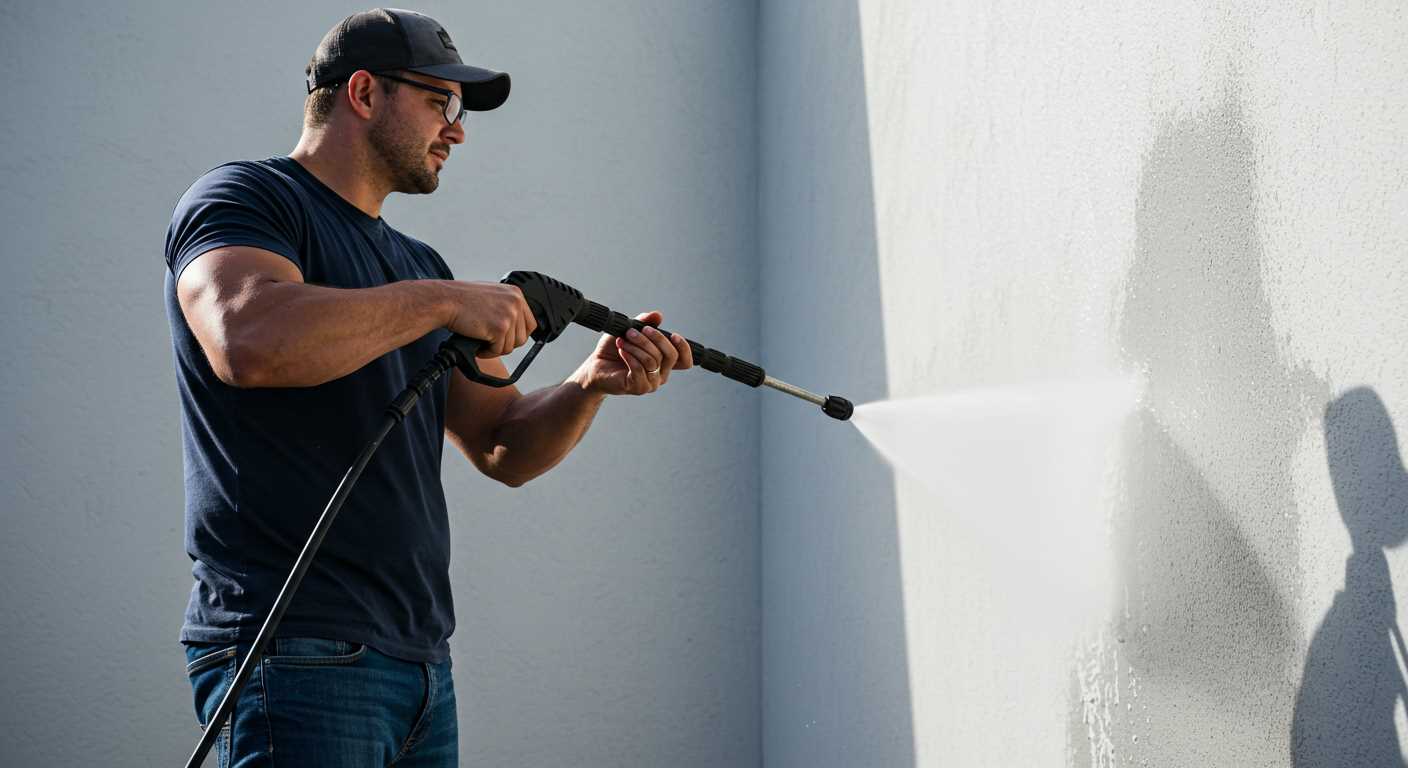
To effectively integrate a cleaning agent with your high-powered equipment, ensure you have a dedicated siphon tube or a foam cannon compatible with your unit. I always recommend starting with a reliable foam cannon; it provides even distribution and maximises the cleaning potential of the solution.
When I first experimented with this setup, I found that mixing the cleaning agent directly into the water tank can lead to clogs and inefficient operation. Instead, use the siphon tube method. Attach it securely to the detergent inlet of your machine. Make sure the other end is submerged in the cleaning solution. This technique significantly enhances the application process.
Adjust the nozzle to a low-pressure setting, which allows the mixture to foam appropriately, adhering to surfaces longer for better cleaning. During my years in the industry, I discovered that letting the foam dwell for a few minutes before rinsing yields the best results. This simple waiting period ensures that the grime breaks down effectively, making your cleaning session more productive.
Lastly, always refer to the manufacturer’s guidelines regarding compatible cleaning agents. Using the wrong type can damage the internals of your machine. I once learned this lesson the hard way, which reinforced the importance of using the right products. Happy cleaning!
Connecting Cleanser to Your Cleaning Device
Ensure that the unit is turned off before beginning. Attach the detergent container to the designated inlet, typically found near the gun or wand. If you’re using a bottle, ensure that it clicks securely into place. Use only the recommended cleaning solution for your specific model to avoid damage.
Next, adjust the nozzle on the wand to the low-pressure setting. This is crucial, as high pressure can cause the cleaner to foam excessively or damage surfaces. If your equipment has a dedicated detergent setting, switch to that for optimal mixing.
Fill the container with your chosen cleaning agent. For stubborn stains, it’s often beneficial to pre-soak the area with the solution. Allow it to sit for a few minutes to break down grime before rinsing with clean water.
After application, rinse the surface with fresh water to prevent residue build-up. Always check the manufacturer’s guidelines for dilution ratios and compatibility with your device to ensure optimal performance and longevity.
Selecting the Right Soap for Your Pressure Washer
Choose a cleaner specifically designed for your equipment to ensure compatibility and performance. Look for biodegradable formulations; they’re gentler on the environment and your surfaces. I once used a harsh chemical that not only damaged the finish on my patio but also left a residue that took ages to rinse away. Lesson learned: the right choice can save time and effort.
Pay attention to the concentration of the solution. Highly concentrated products may require dilution, while ready-to-use options can be more convenient. For instance, I’ve found that a 1:10 dilution ratio works wonders for most outdoor surfaces. It’s about finding that sweet spot that balances power and safety.
Consider the task at hand. For vehicles, look for a gentle cleaner that won’t strip wax or damage paint. I’ve had great results with a pH-balanced option that effectively removes grime without harming the finish. For tougher jobs like concrete or masonry, opt for a heavy-duty cleaner that can tackle deeply ingrained dirt.
Read reviews and testimonials before making a purchase. I always check user feedback to identify which cleaners have performed well in real-world situations. A product may look good on the label, but it’s the experience of others that often reveals its true effectiveness.
Lastly, ensure the cleaner is compatible with your model. Some machines have specific requirements, and using the wrong type can lead to costly repairs. Always consult your user manual before choosing a product. If you’re ever in doubt, reach out to the manufacturer or check resources online. For example, I once stumbled upon a digital camera company digicamco that provided excellent insights into compatible cleaning solutions.
Understanding the Soap Injection System of Your Pressure Washer
Knowing the components of the detergent delivery mechanism can significantly enhance your cleaning results. The system typically includes a soap tank, a dedicated injector, and often a bypass or low-pressure setting to facilitate the mixing of detergent with water.
- Soap Tank: Usually located on the body of the machine, this reservoir holds the cleaning solution. Ensure it’s filled as per the manufacturer’s guidelines, and remember that too much product can cause excessive foam.
- Injector: This part is crucial; it draws the cleaning agent from the tank and mixes it with water at a specified ratio. Some models have adjustable injectors for varied concentrations.
- Bypass Mode: Switching to this setting allows the system to draw the detergent without activating the high-pressure flow. This is particularly useful for applying cleaning solutions evenly on surfaces before rinsing.
In my experience, maintaining the injector is paramount. Clogs can occur from improper storage or using the wrong type of cleaning agents. Always flush the system with clean water after each use to prevent buildup.
When I first started using these machines, I would overlook the importance of the injector’s placement and orientation. Ensuring that the injector is correctly positioned can make all the difference in achieving optimal performance. I once had a client whose unit was underwhelming in cleaning efficiency, only to discover that the injector was misaligned.
Choosing the right cleaning solution is equally vital. Not all detergents are compatible with every machine. Always refer to the manufacturer’s specifications to avoid damage to components.
Finally, if you encounter issues with the injector, do not hesitate to consult the manual or reach out to the manufacturer’s support. They can provide specific troubleshooting steps tailored to your model. Regular maintenance and understanding of the system will ensure longevity and effectiveness in your cleaning tasks.
Preparing Your Equipment for Cleaning Agent Application
Before you start, ensure that your unit is off and disconnected from the power source. This simple step helps prevent any accidental activation. Next, locate the chemical injector, typically found in the nozzle or at the end of the wand. If your model doesn’t have this feature, you might need to use a separate attachment designed for introducing cleaning solutions.
Check the Nozzle and Filters
Inspect the nozzle for any clogs or damage. A clean, unobstructed nozzle is crucial for proper delivery of the cleaning agent. Additionally, check the filters in the detergent tank or injector. If they are dirty, clean them thoroughly or replace them if necessary. Clogged filters can significantly hinder the flow of the mixture.
Test the System with Water
Once everything looks good, connect your unit to a water supply and run it briefly to ensure everything is functioning correctly. This test helps identify any leaks or issues before adding the cleaning solution. Make sure to adjust the pressure settings to a lower level suitable for using detergents to avoid damaging surfaces.
Connecting the Soap Hose to the Pressure Washer
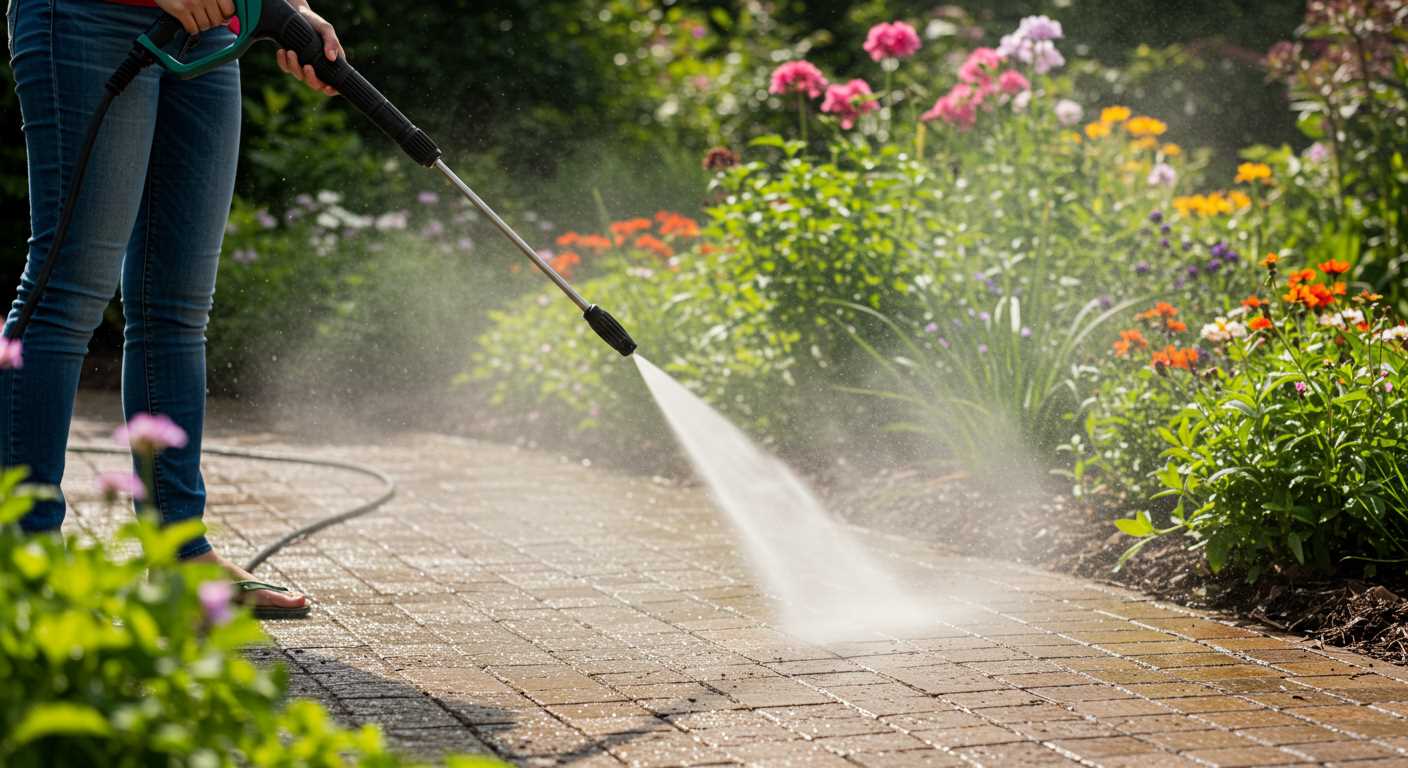
First, ensure you have the correct attachment for your cleaning machine. Most models come with a dedicated port for the detergent line. If yours doesn’t, you may need an adapter. Check your owner’s manual for specifics regarding connection points.
Begin by locating the detergent container or reservoir. Often, it’s situated at the rear or side of the machine. Securely attach the hose to the inlet, ensuring a tight fit to prevent leaks. If your model uses a quick-connect system, align the hose with the connector and push until you hear a click. This indicates it’s locked in place.
Testing the Connection
After connecting, it’s wise to test the setup. Fill the detergent reservoir with your chosen cleaning fluid, then turn on the unit. Before spraying on surfaces, activate the machine at a low setting. This allows you to check for leaks or any issues with the flow. If everything appears secure, you’re ready to apply the cleaning solution effectively.
Maintaining the Hose
Regularly inspect the hose for wear and tear. A damaged line can lead to inefficient application and increased wastage of the cleaning solution. Store the hose carefully after use, avoiding kinks or sharp bends that could compromise its integrity. A well-maintained hose ensures optimal performance for future tasks.
Setting Up the Right Pressure and Nozzle for Soap Usage
To achieve optimal results while applying detergent, it’s crucial to adjust the machine’s output to match the specifications of the cleaning solution. For most formulations, a lower pressure setting around 1000 to 1500 PSI is ideal. This gentle force helps to evenly distribute the cleaner without damaging surfaces or causing it to bead up, which can hinder the cleaning process.
Selecting the right nozzle also plays a significant role. A wider fan nozzle, typically in the range of 25 to 40 degrees, is recommended. This allows for a broader coverage area, ensuring that the cleaning agent adheres to the surface effectively. I remember a time when I used a narrow nozzle while applying detergent; it resulted in streaks and uneven coverage, wasting both time and product.
If your equipment comes with a dedicated soap nozzle, use it. These nozzles are designed to create a low-pressure spray that works well with detergents. Always consult the user manual for specific nozzle recommendations tailored to your model.
Adjusting the angle of the nozzle can also enhance application. A slight tilt can help the solution penetrate dirt and grime more efficiently. When I worked on my patio’s stubborn stains, angling the nozzle downwards allowed the cleaner to seep into the porous surface effectively, making rinsing much easier.
After setting the pressure and selecting the appropriate nozzle, always perform a quick test on a small, inconspicuous area. This ensures that the combination of settings and cleaning agent won’t cause any unwanted damage. Once you’re satisfied with the results, you can confidently proceed with the entire area, knowing you have the right setup for effective cleaning.
Applying Soap Correctly on Surfaces
To achieve optimal results, always apply cleaning agents from the bottom up. This prevents streaks and ensures even coverage. I’ve found that starting at the base of the surface and working your way up helps keep the solution from running down and pooling at the bottom.
Here are key recommendations for effective application:
- Surface Preparation: Ensure the area is free from debris, dirt, or loose materials that could hinder the cleaning process.
- Test a Small Area: Before full application, test the solution on a small, inconspicuous section to check for any adverse reactions, especially on delicate surfaces.
- Use the Right Nozzle: A wide fan nozzle is ideal for applying solutions, as it spreads the cleaner evenly without causing damage.
- Allow Dwell Time: After application, let the cleaner sit for a few minutes. This dwell time allows it to break down grime effectively. Avoid letting it dry out completely; if needed, mist the area with water to keep it damp.
- Rinse Thoroughly: Once the dwell time has elapsed, ensure you rinse off all residues. A thorough rinse is crucial to prevent any leftover chemicals from damaging the surface.
In my experience, applying agents methodically and with patience yields the best outcomes. I recall a time when I rushed the process and ended up with streaks on a driveway. It was a lesson learned–time spent applying properly pays off in the long run.
Always consider the surface material as well. For instance, porous materials like wood require a gentler approach than harder surfaces like concrete. Adjusting your technique accordingly will significantly enhance the cleaning effectiveness.
Regularly inspect your work as you go. If you notice areas that need more attention, don’t hesitate to reapply the solution. It’s better to do it right than to leave behind stubborn stains that could have been easily removed with a little extra effort.
Cleaning and Storing Your Equipment After Soap Use
After using cleaning agents, it’s crucial to give your equipment a thorough rinse. Begin by detaching the container that held the detergent. Rinse it with clean water until no traces of the cleaning solution remain. This step prevents any residue from clogging your tools or affecting future uses.
Rinsing the System
Next, run clean water through the entire system. Connect the water supply and allow it to flow through the machine for a few minutes. This flushes out any remaining product in the hoses and nozzle. Ensure that you use the correct settings for this process; lower pressure is often sufficient to clear the lines without damaging components.
Drying and Storing
After rinsing, it’s wise to dry all parts before storage. Use a clean cloth to wipe down the exterior and any removable components. For hoses, hang them up or lay them flat to avoid kinks that could cause future issues.
| Step | Action |
|---|---|
| 1 | Detach detergent container and rinse |
| 2 | Run clean water through the system |
| 3 | Wipe down all components with a cloth |
| 4 | Store hoses properly to avoid kinks |
When it comes to storing your equipment, find a cool, dry place away from direct sunlight. This prevents any damage or degradation of materials. If you’re looking for high-quality options for your next cleaning session, check out this motorcycle pressure washer foam for effective results.




.jpg)


