


Ensure your cleaning device is powered off before making any modifications. Begin by securing the compatible attachment for the lance. Typically, this involves removing the existing nozzle and replacing it with the specific connector designed for the foam application tool. This step is straightforward and usually requires no additional tools.
Once the connector is in place, fill the container with a quality cleaning solution, adhering to the recommended dilution ratios. I’ve found that using a concentrated formula yields the best results, allowing for maximum coverage and effective dirt removal. Always check the manufacturer’s guidelines for your specific model to avoid any mishaps.

After filling the container, reattach it firmly to the connector. You should hear a click, indicating a secure fit. Test the setup briefly by turning on the unit at a low pressure to ensure everything is functioning correctly. If the mixture flows seamlessly, you’re ready to tackle your cleaning tasks.
For optimal results, adjust the pressure settings according to the surface being cleaned. I’ve experienced that different materials respond better to varying pressure levels. It’s always beneficial to start low and gradually increase until you find the sweet spot that effectively removes grime without risking damage to the surface.
Installing the Foam Cannon on Your Pressure Device
To attach the foam cannon, locate the quick-connect fitting at the end of your lance. This is where the accessory will connect. Ensure the pressure unit is off before proceeding.
Remove the existing nozzle by pulling back the collar on the quick-connect fitting. Once detached, take your foam cannon and align it with the fitting. Push it in until you hear a click, indicating it’s securely attached.
Next, fill the cannon’s reservoir with the appropriate cleaning solution. Remember to dilute it according to the manufacturer’s instructions for optimal results.
After filling, you can adjust the nozzle on the cannon to control the spray pattern. This feature allows you to switch between a wide fan and a targeted jet, depending on the surface you’re cleaning.
Once everything is in place, connect the pressure equipment to a water source and turn it on. Test the cannon by squeezing the trigger to ensure it’s operating correctly. If you notice any leaks or reduced foam output, check the connections for a secure fit.
Regularly clean the cannon and its components after use to maintain performance. This will help prevent clogs and extend the lifespan of your cleaning gear.
Understanding the Components of Your RAC Pressure Washer
Familiarity with the key parts of your cleaning device can significantly enhance your experience. Start with the motor, as it powers the entire unit. Look for a robust electric or petrol engine that provides adequate pressure for your tasks. A reliable motor ensures longevity and consistent performance.
Pump Mechanics
The pump is another critical component. It’s responsible for converting the motor’s power into high-pressure water. Different types of pumps exist, including axial and triplex. I recommend opting for a triplex pump for durability and better pressure regulation, especially if you plan to use the unit frequently.
Nozzle Varieties
Nozzles play a pivotal role in determining the spray pattern and pressure. Each nozzle type serves a specific function, from wide-angle sprays ideal for rinsing to narrow jets for tough grime. Having a selection of nozzles allows for versatility in your cleaning tasks. I often found that keeping a variety on hand made all the difference when tackling different surfaces.
Choosing the Right Snow Foam Bottle for Your Model

Selecting the appropriate container for your cleaning machine is vital for optimal performance. Based on my experience, compatibility is key. It’s not just about getting a random attachment; it needs to fit securely and function effectively with your specific model. Here are some recommendations:
Assess Compatibility
Always check the manufacturer’s specifications. Many brands provide a list of compatible accessories. Look for:
- Model numbers that match your equipment.
- Connector types that fit your machine’s lance.
- Recommended pressure ratings to avoid damage.
Evaluate Capacity and Design
The size of the container impacts how often you’ll need to refill it. I’ve found that a mid-sized option strikes a good balance, allowing for extended use without being too cumbersome. Additionally:
- Choose a design that offers easy filling and cleaning.
- Look for clear measurement markings to gauge remaining liquid.
- Consider a model with adjustable nozzles for versatility in application.
In my experience, investing a little time in selecting the right container pays off significantly. A well-matched attachment not only enhances the cleaning process but can also prolong the life of your equipment.
Gathering Necessary Tools for Installation
Before starting the setup, ensure you have the following items ready:
Required Tools
- Wrench Set: A good quality adjustable wrench will help you tighten fittings securely without damaging them.
- Screwdriver: Both Phillips and flathead screwdrivers are essential for any minor adjustments or securing brackets.
- Hose Clamps: These are useful for securing hoses and preventing leaks during operation.
- Utility Knife: Handy for trimming hoses to the desired length if necessary.
- Bucket: A container to catch any spills or drips while working.
Safety Gear
- Gloves: Protect your hands from sharp edges and chemicals.
- Safety Goggles: Keep your eyes safe from splashes and debris.
Having these tools on hand will make the process smoother and help avoid unnecessary delays. I remember one time I started a project without my trusty wrench set; it turned into a frustrating search around the garage, wasting precious time. Be prepared, and it will pay off in efficiency.
Lastly, always have a clear workspace. A well-organised area allows you to focus solely on the task at hand, minimising the chance of accidents. A clean environment not only boosts productivity but also enhances safety.
Preparing Your Pressure Washer for Installation
Ensure your cleaning device is powered off and disconnected from the mains supply before beginning any adjustments. This simple step prevents unexpected starts and keeps you safe throughout the process. Next, check the water supply; it must be clear and free from debris to avoid damaging internal components. A quick inspection of the hoses and connections can save you from potential leaks or performance issues later.
Cleaning the Nozzle
Take a moment to clean the nozzle or attachment point where the new accessory will connect. Any buildup of grime or residue can hinder performance and affect the application of cleaning agents. I once neglected this step, resulting in uneven coverage during a task, which was frustrating and time-consuming to rectify.
Familiarising with Your Equipment
Spend a few minutes reviewing your manual to familiarise yourself with specific features and compatibility notes. Understanding the layout and any unique aspects of your model will streamline the installation process. I recall a situation where a friend skipped this step, leading to confusion and unnecessary adjustments. Your model might have specific requirements or recommendations that can make a difference in how well the new accessory performs. For those tackling tough jobs such as removing lichen, you might find this lichen remover for paving stones important information and tips particularly helpful.
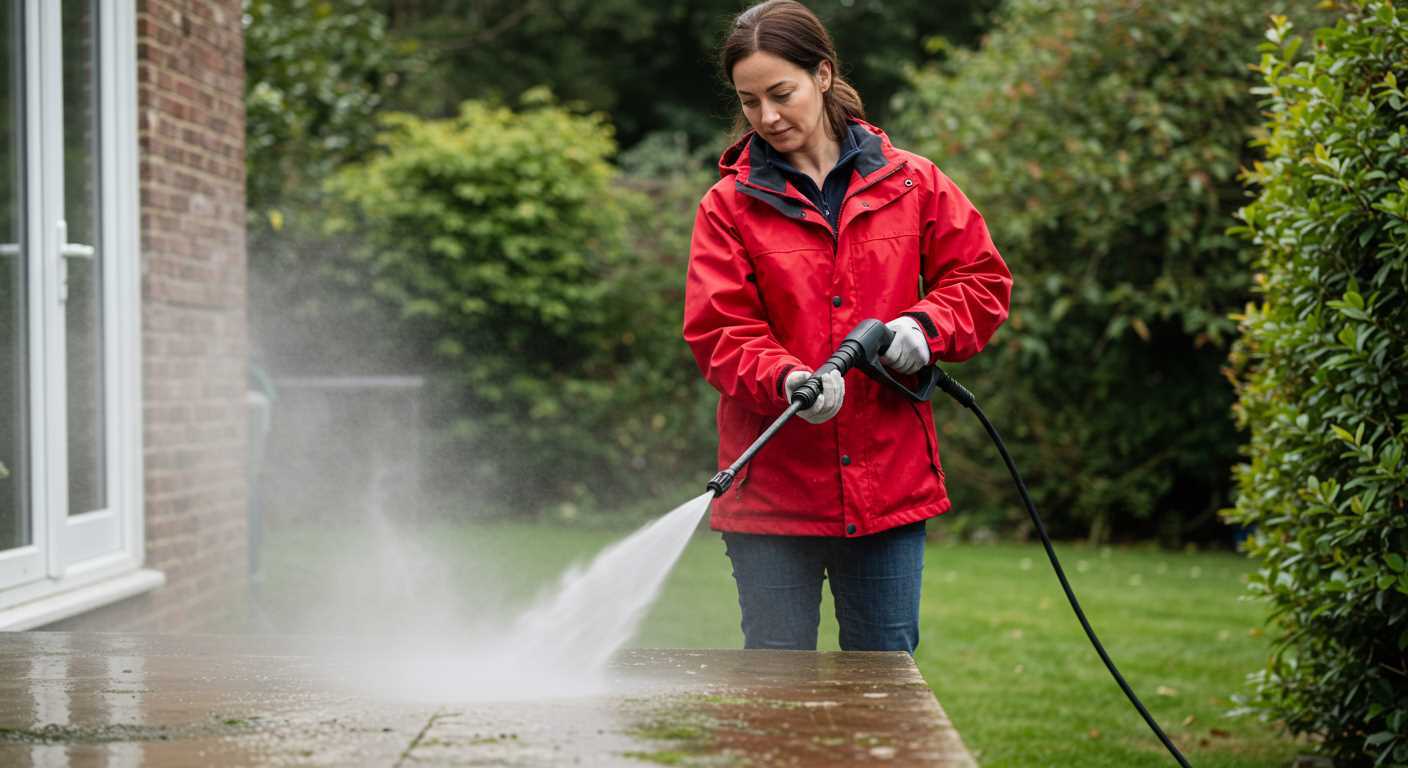
Attaching the Snow Foam Bottle to the Pressure Washer
Begin by ensuring your device is switched off and unplugged for safety. Locate the connector on the front of your unit where the cleaning agent container attaches. Align the attachment points of your container with the connector, making sure they fit snugly. You may need to twist the container gently to lock it in place; listen for a click sound which indicates a secure fit.

Securing the Connection
After the container is affixed, check for any visible gaps or misalignments. A proper seal is crucial to prevent leakage during operation. If your model has a locking mechanism, engage it to reinforce the connection. I’ve often seen users overlook this step, leading to frustrating spills while using the equipment.
Final Checks Before Use
Before starting, ensure the container is filled with the appropriate cleaning solution. Double-check that all connections are tight, and there are no obstructions. It’s wise to do a quick test by activating the unit at low pressure first, ensuring everything functions smoothly. I’ve had instances where a simple oversight led to performance issues, so this precaution can save time and hassle later on.

Adjusting the Foam Settings for Optimal Performance
For maximum cleaning efficiency, fine-tuning the settings on your unit is key. Start by identifying the correct dilution ratio for your chosen cleaning solution. Most products will specify an ideal mix; following this ensures you achieve the best results without wasting materials.
Next, adjust the nozzle on the attachment. A wider spray pattern is beneficial for covering larger surfaces quickly, while a narrower setting concentrates the mixture for stubborn stains. From my experience, experimenting with different angles helps determine the ideal spray for various surfaces, preventing damage and ensuring a thorough clean.
Testing and Fine-Tuning
After making initial adjustments, test the output on a small, inconspicuous area. This allows you to gauge coverage and effectiveness. If the mixture appears too thick or thin, tweak the dilution or adjust the nozzle settings accordingly. I’ve often found that a little trial and error leads to the best outcomes. Remember, the goal is to create a consistent, rich lather that clings to surfaces, enhancing cleaning without excessive runoff.
Maintaining Consistency
Regular maintenance of your equipment is also crucial for consistent performance. Clean the injector and nozzle regularly to prevent clogs, which can affect the mixture’s consistency and pressure. A clean unit ensures that you maximize the potential of your cleaning agent. For those looking for a reliable injector, check out the best chemical injector for pressure washer options available, as this can significantly improve your cleaning experience.
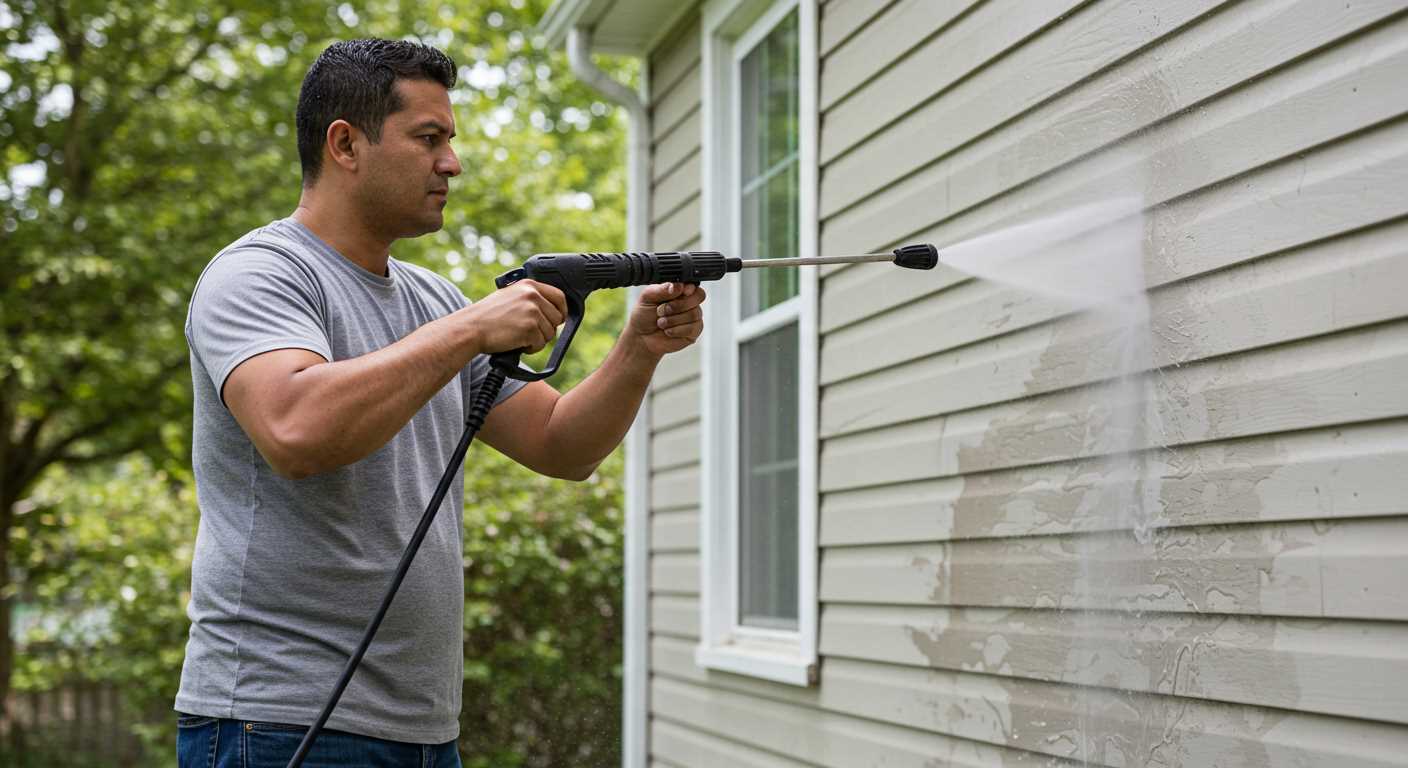
Testing the Foam Application
Begin the evaluation by selecting a suitable area for the process. A clean, flat surface free from obstructions is ideal. Ensure the vehicle or surface to be treated is dry, as moisture can affect the foam’s adherence and performance.
Steps for Effective Testing
- Fill the container with the recommended cleaning solution, diluted as per the manufacturer’s instructions. This ensures optimal results during the application.
- Attach the assembly securely to the spray unit, checking for any leaks or loose connections. A tight fit is crucial for maintaining pressure.
- Adjust the nozzle to achieve the desired spray pattern, typically starting with a wider setting to cover more area initially.
- Begin application from the top down, allowing the product to cling to the surface. This method promotes even coverage and reduces runoff.
- After a few minutes, evaluate the foam’s cling and consistency. It should remain thick and stable on the surface, which indicates proper dilution and application technique.
Post-Application Review
- Examine the treated area after the recommended dwell time. A successful application will show dirt and grime being lifted away.
- Rinse thoroughly with clean water, ensuring that all residues are removed. Inspect for any spots that may require additional attention.
- Consider adjusting the solution concentration based on your observations. A stronger mixture may be necessary for heavily soiled areas.
By following these steps, you can refine your application technique and achieve the best results with your cleaning setup. Each test will provide insights, allowing you to adjust your approach for maximum efficiency.
Maintaining Your Snow Foam Applicator and High-Pressure Cleaner
Regular upkeep of your cleaning devices ensures they perform at their best. After using the applicator, rinse it thoroughly with clean water to prevent any residue build-up. I’ve seen how a small amount of leftover product can clog the nozzle over time, affecting the distribution of the cleaning solution. Detach it after each session and store it in a cool, dry place to prolong its life.
Checking for Wear and Tear
Inspecting the applicator for any signs of damage is vital. Cracks or worn-out seals can lead to leaks, which not only waste your cleaning solution but can also create a messy work environment. I recommend performing this check after every few uses, especially if you’re using it frequently. Replace any damaged components promptly to maintain optimal functionality.
Regular Maintenance of the High-Pressure Cleaner
Keep the cleaner itself in good shape by regularly checking the hoses and connections. I’ve found that kinks in the hose can reduce pressure and lead to inefficient cleaning. Additionally, ensure the filter is clean and free of debris. A clogged filter can cause the motor to work harder than necessary, leading to premature wear. Regularly changing the oil and keeping the pump lubricated can significantly extend the life of your equipment.
Troubleshooting Common Installation Issues
If you encounter difficulties while attaching the cleaning agent container, consider the following points to resolve the problem efficiently.
First, ensure all connections are secure. A loose attachment can hinder performance. Check the threading on both the connector and the container; debris or damage can cause poor fitment. If you notice any obstruction, clean the threads and inspect for wear.
Next, assess the nozzle compatibility. Some nozzles may not be suitable for specific containers, leading to improper operation. If you’re unsure, refer to your model’s specifications or consult the manufacturer for compatible options.
Another common issue is pressure inconsistency. If the output seems weak or intermittent, verify the water supply. Ensure the hose is free of kinks and that the water source is delivering adequate pressure. A clogged filter can also impact performance, so check and clean it if necessary.
| Issue | Possible Causes | Solutions |
|---|---|---|
| Insecure connection | Loose threads or debris | Clean threads, tighten connections |
| Nozzle compatibility | Incorrect nozzle used | Check model specifications for compatible nozzles |
| Poor output pressure | Kinked hose or clogged filter | Inspect hose, clear kinks, and clean filter |
Lastly, monitor the dilution settings. If the mixture isn’t appropriate for your cleaning needs, adjust accordingly. Too concentrated or diluted can affect the cleaning efficiency. Always refer to the guidelines provided with your cleaning agent for the best ratios.
Resolving these issues can enhance your experience and ensure that your equipment operates at its best. If problems persist, consult the user manual or seek assistance from customer support for further guidance.
.jpg)


