


Regular breaks are non-negotiable. After every 30 to 45 minutes of continuous use, switch off the machine and let it cool down for a few minutes. This simple action can save you from significant repair costs and prolong the lifespan of the unit. I remember a job where I was so focused on finishing a large patio that I didn’t take breaks. The machine overheated, leading to a costly downtime and repair.
Check the water supply constantly. Insufficient water flow can cause the motor to work harder, generating excessive heat. I once encountered a situation where a colleague had a great machine but was using a hose with a kink. The result was a quick overheating issue. Always ensure that your water source is unobstructed and has adequate pressure.
Monitor the nozzle size carefully. Using a nozzle that is too small for the job can create backpressure, leading to overheating. I learnt this the hard way when I tried to power through some tough grime with an inappropriate nozzle. It resulted in the unit shutting down unexpectedly. Always match the nozzle to the task at hand for optimal performance.

Keep an eye on the filters. Clogged filters restrict water flow, causing the engine to heat up. I’ve seen filters become so dirty that they resemble a sponge. Regular cleaning and replacement of filters can dramatically improve performance and reduce the chances of overheating.
Lastly, consider the environment. Working in high temperatures or direct sunlight can exacerbate heat issues. If possible, try to work in shaded areas or during cooler times of the day. I’ve had my best experiences on overcast days, where the equipment runs cooler and more efficiently.
Understanding the Causes of Overheating
Overheating often stems from inadequate water supply. I’ve seen units struggle and overheat when the water flow is restricted by kinks in hoses or clogged filters. Regularly check your hoses and connections to ensure a steady, unobstructed flow. Clean filters often, as this simple task can significantly impact performance.
Motor Strain
Another common issue occurs due to excessive load on the motor. I’ve encountered machines that overheat because users consistently operate them at maximum pressure settings for extended periods. It’s wise to adjust the pressure to suit the task and take breaks to allow the motor to cool. Remember, you’re not in a race; give your equipment some downtime.
Ambient Conditions
Environmental factors play a role too. High temperatures or direct sunlight can elevate the risk of overheating. When working outdoors on hot days, try to position your equipment in shaded areas or use tarps to shield it from the sun. I’ve seen significant improvements in performance simply by changing the work environment.
Choosing the Right Cleaning Equipment for Your Needs
Selecting the appropriate cleaning equipment is critical for achieving optimal results. I recall a time when I recommended a model to a client who was using it for both light-duty and heavy-duty tasks. The machine couldn’t handle the demands, leading to premature wear and tear. This experience taught me the importance of matching the right model to specific cleaning requirements.
Assess Your Cleaning Tasks
Begin by evaluating the types of surfaces you will be working on. For instance, if you’re cleaning delicate surfaces like vehicles or patio furniture, a lower PSI (pounds per square inch) model is advisable. Conversely, if your tasks involve heavy-duty jobs such as stripping paint or cleaning large concrete areas, opt for a unit with a higher PSI. I remember a customer who tried to use a low-pressure unit for a commercial building; the results were disappointing and time-consuming.
Consider Flow Rate and Accessories
Flow rate, measured in litres per minute, is another critical factor. A higher flow rate means quicker cleaning, especially for large areas. It’s also wise to consider the range of accessories available for the model. For example, nozzles with different spray patterns can make a significant difference. I once helped a friend who had a versatile machine with interchangeable nozzles; it transformed his cleaning efficiency. Additionally, if you require an air compressor for tasks like inflating tires or powering tools, check out the best air compressor for car wash for reliable options that complement your cleaning equipment.
Regular Maintenance to Prevent Overheating
To avoid overheating issues, routine upkeep is non-negotiable. I can’t stress enough how important it is to check and clean filters regularly. A clogged filter restricts water flow, which can lead to increased temperatures. Make a habit of inspecting the filter after every few uses, especially if you’re using a car cleaner to use with pressure washer that may produce more debris.
Another key aspect is to ensure that all hoses and connections are free of kinks or blockages. I recall a time when a friend’s unit started overheating due to a simple kink in the hose that was barely noticeable. A quick inspection would have saved him a lot of trouble.
Regularly checking the pump oil is also crucial. Low oil levels can lead to friction and overheating. I recommend changing the oil at least once a season, or more frequently if you use the equipment heavily. This simple task can significantly extend the life of the machine.
Finally, keep an eye on the temperature gauge if your model is equipped with one. If it starts to climb higher than normal, it’s a sign that something needs immediate attention. Ignoring it could lead to costly repairs.
| Maintenance Task | Frequency | Notes |
|---|---|---|
| Filter Inspection and Cleaning | Every Few Uses | Replace if damaged or excessively clogged |
| Hose and Connection Check | Before Each Use | Look for kinks and blockages |
| Pump Oil Check and Change | Seasonally | More often with heavy use |
| Temperature Gauge Monitoring | During Use | Address any abnormal readings immediately |
Correctly Setting Up Your Pressure Washer
Begin by ensuring the unit is placed on a flat, stable surface. This not only enhances stability but also allows for proper water drainage, avoiding pooling around the machine.
Next, connect the water supply securely. Use a high-quality hose to prevent leaks and maintain a steady flow. I once had a client whose device malfunctioned due to a worn-out hose, which caused significant downtime. Always check for kinks or blockages in the hose before starting your work.
Adjust the nozzle according to the surface you’re cleaning. I recall my first experience with a high-pressure model; I used the wrong nozzle and ended up damaging the surface instead of cleaning it. Using a wider spray angle for delicate surfaces helps prevent damage while still achieving effective cleaning results.
Ensure the inlet filter is clean. A clogged filter restricts water flow, leading to increased temperatures. I’ve seen machines overheat simply because the filter wasn’t maintained. Regularly inspect and clean it to keep everything running smoothly.
Pay attention to the pressure settings. For different tasks, fine-tuning the pressure can make a significant difference. I once adjusted the settings for a particularly stubborn stain, and it made all the difference in the ease of cleaning.
Finally, don’t forget to monitor the temperature gauge if your model includes one. Keeping an eye on this can help you catch potential issues before they escalate. I learned this the hard way during a long cleaning session; I ignored the gauge and faced a lengthy repair. Regularly checking can save you time and money in the long run.
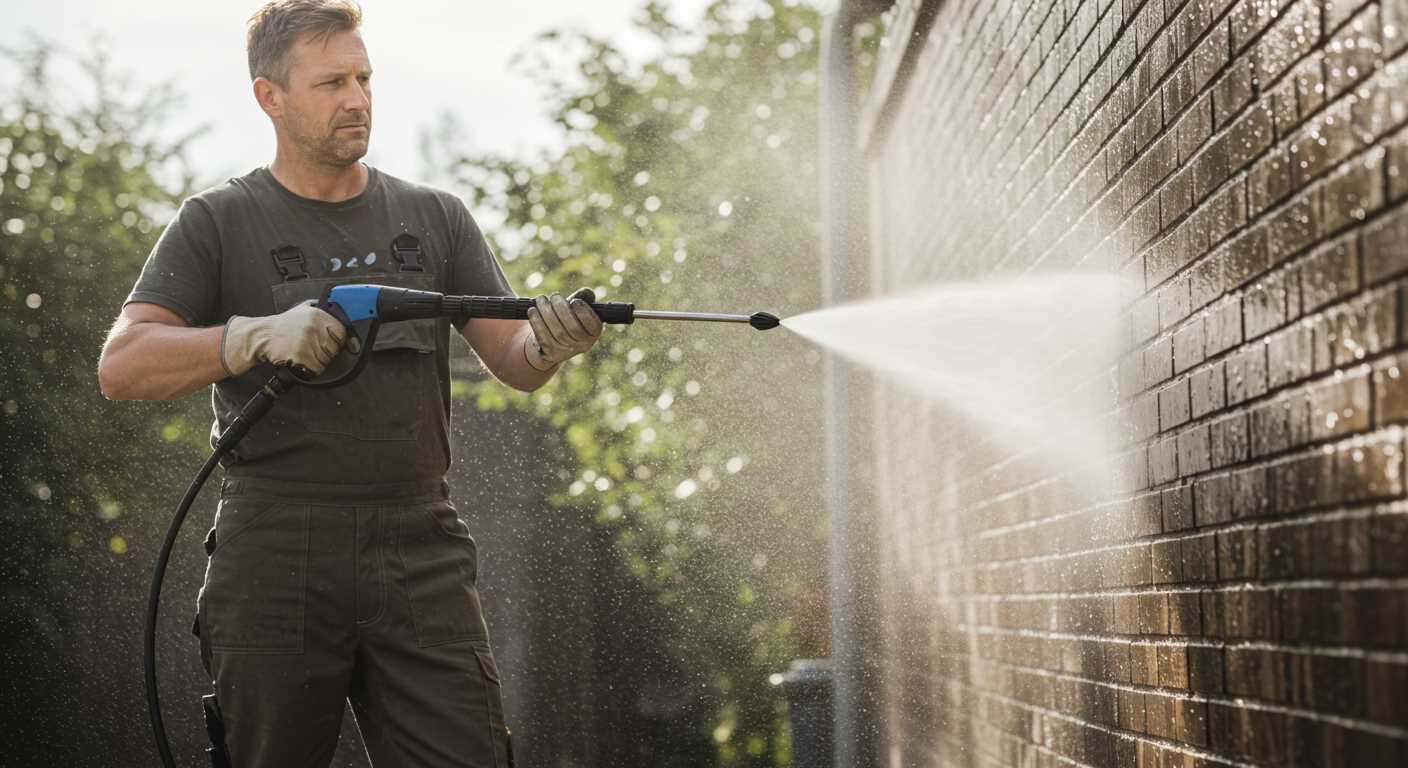
Using the Right Nozzle and Pressure Settings
Choosing the correct nozzle is pivotal for achieving optimal performance while reducing the risk of heat build-up. For example, I often recommend using a 25-degree or 40-degree nozzle for general cleaning tasks. These nozzles disperse water over a larger area, lowering the risk of concentrating heat in one spot, which can lead to equipment strain.
Nozzle Types
Each nozzle type serves a unique purpose. The zero-degree nozzle offers a concentrated jet that can cut through tough grime but can easily cause overheating when used improperly. I recall a time when a colleague used this nozzle for extended periods on a patio; the machine struggled under the continuous load, leading to an overheated unit. In contrast, a wider spray angle allows for less intense pressure on the motor, keeping temperatures manageable.
Pressure Settings
Setting the right pressure is equally crucial. Most high-performance machines come with adjustable settings. I typically recommend starting at a lower pressure and gradually increasing it until you achieve the desired cleaning effect. This method not only protects the equipment but also conserves water. Remember, operating at maximum pressure unnecessarily can elevate temperatures and lead to premature wear and tear.
Always consult your user manual for specific recommendations regarding nozzle selection and pressure settings tailored to your model. By making informed choices, you can significantly extend the lifespan of your equipment while ensuring efficient cleaning results.
Taking Breaks During Extended Use
During prolonged sessions, it’s crucial to integrate pauses. I’ve found that taking a short break every 15 to 30 minutes can significantly extend the lifespan of your equipment.
- Use this time to check for any signs of wear or damage.
- Let the motor cool down, which reduces the risk of thermal stress.
- Rehydrate and refresh yourself to maintain focus and efficiency.
On one occasion, I noticed a marked difference when I implemented this practice during a day of heavy-duty cleaning. After every half-hour, I would step away for about five minutes. Not only did this allow my machine to rest, but it also improved my own performance. I returned to the task with renewed energy and a clearer mind.
Additionally, consider the environment in which you’re operating. High ambient temperatures can exacerbate issues, so finding shade or a cooler spot to work can help both you and your equipment during breaks.
- Schedule regular intervals into your work routine.
- Monitor the temperature of the unit during use.
- Evaluate workload and adjust timing based on performance.
Incorporating this simple habit can prevent malfunctions and ensure that your cleaning sessions remain productive and hassle-free. You’ll thank yourself later when your gear runs smoothly and efficiently for years to come.
Storing Your Pressure Cleaner Properly
After using your cleaning tool, ensure it’s stored correctly to prevent future issues. Always drain any remaining fluid from the unit. This not only protects internal components but also prevents freezing or contamination during storage.
Steps for Proper Storage
- Disconnect all hoses and attachments. This reduces strain on connectors and prevents leaks.
- Store in a dry, cool location, away from direct sunlight. Extreme temperatures can damage seals and components.
- Cover the unit with a protective cover to keep dust and debris at bay. This prolongs its lifespan and maintains performance.
- Check for leaks or any signs of wear before storing. Addressing these issues now can save you time and hassle later.
Seasonal Considerations
- If storing for the winter, consider adding a winterising solution to the pump. This helps prevent internal damage from freezing temperatures.
- For long-term storage, periodically check on the unit. Starting it occasionally can keep components lubricated and ready for use.
By following these guidelines, you’ll ensure your equipment remains in prime condition, ready for that next big task. A little attention to storage can make a significant difference in performance and longevity.

.jpg)


