


Set the nozzle to a wider spray pattern; this instantly decreases the force of the water being expelled. I’ve found that switching from a narrow jet to a fan spray can make a significant difference, especially when tackling delicate surfaces like wood or painted areas. This simple adjustment allows for a gentler clean without risking damage.
Another tip is to reduce the flow rate by using a larger orifice nozzle. When I first started working with these machines, I often overlooked how crucial the nozzle’s size is. By opting for a nozzle that allows more water to pass through, you can effectively reduce the intensity while still covering a larger area quickly.

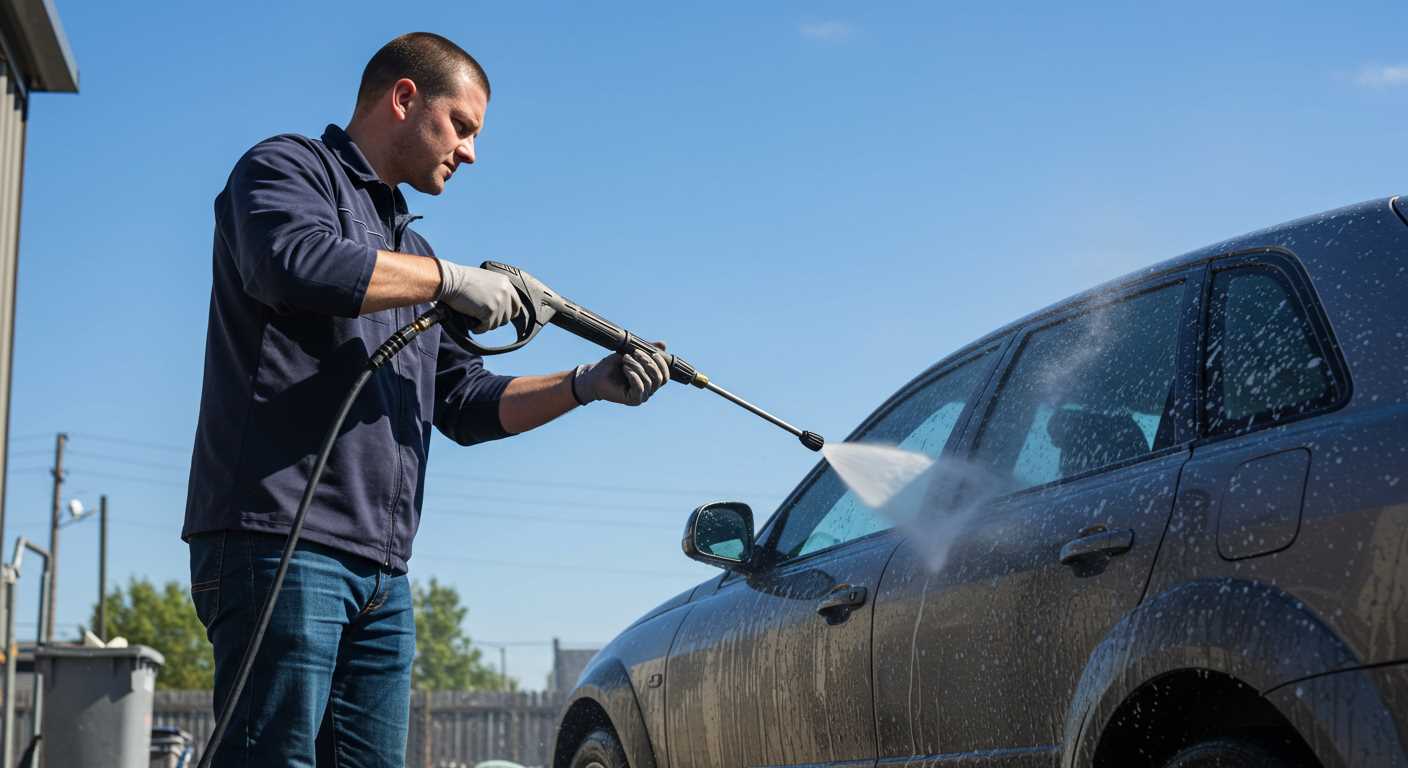
Consider adjusting the pressure control settings on your device, if available. Some models come equipped with a pressure adjustment feature that lets you fine-tune the output. I’ve seen remarkable results when lowering the settings for tasks like washing vehicles or cleaning outdoor furniture–less force does not mean sacrificing cleanliness.
Lastly, maintaining your equipment is key. A clogged filter or nozzle can ramp up the pressure unexpectedly. Regularly checking and cleaning these components has saved me from many frustrating cleaning sessions. A clean machine operates more smoothly and efficiently, allowing for better control of the water flow.
Adjusting Your Equipment for Optimal Performance
First off, simply switching to a nozzle with a wider spray pattern can significantly decrease the force of the water exiting the machine. For instance, I often recommend using a 25-degree or 40-degree nozzle for tasks that don’t require intense cleaning. It’s a quick and practical adjustment that can change the game when tackling delicate surfaces.
Another effective trick is to reduce the flow rate. If your model has a flow adjustment feature, use it. I’ve found that tweaking this setting can help achieve the balance needed for lighter tasks without sacrificing too much cleaning power. It’s like having the ability to customise your cleaning experience based on the job at hand.
Also, consider the distance from the surface you’re cleaning. Standing further away allows the water to disperse, resulting in a gentler wash. I’ve cleaned various surfaces, from wooden decks to car exteriors, and maintaining that optimal distance has always yielded great results without the risk of damage.
Lastly, if you’re looking for a more hands-on approach, you can mix in a bit of detergent or cleaning solution that requires less pressure for activation. Many times, I’ve used a less concentrated mixture to achieve a thorough clean while keeping the intensity in check. Just remember, the right cleaning agent can make all the difference.
For those interested in improving their overall equipment knowledge, check out this article about a digital cameras image quality is determined by the cameras. It’s always beneficial to understand the tools you’re working with, whether in cleaning or photography.
Understanding the PSI Settings on Your Pressure Washer
The specifications of your cleaning device directly determine its performance. Knowing the significance of the pressure ratings can help you select the right settings for various tasks. For instance, a unit rated at 2000 to 3000 units is ideal for heavy-duty jobs like stripping paint or cleaning concrete surfaces. However, for delicate materials like wood or glass, lower settings are more appropriate to avoid damage.
Adjusting Settings for Different Tasks
When tackling various projects, adjusting the output is key. For example, I remember working on a deck restoration. Initially, I used a high setting, thinking it would expedite the process. Instead, I ended up damaging the wood. Switching to a gentler setting not only preserved the surface but also provided a thorough clean without risking harm.
Choosing the Right Nozzle
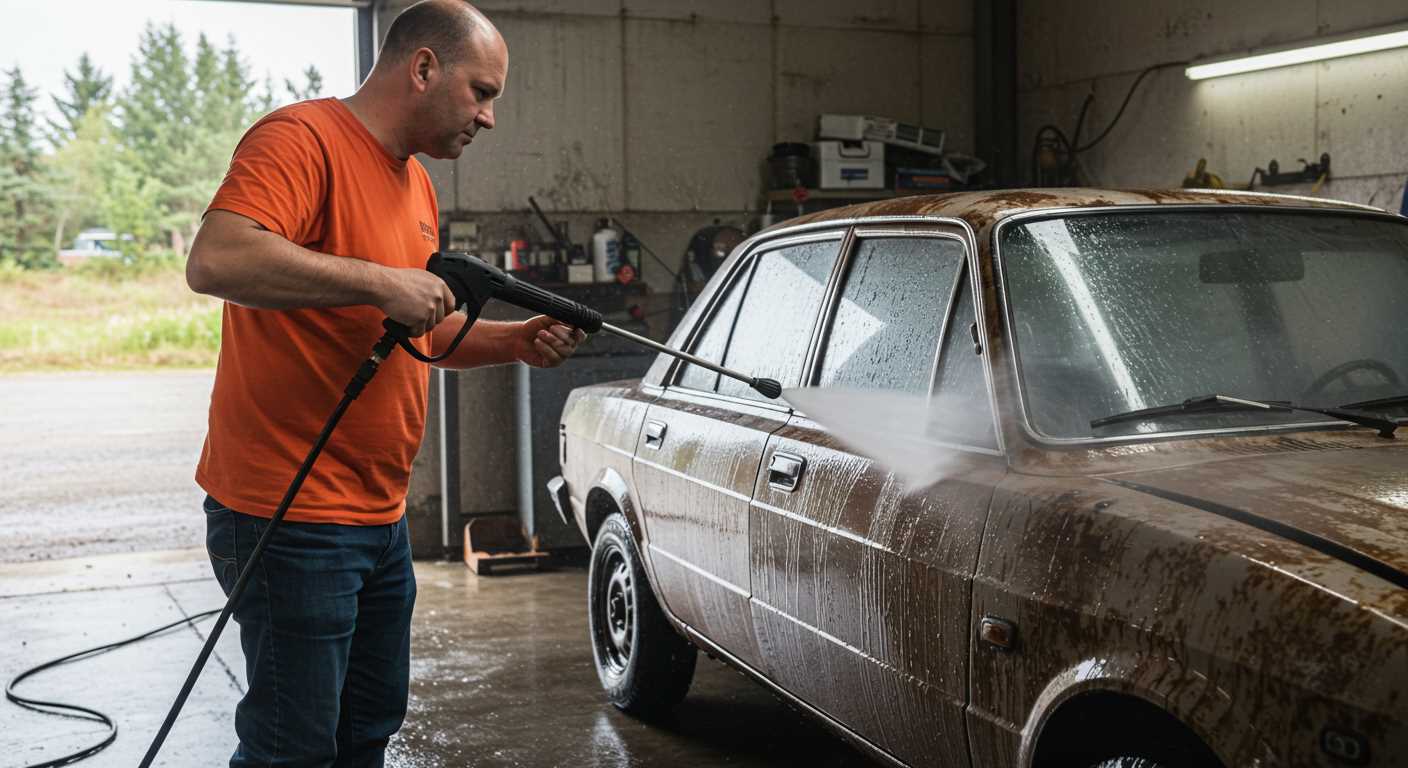
The nozzle you select plays a crucial role in how effectively you can manage the intensity of the stream. A wider spray pattern disperses the force, making it safer for fragile surfaces. Conversely, a narrow nozzle concentrates the flow, increasing the risk of damage. During one of my projects, I learned the hard way that using a high-pressure nozzle on a car could strip paint. Switching to a wider nozzle saved me from costly repairs.
Always consult the user manual for specific guidelines on adjusting settings and selecting nozzles. Familiarising yourself with these details can lead to better outcomes and extend the life of your equipment.
Adjusting the Pressure Control Knob
To modify the output intensity on your cleaning device, locate the pressure control knob, typically situated on the handle or body of the unit. This knob is designed for simple adjustments, allowing you to tailor the force based on your task.
Steps for Adjustment
Begin by ensuring the equipment is turned off. Twist the control knob counterclockwise to decrease the intensity. You’ll notice a change as you turn it, which can help you find the right setting for delicate surfaces like wood or glass. One time, I was cleaning a patio table with a high setting, and it almost damaged the surface. Adjusting the knob made all the difference.
Testing the New Setting
After making your adjustment, turn the unit back on and test the output on a small, inconspicuous area first. This ensures you’ve set the right level without causing any harm. I’ve always preferred starting at a lower setting and gradually increasing it, as it’s easier to ramp up than to fix damage caused by excessive force.
Changing Nozzles for Desired Pressure
Switching nozzles is a straightforward method to adjust the intensity of the water stream. Each nozzle is designed to create a specific spray pattern and force, allowing for tailored cleaning depending on the surface and task at hand. In my experience, using the correct nozzle can make a significant difference in both efficiency and safety.
Nozzle Types and Their Effects
There are typically four main types of nozzles, each colour-coded for easy identification:
| Nozzle Colour | Degree | Usage |
|---|---|---|
| Red | 0° | Intense, pinpoint spray for tough stains |
| Yellow | 15° | More concentrated spray for heavy-duty cleaning |
| Green | 25° | Versatile for general cleaning tasks |
| White | 40° | Gentle spray for delicate surfaces |
For delicate surfaces like wood or painted surfaces, I always opt for the white nozzle. It’s less abrasive and prevents damage while still getting the job done. Conversely, the red nozzle is for serious grime; I’ve used it on stubborn concrete stains with remarkable results. Experimenting with different nozzles has taught me that the right choice can reduce effort and time spent on cleaning.
Choosing the Right Nozzle for Your Task
Consider the task at hand. For example, if you’re cleaning a car, the white or green nozzle is ideal to avoid scratches. On the other hand, for a driveway, the yellow or red nozzles can tackle tough dirt and oil stains effectively. Always remember to test on a small area first, just to ensure you’re getting the desired outcome without damaging the surface.
In summary, swapping nozzles is an easy and effective way to adjust the output of your equipment without fiddling with controls. I find that having a full set of nozzles handy prepares me for any cleaning job that comes my way, ensuring optimal results every time.
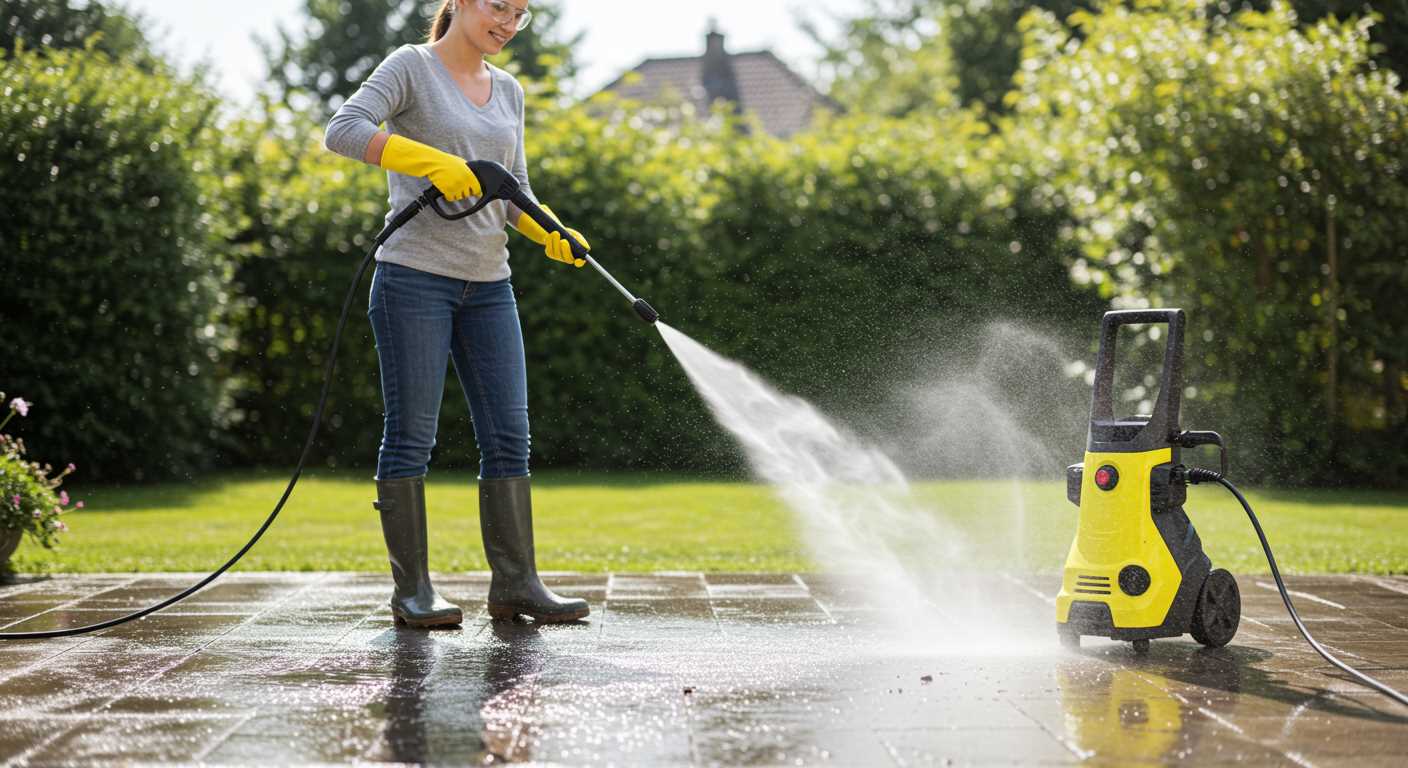
Modifying the Water Flow Rate
To effectively reduce the force of your cleaning device, adjusting the water flow rate is a practical approach. By decreasing the volume of water being expelled, you can achieve a gentler spray without compromising your cleaning task. Start by checking the flow settings on your unit; some models allow for easy adjustments directly on the machine.
Utilising Flow Restrictors
In my years of experience, I’ve found that installing a flow restrictor can be quite beneficial. These devices limit the amount of water passing through the nozzle, allowing you to control the intensity of the spray. Not only does this help in achieving a milder output, but it also conserves water, making your cleaning sessions more eco-friendly. Ensure the restrictor is compatible with your model for optimal performance.
Adjusting Hose Diameter
Another effective method I’ve employed is changing the diameter of the hose. Using a narrower hose can restrict water flow, leading to a softer spray. However, be mindful of the potential for increased back pressure, which might affect the unit’s performance. It’s advisable to experiment with different sizes to find the perfect balance that meets your cleaning needs without causing any damage to surfaces.
Using a Pressure Washer Spray Gun with Adjustable Pressure
Utilising a spray gun that allows for pressure adjustment can significantly enhance your cleaning tasks. I’ve found that many models come equipped with this feature, making it a breeze to tailor the output based on the task at hand. For instance, when cleaning delicate surfaces like wood or painted exteriors, reducing the intensity is crucial to avoid damage.
Experience with Adjustable Nozzle Systems
During my years in the industry, I encountered various adjustable nozzle systems. One memorable instance involved a client who was struggling to clean a patio without harming the surrounding plants. By switching to a nozzle with a wider spray pattern and lower intensity, we managed to remove the grime without affecting the foliage. This flexibility not only saved the plants but also saved the client from potential costly repairs.
Setting the Right Output

When using a spray gun with adjustable settings, always start at a lower output. Gradually increase until you find the sweet spot for the task. I recommend testing the spray on a small, inconspicuous area first. This approach can prevent any surprises and ensure the surface withstands the force applied. In my experience, taking a moment to adjust can make all the difference in achieving a thorough clean without risk.
Regular Maintenance to Ensure Optimal Performance
To maintain the efficiency of your cleaning equipment, adhere to a routine maintenance schedule. Regular upkeep significantly prolongs its lifespan and ensures reliable operation. Here are key areas to focus on:
- Inspect Hoses: Check for any signs of wear or damage. Cracks or kinks can affect water flow and lead to operational issues. Replace any compromised hoses promptly.
- Clean Filters: Clogged filters reduce performance. Remove and clean them regularly to maintain proper water flow. This simple task can prevent bigger problems down the line.
- Examine Nozzles: Inspect the nozzles frequently for blockages. A clogged nozzle can alter the intensity of the spray. Clean or replace them as needed to ensure optimal results.
- Check Oil Levels: For models with engines, ensure oil levels are adequate. Change the oil according to the manufacturer’s recommendations to keep the motor running smoothly.
- Store Properly: After use, store the equipment in a dry, sheltered location. Protecting it from extreme weather conditions helps avoid rust and damage.
- Use Quality Detergents: If your device uses cleaning solutions, ensure they are compatible and high quality. Using subpar products can lead to buildup and damage.
In my experience, performing these maintenance tasks regularly not only keeps the machine in good condition but also enhances its effectiveness. I recall a time when I neglected to clean the filter and faced a frustrating drop in performance. It was a simple oversight that caused unnecessary hassle.
For those seeking additional enhancements, consider investing in tools like a pressure washer dirt blaster. These attachments can provide a more thorough clean and complement your maintenance efforts.
By committing to regular inspections and upkeep, you can ensure that your cleaning equipment remains effective and reliable for years to come.
.jpg)


