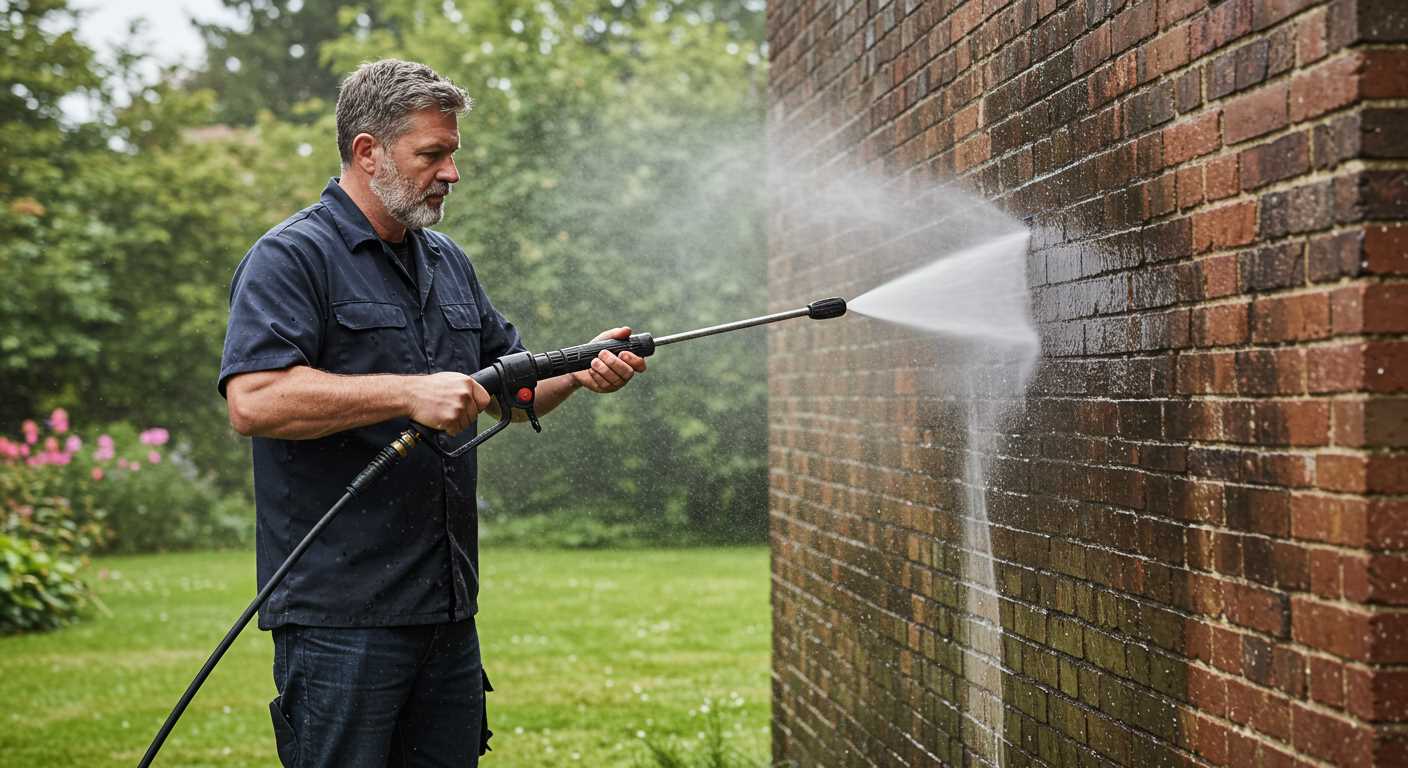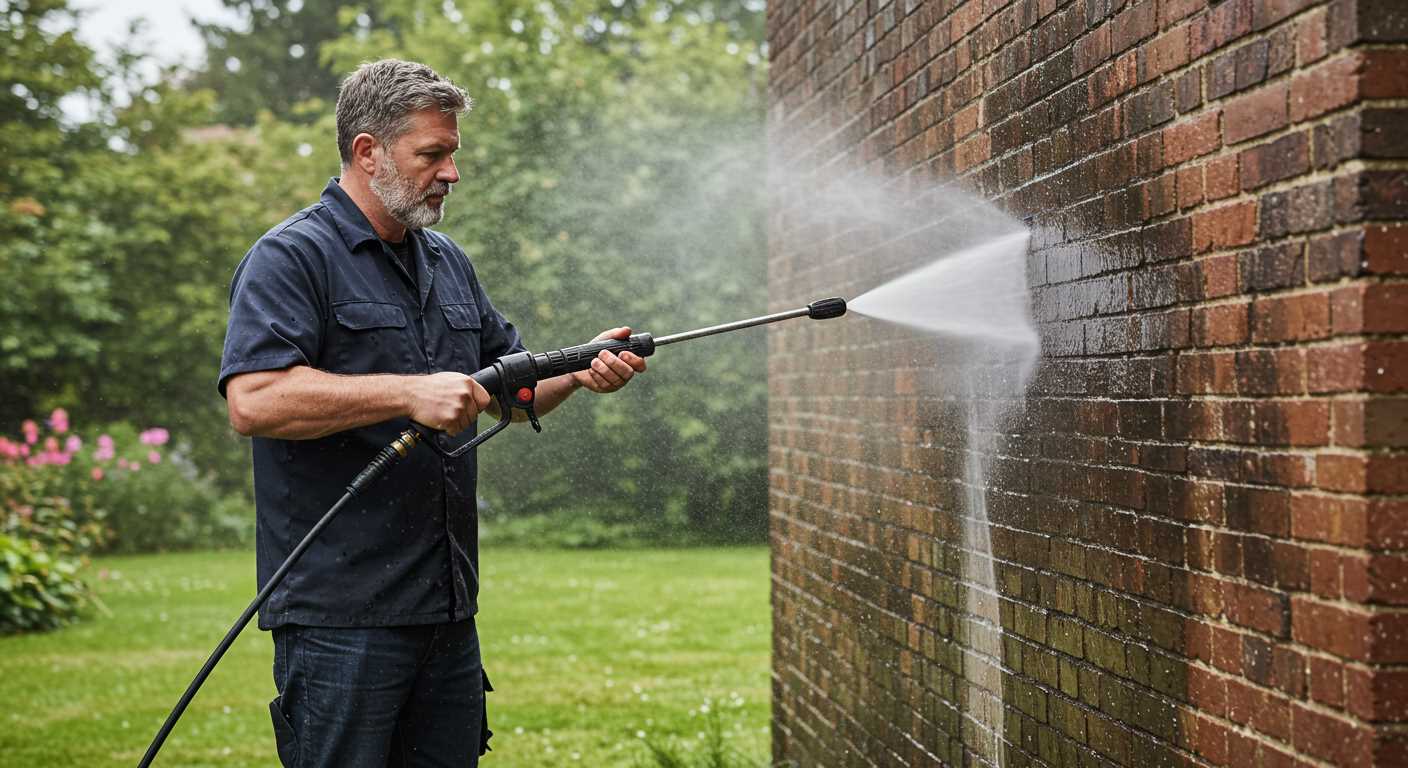


Regularly checking the oil level is crucial. I’ve seen too many units become useless simply because the oil wasn’t changed on time. Aim to replace the oil every 50 hours of operation or at least once a season. Always use the type recommended in the manual; it can truly make a difference in the longevity of your engine.
Another key aspect is the fuel system. I recommend using fresh fuel and adding a fuel stabiliser if you plan to store the machine for an extended period. I recall a colleague who left his equipment with old fuel for months, and when he tried to start it, the engine sputtered and stalled. It took him hours to clean the carburettor before he could get it running again.
Inspecting the hoses and connections regularly is also a must. Look for any signs of wear, cracks or leaks; these issues can quickly escalate into more significant problems. I once had a high-pressure hose burst mid-operation, which was not only alarming but also messy. Keeping spare parts on hand for quick replacements is something I learned the hard way.
Lastly, cleaning the filter is essential for maintaining optimal performance. A clogged filter restricts airflow and can cause the engine to overheat. Make it a habit to check and clean it after every few uses. Trust me, this small step can save you from larger repairs down the line.
Maintenance Tips for Your Pressure Cleaning Equipment
Regularly inspect the fuel system. I always check for leaks and ensure the fuel filter is clean. A clogged filter affects performance; replace it annually or sooner if you notice issues.
Change the oil frequently. I recommend using high-quality oil; it keeps the engine running smoothly. Usually, I swap it out every 50 hours of operation or at least once per season. Always check the oil level before each use.
Clean the air filter regularly. A dirty filter restricts airflow and can cause the engine to stall. I often tap it gently to remove dirt and replace it if it’s excessively clogged or damaged.
Inspect and clean the spark plug. A well-functioning spark plug ensures easy starting and efficient operation. I replace mine if I notice a lot of carbon build-up or if it’s worn out. Check the gap as well; it should be around 0.030 inches.
Drain the water from the pump after each use. I learned this the hard way; leftover water can freeze and damage the unit. Use the drain plug to ensure all water is removed before storing it away.
Store the equipment in a dry place. I always keep it covered, away from extreme temperatures. This helps prevent rust and keeps components in good condition.
| Maintenance Task | Frequency |
|---|---|
| Fuel filter check | Annually or as needed |
| Oil change | Every 50 hours or seasonally |
| Air filter clean/replacement | Regularly, as needed |
| Spark plug check/replacement | As needed, typically yearly |
| Water drain from pump | After each use |
| Storage conditions | Always store in a dry place |
Keep an eye on the hoses and connections as well. I inspect them for cracks or leaks before starting any cleaning task. A small issue can lead to larger problems if left unchecked.
Lastly, read the manual provided by the manufacturer. I often refer back to mine for specific recommendations tailored to my model. Following these guidelines keeps everything running smoothly and extends the life of your equipment.
Checking and Changing the Oil Regularly
Regularly inspecting and replacing the lubricant is non-negotiable for optimal performance. I recall a time when I neglected this step, thinking I had plenty of time before the next change. The engine overheated, and I was left with a costly repair. Now, I make it a point to check the oil every few sessions.
How to Check the Oil
Begin by ensuring the engine is cool. Locate the dipstick, usually found near the oil fill cap. Wipe it clean, insert it back without screwing it in, and then pull it out to check the oil level. If the oil is dark or gritty, it’s time for a change. Fresh lubricant should be a clear amber colour, indicating it’s ready to protect the engine.
Changing the Oil
Gather your tools: an oil pan, a funnel, and the correct type of lubricant as specified in the manual. Start by running the engine for a few minutes to warm the oil, which helps it drain more easily. Turn off the engine, remove the drain plug, and let the used lubricant flow into the pan. Replace the plug and fill with new oil using the funnel. Don’t forget to check the level again with the dipstick before putting everything back together.
Cleaning the Air Filter for Optimal Performance
To ensure your machine operates at peak efficiency, focus on the air filter. A clean filter allows the engine to breathe properly and enhances performance. I recall a time when a client’s unit was struggling to start. After a thorough check, the issue stemmed from a clogged air filter. A simple clean transformed its functionality.
Steps for Cleaning the Air Filter
Begin by locating the air filter, typically housed in a cover on the engine. Remove the cover gently, as it can be delicate. Once exposed, take out the filter carefully. If it’s foam or paper, a tap against a hard surface might dislodge dirt. For foam filters, wash with soapy water, rinse thoroughly, and let it dry completely before reinstallation. Remember, never use compressed air, as this can damage the filter.
Regular Inspection and Replacement
Check the air filter every 25 operating hours or at least once a month. If you notice excessive dirt build-up or damage, replacing it is preferable. I’ve seen filters that looked fine but were restrictive enough to hinder performance. Investing in a new filter can save you from potential engine issues down the road.
Keeping the air filter clean is a straightforward, yet often overlooked, task that makes a significant difference in your machine’s longevity and efficiency. A little attention here goes a long way in maintaining performance.
Inspecting and Replacing the Spark Plug
Regularly checking the spark plug is crucial for optimal engine performance. A worn or fouled spark plug can lead to hard starting, rough idling, and decreased power. I recommend inspecting the spark plug at least once a season or after every 20 hours of use, whichever comes first. Remove the spark plug using a spark plug wrench, and visually examine the electrode for wear or carbon build-up.
If you notice signs of damage, such as cracks or excessive wear, replace the spark plug with one that matches the manufacturer’s specifications. This ensures proper ignition and performance. When installing a new spark plug, hand-tighten it first to avoid cross-threading, then use a torque wrench to tighten it to the recommended torque setting. Over-tightening can damage the engine.
Before reinstallation, check the spark plug gap using a feeler gauge. The gap should align with the specifications in your owner’s manual. A gap that’s too wide or too narrow can lead to misfires and reduced efficiency. If the plug is clean and in good condition, a simple cleaning with a wire brush can rejuvenate it, but don’t hesitate to replace it if in doubt.
After replacing or cleaning the spark plug, always reconnect the lead securely. A loose connection can lead to misfires and affect the overall performance of the engine. Keeping an eye on the spark plug condition can save you from more significant issues down the line and ensure your machine runs smoothly when you need it most.
Flushing the Pump to Prevent Damage
Flushing the pump after each use is a simple yet effective way to extend its lifespan. This process helps remove dirt, debris, and detergent residues that can cause wear and tear. Here’s how I typically handle the flushing procedure.
Steps for Flushing the Pump
- Disconnect the water supply and remove the nozzle from the wand.
- Fill a bucket with clean water.
- Submerge the pump’s inlet hose into the bucket.
- Start the engine and allow water to flow through the pump for a few minutes. This clears out any remaining cleaning agents.
- Turn off the engine and disconnect the hose.
After flushing, I always make sure to run the pump for a few seconds without any attachments to clear out excess water. This step helps prevent internal corrosion that can occur if water is left standing in the system.
Additional Tips
- Always use cold water for flushing; hot water can damage internal components.
- Consider using a pump saver fluid designed to lubricate seals and components if your model allows it.
- Check the user manual for specific recommendations related to your equipment’s model.
In my experience, taking the time to flush the pump regularly has saved me from costly repairs and replacements. It’s a small effort that yields significant benefits in the long run.
Storing Your Equipment Properly During Off-Season
Before putting your cleaning machine away for the season, make sure to drain all fluids. This includes fuel, which can degrade and cause starting issues next time you use it. I’ve seen engines clogged due to old petrol; it’s a headache you don’t want to deal with. After draining, run it for a few minutes to ensure any residual fuel is cleared out.
Cleanliness is Key
Give your device a thorough wash. Residue from detergents and debris can cause corrosion over time. I’ve always rinsed off the exterior and checked for any clogs in the hoses. A simple scrub can go a long way in extending the life of your gear.
Proper Location Matters
Store your equipment in a cool, dry place. Avoid damp areas that could promote rust. I recommend using a cover to protect it from dust and potential pests. Once, I left a unit in the garage without protection, only to find it was a favourite nesting spot for critters. It’s a hassle to clean that up, and it can lead to costly repairs.
Consider placing it on a shelf or using a designated stand to keep it off the ground. This not only prevents moisture from seeping in but also makes it easier to access during the next use. If you’re looking to enhance your cleaning experience, check out this pressure washer surface cleaner with wheels for efficient cleaning.
Lastly, don’t forget to check your storage area periodically. Sometimes, unexpected issues arise, like leaks or pests, and catching them early can save you from a lot of trouble later.
If you have pets, like I do, ensure your storage doesn’t attract them. For instance, I once had to deal with a curious dog that chewed through a hose. You might be wondering, can dogs climb chain link fences? Yes, they can, so keep your equipment secure from their reach.
FAQ:
What are the key steps to maintain a gas pressure washer?
To maintain a gas pressure washer, follow these key steps: First, regularly check and change the oil as per the manufacturer’s recommendations. This helps keep the engine running smoothly. Second, inspect and clean or replace the air filter to ensure proper airflow. Third, check the spark plug for wear and replace it if necessary. Fourth, clean the water inlet filter to prevent clogs. Finally, after each use, run the machine with clean water to flush out any detergent residues and store it in a dry place.
How often should I change the oil in my gas pressure washer?
It is generally recommended to change the oil in your gas pressure washer after the first 20-50 hours of operation and then every 50 hours thereafter. Regular oil changes help maintain engine performance and longevity. Always check the owner’s manual for specific guidelines related to your model, as some may have different requirements based on their design.
What should I do if my pressure washer won’t start?
If your pressure washer won’t start, first ensure that there is fuel in the tank and that the fuel is fresh. Check the oil level; if it’s too low, the engine may not run. Inspect the spark plug for any signs of wear or damage and replace it if needed. Additionally, check for any blockages in the water inlet filter or hoses. If the problem persists, refer to the manufacturer’s troubleshooting guide or seek professional assistance.
Can I use any detergent in my gas pressure washer?
No, you should not use just any detergent in your gas pressure washer. It is best to use detergents that are specifically formulated for pressure washers. These detergents are designed to work effectively with the pressure and flow rate of your machine without causing damage. Always check the owner’s manual for recommendations on suitable detergents and avoid using bleach or other harsh chemicals that could harm the internal components.
What winterisation steps should I take for my gas pressure washer?
To winterise your gas pressure washer, start by draining the fuel tank and running the engine until it stops to clear any fuel from the system. Next, you should add a fuel stabiliser to the remaining fuel if you plan to keep some in the tank. After that, remove the spark plug and squirt a small amount of oil into the cylinder, then replace the plug. Finally, thoroughly clean the machine, store it in a dry place, and protect it from freezing temperatures to prevent any damage.
What are the key steps to prepare my gas pressure washer for storage?
To prepare your gas pressure washer for storage, first, ensure that the machine is completely cleaned. Remove any attachments and clean them separately. Drain the fuel tank to prevent fuel degradation and clogging, or you can add a fuel stabiliser to the remaining fuel if you prefer not to drain it. Next, run the engine until it runs out of fuel, which helps clear the carburettor. Check the oil level and replace it if necessary. Finally, store the washer in a dry place, ideally covered to protect it from dust and moisture.
How can I troubleshoot common issues with my gas pressure washer?
If your gas pressure washer isn’t starting, check the fuel level first; ensure there’s enough fuel and that it’s fresh. Next, inspect the spark plug for wear or damage and replace it if needed. If the washer starts but lacks pressure, check for clogged nozzles or hoses and clean them. Additionally, ensure the water supply is adequate and that the inlet filter is clean. For more complex issues, consult the user manual or consider taking it to a professional for repairs.


.jpg)


