


To ensure your compact cleaning device operates seamlessly, begin with a thorough examination of all connections. Check the hose for cracks, ensure the fittings are tight, and inspect the nozzle for any blockages. I once encountered a model that simply wouldn’t build pressure, and it turned out the issue was a tiny piece of debris lodged in the nozzle. A quick clean resolved the problem instantly.
Next, making sure you have the right water supply is key. Use a garden hose with ample flow; low water pressure can cause the unit to underperform. I recall a time when a friend’s machine struggled during a big cleaning project, only to find out that the water supply was barely trickling. Switching to a different spigot transformed its performance, allowing it to tackle grime with ease.

Don’t overlook the importance of the right detergent. Opt for a detergent specifically formulated for your device. Using the wrong type can lead to damage or ineffective cleaning. I learned this the hard way; after using an ordinary soap that foamed excessively, my device needed some serious maintenance. Stick to the manufacturer’s recommendations for optimal results.
Finally, regular maintenance cannot be understated. After each use, flush out the system with clean water to prevent any build-up. I’ve maintained my equipment this way for years, and it’s paid off with longevity and reliable performance. Following these straightforward steps will keep your cleaning companion running like new.
Choosing the Right Location for Setup
Identify a flat, stable surface to avoid any accidents during operation. I recall a day when I set up my equipment on a slight incline; it resulted in an unexpected tumble that made a mess of everything. An even ground is essential for maintaining control over the equipment.
Access to Water Source
Proximity to a water supply is non-negotiable. A garden tap works well, but ensure you have the necessary hose length to reach it comfortably. I once spent an hour dragging hoses around my backyard before realising I could have simply set up closer to the tap. Save time and effort by planning your setup location wisely.
Consider Surrounding Areas
Evaluate the space around you. Look for obstacles like trees or furniture that could obstruct the spray path. I learned the hard way that nearby plants can suffer if they’re in the line of fire. Keep a safe distance from delicate items to prevent unintended damage. A clear area also allows for better manoeuvrability.
Lastly, think about your neighbours. Noise can be an issue, so picking a time when they’re less likely to be disturbed is considerate. It pays to maintain good relations while tackling your cleaning tasks. A little foresight can save you from complaints later on.
Connecting the Water Supply Correctly
Ensure a steady flow by using a quality hose with a diameter of at least ½ inch. This prevents pressure loss and allows for effective cleaning. I’ve often seen users attempt to connect their machines with thin hoses, leading to frustration and subpar results.
Check for Leaks
Before connecting, inspect both the hose and the faucet for any leaks. A small drip can significantly reduce the water supply pressure, impacting performance. I once had a client who overlooked this detail and ended up with a disappointing cleaning experience. A quick check can save you time and effort.
Filling the Machine
After securing the hose, ensure that the water supply is turned on before starting the machine. This prevents air from entering the system, which can lead to damage. I’ve encountered situations where users turned on their machines without adequate water supply, resulting in costly repairs. Always fill the unit and check for smooth operation before getting started.
For versatility in cleaning tasks, consider investing in a multi purpose pressure washer. It can adapt to various needs, making your cleaning tasks easier and more effective.
Understanding Pressure Settings for Different Tasks
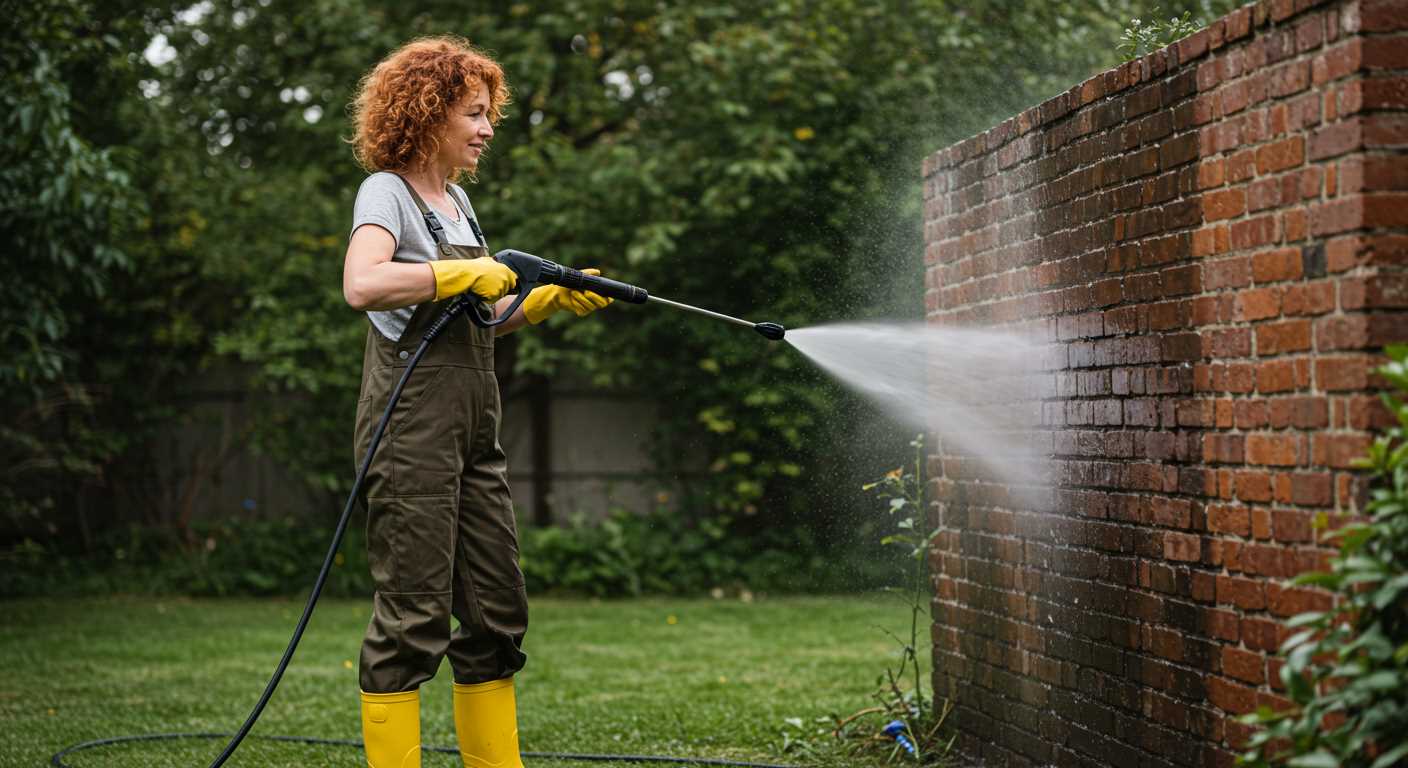
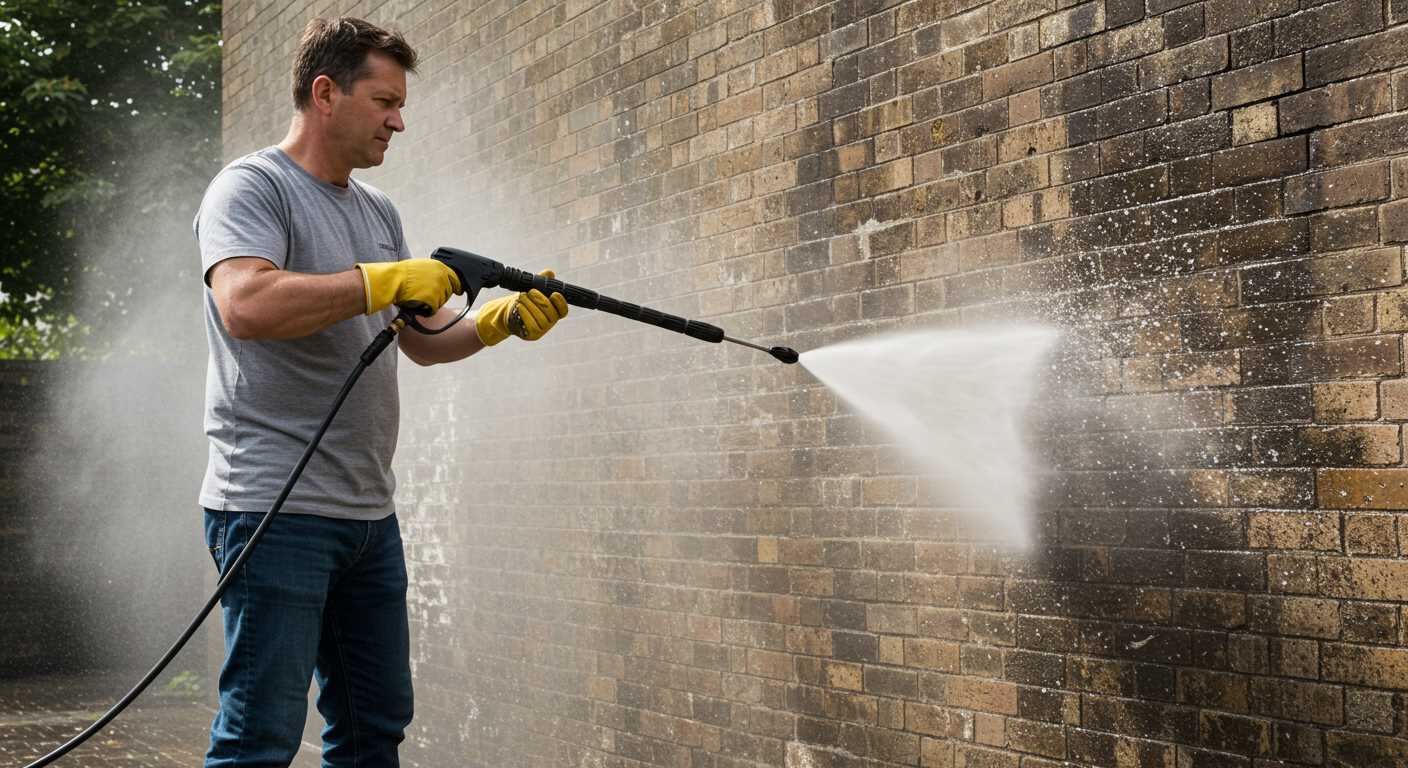
For optimal results, select the right pressure setting tailored to the specific job. High settings can damage delicate surfaces, while low settings may not remove stubborn dirt effectively. I’ve encountered this first-hand while cleaning a client’s brick patio; using a high setting nearly stripped the mortar. Adjusting to a medium level allowed me to clean efficiently without causing harm.
Surface Types and Recommended Pressures
Concrete driveways can handle up to 3000 PSI, making them ideal for heavy-duty cleaning. For wooden decks, however, stick to around 1500-2000 PSI to prevent splintering. I once mistakenly used too high a pressure on a wooden fence, resulting in visible damage. Lesson learned: always assess the material before choosing your pressure.
Task-Specific Considerations
When tackling vehicles, a gentle touch of 1200-1900 PSI is best to avoid scratches. In contrast, cleaning patio furniture may require a boost to 2000 PSI to remove built-up grime. I’ve found that adjusting the nozzle can also make a significant difference; switching to a fan spray for wider coverage can speed up the cleaning process without increasing pressure. Always test on a small area first to gauge the effectiveness and safety of your chosen setting.
Utilising the Correct Nozzle for Optimal Results
For maximum efficiency during your cleaning tasks, using the appropriate nozzle is key. Each nozzle serves a specific purpose, and selecting the right one can dramatically enhance the effectiveness of your equipment.
- 0-degree nozzle: This nozzle produces a concentrated stream ideal for tough stains on concrete or metal surfaces. Use it sparingly, as it can damage softer materials.
- 15-degree nozzle: Suitable for stripping paint or cleaning heavily soiled areas. It provides a powerful spray while being less aggressive than the 0-degree option.
- 25-degree nozzle: A versatile choice for general cleaning tasks such as washing vehicles, decks, and patios. It balances power and coverage well.
- 40-degree nozzle: Perfect for delicate surfaces like windows and painted areas, this nozzle offers a wide spray pattern that prevents damage.
- Soap nozzle: Designed for applying detergents, this nozzle typically features a wider spray to efficiently distribute cleaning solutions.
In my experience, switching nozzles during a cleaning session has saved me time and effort. For instance, I once tackled a particularly dirty patio using a 25-degree nozzle for general cleaning, followed by the 0-degree for stubborn stains. The results were impressive, and the process was streamlined.
When investing in accessories, consider best pressure washer extension wands to extend your reach without compromising pressure. This addition can make a significant difference, especially for high or hard-to-reach areas.
Always remember to test the nozzle on a small, inconspicuous area before applying it broadly. This practice ensures you avoid any unwanted damage and guarantees the best outcome for your cleaning project.
Maintaining Your Portable Cleaning Unit
Regular upkeep is crucial for extending the lifespan and ensuring optimal performance of your cleaning tool. After every use, I recommend flushing the system with clean water. This simple step removes detergent residues and prevents clogs in the nozzle and hose. Just connect the water supply, switch it on for a minute, and let it do its job.
Inspecting Components
Check the hoses and connections for cracks or wear. I’ve seen many units fail because a small crack turned into a major leak. Replace any damaged parts immediately. Also, examine the spray gun and nozzle. A blocked nozzle can significantly reduce efficiency. Clean it regularly with warm soapy water, and use a pin to dislodge any stubborn debris.
Storage Tips
Store your equipment in a dry place, protected from extreme temperatures. I learned the hard way that leaving it outdoors exposes it to moisture, leading to rust and corrosion. If possible, keep it in its original box or a dedicated storage container to avoid dust accumulation. Before storing, ensure all components are disconnected and dried thoroughly.

Troubleshooting Common Issues During Operation
When facing challenges, start by checking the power source. Ensure the outlet is functioning, and the extension cord is in good condition. A faulty connection is often the root of the problem.
Water Supply Issues
If the flow is weak or inconsistent, inspect the water supply hose. Look for kinks or blockages. A clogged filter can also hinder performance; clean or replace it if necessary. Always use a supply that meets the model’s requirements–some units need a minimum flow rate to operate effectively.
Unusual Noises and Vibrations
Strange sounds can indicate a malfunction. If the motor emits an unusual hum, it might be an issue with the pump. Check for air leaks in the hose or connections. Tightening fittings or replacing worn-out seals can resolve these issues. Regular maintenance prevents many of these problems from arising.
| Issue | Possible Cause | Solution |
|---|---|---|
| Weak water flow | Kinked hose or clogged filter | Inspect and clear hose; clean or replace filter |
| Motor hums but doesn’t start | Power supply issue | Check outlet and cord; reset circuit breaker if needed |
| Strange noises | Air leaks or pump issues | Tighten connections; inspect and replace seals |
| Loss of pressure | Worn nozzle or hose damage | Replace nozzle; inspect and repair hose |
Every model can present unique operational quirks. Familiarise yourself with the user manual, as it often contains specific troubleshooting tips tailored to your equipment. Taking a proactive approach to maintenance and understanding the machine’s requirements will lead to more efficient use and longevity.

.jpg)


