


For those looking to enhance their cleaning arsenal, integrating an abrasive medium with high-pressure water can yield impressive results. Start by sourcing an appropriate nozzle that allows for a mix of water and abrasive material. A venturi style attachment works best, as it effectively draws in the abrasive while maintaining water pressure.
Next, focus on selecting the right abrasive. Common options include crushed glass, baking soda, or silica sand, each offering distinct advantages depending on the surface you’re treating. For instance, crushed glass is less abrasive on softer materials while still providing an excellent clean. Always ensure the selected material is compatible with your equipment to avoid damage.
Connecting the components is straightforward but requires attention to detail. Ensure all fittings are tight to prevent leaks, which can compromise performance. A sturdy hose and high-quality connectors will ensure longevity and reliability during use. I’ve seen too many setups fail due to inadequate fittings, leading to frustration and wasted time.
Finally, safety should be a priority. Protective gear, including goggles and gloves, is non-negotiable when working with abrasive materials. I recall a project where I underestimated the need for proper protection, and the results were not pleasant. Always err on the side of caution.
Choosing the Right Pressure Washer for Sand Blasting
For optimal results in abrasive cleaning, selecting a unit with a minimum pressure rating of 3000 PSI is crucial. This ensures effective removal of stubborn materials without damaging the underlying surface. From my experience, models with adjustable pressure settings provide flexibility, allowing you to tackle various tasks without compromising performance.
Look for a machine equipped with a high-flow rate, preferably around 3 to 4 GPM. This combination of pressure and flow enhances the efficiency of the abrasive materials, creating a more powerful cleaning action. A unit with a reliable motor, whether electric or petrol, will determine its longevity and performance under heavy use.

It’s also wise to consider the nozzle compatibility. A wider range of nozzle options can significantly improve your versatility. In my early days, I often underestimated the impact of using the right nozzle; a simple change can transform the effectiveness of the cleaning process.
Durability matters. Choose models constructed with high-quality materials, especially if you’ll be using it frequently. I’ve seen too many units fail due to subpar construction. Additionally, look for features such as thermal protection to prevent overheating during extended use.
Finally, don’t overlook the importance of ease of transport. A unit with sturdy wheels and a comfortable handle saves time and energy, especially when moving between job sites. In my experience, convenience can greatly affect productivity, making it easier to focus on the task at hand rather than struggling with equipment.
Understanding the Abrasive Cleaning Process and Materials
To achieve optimal results with an abrasive cleaning system, it’s imperative to comprehend the mechanics of the process and the materials involved. The effectiveness of this cleaning method relies heavily on the choice of abrasive media and the technique employed.
Abrasive Media Selection
Choosing the right media is critical. Various materials serve different purposes, and here’s a breakdown of commonly used options:
- Silica Sand: Inexpensive and effective for many applications, but poses health risks due to inhalation. Use with caution.
- Glass Beads: Ideal for delicate surfaces, offering a smooth finish without aggressive abrasion.
- Aluminium Oxide: Highly durable and suitable for tough jobs. It’s aggressive, making it perfect for heavy-duty cleaning.
- Walnut Shells: A softer option, best for removing paint or contaminants from sensitive materials like wood.
- Steel Grit: Used for industrial applications, it’s robust and lasts longer than most other abrasives.
Process Mechanics
Understanding how the process works enhances the effectiveness of your setup. Here are key components:
- Air Pressure: The velocity at which the abrasive is propelled is crucial. Higher pressure increases impact force, improving cleaning efficiency.
- Distance: The distance between the nozzle and the surface affects the outcome. Closer distances yield more concentrated cleaning, while further distances can result in a wider coverage.
- Angle: The angle of impact changes the effectiveness. A 45-degree angle often provides the best results for most surfaces.
Each job may require adjustments in technique and material choice. I’ve found that experimenting with different combinations leads to the best outcomes. Always keep safety gear on hand, as the process can generate dust and debris. With the right materials and understanding of the process, you can achieve exceptional cleaning results with this method.
Necessary components for building a sand blasting attachment
To create an efficient abrasive cleaning tool, focus on these key parts: a suitable nozzle, a sand feed system, and appropriate hoses. Each component plays a vital role in performance and effectiveness.
Nozzle Selection
The nozzle is where the magic happens. Opt for a venturi nozzle designed specifically for abrasive materials. This type creates a vacuum effect to draw in the abrasive while maintaining a high-pressure water stream. A diameter of 4-5 mm is usually ideal, but testing different sizes can help achieve the best results for specific tasks.
Sand Feed System
A reliable feed system is crucial for a consistent flow of abrasive material. You can use a gravity-fed hopper or a pressure-fed system, depending on the desired mobility and application. A gravity-fed hopper is simpler and less costly but may require manual refills. A pressure-fed system provides a more controlled and continuous supply, enhancing efficiency during prolonged use.
| Component | Description | Recommended Features |
|---|---|---|
| Nozzle | Creates the water and abrasive mixture | Venturi, 4-5 mm diameter |
| Sand Feed System | Delivers abrasive material to the nozzle | Gravity-fed or pressure-fed, adjustable flow |
| Hoses | Transport water and abrasive material | High-pressure rating, abrasion-resistant |
Don’t overlook the hoses. They must endure high pressure and resist wear from the abrasive materials. Invest in high-quality hoses that can handle the rigours of your tasks. A good choice is reinforced rubber or thermoplastic hoses, ensuring flexibility and durability.
Finally, consider safety equipment. Protective gear, including goggles and gloves, is necessary to safeguard against flying particles. Having the right components, along with safety measures, makes all the difference in achieving satisfying results without compromising safety.
Steps to Modify a Pressure Washer for Abrasive Cleaning
Begin by ensuring the unit is unplugged and depressurised. Safety first! Remove the existing nozzle and inspect the wand; you want to ensure it’s compatible with your new attachment. Selecting a proper adapter is crucial, as it will allow the incorporation of the abrasive feed system.
Next, secure the abrasive feed mechanism to the wand. I often use a siphon tube, which draws the media from a separate container. Ensure the connection is tight to prevent leaks. When I first attempted this, I had a few mishaps with loose fittings, leading to unnecessary mess.
Then, adjust the pressure settings of the machine. A lower pressure is typically more efficient for this type of work, as it prevents excessive wear and tear on both the machine and the surface being treated. I learned this the hard way during my early days when I used too high a setting, which caused significant surface damage.
After setting the pressure, test the flow rate. It’s critical that the media flows smoothly through the system. If you encounter blockages, consider using finer materials or adjusting the feed rate. I’ve had great success by experimenting with different granule sizes until I found the right match for my tasks.
Finally, conduct a test run on a small area. This allows you to gauge the effectiveness of your setup without risking larger surfaces. I recommend keeping an eye on both the performance and the condition of the equipment during this phase. Early detection of any issues can save you time and effort down the line.
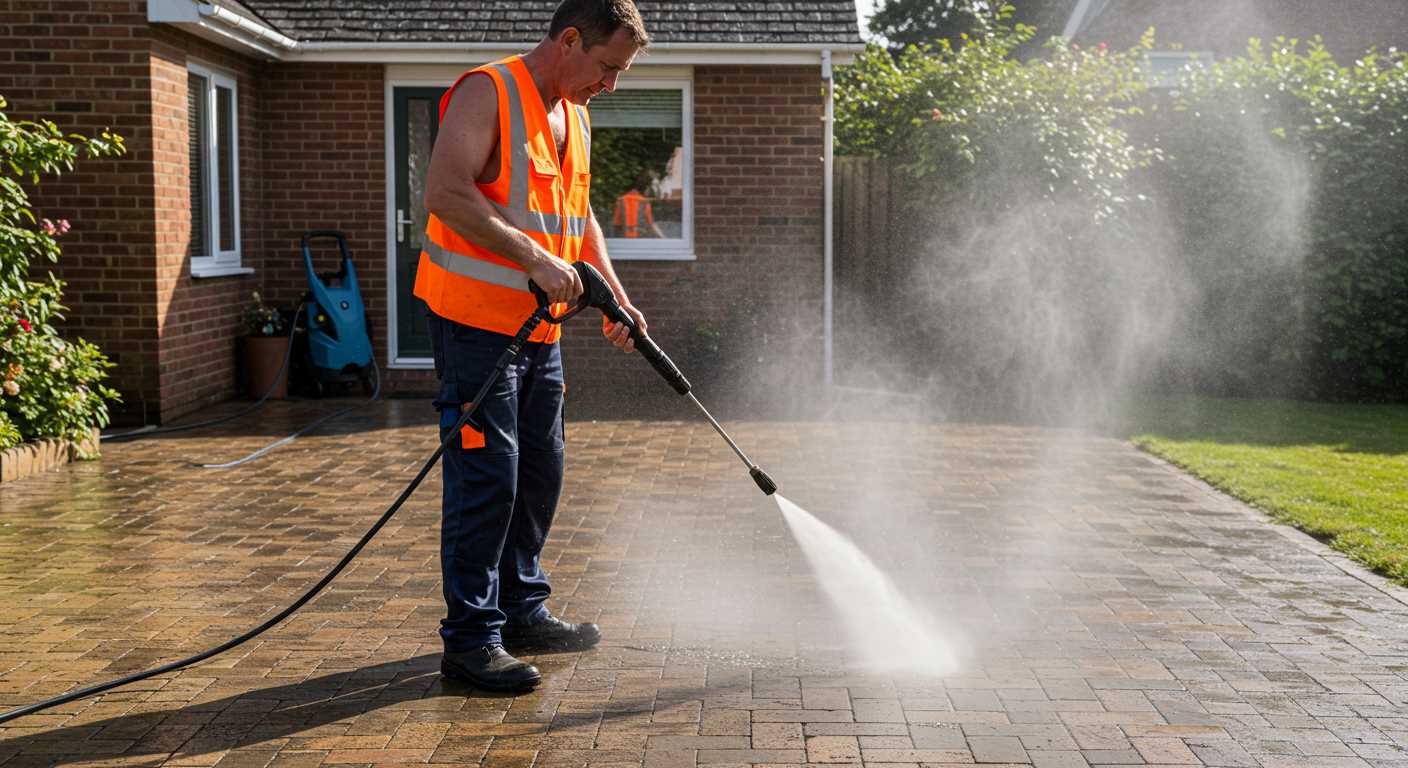
Safety precautions when using a sand blasting pressure washer
Always wear appropriate personal protective equipment (PPE) before starting any cleaning task. This includes safety goggles, gloves, and a dust mask to shield yourself from debris and fine particles. I remember the first time I skipped the goggles; the pain of getting grit in my eyes was a lesson I won’t forget.
Protective Gear
Invest in a durable pair of gloves that offer both grip and protection. Steel-toed boots are also advisable, as the force from the nozzle can send small rocks flying. I’ve had a few close calls with my shoes, and it’s not worth the risk. A hard hat can be beneficial if you’re working in an area where debris may fall.
Work Area and Environment
Ensure the workspace is clear of obstructions and that you’re not working near flammable materials. Keep bystanders at a safe distance to prevent accidents. I once had a friend standing too close, and a stone hit his car; it was an expensive repair. Always check the weather too; windy conditions can blow debris back at you or others nearby.
When operating the device, maintain a firm grip and a stable stance. Make sure to read the manual thoroughly, especially the safety instructions. For those looking to clean their homes, consider using a pressure washer to clean house effectively and safely. Always remember, safety first!
Finding suitable material for abrasive applications
For optimal results, selecting the right granulate is critical. In my experience, quartz-based grains are often the go-to choice due to their durability and effectiveness. They resist breakdown under pressure and maintain their sharp edges, enhancing their cutting ability.
Another excellent option is garnet. It’s denser than quartz, which means it provides better impact force, making it particularly suitable for heavier-duty tasks. I’ve used garnet in various projects, and it consistently delivers impressive outcomes. However, it can be pricier than other alternatives.
Glass beads are preferable for delicate surfaces. They’re softer and leave a smooth finish without damaging the underlying material. I once worked on a restoration project where glass beads worked wonders on antique metal without marring the surface. It’s crucial to match the material with the task to avoid any unwanted damage.
Consider the mesh size as well. A finer mesh provides a smoother finish, while a coarser texture can strip away layers more aggressively. I usually keep a range of mesh sizes on hand to adapt to different projects. It’s all about finding that balance between aggression and finesse.
Lastly, avoid beach sand. Its impurities can cause clogs and damage your equipment. I learned this the hard way when I tried using beach sand for a job, leading to a frustrating blockage. Always opt for clean, specially graded materials designed for abrasive uses.
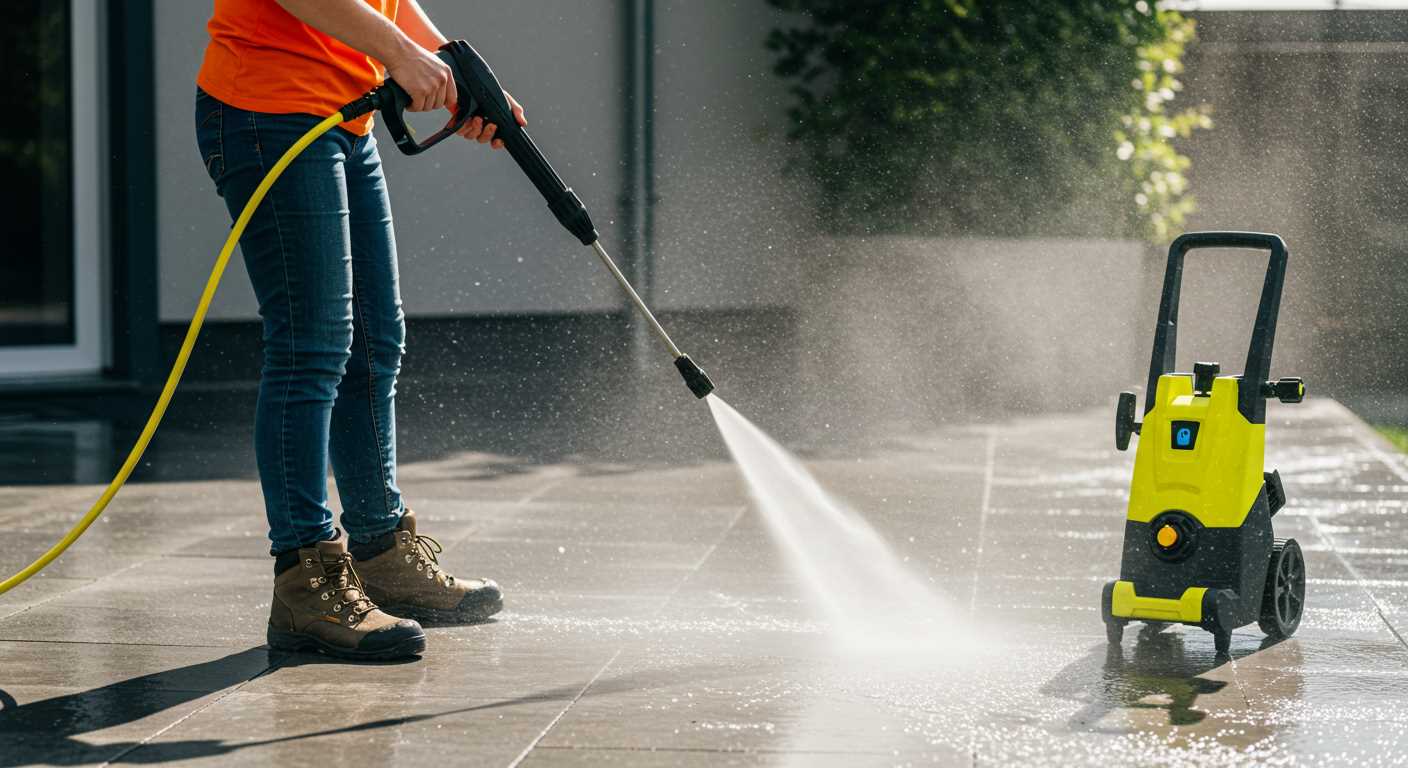
Testing Your Sand Blasting Pressure Washer Setup
Before starting any work, it’s essential to test your equipment thoroughly. Begin by connecting your modified unit to a suitable power source and ensure all components are secure. Once everything is connected, fill the container with your chosen abrasive material and check for any leaks or loose fittings.

Next, run the machine without any media for a brief period. This step allows you to assess the pressure levels and the overall functionality of the system. Listen for unusual noises; they could indicate issues with the pump or motor. If all sounds normal, proceed to the next stage.
Introduce the abrasive material gradually. Start with a small amount and observe the flow. Adjust the air and media ratios as needed to achieve optimal performance. The results should show a consistent stream of material, indicating that the feed system is working correctly.
Test the setup on a small, inconspicuous area of the surface you plan to treat. This trial will help you gauge the effectiveness of your adjustments. Pay attention to the impact on various materials; some surfaces may require different settings for the best outcome. If you notice excessive wear or insufficient cleaning, revisit your setup and make necessary modifications.
After your initial tests, it’s wise to document the settings that yield the best results. This practice will save time in future projects and allow for quick adjustments when needed. Don’t forget to monitor the temperature of the equipment during operation; overheating can be a sign of an underlying issue.
Finally, ensure you have the proper safety gear on while conducting these tests. Goggles, gloves, and a mask are non-negotiable. Once satisfied with the performance, you’ll be ready to tackle larger projects with confidence.
Maintenance tips for your sand blasting pressure washer
Regularly inspect the hoses and connections for any signs of wear or damage. A small crack can lead to significant loss of pressure and performance. Replace any compromised parts immediately to avoid further issues.
Clean the nozzle frequently. Abrasive materials can clog the opening, affecting flow and efficiency. Use a fine wire or a needle to clear any blockages, ensuring a consistent and powerful output.
After each session, flush the system with clean water. This helps to remove any residual abrasive material that could cause corrosion or buildup inside the unit. I’ve found that this simple step extends the life of the equipment considerably.
Check the seals and gaskets regularly. They play a crucial role in maintaining pressure and preventing leaks. If you notice any deterioration, replace them without delay. I’ve had units fail simply due to worn seals that could have been easily replaced.
Store the equipment in a dry and cool place. Humidity and extreme temperatures can lead to rust and damage to sensitive components. A designated storage area keeps everything in top shape and ready for action.
Inspect the power supply and electrical components. Look for frayed cords or loose connections. A quick visual check can save you from potential electrical hazards and ensure that everything runs smoothly during operation.
Lastly, keep an eye on the abrasive material used. Poor-quality media can lead to clogs and wear on the system. I always recommend sourcing high-grade materials that are compatible with your setup for optimal results.
Common troubleshooting tips for abrasive cleaning issues
Check for blockages in the sand feed hose. A clogged hose can disrupt the flow and lead to inconsistent results. Clear any obstructions to ensure a smooth operation.
If the cleaning effect is weak, inspect the nozzle. A worn or damaged nozzle can reduce the efficiency of the system. Replace it if necessary to restore optimal performance.
Monitor the air pressure. Insufficient air pressure can result in poor material conveyance. Adjust the compressor settings to maintain the right pressure for effective cleaning.
Verify the type of abrasives being used. Not all materials are suitable for every application. Ensure the chosen medium is compatible with the surface and the equipment.
- Test different abrasive types to find the one that works best for your specific needs.
- Consider using a finer medium for delicate surfaces to avoid damage.
If the device is overheating, check for proper ventilation. Overheating can lead to equipment failure. Ensure that air intake areas are not obstructed and the unit is operating in a well-ventilated space.
Inspect the hose connections for leaks. Air or material leaks can diminish performance significantly. Tighten any loose fittings and replace damaged hoses promptly.
After prolonged use, clean the interior components. Dust and residue build-up can hinder functionality. Regular maintenance will keep your equipment in top shape.
In case of persistent issues, consult the manufacturer’s manual for troubleshooting guidelines. Each model may have unique requirements that can help resolve specific problems.
Lastly, always test the equipment on a small, inconspicuous area before full application. This precaution helps identify any potential issues without causing significant damage.
For more insights on timing and precision, you might find this link useful: how long to put potatoes in pressure cooker.
FAQ:
What materials do I need to make a sand blasting pressure washer?
To create a sand blasting pressure washer, you will need several key materials. Firstly, you will need a pressure washer with a compatible nozzle. Next, a sandblasting kit or a sandblasting attachment designed for pressure washers is essential. This typically includes a sand intake hose and a suitable nozzle. Additionally, you will require abrasive material, such as silica sand or garnet, which is used for the blasting process. Safety equipment like gloves, goggles, and a mask is also important for protection while using the device.
How does a sand blasting pressure washer work?
A sand blasting pressure washer works by combining high-pressure water with abrasive materials. The pressure washer generates a powerful stream of water, which is then mixed with sand or another abrasive through a special attachment. This mixture is propelled out of the nozzle at high speed, allowing it to effectively clean surfaces, remove paint, or prepare surfaces for painting. The abrasive particles help to scrub away dirt and contaminants, making the process more efficient than water alone.
Can I use any type of sand for sand blasting with a pressure washer?
Not all types of sand are suitable for sand blasting with a pressure washer. It is recommended to use fine silica sand or garnet, as these materials are designed to work well with abrasive blasting. Using coarse or unsuitable sand can clog the system and damage the pressure washer. Additionally, ensure that the sand is dry to prevent any issues during the blasting process. Always check the manufacturer’s guidelines for compatible materials.
What safety precautions should I take when using a sand blasting pressure washer?
Safety is paramount when using a sand blasting pressure washer. Firstly, always wear protective gear, including goggles, gloves, and a mask, to shield yourself from flying debris and dust. Ensure that the area is well-ventilated, especially if working indoors. Be cautious of any surrounding surfaces, as the high-pressure stream can cause damage. Finally, read the manufacturer’s instructions carefully to understand the safe operation of your specific equipment.
Is it difficult to assemble a sand blasting pressure washer from scratch?
Assembling a sand blasting pressure washer can be manageable for those with some technical skills. Most kits come with clear instructions, making the process straightforward. Key steps involve attaching the sandblasting kit to the pressure washer, ensuring a secure fit, and connecting the sand intake hose. However, if you are not familiar with tools and equipment, it may be advisable to seek assistance or watch instructional videos to ensure proper assembly and operation.

.jpg)


