
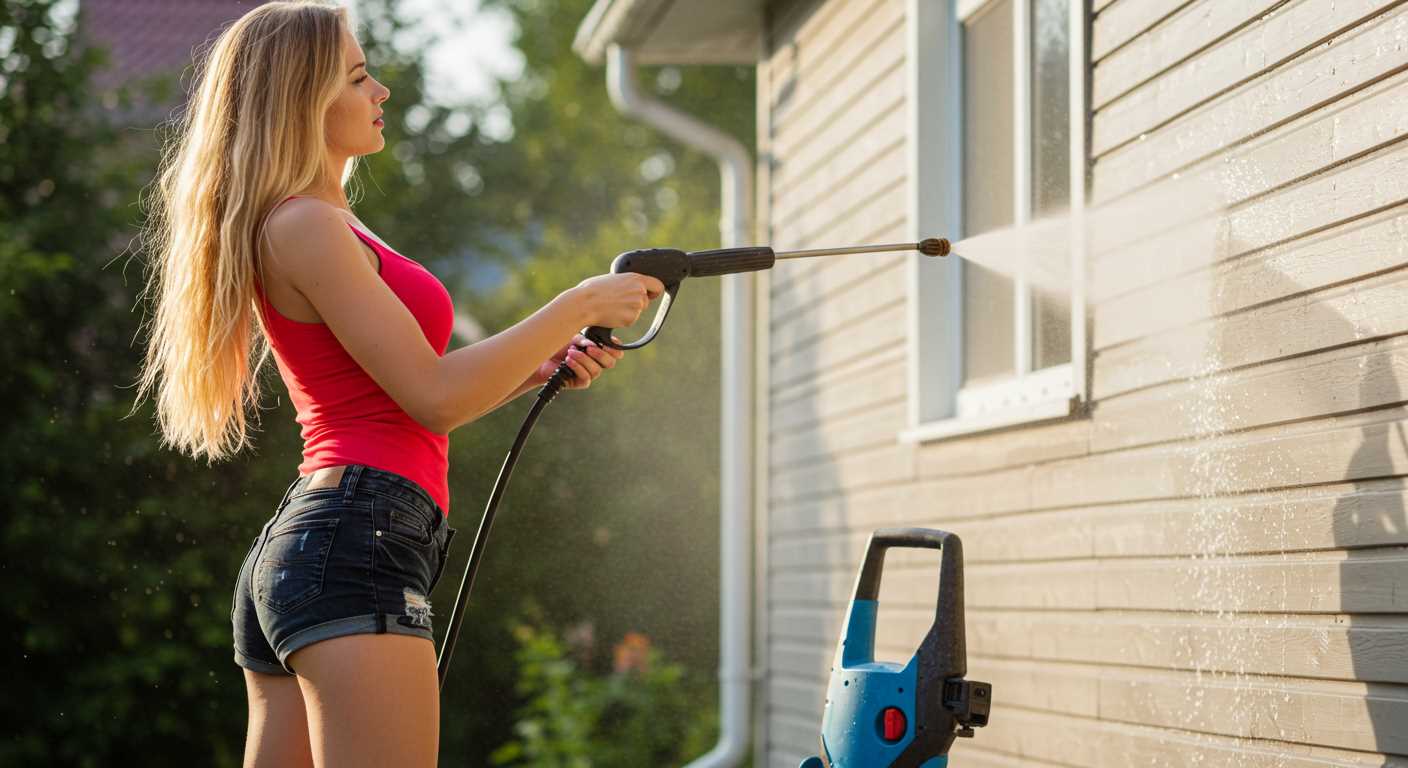


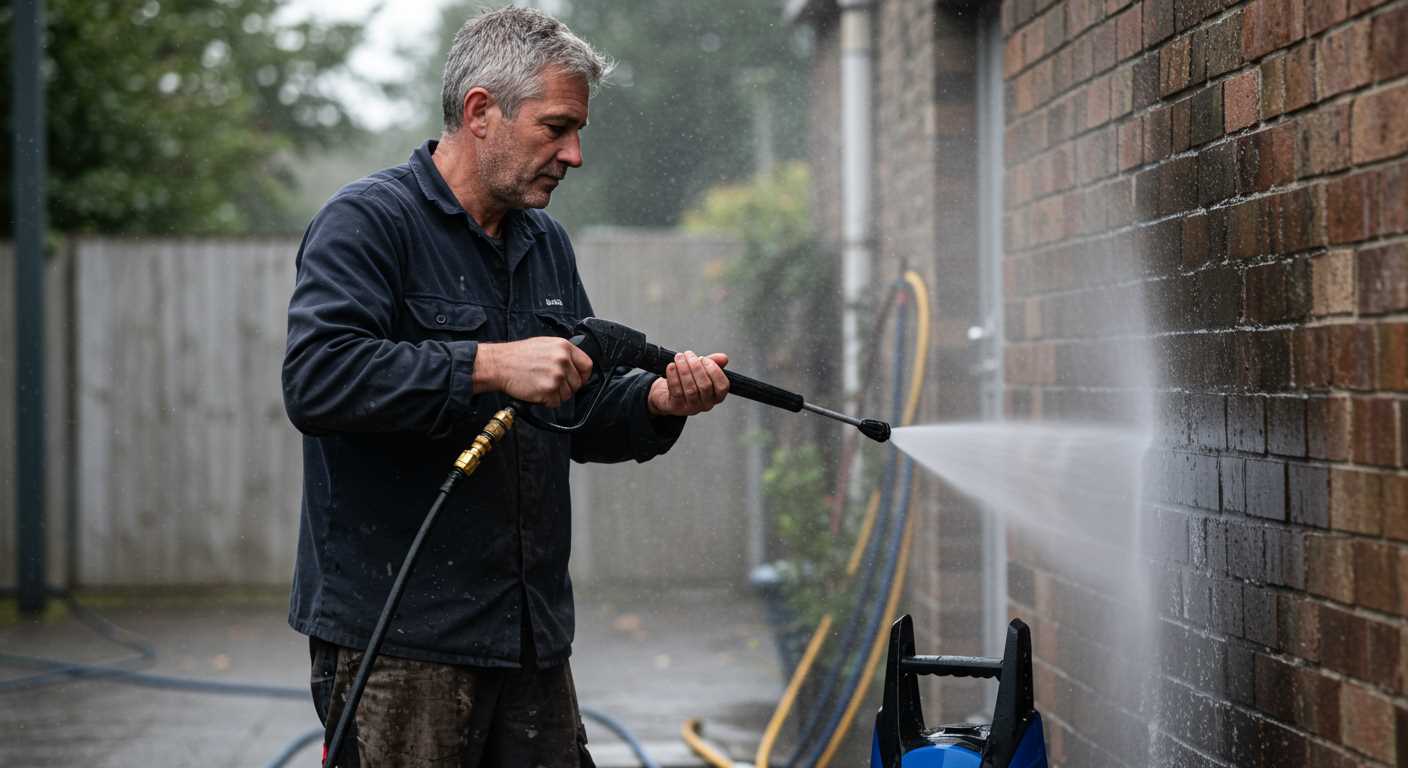
For anyone looking to enhance their cleaning capabilities, repurposing a high-pressure cleaner can be an ingenious solution. With just a few modifications, you can tackle tough surfaces like concrete or metal with remarkable efficiency. The process involves integrating an abrasive medium, allowing the device to blast away dirt and grime that regular washing struggles to eliminate.
In my years as a consultant in the cleaning equipment industry, I encountered numerous projects where standard cleaning methods fell short. One memorable instance was when I was tasked with restoring a heavily stained driveway. The usual scrubbing and rinsing barely made a dent. That’s when I decided to adapt my high-pressure cleaner. By attaching a suitable mixing nozzle and using silica sand, I achieved stunning results and saved both time and effort.

To replicate this success, start by selecting the right type of nozzle that can handle abrasive materials. Ensure that it’s compatible with your model to prevent any damage. Next, choose an appropriate grit of sand or an alternative abrasive; fine-grained materials often yield better results without causing excessive wear on surfaces. Mixing the abrasive with water will create a slurry that can be effectively propelled through the nozzle, giving you that powerful cleaning action you need.
Don’t forget about safety measures. Wearing protective gear, including goggles and a mask, is essential to shield yourself from flying particles. Regular maintenance of your equipment will also prolong its lifespan and ensure optimal performance during each use. With these steps, you’ll find that transforming a high-pressure cleaner into a versatile abrasive tool can be both a satisfying and practical endeavour.
Transforming a High-Pressure Cleaner into a Blasting Tool
Begin with a sturdy, compatible nozzle attachment. I’ve found that using a venturi nozzle works wonders for this application. It allows for the mixing of abrasive materials and water, creating a powerful jet without losing pressure.
Materials Required
- Venturi nozzle
- Abrasive medium (like silica sand or baking soda)
- Hoses and fittings (ensure they match your cleaner’s specifications)
- Protective gear (goggles, gloves, mask)
Assembly Steps
- Disconnect the water supply and power source to ensure safety during the setup.
- Attach the venturi nozzle to the end of the wand. Ensure it’s secured tightly to avoid leaks.
- Fill the abrasive container with your chosen medium. Make sure it’s designed to handle the material without clogging.
- Connect the container to the nozzle, ensuring it’s airtight to maintain suction.
- Reconnect the water supply and power source.
- Test the system by running it at low pressure initially to check for leaks and adjust as necessary.
During my time testing various setups, I noticed that a consistent flow of material significantly increases performance. Adjust the flow of the abrasive until you find the right balance. Too much can create clogs, while too little may not provide the desired effect.
Always wear protective gear. The first time I tried this, I underestimated the power of the blast and ended up with a face full of dust. Trust me, safety first!
After perfecting your setup, experiment with different materials for varying results. Baking soda is excellent for delicate surfaces, while silica sand is more aggressive for tougher tasks. Each medium has its own unique properties that can be leveraged based on the project at hand.
Choosing the Right Pressure Washer for Sandblasting
For optimal results, select a unit with a minimum pressure rating of 3000 PSI and a flow rate of 3-4 GPM. This combination provides the necessary force and volume to effectively propel the abrasive material.
Types to Consider
Electric models typically lack the required pressure and flow for abrasive applications. Gas-powered units stand out due to their higher performance capabilities. I recall a time when I tested a gas model with a Honda engine; it effortlessly tackled tough surfaces, proving its worth. Look for reputable brands that offer robust engines, as reliability is key during demanding tasks.
Additional Features
Evaluate the nozzle options available with the machine. A unit that accommodates various nozzle attachments enhances versatility, allowing you to tailor the output based on the project. Also, consider weight and manoeuvrability. Heavier models may be challenging to handle for extended periods, especially when precision is required. Remember, a well-balanced machine will make the experience much smoother.
Lastly, check for compatibility with abrasive materials. Some units come with specific kits or attachments designed for this purpose. Investing in a compatible setup can save time and enhance performance, ensuring you achieve the best possible finish on your surfaces.
Gathering Necessary Materials and Tools
For this project, ensure you have all the right components at hand. The primary items you’ll need include an abrasive material, a suitable attachment for your cleaning device, and various tools for assembly. Here’s a quick list:
Materials
| Item | Description |
|---|---|
| Abrasive Material | Choose between silica sand, baking soda, or crushed glass based on the surface you’re working on. |
| Suction Tube | A clear hose that connects the abrasive material to the cleaning unit. |
| Adapter | A fitting that allows the suction tube to attach to the nozzle of your device. |
Tools
| Tool | Purpose |
|---|---|
| Wrench | For tightening connections and ensuring a secure fit. |
| Drill | To create any necessary holes for the suction tube attachment. |
| Safety Gear | Protective eyewear and gloves to shield yourself from debris. |
Once you gather these elements, it’s also wise to familiarise yourself with safety precautions. For tips on maintaining surfaces after your project, check out this how to clean solid wood floors complete guide. It’ll help you avoid damage during your cleaning tasks.
Understanding the Sandblasting Process
Begin with a solid grasp of how abrasive cleaning functions. The key lies in the combination of high-velocity airflow and abrasive material. The air stream propels the granules, impacting surfaces to remove contaminants like rust, paint, or grime. This forceful interaction leads to surface smoothing or etching, depending on the choice of abrasive.
Selection of the right abrasive is critical; materials like silica sand, glass beads, or aluminium oxide each serve different purposes. For instance, silica sand is effective for heavy-duty tasks, while glass beads provide a gentler touch, suitable for delicate surfaces. The choice of granule size also influences the outcome–finer particles yield a smoother finish, while coarser ones can remove heavier deposits more aggressively.
Regulate the air pressure for optimal results. Too high pressure can damage the substrate, while too low may not achieve the desired cleaning effect. A balance is necessary to ensure efficiency without compromising the surface integrity.
Keep an eye on your technique as well. Angling the nozzle allows for better coverage and more effective cleaning. A steady, sweeping motion often yields the best results, preventing uneven wear on the material being treated.
Finally, always prioritise safety. Protective gear, including goggles and respirators, is non-negotiable. The materials used can pose health risks if inhaled or if they come in contact with skin, so take precautions seriously to protect yourself during the process.
Modifying the Pressure Washer for Sandblasting
First, attach a suitable siphon tube to the detergent inlet of your sprayer. This tube needs to reach the abrasive material in the container, allowing the mixture to flow into the system smoothly. I found that a 1/4-inch diameter tube works best for most models, ensuring a good balance between flow and suction.
Next, don’t forget to adjust the nozzle. Standard nozzles won’t handle the abrasives well. I typically recommend using a wider nozzle, like a 5.0 or 6.0, to prevent clogging and to maintain a proper spray pattern. You might need to experiment a bit to find the right fit for your setup.
Securing the Abrasive Material
When it comes to the container for the abrasive, I prefer using a sturdy bucket or a similar vessel that can withstand the wear and tear. Ensure that it has a tight seal to prevent leaks. A few years ago, I had a mishap with a poorly sealed container that resulted in a messy workspace. To avoid this, double-check the connections and seals.
Keep an eye on the type of abrasive you choose. I’ve had success with silica sand, but alternatives like baking soda or crushed glass can work well, depending on the task. Always remember to wear proper protective gear, as the dust can be hazardous.
Testing and Adjusting
After setting everything up, it’s wise to conduct a test run. Start with a small area to see how the mix works. If the abrasive isn’t flowing properly, adjust the siphon tube’s position or check for clogs in the nozzle. I once faced issues with uneven flow, which turned out to be a simple clog that was easy to fix.
Lastly, fine-tuning the pressure settings can significantly enhance performance. Each project may require different adjustments, so don’t hesitate to tweak the pressure until you achieve the desired results. It took a few trials for me to get the right balance for different surfaces, but it was worth the effort in the end.
Selecting the Appropriate Abrasive Material
Choosing the right abrasive is critical for achieving optimal results. I’ve experimented with various materials over the years, and each has its unique properties and applications. For instance, silica sand is widely used due to its availability and low cost; however, it poses health risks if inhaled. I recommend exploring alternatives like garnet, which is less hazardous and provides excellent cleaning without compromising performance.
Another option is glass beads. They are perfect for delicate surfaces, providing a softer touch and leaving a smooth finish. When I worked on restoring classic cars, glass beads were my go-to choice to avoid damaging the paint while still removing rust effectively.
Aluminium oxide is another powerful abrasive that I’ve found particularly useful for heavy-duty applications. It cuts through tough coatings and rust efficiently. However, it can be more aggressive, so I always adjust the pressure settings accordingly to prevent unwanted surface damage.
For those tackling concrete surfaces, crushed walnut shells can be an excellent eco-friendly choice. They are biodegradable and less abrasive, allowing for effective cleaning without scratching the underlying material. I’ve used them to remove grime from outdoor furniture without any adverse effects.
In selecting the abrasive, consider the material you’re working with and the desired finish. Conducting small tests on inconspicuous areas can help determine the best fit, ensuring that the abrasive enhances your project rather than detracts from it. Always prioritise safety by using appropriate personal protective equipment when handling any abrasive materials.
Connecting the Sandblasting Kit to the Pressure Washer
Attach the sandblasting kit to the water outlet of your cleaning unit. Ensure the connection is tight to prevent leaks during operation. I recall the first time I set this up; I underestimated the importance of a secure fit. Water sprayed everywhere, and it took a while to clean up the mess! Always check the manufacturer’s instructions for specific fittings required for your model.

After securing the kit, connect the air intake line. This component introduces the abrasive material into the water stream. It’s crucial to use the right hose size; a mismatch can cause poor performance. I learned this the hard way when I used a wider hose, leading to inconsistent results while working on a project.
Next, attach the nozzle that best suits your task. Different nozzles provide varying spray patterns and pressure levels. When I was refurbishing old furniture, I found a fan nozzle worked wonders for even coverage, while a concentrated nozzle was better for removing stubborn paint. Experiment with different options to see what yields the best results for your specific application.
Finally, conduct a test run. Before starting a full project, it’s wise to test the setup on a small area. This helps identify any leaks or issues with performance. I often set aside a few minutes for this step, saving myself hours of frustration later on.
For those considering additional accessories, a car wash attachment for pressure washer can enhance your cleaning capabilities, making the entire process more versatile.
Adjusting Pressure Settings for Optimal Performance
Start with the right pressure level to achieve desired results effectively. I’ve found that a range of 2500 to 3000 PSI typically works well for abrasive applications. However, every scenario might require fine-tuning.
Steps to Adjust Pressure
- Identify the type of surface being treated. Softer materials may require lower settings, while tougher surfaces can handle higher pressures.
- Gradually increase the pressure setting on your unit. Begin at a lower level and test the effectiveness.
- Monitor the results closely. If you notice excessive material removal or surface damage, reduce the pressure immediately.
Fine-Tuning for Different Abrasives
- For finer abrasives like baking soda, a lower PSI between 1500-2000 is often sufficient.
- Coarser materials, such as garnet or aluminum oxide, may require the higher end of the spectrum to achieve the desired impact.
- Regularly check for any blockages or wear in the nozzle, as these can affect performance and require adjustments.
In my experience, experimenting with pressure settings leads to discovering the sweet spot that maximises efficiency while protecting the surface. Keep a pressure gauge handy to ensure accuracy and consistency during your projects. This attention to detail can save time and materials in the long run.

Safety Precautions During Sandblasting
Always wear appropriate personal protective equipment (PPE). A full-face respirator is a must to protect your lungs from inhaling abrasive particles. Additionally, safety goggles with side shields will shield your eyes from flying debris. Heavy-duty gloves and durable clothing are essential to avoid cuts and skin irritation from the materials used.
Work Area Preparation
Ensure your workspace is well-ventilated. Abrasive materials can generate harmful dust; therefore, working outside or in a spacious garage with open doors is advisable. Clear the area of any flammable materials to prevent accidents. Setting up a dust barrier or using a vacuum with a HEPA filter can help manage airborne particles.
Equipment Checks
Before starting, inspect all equipment for any signs of wear or damage. Ensure connections are secure and there are no leaks in hoses or fittings. A malfunctioning device can lead to sudden pressure release, posing a significant risk. Maintain a safe distance from others while operating the equipment, and establish a clear communication plan if working with a partner.
Cleaning and Maintaining Your DIY Abrasive Sprayer
Regular upkeep is key to ensuring longevity and optimal performance of your homemade abrasive sprayer. After each use, disconnect the unit and thoroughly rinse the nozzle and hose with clean water. This step prevents clogs from the abrasive material, which can harden and obstruct flow.
Daily Maintenance Tips
Inspect the connections for any signs of wear or damage. Replace any frayed hoses or worn-out fittings immediately to avoid leaks. Store the unit in a dry place to prevent rust and corrosion. A light coating of lubricant on metal parts can also mitigate moisture damage.
Seasonal Overhaul
At the end of each season, conduct a more comprehensive inspection. Remove the nozzle and soak it in a solution of warm water and vinegar to dissolve any build-up. Check the seals and gaskets for integrity; replace them if they appear cracked or brittle. This proactive approach will save you from unexpected breakdowns during your next project.
.jpg)


