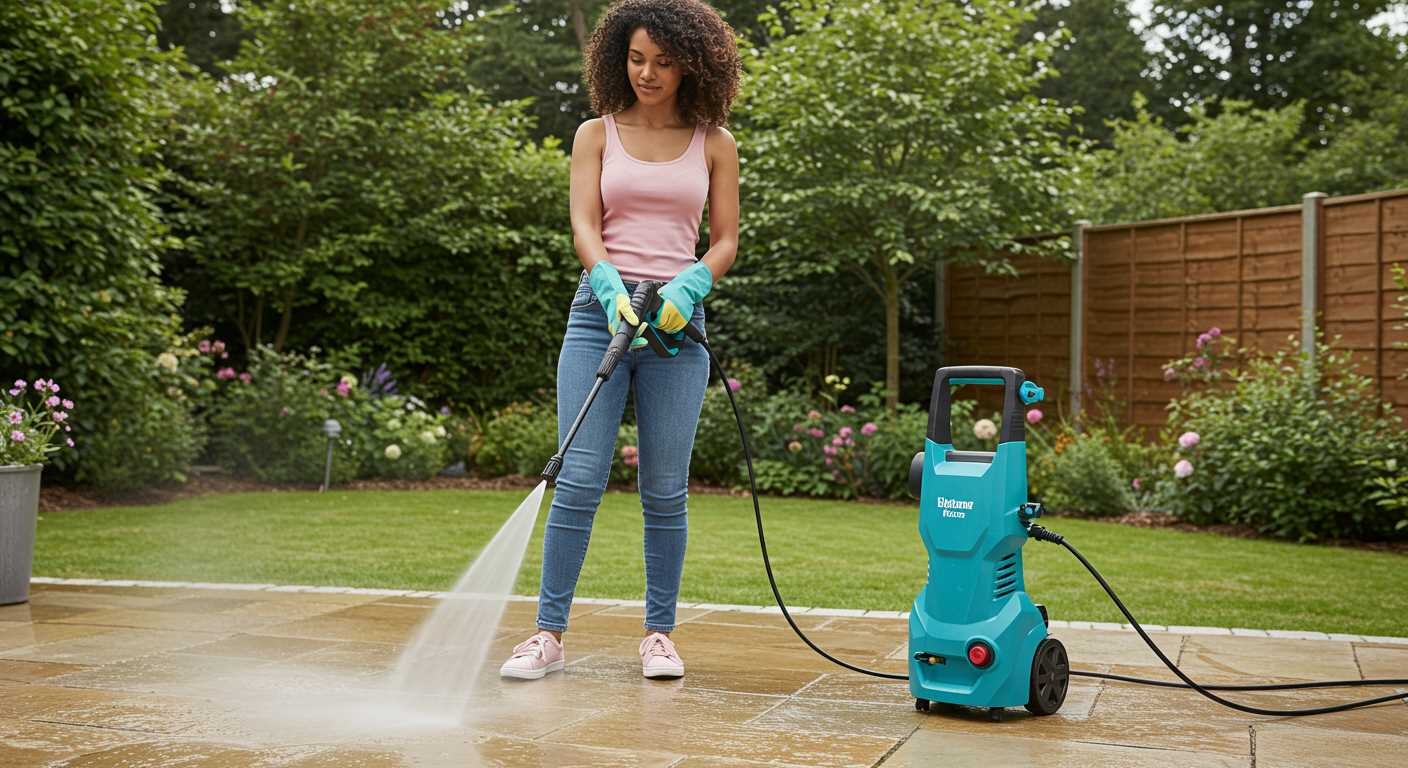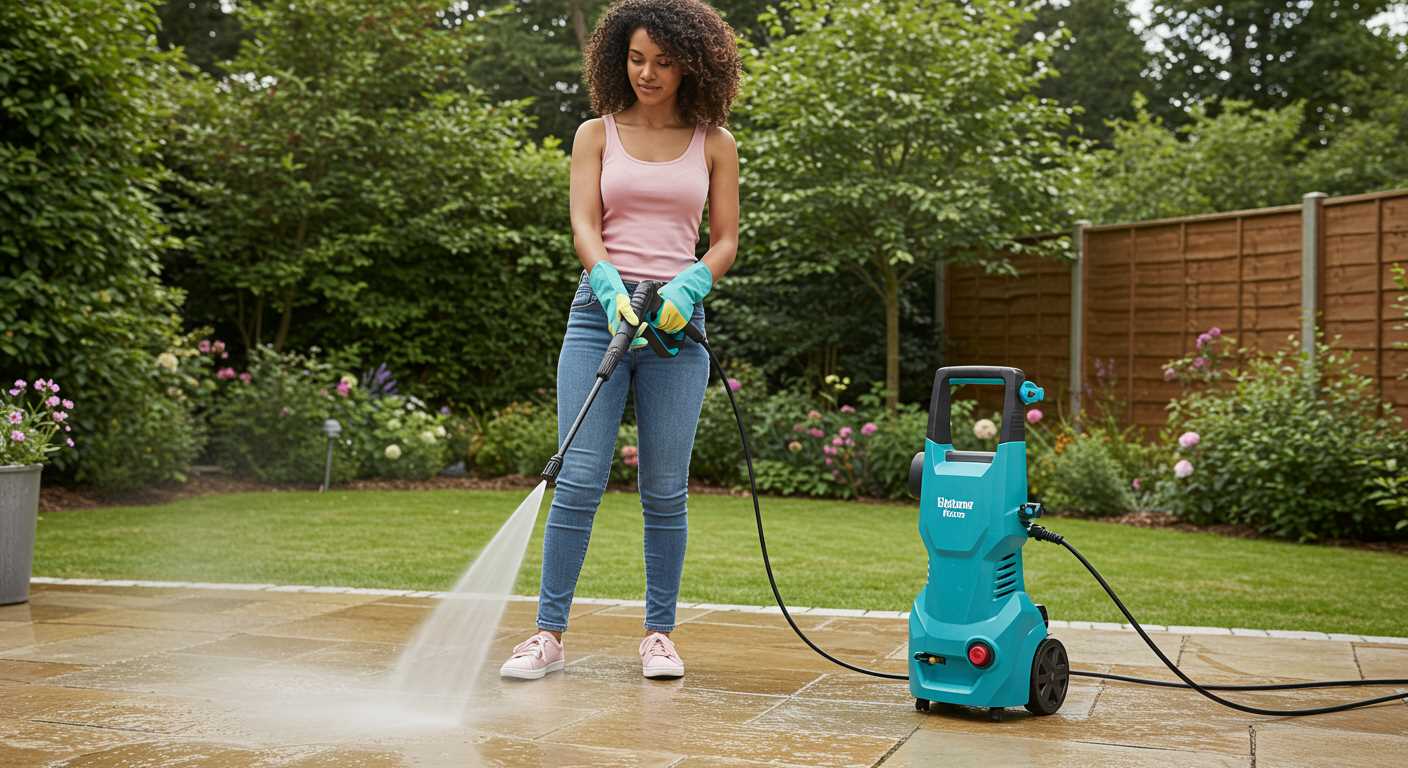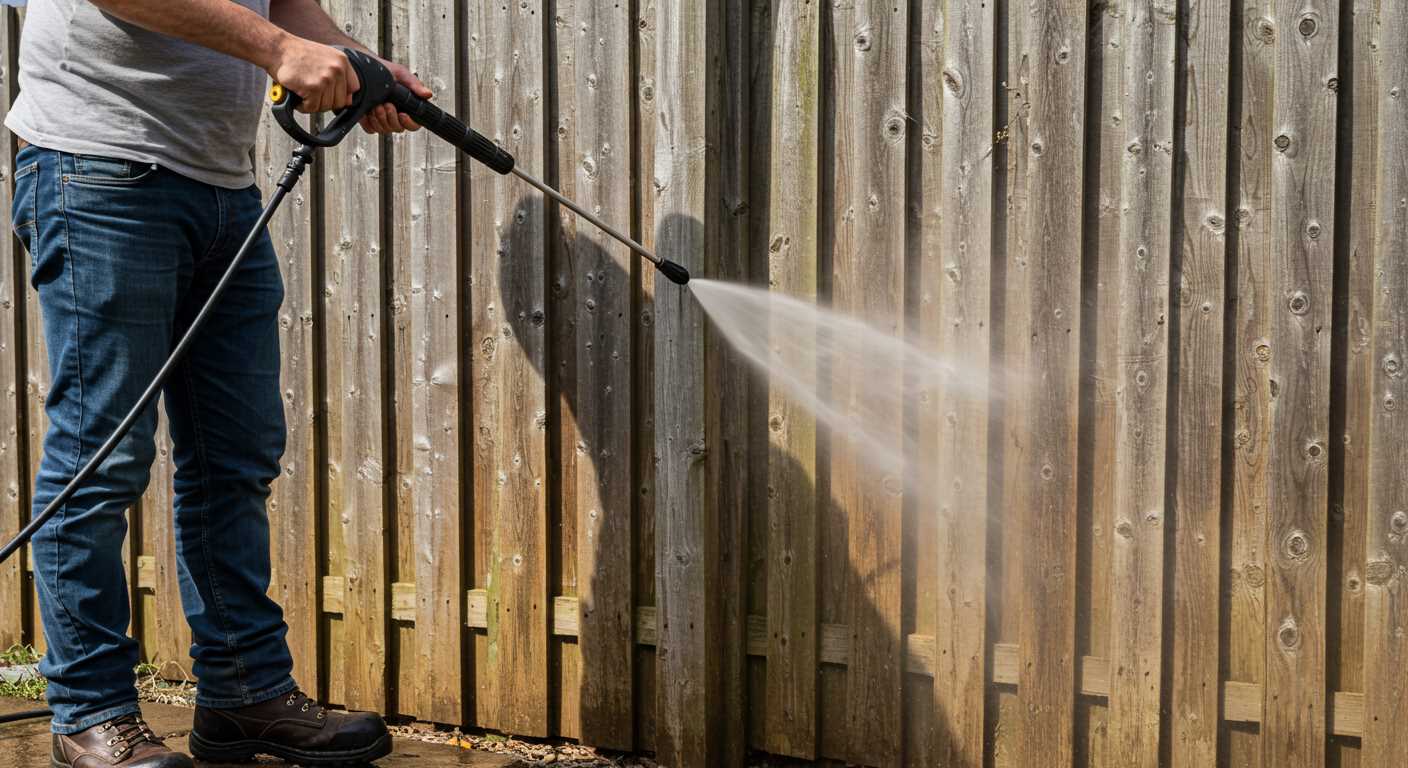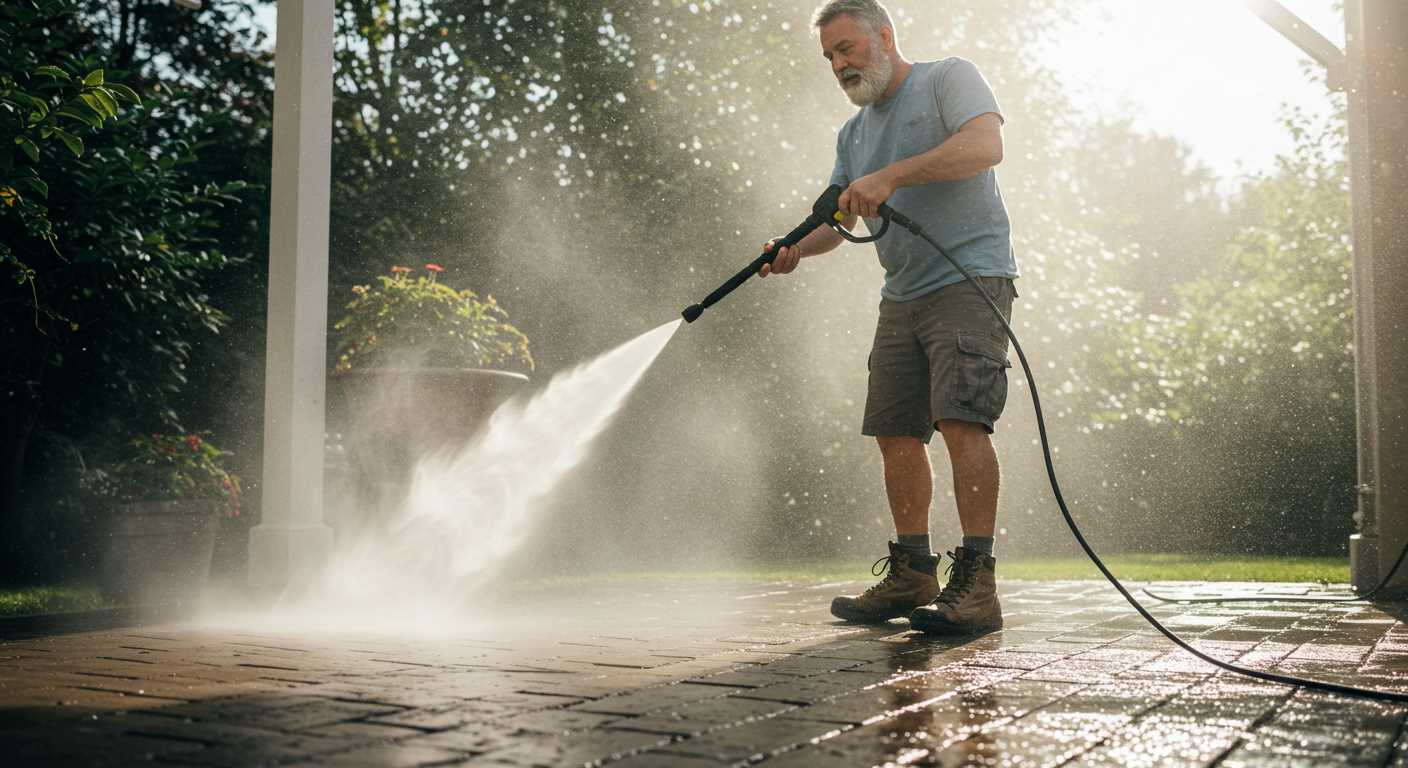


Begin this project by sourcing a reliable heat source, such as a propane burner or electric heating element. My experience has shown that a powerful burner can elevate water temperatures significantly, enhancing cleaning capabilities. Ensure that the chosen heat source can maintain a consistent output, as fluctuations can hinder performance.
Next, invest in a suitable water tank. A larger capacity allows for extended use before refilling, which is particularly beneficial for bigger tasks. I once used a 50-litre tank, which proved to be more than sufficient for most jobs around the house and yard. It’s crucial to select a tank that can withstand high temperatures and pressures.
For the pumping mechanism, opt for a robust diaphragm or triplex pump designed to handle elevated temperatures. I’ve found that a triplex pump offers better durability and longevity, especially when used under continuous operation. Connecting the pump to your heat source and water tank requires careful plumbing; ensure all connections are secure to prevent leaks.
Finally, consider the nozzle system. A variety of nozzles allows for versatility in cleaning different surfaces. I often keep a few different types on hand to tackle everything from concrete to delicate wood. This adaptability is key to achieving the best results across various cleaning tasks.
With these components assembled, you’ll be well on your way to creating a powerful cleaning solution that meets your specific needs. Happy building!
Crafting Your Own High-Temperature Cleaning Unit
Begin with a robust boiler, ideally rated for at least 1500 watts. This will ensure that you generate sufficient heat for effective cleaning. Look for a model that has a safety cut-off feature to prevent overheating, as this can be crucial for both safety and longevity.
Components Needed
- High-quality water tank
- Pressure pump compatible with high-temperature water
- Heat exchanger
- Flexible, heat-resistant hoses
- Pressure gauge
- Safety relief valve
When connecting the components, focus on using heat-resistant materials. Conventional hoses may degrade under high temperatures, leading to leaks and potential hazards. In my early attempts, I learned this the hard way when a standard hose burst during operation, creating quite a mess.
Assembly Tips
- Securely mount the boiler and ensure it’s level to prevent any water pooling.
- Connect the water tank to the pump, ensuring all fittings are tight to avoid leaks.
- Install the heat exchanger between the boiler and the pump; this is where the magic happens, converting water into hot vapour.
- Attach the pressure gauge to monitor the system’s performance accurately.
- Incorporate a safety relief valve to manage excess pressure, an important feature I once overlooked, resulting in a minor scare during testing.
Testing should be done gradually. Start with low pressure and increase as you monitor the system’s response. During my initial trials, I found it beneficial to have a pressure release mechanism at hand; it provides peace of mind while you fine-tune the settings.
Lastly, always prioritise safety. Wear protective eyewear and gloves while testing, as high temperatures and pressures can be dangerous. My passion for DIY cleaning solutions comes from years of hands-on experience, and I can assure you that attention to detail in assembly and testing can lead to outstanding results.
Choosing the Right Boiler for Steam Generation
For optimal performance in your cleaning setup, selecting the appropriate boiler is paramount. I’ve come across various models, and the differences can be striking. First, consider the type of fuel. Gas, electric, and diesel boilers each have their advantages. Gas units tend to heat up quickly and are often more economical for larger operations, while electric ones are compact and easier to maintain.
Next, assess the output capacity. A boiler’s ability to produce sufficient high-temperature water affects your system’s efficiency. I remember testing a model that struggled to meet demand; it resulted in longer cleaning times and frustration. Always match the boiler’s output to your cleaning requirements. A unit with a minimum of 100 PSI and a water flow rate of at least 2 GPM is often ideal for most tasks.
Don’t overlook the materials used in construction. Stainless steel boilers resist corrosion better than others, ensuring longevity. I once dealt with a competitor’s unit that failed prematurely due to rust damage. Investing in a well-built model pays off in the long run.
Finally, think about portability and size. If you plan to move your equipment frequently, a compact and lightweight design will save you a lot of hassle. I recall using a bulky model that was difficult to transport, which limited its usability. Choose a boiler that fits your workspace and transport needs.
In conclusion, the right boiler can significantly enhance your cleaning efficiency. Take the time to evaluate your options based on fuel type, output, construction material, and portability. It’s worth the effort to ensure you have the best system for your needs.
Understanding Pressure Ratings and Safety Standards
When selecting equipment for cleaning tasks, it’s crucial to pay attention to pressure ratings. These ratings indicate the maximum pressure your device can safely handle without risking damage or injury. For instance, a unit rated at 1500 psi is designed to operate at that level continuously, but it can also handle short bursts of higher pressure without failure.
Key Pressure Ratings
Let’s break down what these ratings mean in practical terms:
| Rating (psi) | Typical Applications |
|---|---|
| 1000 – 1500 | Light cleaning tasks, such as washing cars or outdoor furniture. |
| 1500 – 3000 | Medium to heavy cleaning, suitable for driveways, patios, and more stubborn dirt. |
| 3000+ | Commercial applications, including paint stripping and heavy machinery cleaning. |
Safety Standards Compliance
Conformity to safety standards is non-negotiable. Look for certifications from recognised bodies, such as the American National Standards Institute (ANSI) or the European Committee for Standardization (CEN). These certifications ensure that the equipment adheres to rigorous safety and performance benchmarks.
A personal experience comes to mind: I once tested a high-performance unit that lacked proper safety certifications. While it operated effectively, I noticed the design had potential hazards, like exposed wiring near high-pressure areas. This experience reinforced the importance of selecting equipment that meets established safety norms.
Always review the manufacturer’s guidelines regarding pressure limits and safety features. This diligence can prevent accidents and extend the life of your equipment. Investing in a reliable unit that meets safety standards is not just about compliance; it’s about ensuring a safe working environment for yourself and those around you.
Selecting Suitable Pump and Nozzle Types
For anyone venturing into the realm of high-pressure cleaning systems, the choice of pump and nozzle can significantly influence performance. I recall one project where I opted for a triplex pump over a cheaper axial cam. The difference was night and day; the triplex delivered consistent pressure and durability, making it ideal for extended use.
Pump Types
When selecting a pump, consider the following types:
| Type | Advantages | Disadvantages |
|---|---|---|
| Triplex | High efficiency, longevity, consistent output | Higher initial cost, heavier |
| Axial Cam | Lower cost, lightweight, easier maintenance | Less durable, inconsistent pressure |
| Diaphragm | Self-priming, handles dirty water well | Lower pressure capabilities, more complex maintenance |
For most applications, a triplex pump is my recommendation. The reliability in various conditions ensures that you won’t find yourself battling fluctuating performance during crucial moments.
Nozzle Selection
Nozzles are equally critical; they dictate the spray pattern and pressure used for different tasks. I once faced a stubborn oil stain on a driveway and switched to a zero-degree nozzle. The precision and force it provided made short work of the issue. Here’s a quick breakdown of common types:
| Nozzle Type | Spray Angle | Best Use |
|---|---|---|
| 0° | 0° | Heavy-duty cleaning, targeted stains |
| 15° | 15° | Heavy grime, concrete surfaces |
| 25° | 25° | General cleaning, vehicles |
| 40° | 40° | Delicate surfaces, patios |
A versatile nozzle selection allows for quick adjustments based on the task. Always keep a couple of different nozzles on hand; you’ll be glad you did when faced with a variety of cleaning challenges.
Building the Frame for Your Cleaning Device
Start with a sturdy base, using angle iron or heavy-duty steel tubing. I once built a frame using 2-inch square tubing, which provided excellent stability. Make sure to measure and cut the pieces accurately; a level frame is vital for the overall functionality of your apparatus.
Welding and Assembly Techniques
When welding, aim for strong, clean joints. I prefer using a MIG welder for this task as it allows for quick assembly and less cleanup. Ensure you have protective gear on, as sparks can fly. After welding, grind down any rough edges to prevent injury during operation. Once the frame is welded, apply a coat of rust-resistant paint to prolong its life.
Incorporating Mobility Features
Adding wheels can significantly enhance manoeuvrability. Use rubber wheels that can handle rough terrain. I recommend using swivel casters with locking mechanisms, ensuring stability when in use. Secure the wheels at the corners of the frame for optimal balance. This setup allowed me to easily transport my unit across various surfaces without hassle.
Connecting the Water Supply and Boiler System
For optimal performance, ensure a reliable water source is connected to the boiler unit. Use high-quality hoses designed for high temperatures and pressures. I once had a colleague who underestimated the importance of this connection; a cheap hose burst during operation, causing delays and frustration. Invest in reinforced hoses that withstand intense heat.
Start with a dedicated water inlet valve. A ball valve allows easy access for maintenance while preventing backflow. Remember, proper filtration is crucial; sediment can clog the system and damage components. I recommend installing a sediment filter before the inlet valve to catch any debris.
Once the hose is securely connected, check for leaks. A simple way to do this is to pressurise the system with water before introducing heat. I learned this the hard way during a trial run; a small leak turned into a significant issue under pressure, requiring immediate attention.
Next, connect the water supply to the boiler’s inlet. Ensure that the fittings are tight and compatible with the specific model of the boiler you’re using. I remember a time when I had mismatched fittings, leading to an inefficient connection that caused overheating. Proper alignment is key to maintaining efficiency.
After establishing the water connection, focus on the boiler system’s operation. Check the manufacturer’s specifications for the ideal water temperature and pressure settings. In my experience, running the boiler below optimal conditions leads to poor cleaning results and can shorten the lifespan of the equipment.
Finally, always have a shut-off valve in place for safety. This allows you to quickly cut off the water supply if necessary, preventing flooding or damage to the equipment. I have seen what can happen when this precaution is overlooked, and it’s not a pretty sight.
Assembling Electrical Components for Heating
Start with selecting a robust heating element, ideally rated between 3000 to 5000 watts depending on the desired output temperature. I once used a 4500-watt heating element for a custom build, which provided excellent results. Ensure it’s compatible with your electrical supply and consider using a thermostat to maintain consistent heat levels.
Wiring Considerations
For wiring, use heavy-duty copper wire with an appropriate gauge; 10 or 12 AWG is generally suitable. I’ve come across systems where under-gauged wire caused overheating, leading to failures. Always connect the heating element through a relay or contactor to manage the load effectively. Include a fuse in your circuit to protect against overloads; a 20-amp fuse is typically sufficient for most setups.
Safety Switches and Controls
Integrate safety switches to cut power in case of malfunctions. Incorporating a pressure switch can also prevent the heating element from activating without sufficient water flow, which I learned the hard way during a test run that resulted in a burnt-out element. Implementing these controls not only enhances safety but also prolongs the life of your components.
For those looking for commercial-grade options, consider checking out a commercial grade pressure washer for inspiration on high-performance systems. Remember, the right accessories, like a reliable power source and proper insulation, are key for efficient operation. Additionally, if you’re working in a grow room, utilising the best air scrubber for grow room can help maintain optimal conditions alongside your heating setup.
Testing Pressure and Steam Output Effectively
To ensure optimal performance, calibrate the output levels before any extensive use. I recommend employing a reliable manometer to verify the operating pressure. Attach the gauge directly to the outlet of the pump to obtain accurate readings. Typically, a range between 1500 to 3000 PSI suffices for most cleaning tasks.
Evaluating Steam Generation
Monitoring steam output involves a few critical steps:
- Check the boiler’s temperature gauge to ensure it reaches at least 100°C for effective results.
- Utilise a moisture separator in the steam line to prevent water droplets from affecting cleaning efficiency.
- Inspect the steam hose for any leaks or blockages that may hinder flow.
During my time testing various units, I found that a consistent steam output can significantly enhance cleaning capabilities, particularly for grease and grime.
Conducting Field Tests
After setting up your unit, take it for a test run on different surfaces:
- Start with a concrete surface to gauge the overall effectiveness.
- Try various nozzle sizes to observe changes in spray patterns and coverage.
- Assess cleaning times for different contaminants, noting which settings yield the best results.
From my experience, adjusting both the pressure and steam output while observing the cleaning performance can help identify the ideal configuration for specific tasks. Documenting these tests creates a useful reference for future projects.
Lastly, always prioritise safety. Use appropriate personal protective equipment, and ensure that the equipment is properly maintained to prevent accidents during operation. Regular checks on valves and safety features will keep everything running smoothly.
Maintaining Your Homemade Steam Pressure Washer
Regular upkeep is crucial for the longevity and performance of your DIY cleaning apparatus. Here are some specific actions to ensure it operates smoothly:
- Inspect Seals and Hoses: Regularly check the integrity of seals and hoses for any signs of wear or leaks. Replace damaged parts promptly to prevent further issues.
- Clean Filters: Clogged filters can impede water flow. Clean or replace them every few uses to maintain optimal performance.
- Flush the System: After each use, flush the unit with clean water to prevent mineral buildup and debris accumulation inside the boiler and pump.
- Monitor Temperature Settings: Ensure that the temperature regulator is functioning correctly. Adjust settings according to the task to avoid overheating components.
- Check Electrical Connections: Inspect wiring and connections for signs of corrosion or damage. Tighten loose connections to prevent electrical failures.
- Lubricate Moving Parts: Apply appropriate lubricants to moving parts regularly. This reduces friction and wear, extending the lifespan of mechanical components.
- Store Properly: When not in use, store the unit in a dry, sheltered location. Protect it from extreme temperatures and moisture to avoid damage.
From my experience, neglecting these maintenance tasks can lead to significant issues down the line. I once had a unit malfunction mid-job because I overlooked a small hose leak. The resultant downtime was not only frustrating but also costly. Staying proactive with care pays off handsomely.
Lastly, keep a maintenance log. Note each task performed and any parts replaced. This habit helps track performance trends and anticipate future needs.


.jpg)


