
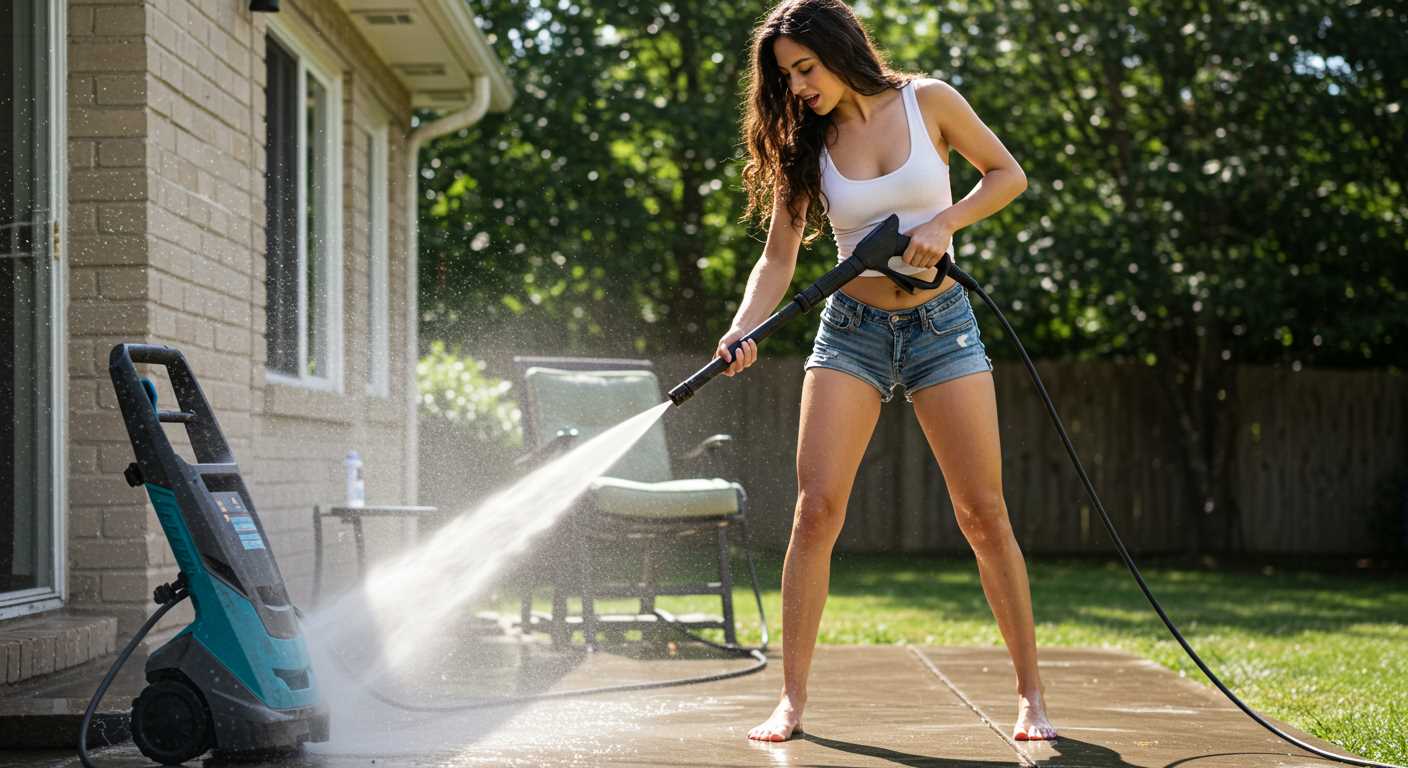


To transform a regular yard into a snowy paradise, gather an electric or gas-operated cleaning unit, as it can create a frosty effect quite easily. I recall the first time I attempted this; the thrill of seeing fluffy white piles forming before my eyes was unforgettable. The key is to adjust the nozzle to a fine mist, allowing water droplets to freeze upon contact with the ground.
Begin on a cold day, ideally when temperatures hover around or below freezing. This ensures the water turns to ice quickly, giving you that beautiful snowy appearance. During my first attempt, I underestimated the importance of timing. Once I realised that the ambient temperature plays a crucial role, my results improved dramatically.
Experiment with different settings and distances from the surface. Keeping the nozzle around 10 to 15 feet away from your target area allows for better distribution of the water mist. I often found myself adjusting the angle and distance, which made a world of difference. Don’t be afraid to get creative; layering the ice can produce stunning visual effects, making it look like a winter wonderland.

Always remember to monitor the surroundings. As the icy flakes accumulate, they can create slippery spots. I learned this the hard way during one of my early projects, when I nearly took a tumble while showcasing my handiwork. Safety should be your top priority, especially when working with water in cold conditions.
By following these tips, you’ll be able to generate a captivating frosty scene right in your backyard, making any occasion feel like a festive celebration. Happy frosty crafting!
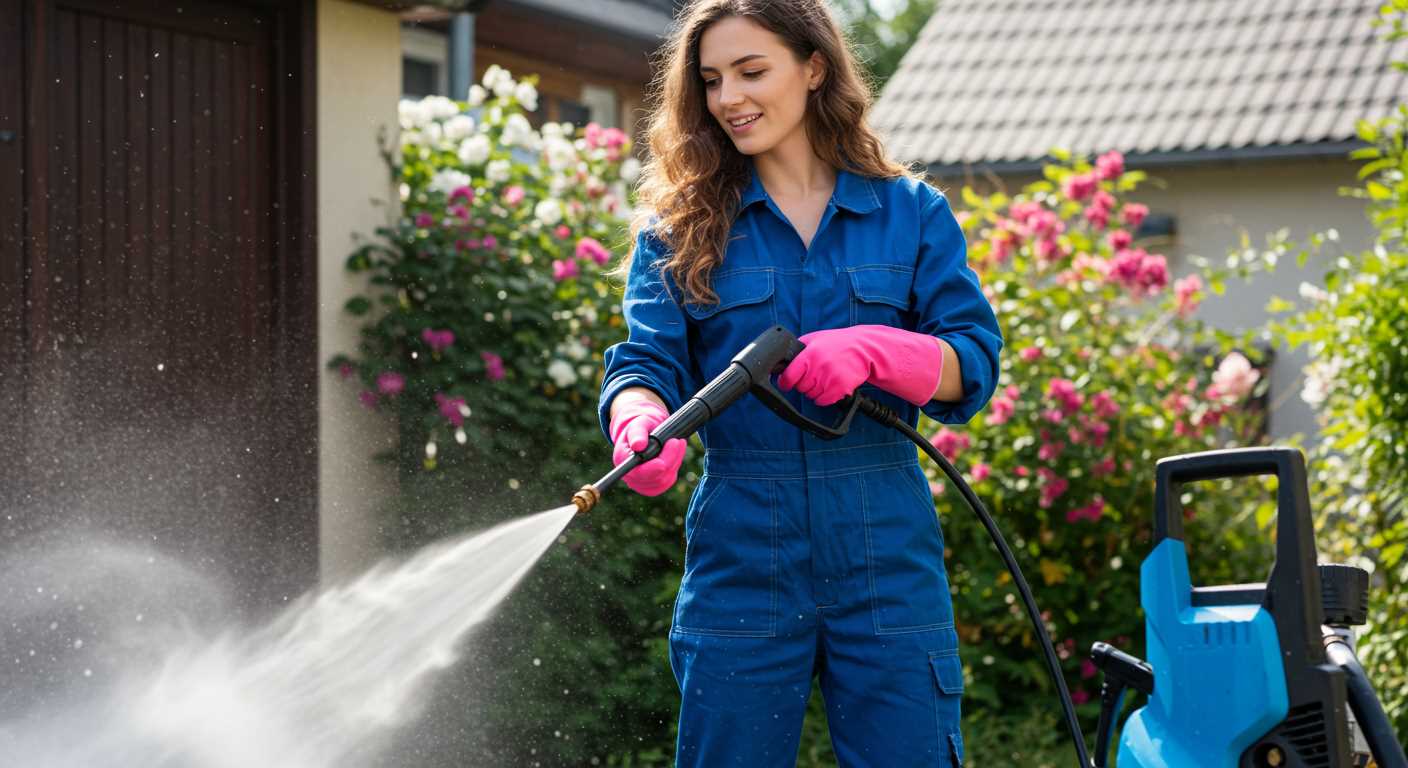
Choosing the Right Pressure Washer for Snow Making
For creating that perfect winter wonderland, selecting the appropriate high-pressure cleaner is key. From my extensive experience, I can say that not all models are suited for this task. Here are the factors to consider:
Power Output
- PSI Rating: Look for a unit with at least 2000 PSI. This pressure ensures that the water is atomised effectively, forming fine particles that resemble snow.
- GPM Rate: A minimum of 1.5 gallons per minute is necessary. This flow rate strikes a balance between pressure and volume, crucial for achieving a fluffy texture.
Temperature Control
- Cold vs. Hot Water: Cold water models are preferable as they can help freeze the water quickly. However, some hot water units can also create a snowy effect when used judiciously.
- Adjustable Nozzle: A nozzle that allows you to modify the spray pattern will enhance your ability to control the size of the water droplets, which influences the snow’s texture.
In my early days, I experimented with various models. One particular unit stood out for its adjustable nozzle, which allowed me to play around with different settings. I found that a wide spray pattern produced larger snowflakes, while a narrow one created a finer, powdery effect. It’s all about trial and error until you find what suits your vision.
Don’t overlook the build quality either. A robust machine will withstand prolonged use, especially in colder conditions. A durable frame and quality components are a must if you plan on making a lot of snow.
Lastly, check for compatibility with accessories. Some models come with snow-making kits or attachments that can enhance performance and ease of use. Investing in a model that supports these extras can save time and effort down the line.
Understanding the science behind snow creation
For effective production of frozen crystals, a precise balance of temperature and moisture must be achieved. The primary component for generating these flakes is water, which needs to be atomised into tiny droplets. When these droplets are exposed to cold air, they freeze rapidly, forming clusters that resemble snowflakes.
Temperature plays a pivotal role. Ideally, atmospheric conditions should be below -2°C (28°F). At this temperature, water droplets freeze almost instantly upon release, creating a more authentic appearance and texture. The colder the air, the more efficiently the water freezes, resulting in a light and fluffy consistency.
In my experience, humidity also significantly impacts the outcome. A relative humidity of around 30-40% is optimal. When humidity levels exceed this, the droplets may not freeze properly, leading to slushy or heavy formations. In contrast, lower humidity can prevent water from coalescing effectively, which can diminish the overall yield.
It’s fascinating to observe how different nozzle types influence the process. A finer mist produces smaller droplets, allowing for better freezing conditions, while a wider spray can lead to larger, less effective formations. During my trials, I found that adjusting the pressure settings can help achieve the desired droplet size, enhancing the overall quality.
Finally, wind conditions should not be overlooked. A gentle breeze can assist in distributing the frozen particles evenly, creating a more natural look. However, strong winds can scatter the droplets too widely, resulting in inefficient use of water and inconsistent results.
Preparing Your Outdoor Space for Snow Generation
Clear the area where you intend to create that winter wonderland. Remove any debris, such as leaves, sticks, or outdoor furniture. A clean surface allows for better distribution of the icy particles, leading to a more even and visually appealing effect.
Next, ensure your water source is readily accessible. Check hoses for leaks and make sure they can reach the designated area without any kinks. A consistent flow of water is key to achieving the desired outcome.
Surface Preparation
If your garden or yard has grass, consider covering it with tarps or plastic sheets. This not only protects the grass but also makes cleanup easier once the frosty creation has served its purpose. If the ground is hard or uneven, level it out to allow for even coverage of the icy substance.
Temperature Considerations
Monitor the weather forecast closely. Optimal temperatures for creating the icy effect typically hover around -2°C to -5°C. If conditions are too warm, the particles won’t freeze adequately, resulting in a disappointing result. Choose a day when the air is crisp and the humidity is low; this combination aids in producing the best possible outcome.
Finally, gather all necessary equipment before starting. This includes extension cords, nozzles, and safety gear. Having everything on hand prevents interruptions and ensures a smooth operation. Preparing your outdoor space properly will enhance the overall experience and effectiveness of your chilly project.
Setting up the pressure washer for optimal snow output
Begin by adjusting the nozzle to a fine mist setting. This creates smaller water droplets that freeze more effectively when expelled. I recall a time when I overlooked this detail, resulting in large, soggy flakes instead of the desired frosty effect. Trust me, it makes all the difference.
Next, ensure the water temperature is cold. Using cold water rather than warm prevents premature melting and enhances the freezing process. I’ve experimented with various temperatures, and a chilly input consistently yielded better results.
Pay attention to the pressure settings. A high-pressure level might seem appealing, but it can lead to oversaturation. I found that a moderate pressure, around 2000 PSI, strikes the perfect balance, allowing for a consistent and evenly distributed spray.
Keep the machine clean and free of any blockages. Regular maintenance not only extends the life of the unit but also ensures optimal performance. After every session, I’d recommend flushing it out to avoid build-up that could hinder its efficiency.
Adjust the distance from the surface where the mist is directed. A distance of about 6 to 8 feet works best, allowing the droplets time to freeze before landing. I once got too close and ended up creating a slushy mess instead of a beautiful blanket of frost.
Finally, consider the outdoor environment. Windy conditions can disperse the mist, reducing its effectiveness. If possible, choose a calm day or create barriers to help contain the mist and direct it where you want it. After all, even the best setup requires a little cooperation from Mother Nature.
For any additional clean-up or maintenance tasks, investing in the best corded garden vacuum can be a game changer. It simplifies the process and ensures your space remains tidy after the fun.
Selecting the Appropriate Water Temperature for Snow
For optimal results in generating artificial flakes, the water temperature should be around 0°C (32°F) or slightly below. This range mimics the conditions necessary for the formation of icy crystals, allowing the liquid to freeze upon contact with cold air. I’ve experimented with various temperatures, and anything above this threshold tends to produce a slushy consistency rather than genuine frost.
Cold Water Advantages

Using colder water enhances the likelihood of creating a dry, fluffy texture. During my tests, I found that water chilled to just below freezing consistently yielded the best results. The air temperature also plays a significant role; if the environment is warm, even cold water might not freeze effectively. Always check the weather beforehand–ideally, aim for a day when temperatures hover around or below freezing.
Equipment Considerations
Ensure your equipment can handle colder temperatures without risk of damage. An electric model, like the electric pressure washer for car detailing, can be suitable as long as it’s rated for lower operational temperatures. I once had a mishap with a gas unit when it struggled in the chill, which led to performance issues. Selecting the right machine is as critical as the water temperature itself.
Timing Your Snow Creation for Best Results
For optimal results, aim for the evening or early morning. Temperatures drop during these hours, which enhances the freezing process. I’ve found that starting around 5 PM allows you to build a solid base before temperatures begin to rise overnight.
Monitoring Weather Conditions
Keep an eye on humidity and wind conditions. Ideal humidity levels are around 30-40%. Low humidity facilitates better crystallisation. If it’s too windy, the generated particles may disperse instead of settling where intended. I often check local forecasts and use a portable hygrometer to gauge conditions accurately.
Timing Table for Snow Creation
| Time of Day | Conditions | Recommended Action |
|---|---|---|
| 5 PM – 8 PM | Cooling temperatures | Begin generating |
| 8 PM – 12 AM | Ideal conditions | Continue to build |
| 12 AM – 6 AM | Coldest temperatures | Maintain production |
| 6 AM – 10 AM | Warming up | Wrap up before temperatures rise |
By following these guidelines, you’ll maximise your efforts and create a delightful winter wonderland. Adjust your plans based on local conditions and keep experimenting for the perfect approach.
Maintaining the Pressure Cleaner During Snow Production
Regular upkeep is vital for optimal performance during snow creation. After each session, ensure you flush the unit with clean water to eliminate any residue. This small step prevents clogging and keeps the internal components functioning smoothly.
Inspect and Clean Nozzles
Nozzles are critical for achieving the right fine mist. After use, detach and carefully clean each nozzle with warm, soapy water. A needle can help clear any stubborn blockages. A well-maintained nozzle ensures an even distribution of water for the best results.
Storage Considerations
Storing the cleaning device properly after each use is important. Keep it in a dry area to avoid moisture accumulation, which can lead to rust. If the temperature drops significantly, consider storing it indoors or in a heated space to prevent freezing of any residual water inside the system.

Before the next use, check the hoses for any signs of wear or damage. A cracked hose can reduce pressure and affect the overall performance. Replace any faulty parts to maintain the unit’s efficiency.
Lastly, review the manufacturer’s guidelines for any specific maintenance routines. Adhering to these instructions will prolong the lifespan of your equipment and ensure it operates at peak performance.
Tips for Controlling Snow Density and Texture
Adjusting the nozzle on your sprayer can have a significant impact on the density and texture of the frozen precipitation. For a finer, powdery consistency, opt for a smaller nozzle size, which will create a mistier spray. Conversely, using a larger nozzle will produce wetter, heavier flakes.
Experimenting with the water pressure settings is also key. Lower pressure tends to yield lighter, fluffier crystals, while higher pressure results in denser formations. A balance between the two can help you achieve the desired outcome, depending on your specific needs.
Consider the ambient temperature as well. Colder conditions promote the formation of lighter, drier crystals. If the temperature rises, the output may become slushier. Keeping an eye on weather conditions before starting will enable you to adjust your approach accordingly.
Another factor to contemplate is the distance from which you spray. A closer range will create a denser layer, while a broader distance results in a lighter distribution. Finding the right distance is essential for controlling the thickness of the layer you’re creating.
For added texture, try mixing in air as you spray. This can be achieved by adjusting the angle of your nozzle or the speed at which you move the sprayer. Incorporating more air into the mix creates a lighter, fluffier result, ideal for activities like sledding or snowball fights.
Lastly, regular adjustments during the process can refine your results. As you see how the material is coming out, don’t hesitate to tweak the settings or distance for optimal results. Each attempt is a learning experience, and over time, you’ll become adept at achieving the perfect blend of density and texture.
Ways to Enhance Your Homemade Snow Experience
Incorporating a few creative elements can elevate the enjoyment factor of your winter wonderland. Here are some actionable tips to consider:
Lighting Effects
- String lights: Hang LED string lights around the area. Use warm white or cool blue tones to mimic natural lighting.
- Spotlights: Position coloured spotlights to cast hues on the created flakes, enhancing the visual appeal.
- Glow in the dark: Use glow-in-the-dark paint on surrounding objects for a magical night atmosphere.
Interactive Elements
- Obstacle Course: Set up a fun course using snow tubes or sleds. It’s a great way to engage kids and bring out the competitive spirit.
- Snowball Fight Zone: Designate an area for snowball fights. Build barricades from soft snow to keep the fun safe.
- Craft Station: Provide materials for making snowmen or snow sculptures, encouraging creativity and teamwork.
Incorporating seasonal music can also set the mood. Create a playlist that evokes holiday spirit and complements the snowy backdrop. Invite friends and family to enjoy the experience together, making it a memorable gathering.
Always remember to dress appropriately for the temperature. Layering is key to staying warm while enjoying the outdoor activities. Don’t forget gloves and waterproof boots to keep comfortable while playing in the winter environment.
Finally, consider offering warm beverages like hot chocolate or mulled cider to keep spirits high. A hot drink station can be a welcome addition, providing warmth and comfort after frolicking in the chilly atmosphere.
.jpg)


