
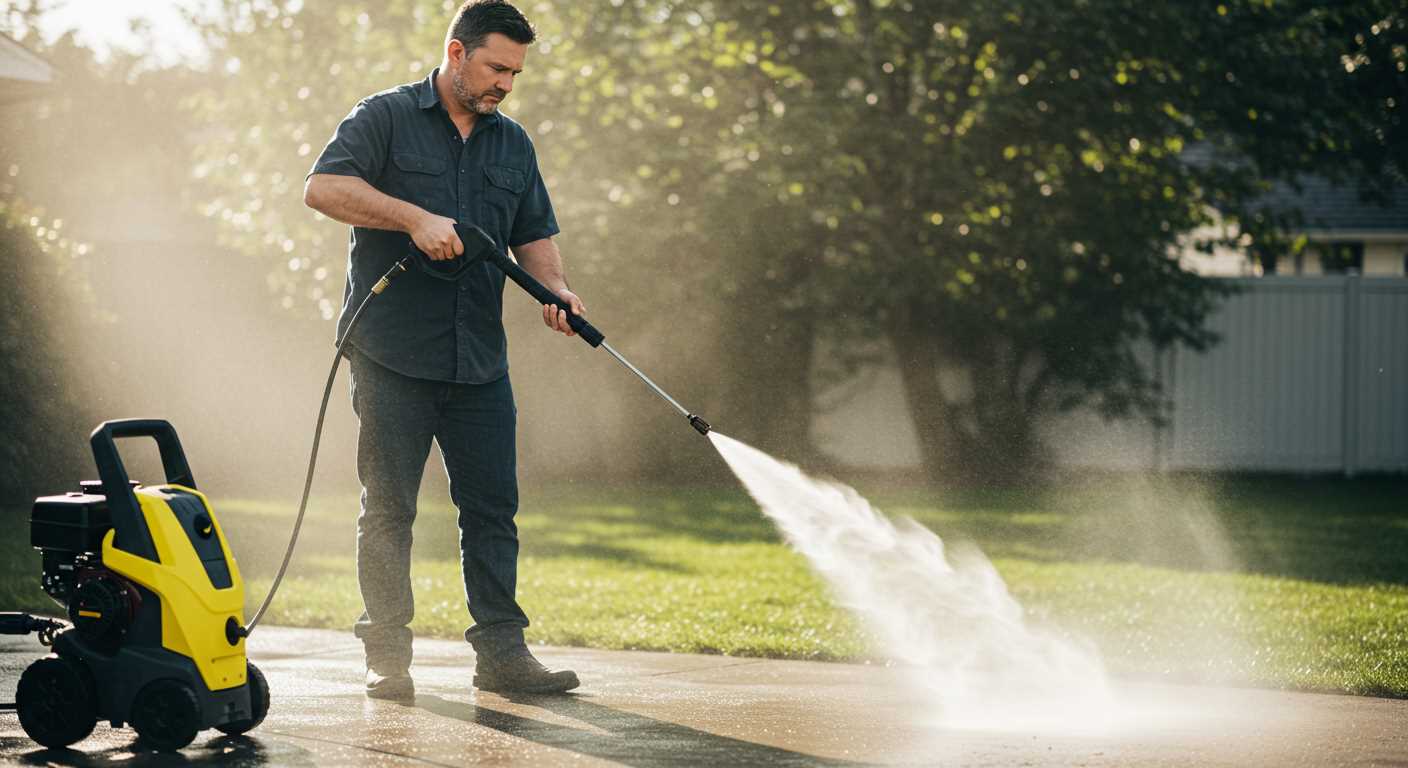


Begin with the right equipment; a high-powered cleaning device can create that frosty effect you desire. Set the nozzle to its finest spray setting and adjust the water pressure adequately. A higher pressure will produce a finer mist, which is crucial for achieving the desired snowy appearance. Make sure the surface you plan to cover is slightly moist; this helps the frozen droplets adhere better and creates a more believable layer of frost.
From my experience, the optimal weather conditions play a pivotal role in this process. Cold temperatures, ideally below -2°C, ensure that the water droplets freeze upon contact with the ground. On days when the temperature hovers just below freezing, the mist will linger longer, giving you the chance to build up layers. I recall one occasion when I transformed my backyard into what appeared to be a serene winter scene, much to the delight of my children. The secret was in the timing; early mornings worked best for me.

Another essential aspect is the distance from which you spray. Keeping the nozzle approximately 1.5 to 2 metres away from the surface prevents excessive puddling and allows for even coverage. I often moved in a sweeping motion, gradually overlapping each pass to achieve a uniform blanket. Patience is key; rushing can lead to uneven patches that detract from the overall effect. If you stay focused on these details, the results can be truly magical.
Choosing the Right Pressure Cleaner for Snow Creation
For optimal results in snow production, selecting the appropriate high-powered cleaner is paramount. Based on my experience, a unit with a minimum of 3000 PSI is ideal. This pressure helps to create a fine mist that can freeze quickly, forming that perfect snow-like texture. Additionally, a model with adjustable nozzles gives flexibility in controlling the spray pattern, which is crucial for achieving the desired flake size.
Water temperature is also a key factor; I recommend models that allow for hot water operation. The added heat assists in creating a mist that can freeze rapidly upon contact with colder air. Look for units with a sturdy construction since snow-making can be demanding on equipment.
If you’re considering a compact design for portability, ensure it still delivers the required pressure and flow rate. A unit with a flow rate of around 2.5 GPM (gallons per minute) strikes a balance between power and efficiency. I’ve seen smaller models struggle under heavy use, so investing in a robust machine pays off in the long run.
For those interested in creating snow for vehicles or festive displays, I highly recommend checking this pressure washer for snow fosming car forim. It’s tailored for such tasks, ensuring a delightful winter experience without the hassle. Remember, the right equipment will make all the difference in your snow creation efforts!
Preparing Your Workspace for Snow Production
Clear the area where you’ll be creating the artificial white stuff. Remove any debris, leaves, or obstacles that might interfere with the process. I once underestimated the importance of a tidy space, and it resulted in clogs and inconsistent results. A clean surface ensures that the generated flakes land where intended.
Water Supply and Temperature
Ensure you have a reliable and adequate water source. Cold water is ideal for producing the best results. I remember a time when I tried to use warm water, thinking it might make the process smoother. It led to mushy results rather than the fine powdery texture I was aiming for. If you’re in a particularly cold climate, make sure the hoses and fittings are insulated to prevent freezing.
Wind Considerations
Pay attention to the wind direction. A gusty day can send your creations off course. I’ve had days where I was blissfully creating, only to find the flakes blowing into my neighbour’s yard. Use windbreaks like tarps or screens if necessary. They can help direct your efforts and keep everything contained.
Lastly, ensure you have all necessary equipment within reach–no one wants to run back and forth while working. Gather everything beforehand: connectors, hoses, and any additional tools you might need. A well-organised setup saves time and frustration.
Understanding Water Temperature Effects on Snow Quality
Water temperature plays a critical role in the characteristics of the frost produced. For optimal results, the water should ideally be around -2°C to -5°C (28°F to 23°F). In this range, the droplets freeze more effectively, creating a finer and lighter texture, which is perfect for recreational use.
During my years in the cleaning equipment industry, I often experimented with different temperatures. I found that water above 0°C (32°F) tends to produce heavier, slushy formations. This is less desirable for winter sports or festive displays, as it lacks the crispness that colder water achieves.
In practice, if you’re working with warmer water, consider adding a cooling element, such as ice, to the storage tank. This can help regulate the temperature and maintain the desired quality of the output. Additionally, the ambient temperature around the workspace can significantly influence the freezing process. Ensure that your setup is in a shaded or cooler area to enhance the freezing efficiency.
Another observation from my past experiences is that using additives can affect the freezing process as well. Some formulations can lower the freezing point, allowing for better snow quality even if the water is slightly warmer. However, always test these in small batches first to gauge the effect on texture and consistency.
Finally, remember that consistency is key. Regularly monitor the water temperature throughout your operation to ensure uniformity in the product. This attention to detail will go a long way in producing high-quality frost that meets expectations.
Adjusting Pressure Settings for Optimal Snow Output
Begin with a pressure level between 1000 to 1500 PSI, as this range offers a balance between creating a fine mist and preventing excessive water flow. Too high a setting can lead to larger droplets, while too low won’t generate the desired effect. I found that adjusting the nozzle can significantly impact the consistency of the output; a fan tip often delivers better results than a concentrated stream.
Recommended Pressure Settings
| Application | Pressure (PSI) | Nozzle Type |
|---|---|---|
| Initial Setup | 1000 – 1200 | 25° Fan |
| Fine Mist Generation | 1200 – 1400 | 15° Fan |
| Heavy Coverage | 1400 – 1500 | 0° Nozzle |
Fine-Tuning for Conditions
Weather conditions play a significant role in adjusting the settings. On colder days, a slightly lower pressure can help maintain finer particles, while warmer temperatures might require a boost to create a denser output. During my experiments, I discovered that frequent adjustments based on immediate feedback resulted in much better outcomes. Don’t hesitate to test different settings; adjusting in small increments allows for fine-tuning without risking a poor result.
Techniques for Creating Snow with a Pressure Washer
For optimal results, adjust the nozzle to a fine mist setting. This technique helps create smaller droplets that freeze more easily, resulting in a fluffy texture. Experiment with different distances from the surface; typically, a range of 2 to 4 feet provides the best balance between coverage and droplet size.
- Mixing Additives: Consider using a mixture of water and certain additives to enhance the freezing process. Some solutions can help achieve a more stable structure. Research the best chemical for pressure washing vinyl siding for potential options that can create a snowy effect.
- Timing: Early morning or late evening is ideal for producing that winter wonderland effect. The lower temperatures during these times help maintain the frozen state of droplets.
- Layering Technique: Apply in successive layers, allowing time between each to freeze. This method builds depth and texture, mimicking natural snow accumulation.
- Surface Preparation: Ensure the target area is clean and free of debris. A smooth surface allows for better adhesion of the frozen droplets, leading to a more cohesive result.
Monitoring the ambient temperature is crucial. The colder it is, the better your results will be. If conditions are marginal, consider using a fan or similar device to enhance airflow, which can help accelerate freezing.
Experimentation is key. Each situation might require a unique approach, so don’t hesitate to adjust techniques based on your findings. With practice, you’ll master the art of creating a winter scene that captivates everyone who sees it.
Maintaining Your Equipment After Snow Production
After creating that perfect winter wonderland, it’s crucial to clean and maintain your gear to ensure longevity and performance. Start by rinsing off any residual moisture and debris from your unit. I once neglected this step and faced rust issues that significantly affected the machine’s performance.
Drain any remaining water from the system, especially if you’re in a region where temperatures drop below freezing. I learned the hard way that trapped water can lead to freezing and cracking of components. A simple drain can save you from costly repairs.
Inspect the nozzles and hoses for any blockages or wear. I often found that even a small obstruction could hinder output. Regularly replacing worn parts can keep everything running smoothly. I recommend keeping a spare set of nozzles on hand for quick swaps.
Lubricate moving parts as per the manufacturer’s guidelines. Regular lubrication can prevent wear and tear. I used to forget this, leading to squeaks and diminished performance over time. A little maintenance goes a long way.
Store your equipment in a dry, sheltered location. Exposure to the elements can cause deterioration. I’ve seen machines left outside suffer rust and corrosion. A dedicated storage space keeps everything in prime condition.
Lastly, consider a seasonal check-up. Just like a car, your gear benefits from professional servicing. I’ve always made it a habit to get my equipment checked before the snow-making season starts. It helps catch any underlying issues before they become a problem.
FAQ:
What equipment do I need to create snow using a pressure washer?
To make snow with a pressure washer, you will need a high-pressure washer, preferably one with adjustable pressure settings. Additionally, you should have a snow-making nozzle attachment or a foam cannon that can produce a fine mist. Cold weather is also necessary, as the temperature should be at or below freezing for the snow to form properly. Having a water source and a power outlet nearby is also essential for operation.
Can I use any type of pressure washer for making snow?
While many pressure washers can work for making snow, it’s best to use one that has a high PSI (pounds per square inch) and GPM (gallons per minute) rating. A cold-water pressure washer is ideal, as hot water can melt the snow before it forms. Look for models specifically designed for outdoor use and snow production, as they often come with the necessary attachments and features for the task.
What is the process for making snow with a pressure washer?
The process involves a few steps. First, ensure your pressure washer is set up with the appropriate nozzle or foam cannon. Then, adjust the water pressure to a level that creates a fine mist. Position the pressure washer nozzle at a height where the mist can spread out as it falls. Make sure the temperature is cold enough for the water droplets to freeze upon contact with the ground. Move the nozzle back and forth to cover the desired area, and keep an eye on the thickness of the snow as it forms.
Is it safe to make snow using a pressure washer?
Generally, making snow with a pressure washer is safe as long as you follow proper safety guidelines. Wear protective gear such as goggles and gloves to prevent injury from high-pressure water or cold temperatures. Ensure that the area you are working in is clear of obstacles and hazards. Be aware of your surroundings, especially if there are people nearby. Avoid using the pressure washer in very windy conditions, as this can affect the snow production and lead to water spraying in unintended directions.
How long will the snow created by a pressure washer last?
The longevity of snow made with a pressure washer depends on several factors, including temperature, sunlight, and wind conditions. If it’s very cold and there is minimal sun exposure, the snow can last for several hours or even days. However, if temperatures rise or the sun is strong, the snow will begin to melt quickly. To prolong its existence, try to create the snow in shaded areas or during cooler parts of the day.

.jpg)


