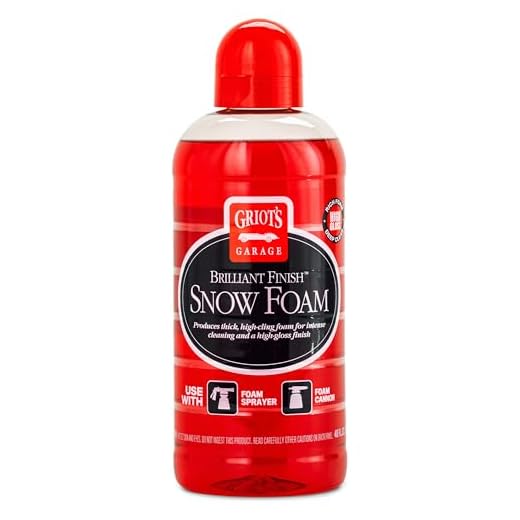


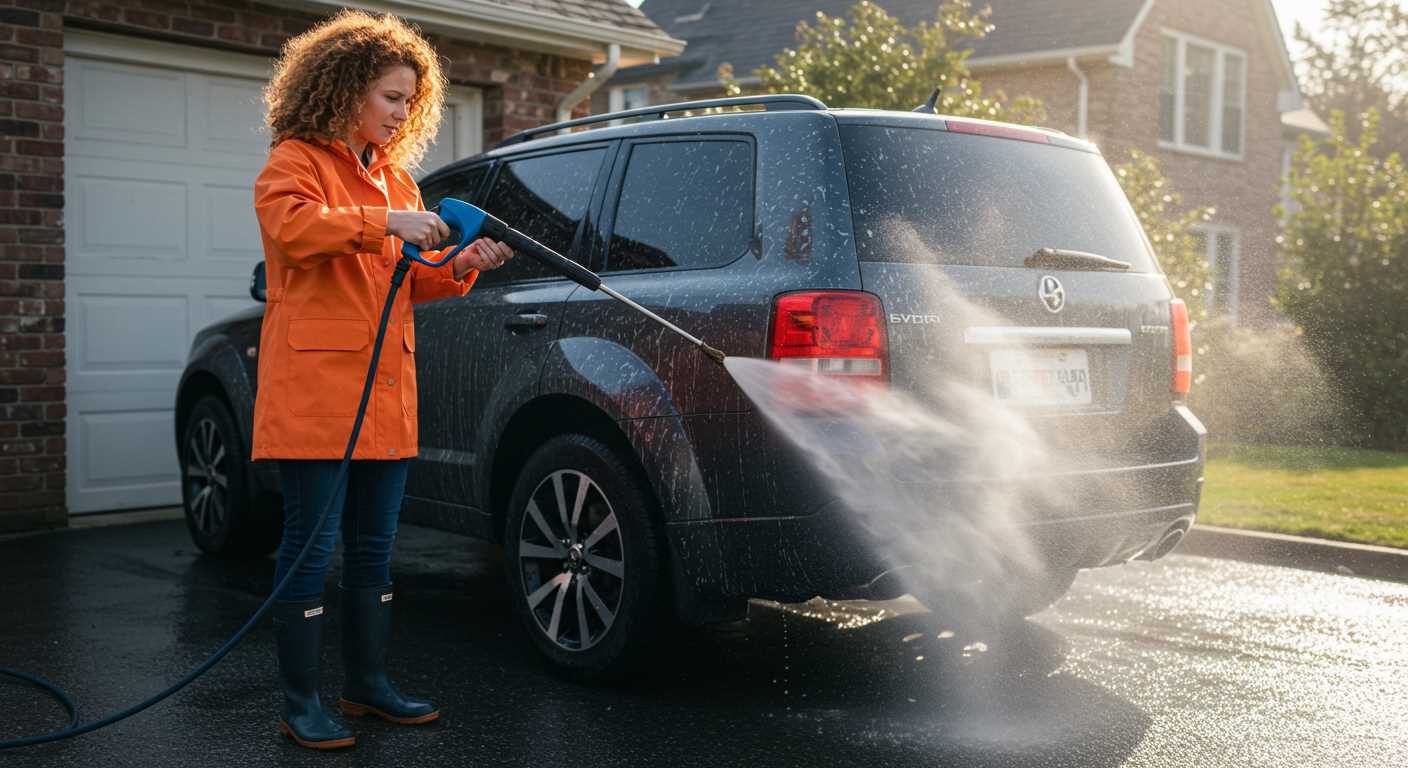
To efficiently integrate cleaning agents into your high-pressure cleaner, ensure you have a compatible attachment for dispensing. Most models come with a dedicated soap nozzle or a separate detergent tank designed specifically for this purpose. By using the right nozzle, you can adjust the flow rate and pressure to achieve optimal results without damaging surfaces.
Mix the cleaning solution with water according to the manufacturer’s instructions before loading it into the tank. A common ratio is often one part detergent to five parts water, but it’s best to check the label for precise measurements. This ensures the mixture is effective while preventing excessive foam that could clog the system.
After preparing the mixture, attach the tank securely and switch the device to low-pressure mode. Begin by applying the solution to the surface you wish to clean, allowing it to dwell for a few minutes. This dwell time helps break down dirt and grime. Once the time is up, switch to the high-pressure setting and rinse thoroughly, ensuring no residue is left behind.
In my experience, using a high-quality detergent greatly enhances the cleaning process. Avoid generic brands, as they can lead to clogs and reduce the lifespan of the equipment. Investing in a reputable cleaning solution pays off in efficiency and equipment maintenance.
Understanding Soap Compatibility with Pressure Washers
Always choose detergents specifically formulated for high-pressure systems. Regular household cleaners can create excessive foam, clogging the nozzle and affecting performance. I recall a time when I used a standard car wash liquid instead of a designated pressure washer cleaner. The result? A frustrating day spent unclogging the equipment.
Types of Detergents
Two main categories exist: biodegradable and non-biodegradable. Biodegradable options are eco-friendly and break down naturally, making them suitable for outdoor use. Non-biodegradable varieties may deliver a stronger clean but can harm the environment. I often advise clients to opt for biodegradable solutions for general cleaning tasks, especially when working near gardens or water sources.
Concentration Matters
Pay attention to the concentration levels of the cleaning agents. Higher concentrations can lead to better cleaning, but they also require dilution according to the manufacturer’s instructions. In one instance, I mistakenly used a highly concentrated formula without diluting it properly. The result was not only a messy work area but also damage to the surface I was cleaning. Always follow dilution guidelines to avoid mishaps.
Check compatibility with your specific machine model. Some units have limitations regarding what types of cleaning agents can be used. It’s wise to consult the user manual or the manufacturer’s website for recommendations. I once had a customer who used an incompatible cleaner, leading to warranty issues. A little research can save you from unnecessary headaches.
Remember to conduct a patch test on a small, inconspicuous area before using any new cleaning agent extensively. This simple step can prevent potential damage to surfaces. I learned this the hard way after a particularly harsh chemical left marks on a client’s patio.
In summary, prioritise the right product choices and adhere to guidelines to ensure optimal results and maintain your equipment’s longevity. It’s all about making informed decisions to keep everything running smoothly.
Selecting the Right Soap for Your Pressure Washer
Choosing the correct cleaning agent is paramount for optimal results. The wrong choice can lead to poor performance or even damage to your equipment. Here’s what I’ve learned through years of hands-on experience.
Types of Cleaning Agents
- Alkaline Cleaners: Best for removing grease and oils. Ideal for vehicles and industrial surfaces.
- Acidic Cleaners: Effective against mineral deposits and rust. Use with caution on delicate surfaces.
- Biodegradable Options: Environmentally friendly choice, suitable for residential use.
- Foaming Agents: Create a thick foam, clinging to surfaces for enhanced cleaning. Great for vertical surfaces.
Compatibility with Equipment
Always check the manufacturer’s recommendations. Some agents may contain harsh chemicals that could corrode components. I once used a product that was too abrasive, leading to costly repairs. Stick to brands that explicitly state compatibility with your model.
Pay attention to the concentration levels. Some agents require dilution, while others are ready-to-use. Over-concentrating can lead to residue build-up, impacting performance.
Local regulations may dictate what types of cleaners can be used. Make sure to comply with environmental guidelines, especially if working in sensitive areas.
In my experience, testing a small area first can save you from larger headaches. Each situation is unique, and what works for one surface may not work for another. Adjust your choice based on the material and level of dirt.
Finally, consider the scent and ease of rinsing. Some cleaning agents leave a lingering fragrance, which might be pleasant or overpowering, depending on personal preference. Look for products that rinse off easily to avoid streaks.
Preparing Your Pressure Washer for Soap Application
Ensure your equipment is ready for cleaning solutions by following these steps:
- Disconnect the water supply and power source. Safety is paramount.
- Flush the system with plain water to remove any debris or previous cleaning agents. This prevents unwanted reactions.
- Inspect the detergent tank. If it’s removable, clean it thoroughly to eliminate residue.
- Fill the tank with the selected cleaning agent, ensuring it is compatible with your model. Refer to the manufacturer’s guidelines.
- Reconnect the water supply and power. Before application, test the system with water only to confirm everything is functioning properly.
- Adjust the nozzle to a low-pressure setting. This allows for better distribution of the liquid.
- Begin the application at the lowest point of the surface, working your way up. This helps avoid streaks and ensures even coverage.
For specific surfaces like concrete, you might want to consider using the best chemical for pressure washing concrete to achieve optimal results.
Regular maintenance of your equipment will prolong its lifespan and enhance performance. Always consult your manual for specific instructions related to your model.
Attaching a Soap Dispenser to Your Pressure Cleaner
Begin by ensuring your device is turned off and unplugged to avoid any accidents. Locate the detergent injection point, usually found on the side or back of the machine. Most models come equipped with a dedicated soap dispenser or a siphon tube that connects to the detergent container.
If your unit has a built-in dispenser, simply fill it with compatible cleaning solution, making sure not to exceed the maximum fill line. For those with a siphon tube, attach one end to the soap container and the other to the injection point. Ensure a snug fit to prevent any leaks during operation.
When using a separate detergent tank, be mindful of the orientation; it should sit upright to allow gravity to assist in the flow of liquid. Double-check all connections to confirm they are secure before proceeding.
Adjust the nozzle on your lance to the soap application setting, which is typically a low-pressure mode. This allows the cleaning mixture to be evenly dispersed without causing any damage to surfaces. It’s worth noting that some machines have a specific nozzle designated for detergent use, so refer to your manual if unsure.
Once set up, perform a quick test spray on a small, inconspicuous area to ensure the mixture is flowing correctly. If you notice any issues, revisit your connections and the soap compatibility with your model. A well-attached dispenser will enhance the cleaning process significantly.
Adjusting Pressure Settings for Soap Dispensing
Set the pressure to a lower level, ideally around 1000 to 1500 PSI, when using a detergent attachment. This ensures a gentle application, allowing the cleaning solution to adhere to surfaces without causing damage. I learned this the hard way during a job where I used too high a setting and ended up stripping paint off a fence.
Understanding Pressure Adjustment
Most high-pressure cleaning units have adjustable settings. Familiarise yourself with your model’s specific controls. For instance, rotating the nozzle or adjusting the pressure dial can significantly impact the force and distribution of the cleaning agent. I remember using a unit with a variable pressure control, and it made a drastic difference in how the detergent spread across the surface.
Optimal Distance and Angle
Maintain a distance of at least 2 to 3 feet from the surface for effective application. The angle at which you apply the solution is also critical; a 45-degree angle often yields the best results. This technique prevents oversaturation and allows for even coverage. During one of my experiences, I noticed that adjusting the angle improved the absorption of the cleaning agent significantly, leading to better results.
| Pressure Setting (PSI) | Recommended Distance (Feet) | Application Angle |
|---|---|---|
| 1000 – 1500 | 2 – 3 | 45° |
| 1500 – 2000 | 3 – 4 | 30° |
| 2000+ | 4 – 5 | 15° |
Adjusting these settings not only optimises the application of the detergent but also protects the surfaces being cleaned. Each machine is different, so experiment with settings to find what works best for your specific cleaning tasks. Trust me; taking the time to fine-tune these elements pays off in the long run.
Techniques for Even Coverage of Detergent
Start with an even application to ensure thorough cleaning without streaks. I’ve found that a consistent spray pattern is key. When using a nozzle, choose a wider angle, such as 25 or 40 degrees. This distributes the detergent more evenly across surfaces.
Utilising Overlapping Strokes
As you work, overlap each stroke by about 50%. This technique prevents gaps and ensures that all areas receive adequate treatment. I recall a job where I missed overlapping, which resulted in uneven cleaning–definitely not the outcome I desired. It’s all about that methodical approach.
Adjusting Distance from Surface
Maintain a steady distance, generally around 12 to 24 inches from the surface. Too close can lead to pooling, while too far can cause insufficient coverage. I’ve learned this the hard way during various projects, and it truly makes a difference in achieving uniform results.
After applying, allow the mixture to sit for a few minutes before rinsing. This dwell time maximises the cleaning action and ensures every spot is treated properly. Each project is a chance to refine these techniques, making every cleaning session more successful than the last.
Cleaning the Pressure Washer After Soap Use
After applying cleaning solution through your machine, it’s crucial to flush the system to avoid residue build-up. Begin by disconnecting the detergent tank and rinsing it with fresh water. I always fill the tank with clean water, run the machine for a few minutes, and let it cycle through the nozzle. This will help clear any remaining solution from the lines.
Next, attach the standard nozzle and ensure the pressure setting is at a moderate level. This allows for a thorough rinsing without causing damage. I recommend aiming the nozzle at a surface that can handle the pressure, like a driveway or patio. Start the unit and let it run until the water runs clear, indicating that all cleaning agent has been expelled.
Don’t forget to inspect and clean the filters and screens. Over time, these can accumulate deposits from the detergent. A quick rinse under running water typically does the trick. If you notice any blockages, a soft brush can help dislodge stubborn residue.
Lastly, store your unit properly. After rinsing, ensure all components are dry before putting everything away. This prevents any moisture from leading to corrosion or mould growth in the future. I’ve learned the hard way that neglecting this step can lead to costly repairs down the line.
Troubleshooting Common Soap Dispensing Issues
First things first: if the liquid is not dispensing as expected, check the soap intake tube. Ensure it’s fully submerged in the solution and not clogged. A blockage can prevent the mixture from reaching the nozzle.
Next, inspect the filter located within the soap dispenser. A dirty or damaged filter can restrict flow. Clean or replace it as necessary. I’ve encountered this issue numerous times during my years in the industry, and a simple filter clean often resolves the problem immediately.
Nozzle Selection Matters
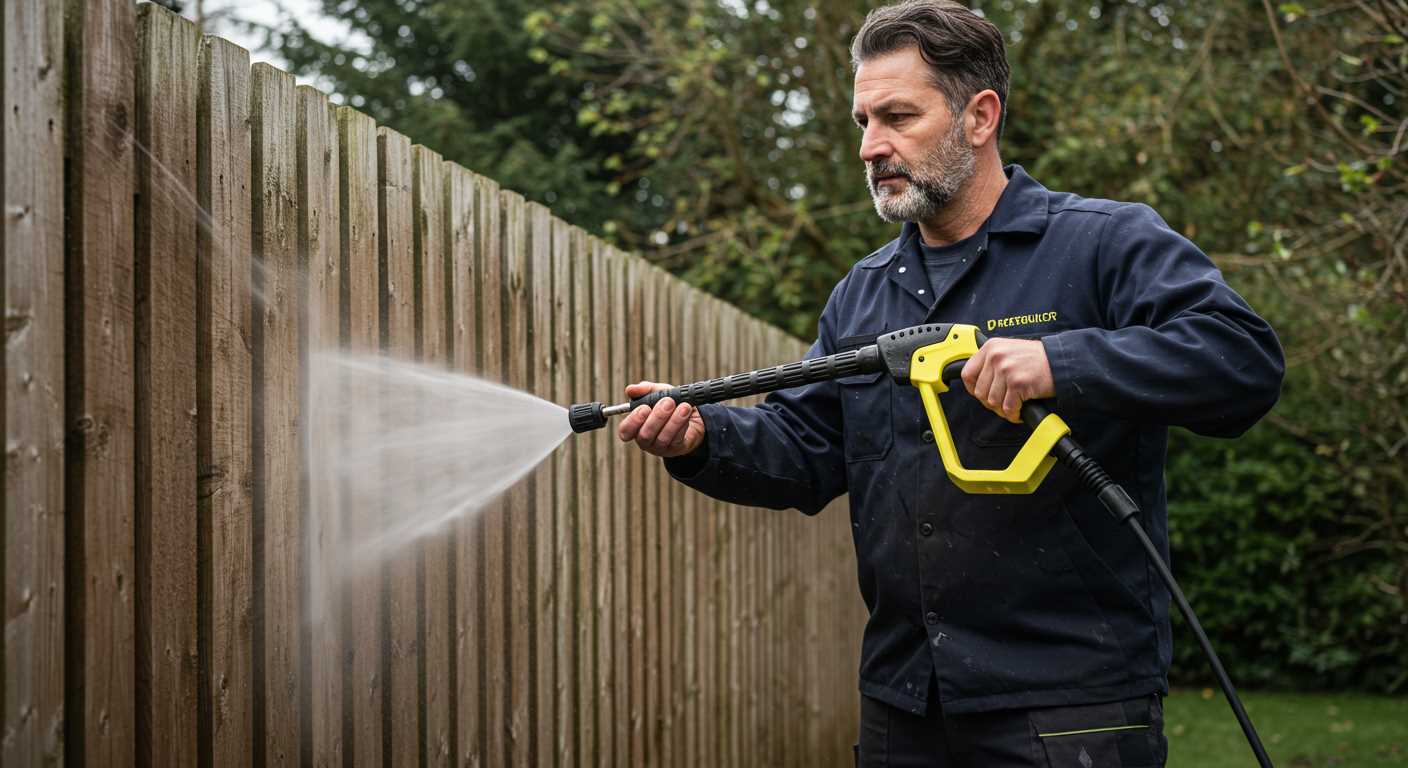
Using the wrong nozzle can significantly affect performance. Switching to a lower-pressure nozzle allows for better soap application. I recall a situation where a customer was baffled by poor results. After a quick nozzle change, the improvement was remarkable.
In addition, check the alignment of the soap dispenser. If it’s not positioned correctly, it may not siphon the liquid properly. Make sure all connections are secure. Even the smallest air leak can disrupt the flow. If you’re using a retractable pressure washer hose reel, ensure that the hose isn’t kinked, as this can also impede dispensing.
Adjusting Settings
Sometimes, adjusting the machine’s pressure settings resolves issues. If the pressure is too high, the soap may not mix well. I once assisted a client who consistently used maximum pressure, resulting in poor soap coverage. Lowering the pressure made a noticeable difference in the application.
Finally, if none of these solutions work, consider the compatibility of the detergent with your equipment. Not all cleaning agents are suitable for every model. Always verify the manufacturer’s recommendations before use. I’ve seen several machines damaged by incompatible substances, which can lead to costly repairs.




.jpg)


