


To accurately assess the size of your cleaning equipment’s tubing, grab a measuring tape or a ruler. Simply wrap the tape around the outer edge of the tube, ensuring it’s snug but not overly tight. Take note of the measurement in inches or millimetres, as this will give you the circumference. From there, use the formula for calculating diameter: divide the circumference by π (approximately 3.14). This will provide you with the diameter that matches your needs.
In my years working with various brands, I found that many users overlook this step, assuming they know the size. However, I encountered numerous situations where mismatched tubing led to performance issues. For example, using a thicker tube than necessary can decrease the water flow, while a too-thin option can cause pressure loss. Always double-check to ensure compatibility with your equipment.

Another handy tip: if you’re unable to measure directly, you can refer to the specifications provided by the manufacturer. Most reputable brands list tubing sizes in their user manuals or on their websites. Familiarising yourself with your model’s details can save you time and trouble during your maintenance routine.
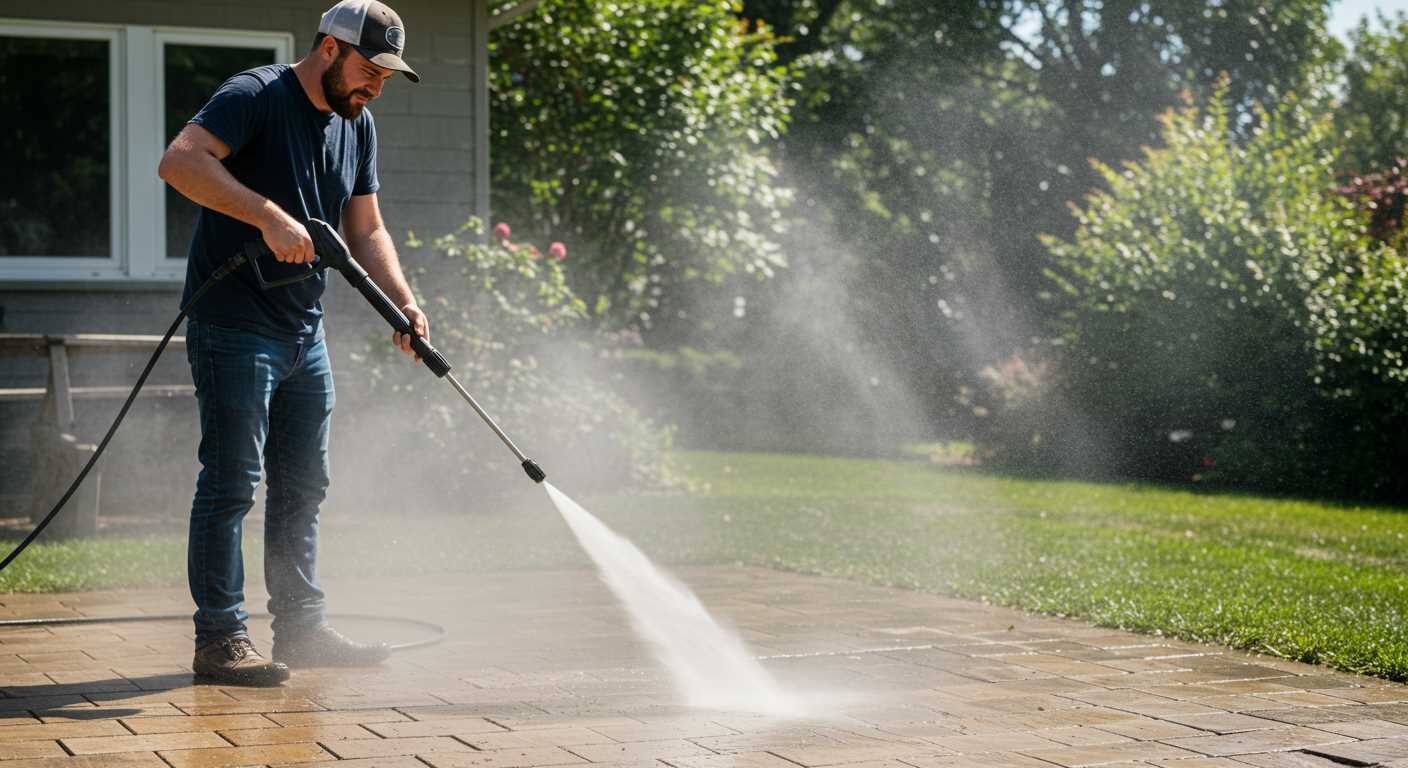
Understanding the Importance of Hose Diameter
Choosing the right size for your tubing can significantly impact the overall performance of your cleaning equipment. From my hands-on experience, I’ve learned that a wider tube allows for increased water flow, which means more power when tackling tough grime. In practical terms, this translates to faster cleaning and less time spent on the job.
Conversely, opting for a narrower conduit can restrict flow, leading to a decrease in pressure and effectiveness. I recall a project where I used a thinner tube for a particularly challenging surface. The results were frustrating; I had to double the time spent just to achieve acceptable results. The lesson was clear: the right size matters.
Another aspect to consider is the length of your conduit. Longer models can lose pressure due to friction, especially if they’re not the right size. I’ve had instances where I underestimated the need for a wider line and ended up with a frustratingly weak stream after extending too far. Always account for both length and width to maintain the power you need.
Finally, don’t overlook compatibility. Ensure that your chosen tubing fits your equipment properly. I’ve encountered mismatches that not only hindered performance but also caused unnecessary wear and tear on the equipment. A snug fit is essential for optimal operation.
In summary, the size of your conduit is not just a technical detail; it directly affects your cleaning efficiency and effectiveness. Choose wisely to make your tasks easier and more successful.
Tools Needed for Accurate Measurement
For precise measurements, gather a few specific items. A flexible measuring tape is your best choice. It easily conforms to the shape of the tubing, providing accurate readings without any hassle. Ensure the tape is marked in both inches and millimetres for versatility.
A caliper is another reliable tool. It offers greater precision, especially for narrower sections. Digital calipers are particularly user-friendly, displaying measurements clearly and allowing for quick adjustments.
Have a ruler on hand as well. While less flexible than a measuring tape, it serves as a handy reference for straight edges and can double-check your measurements in a pinch.
Don’t forget a notebook or a digital device to record your findings. Keeping track of multiple readings can help you avoid confusion later on. If you’re working with multiple tubes, a consistent recording method will save time.
Finally, good lighting is vital. Ensure your workspace is well-lit to prevent shadows or reflections that could distort your measurements. A well-lit area will help you see exactly what you’re doing, leading to greater accuracy.
Step-by-Step Guide to Measuring Hose Diameter

Begin by gathering the required tools: a caliper or measuring tape and a marker. Accuracy is key.
- Lay the tubing flat on a clean surface. Ensure it is straight to avoid any distortions.
- Use the caliper to find the width of the inner circle. If using a measuring tape, wrap it around the circumference and divide that measurement by π (approximately 3.14) to get the inner width.
- Mark the point where you take the measurement for future reference. This is useful if you need to compare with other models.
- Repeat the process at several points along the length to confirm consistency. Variations can indicate wear or damage.
- Document your findings. Write down the measurements for easy reference when selecting fittings or replacements.
In my experience, taking multiple readings is invaluable. I once encountered a worn-out line that had narrowed in places, affecting performance. Keeping track of those measurements helped me identify the issue promptly.
Always consider the potential for expansion or contraction based on temperature changes if you’re working in varying climates. This can slightly alter the size, especially in plastic tubes.
Common Mistakes to Avoid During Measurement
First and foremost, using the wrong tools can lead to inaccurate readings. I once relied on a standard ruler instead of a calliper, which resulted in a significant error. Always opt for tools designed for precise measurements. They may cost a bit more but save you headaches later.
Another frequent blunder is measuring the inner circumference rather than the inner width. Many assume they can calculate one from the other, but it’s a recipe for disaster. Stick to measuring the width directly to ensure accuracy.
It’s also easy to overlook the importance of checking for wear or damage. A frayed or kinked section can affect the actual size. I once measured a hose that looked fine, only to discover that a hidden kink altered my results. Always inspect the entire length before taking measurements.
Don’t forget to account for temperature variations. I recall a cold day when I measured a rubber component. The material contracted, yielding a smaller size than expected. If you’re working in fluctuating temperatures, let the material adjust before you measure.
Lastly, avoid distractions during the process. I’ve made mistakes by multitasking, leading to miscalculations. Find a quiet space and focus solely on the task at hand for the best results.
Interpreting Measurements for Compatibility
When selecting a replacement or additional tube for your cleaning equipment, accurate interpretation of the measurements is key. Begin with an understanding that the size directly impacts performance. A tube that is too narrow may restrict flow, while one that is excessively wide could lead to a loss in pressure, affecting cleaning efficiency.
It’s essential to cross-reference the recorded measurements with manufacturer specifications. Most brands provide guidelines on compatible sizes for their models. If you’re considering a polyurethane pressure washer hose, ensure it aligns perfectly with your existing setup.
Another aspect often overlooked is the fitting type. Not all connectors will fit every tube, so check both the outer and inner sizes. If you’ve come across specific connectors that intrigue you, research their compatibility with your measurements. Sometimes, you might find connectors that look similar but differ subtly enough to cause issues.
During my time working with various equipment, I often saw users frustrated by mismatches. Once, a client purchased a widely recommended tube, only to discover it wasn’t suited for their unit. A quick look at the specs revealed a slight difference in measurements, leading to a lesson on the significance of precise dimensions.
Also, consider the material. Different materials perform variably under pressure and temperature. For instance, while a polyurethane option is durable, it may behave differently than rubber under certain conditions. Keep this in mind when assessing suitability.
For those who might be interested in visual aids, consider how a digital camera looks almost identical to a traditional camera yet offers different functionalities. Similarly, two tubes might seem alike but can have vastly different performance based on their construction and dimensions.
In conclusion, interpreting measurements for compatibility involves more than just understanding size. It requires a holistic view of the equipment, its requirements, and how each component interacts within the system. A little diligence goes a long way in achieving optimal results.
.jpg)
.jpg)


