


The first step is to ensure you have all the necessary components ready. Check that the unit is on a stable surface, and you have a water source nearby. Connect the garden hose to the water inlet of your machine; make sure it’s securely fastened to avoid any leaks during operation. It’s a common oversight, but a tight connection will save you from interruptions.
Next, plug the power cord into an electrical outlet. Make sure the socket is rated for the unit’s power requirements. I remember one instance when I had a client’s machine malfunction due to using an incompatible socket, which led to unnecessary delays. Always double-check your connections to avoid such issues.

Before you start, fill the detergent tank if you’re planning to use cleaning agents. It’s a straightforward process, but I’ve seen many people skip this step, thinking they could add detergent later. Trust me, having everything prepped will enhance your cleaning experience and efficiency.
Once everything is connected, turn on the water supply and switch on the power. Engage the trigger to release any air trapped in the system. This simple act can significantly improve the performance of your unit, ensuring you get the most out of your cleaning session. From my years of experience, a well-prepped machine not only works better but also lasts longer.
Steps to Access Your Karcher K4 Unit
To gain access to the internal components of your K4 model, begin by ensuring the machine is disconnected from the power source. This guarantees safety while you work. Next, locate the screws that secure the cover. Typically, these are found at the rear and sides of the unit. Use a suitable screwdriver to remove them, ensuring you keep them in a safe place for reassembly.
After unscrewing, gently pull the cover away from the base. You may need to wiggle it slightly to free it from any clips that hold it in place. Once the cover is removed, take a moment to inspect the internal components for any signs of wear or damage. If you’re considering maintenance or repairs, this is an excellent opportunity to clean any debris or buildup that may have accumulated inside.
Reassembly Tips
When you’re finished with your inspection or maintenance, reattach the cover by aligning it with the base. Make sure the clips engage properly before securing the screws back in place. A tight fit is essential to protect the internal parts from dust and moisture. If you’re looking to enhance your outdoor cleaning routine, consider checking out the best cordless garden vacuum and blower options available for a comprehensive approach to yard work.
Unboxing the Karcher K4 Pressure Washer
Carefully cut through the packaging tape using a utility knife or scissors, ensuring you don’t damage the contents inside. Once the tape is removed, lift the lid off the box. You’ll find the main unit securely nestled within protective foam, along with various accessories and hoses neatly packed around it.
Start by removing the unit from the box. Grip it firmly and pull it out, being cautious of any sharp edges. Set it on a flat surface. As you do this, take a moment to check for any visible damage. If everything looks good, proceed to unpack the accessories. Look for the lance, nozzle, and any cleaning solutions that may be included. Lay them out in an organised manner for easy access.
Next, locate the user manual. It’s a small booklet, usually placed at the top of the box. Skim through it to familiarise yourself with the components and assembly instructions. I recommend reading the safety precautions first; they’re crucial for a smooth experience. In my years of testing various models, I’ve seen how skipping this step can lead to mishaps.
Once you’ve gone through the manual, start assembling the components. The lance typically attaches to the main unit with a simple click. Ensure it’s secure by giving it a gentle tug. Then, attach the nozzle of your choice based on your cleaning needs. I often opt for the adjustable nozzle for versatility; it allows me to switch between different spray patterns effortlessly.
As you continue to set up, connect the water supply hose. Make sure it’s tightly fitted to prevent leaks. I’ve encountered frustrating situations where a loose connection led to water spraying in unexpected directions. Check the seals and ensure everything is snug. Lastly, plug the unit into a power source and check the power cord for any visible wear.
With everything unpacked and assembled, you’re ready to experience the cleaning power of this model. My first time using a similar device left me impressed; it transformed my outdoor space in no time. Get ready to tackle those cleaning tasks with confidence and efficiency!
Identifying Key Components and Accessories
First off, take a moment to familiarise yourself with the essential elements and add-ons that accompany your new cleaning unit. Understanding these components will not only enhance your user experience but also ensure you get the most out of your equipment.
Main Components
- Motor: This is the powerhouse of the machine, responsible for generating the necessary pressure. Make sure to check the specifications for wattage and flow rate.
- Pump: The heart of the system that pressurises the water. Look for a durable construction, preferably brass, for longevity.
- Trigger Gun: This is your control mechanism. Check for comfort and ease of use, as this will be your primary interface during operation.
- Nozzle Set: Various nozzles allow you to adjust the spray pattern. A wide range is beneficial for different cleaning tasks.
- Hose: Ensure the hose is of adequate length and made from a flexible material that withstands high pressure.
Useful Accessories
- Surface Cleaner: Ideal for flat surfaces like driveways and patios, providing an even clean.
- Foam Cannon: A great addition for applying detergent, producing thick foam that clings to surfaces for better cleaning.
- Extension Wands: These tools help reach high areas without the need for ladders.
- Wheel Kit: If mobility is a concern, consider attaching wheels for easier transportation.
For those exploring alternatives, don’t forget to check out a circular pressure washer for a different take on efficiency and design.
Take the time to read through the manual, as it provides valuable insights into the specific components of your unit and how to maximise their potential. Investing a little effort in this area can lead to significantly better outcomes during your cleaning tasks.
Preparing Your Work Area for Setup
Clear your workspace of any clutter. A tidy area reduces the risk of accidents and helps you locate components easily. I remember the first time I set up a similar unit; I spent ages searching for parts under piles of boxes. A clean surface makes everything smoother.
Ensure you have access to a water supply. Check the hose connections before you begin. I once had a frustrating experience because the garden tap was jammed. A quick inspection can save time later.
Lay out all components in an organised manner. Arrange them logically: start with the base unit, then the hoses, and end with the accessories. This way, you won’t waste time searching for the lance when you need it. Here’s a quick table to help with the layout:
| Component | Recommended Placement |
|---|---|
| Base Unit | Centre of workspace |
| Hoses | Beside the base unit |
| Gun and Lance | Front of workspace |
| Cleaning Solutions | Near the exit point for easy access |
Check the power supply as well. If you’re using an extension lead, make sure it’s rated for the load. I once had a problem because my extension cord wasn’t adequate, leading to a frustrating delay. Always double-check this before you start.
Lastly, consider the surface you’re working on. If it’s delicate, lay down a protective mat. I’ve seen damages occur from high-pressure jets hitting the wrong surface; it’s not worth the risk. A bit of foresight can go a long way in ensuring a smooth setup experience.
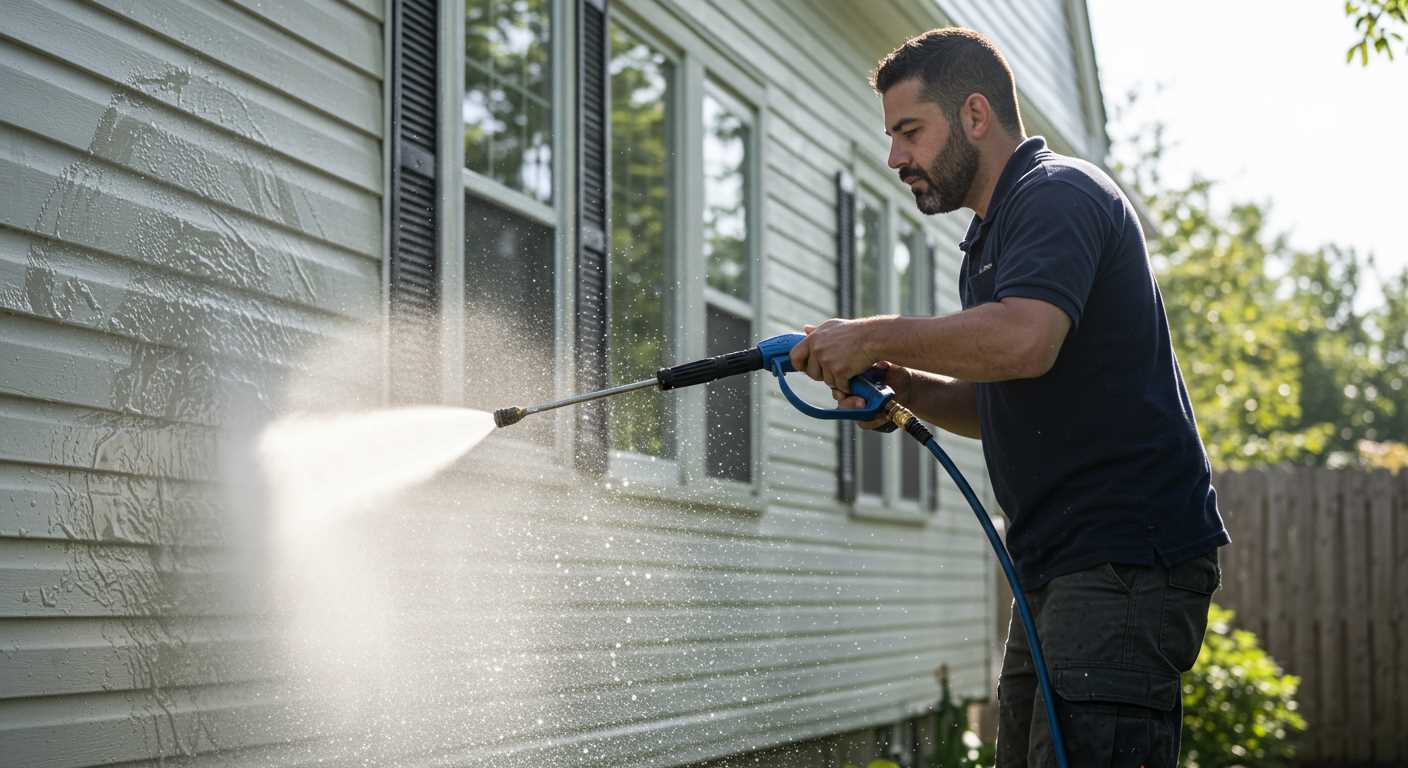
Connecting the Water Supply
Locate the water inlet on the unit, typically found at the rear. It’s crucial to use a standard garden hose for this connection. Ensure the hose is free from kinks and blockages. I recall a time when I was eager to test a new model but neglected to check the hose–resulted in a disappointing experience.
Next, securely attach the hose to the inlet. You want a snug fit to avoid leaks during operation. Hand-tightening is usually sufficient; over-tightening can damage the threads. In my experience, a simple twist can make a world of difference.
Now, connect the other end of the hose to your water source. Ensure the faucet is fully functional and can provide a steady flow. I’ve encountered issues when using a low-pressure tap; it’s best to test the water flow before starting any cleaning tasks.
Once connected, turn on the water supply to fill the system. This step is vital as it primes the pump and clears any air. I often let it run for a minute before proceeding, ensuring everything is set for optimal performance.
Check for any leaks around the connections. If you spot any, reattach or tighten the hose until it’s secure. I’ve learned that a small leak can lead to larger problems down the line, affecting both the machine and your cleaning efficiency.
Finally, you’re ready to proceed with your cleaning tasks. With the water supply correctly connected, you can focus on getting the job done without interruptions. It’s all about ensuring a seamless start to your cleaning experience.
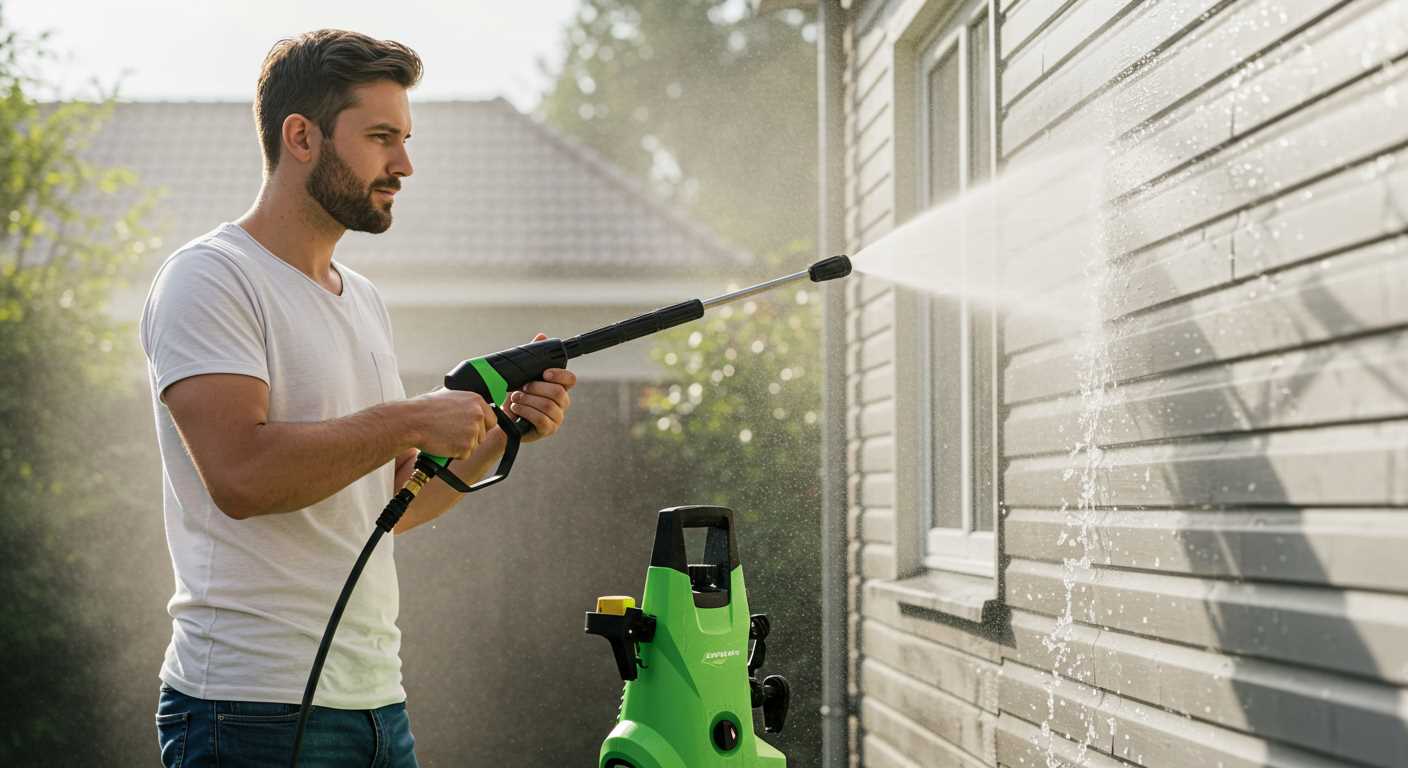
Powering On the Karcher K4 and Initial Checks
After ensuring all components are properly connected, the next step is to power up the unit. Locate the main switch, typically situated near the handle. Flip it to the ‘On’ position. You should hear a soft click, indicating that the machine is ready for use.
Before you start spraying, perform a few initial checks. Firstly, inspect the hose for any signs of damage or kinks that could affect performance. A well-functioning hose is crucial for maintaining optimal water flow.
Next, examine the connection to your water source. Ensure there are no leaks and that the fitting is secure. A loose connection can lead to reduced efficiency and could potentially cause damage over time.
It’s also wise to check the power supply. Make sure the plug is firmly inserted into the outlet and that the circuit is functional. If you’re using an extension lead, confirm it’s rated for the required wattage to prevent any electrical issues.
Finally, take a moment to review the detergent tank, if applicable. Ensure it’s filled with the appropriate cleaning solution, and that there’s no residue blocking the nozzle. A clean nozzle is essential for proper mixing and application of the detergent.
Once all checks are completed, you’re set to begin your cleaning tasks efficiently and effectively!

.jpg)


