
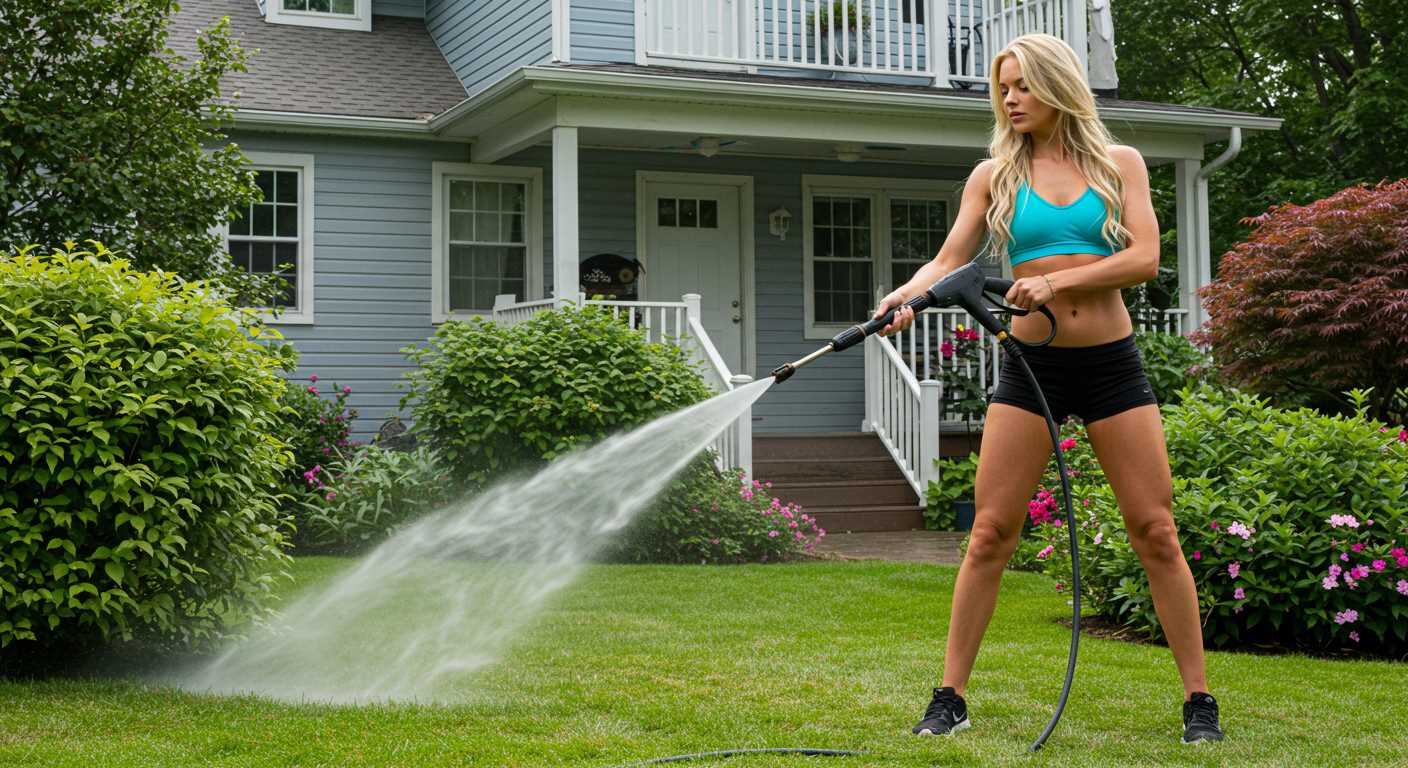


Before you even plug in your cleaning device, ensure you’ve got the right nozzle attached. Each nozzle serves a specific purpose, whether it’s for a gentle rinse or blasting away stubborn grime. I remember the first time I used a wide-angle tip; I was amazed at how quickly I removed years of dirt from my patio.
Next, check your water supply. A consistent flow is crucial. I once encountered a situation where the garden hose wasn’t supplying enough water, leading to overheating and a frustrating delay. Always ensure your source can keep up with the demands of your machine. A steady stream not only prevents damage but also optimises your cleaning experience.

Don’t overlook the importance of detergent. Using the right cleaning solution can make a world of difference. In my early days, I used whatever was available, but I quickly learned that specific formulations enhance the cleaning power. For instance, a degreaser is perfect for garage floors, while a mild soap works wonders on vehicles.
Finally, maintain a safe distance from the surface you’re cleaning. I once got a bit too close while tackling an oil stain, and the intense force left a mark on my driveway. Keeping a proper distance ensures effective cleaning without causing damage.
Understanding the Components of the Paxmess Pressure Washer
The key to maximising performance lies in familiarising yourself with the various parts of your cleaning unit. Start with the motor, which powers the entire system. A reliable motor ensures consistent water flow and pressure, facilitating effective cleaning. Opt for models with durable motors to prevent wear and tear over time.
Next, examine the pump. This component is responsible for generating the necessary water pressure. Look for units equipped with axial pumps, as they typically offer a good balance of pressure and flow rate. A high-quality pump will reduce the likelihood of malfunctions.
The nozzle is another critical part. Different nozzles create various spray patterns that cater to specific cleaning tasks. For example, a zero-degree nozzle delivers a concentrated jet ideal for stubborn stains, while a wider nozzle is suitable for rinsing large surfaces. Keep an assortment of nozzles handy for versatility.
Don’t overlook the hose. A robust, kink-resistant hose ensures water flows smoothly without leaks. Check for compatibility with your device, as the right length can enhance manoeuvrability during cleaning sessions.
For those looking to enhance cleaning capabilities, consider investing in a high-quality best chemical injector for pressure washer. This accessory allows you to mix cleaning solutions effectively with water, boosting stain removal efficiency.
Finally, pay attention to safety features. A well-designed safety trigger prevents accidental activation, while thermal relief valves protect the unit from overheating. Regular maintenance of these components will ensure longevity and optimal performance.
Preparing the Equipment for Use
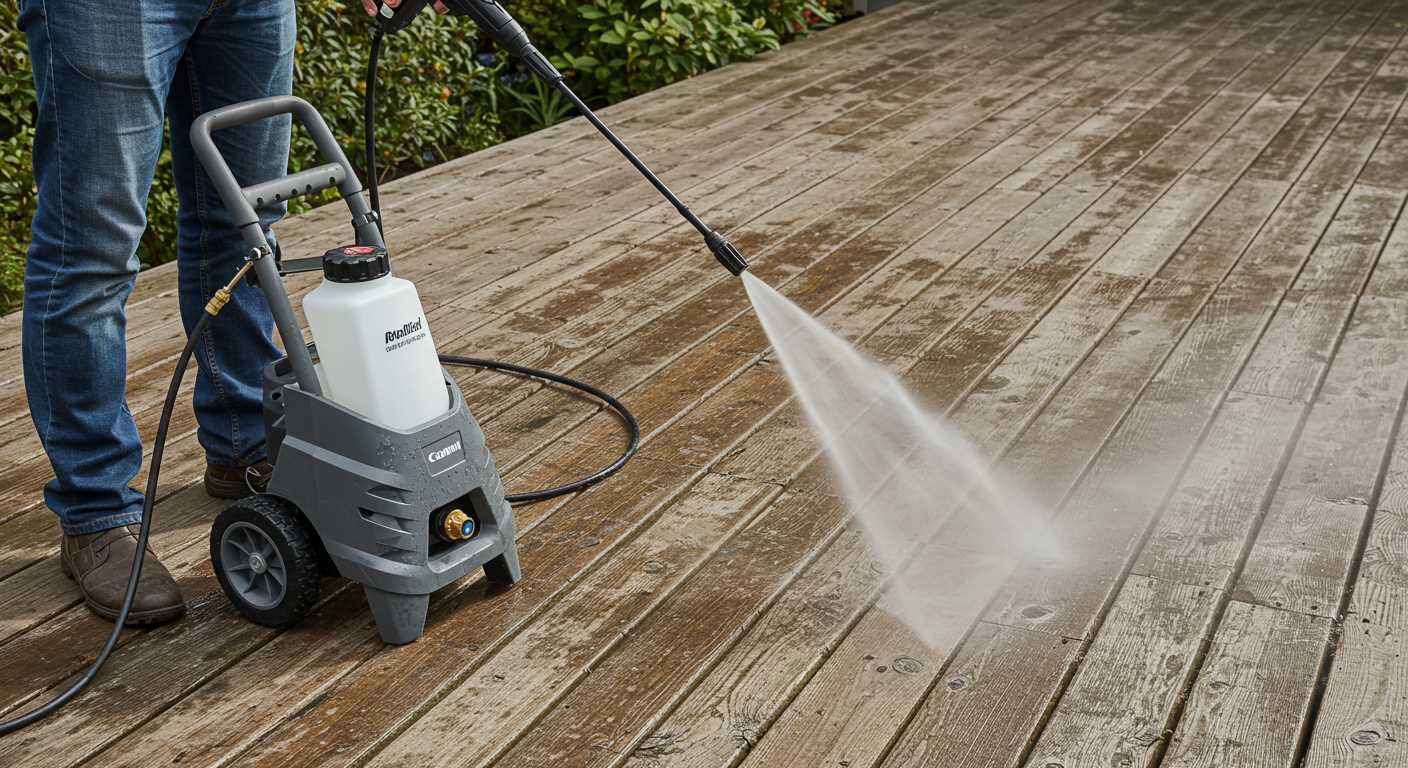
Before starting any cleaning task, ensure that the device is set up correctly. First, place the unit on a stable, level surface away from any obstacles. Make sure the area is clear of debris or items that could interfere with your work.
Connecting the Water Supply
Attach a suitable garden hose to the water inlet. Ensure it’s securely fastened to prevent leaks. Open the tap fully to allow water to flow into the machine. It’s crucial to check for kinks or blockages in the hose to maintain a steady water supply. I’ve had instances where a simple kink led to underperformance, so keep it straight and clear.
Power Supply and Safety Checks
For electric models, plug the power cord into a grounded outlet. Avoid using extension cords if possible, as they can lead to voltage drops. Check for any signs of wear or damage on the cord; safety is paramount. For petrol versions, ensure the fuel tank is filled with the correct fuel type. I always recommend using fresh fuel to avoid starting issues.
Before turning on the device, inspect all connections, including the spray wand and nozzle. They should be tightly secured. Test the trigger mechanism with the unit off; it should move smoothly without sticking. When everything is in order, you’re ready to begin your cleaning task. If you’re looking to powerfully clean paving stones with a high pressure cleaner, these preparations will set you up for success.
Connecting the Water Supply and Power Source
Before you begin, ensure that the water supply is clean and free of debris. I learned the hard way that contaminants can clog filters and damage the internal components. Attach your garden hose securely to the inlet of the machine, making sure there are no leaks. A tight connection will prevent any loss of water pressure.
Check the hose for kinks or twists that could restrict water flow. In my experience, even a slight bend can lead to inadequate performance. Turn on the water supply and let it run for a moment to clear any trapped air. You’ll know it’s ready when the water flows steadily without spluttering.
For the power source, use a suitable extension cord. I’ve encountered many situations where using an inadequate cord led to overheating issues. Ensure the cord is rated for outdoor use and can handle the wattage of your machine. Plug it into a grounded outlet to avoid any electrical mishaps.
Once both connections are secure, check for any leaks around the fittings. A quick inspection can save you from unexpected interruptions. After confirming everything is in order, you’re set for a productive cleaning session.
Selecting the Appropriate Nozzle for Your Task
For any cleaning job, matching the right nozzle with your task is paramount. I remember tackling a particularly stubborn patio; I initially used a wide-angle nozzle, which just wasn’t cutting it. Switching to a narrow jet made all the difference, blasting away years of dirt in seconds.
Nozzle Types and Their Uses
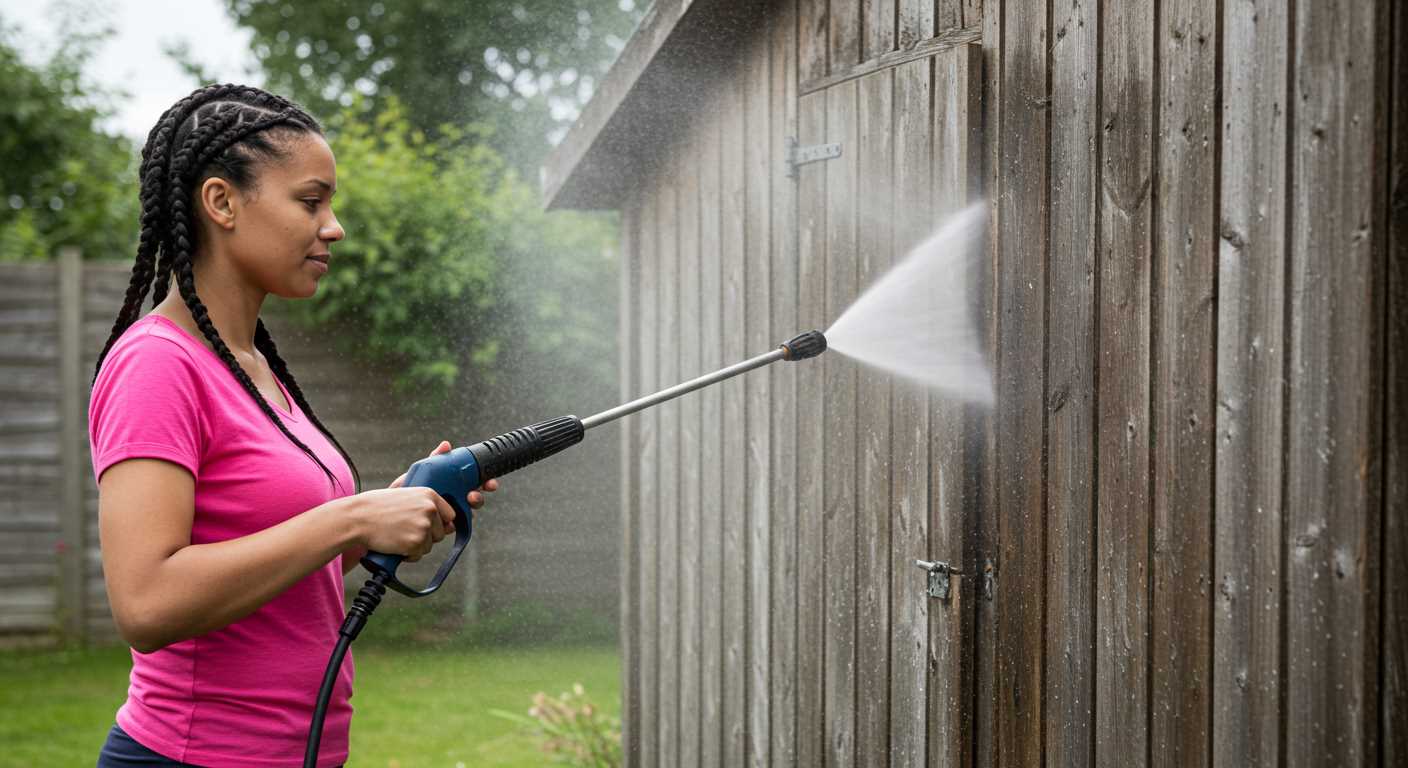
Understanding the different types of nozzles is crucial. The zero-degree nozzle delivers a concentrated stream, perfect for tough stains on concrete or brick. However, exercise caution as it can damage surfaces if held too close. For general cleaning, the 15-degree nozzle strikes a balance, providing enough power without the risk of harm. The 25-degree nozzle is ideal for larger areas like driveways or decks, while the 40-degree nozzle is best suited for delicate surfaces such as cars or windows.
Choosing Based on Surface and Dirt Type
Consider the surface material and the type of grime. For wooden decks, I’ve found the 25-degree nozzle works wonders without causing splintering. On the other hand, for greasy stains on metal surfaces, the zero-degree option is unbeatable. Always test a small area first to avoid damage. Remember, the right choice can save time and effort, ensuring that your cleaning task is both efficient and thorough.
Adjusting the pressure settings for different surfaces
To achieve optimal cleaning results, it’s vital to tailor the intensity of the water stream to the surface you’re working on. Here’s a straightforward guide based on my experiences.
-
Concrete:
For driveways or patios, set the pressure to a higher level, around 3000 PSI. This will effectively remove stubborn stains like oil and dirt.
-
Wood:
When cleaning decks or fences, dial down the pressure to about 1500-2000 PSI. Excessive force can damage the wood fibres, leading to splintering.
-
Vehicles:
Adjust to a gentle setting of approximately 1200-1500 PSI. This protects the paint while effectively removing grime and dirt.
-
Glass:
For windows, keep the pressure low, around 700-1000 PSI. Higher settings can lead to cracks or shattering.
-
Bricks and Stone:
Use a medium pressure of 2000-2500 PSI. This cleans thoroughly without causing erosion.
Always test on a small, inconspicuous area before proceeding with the main cleaning task. Adjusting the settings not only ensures effective cleaning but also prolongs the life of your surfaces.
From experience, I’ve learned that patience pays off. Take a moment to adjust the pressure according to the material you’re working on; it’s worth the effort in the long run.
Techniques for Safe and Effective Cleaning
Always wear appropriate protective gear. I recall a time when I was cleaning a patio without safety goggles. A pebble came flying back and hit me in the face. Now, I never skip the goggles and gloves. They are non-negotiable.

Start from the top and work your way down. One day, I was tasked with cleaning a two-storey building. I began at ground level, and by the time I reached the second floor, dirt from above had splashed onto areas I’d already cleaned. It’s more effective to follow a top-to-bottom approach to avoid redoing work.
Maintain a consistent distance from the surface. During an early job, I got too close while cleaning a wooden deck, causing damage. A good rule of thumb is to keep the nozzle at least 30 cm away from the surface. This reduces the risk of harm while still effectively removing grime.
Use sweeping motions instead of direct sprays. I learned this the hard way while cleaning a car. Concentrated pressure in one spot caused a paint chip. By moving the nozzle in a sweeping motion, I achieved a thorough clean without causing damage.
Rinse immediately after applying detergent. On one occasion, I let the soap sit too long, and it left a sticky residue. After applying any cleaning solution, quickly rinse it off to prevent streaks and ensure a spotless finish.
Be mindful of the surface material. I once encountered a brick driveway that needed cleaning. I mistakenly assumed the same technique would work as on concrete and ended up eroding some of the softer mortar. Always adjust your approach based on the material you’re working with.
Finally, take breaks to check your work. During a long cleaning session, I often find it beneficial to step back and evaluate my progress. This can help identify areas that need more attention or adjustments in technique before finishing up.
Maintaining the Cleaner After Use
Immediately after completing your cleaning task, detach the water supply and power source. This step helps prevent any accidental activation while you’re tidying up. Make sure to drain any leftover water from the unit; this reduces the risk of internal components rusting or getting clogged.
Next, inspect the hose and nozzle for any debris. A quick rinse can save you a lot of hassle later on. I recall a time when I neglected this step, and a simple blockage turned into a frustrating repair task.
Once the components are clean, store them properly. Avoid coiling the hose tightly; instead, loosely wrap it to prevent kinks. I’ve seen hoses damaged due to improper storage, which leads to costly replacements. Use a designated storage area, away from direct sunlight and extreme temperatures, to prolong the life of your equipment.
Regularly check the oil levels if your model requires it. Keeping the engine well-lubricated ensures optimal performance. I recommend scheduling this check after every few uses, even if it seems like a minor detail.
Finally, perform a thorough inspection of the unit. Look for any signs of wear or damage, especially on electrical connections and fittings. Addressing small issues early can prevent more significant problems down the line.
| Maintenance Task | Frequency |
|---|---|
| Drain residual water | After each use |
| Clean nozzle and hose | After each use |
| Check oil levels | Every few uses |
| Inspect for wear or damage | Every use |
Following these steps not only enhances the efficiency of your equipment but also extends its lifespan, ensuring reliable performance for your next cleaning project.
Troubleshooting Common Issues with the Cleaning Device
When encountering difficulties, first check for power. If the unit doesn’t start, ensure it’s plugged in correctly and that the outlet is functioning. A simple test with another device can confirm this.
Water flow problems are frequent. If you notice reduced pressure or no water at all, inspect the inlet filter for debris. Clean it if necessary. Additionally, ensure the hose isn’t kinked or blocked.
- Check the water source; it should be turned on fully.
- Verify that any garden hose attachments are secure and leak-free.
Noise can indicate issues too. If you hear unusual sounds, inspect the motor for any loose components. Tighten screws and ensure nothing is obstructing movement.
If the spray pattern seems erratic, the nozzle might be clogged. Remove the nozzle and rinse it under warm water, using a small brush to clear any blockages. A needle can also help in clearing stubborn clogs.
- Switch nozzles to see if the problem persists.
- Always clean the nozzle after each use to prevent future clogs.
Leaks are another concern. Inspect all hose connections and seals. If you find a leak, replace any worn seals or fittings. It’s essential to maintain a tight connection to prevent water loss.
Be mindful of overheating. If the device shuts off unexpectedly, allow it to cool down. This often happens when used for extended periods without a break. I remember once having to pause for a while during a lengthy job – it made a noticeable difference.
- Implement short breaks if you’re working on larger tasks.
- Consider alternating between tasks to give the device time to cool.
Should any electrical issues arise, such as tripping breakers, consult a qualified technician. Avoid attempting repairs on electrical components unless you’re experienced. Safety is paramount.
Lastly, always refer to the manual for specific troubleshooting steps related to your model. It can offer invaluable insights tailored to your equipment.
.jpg)


