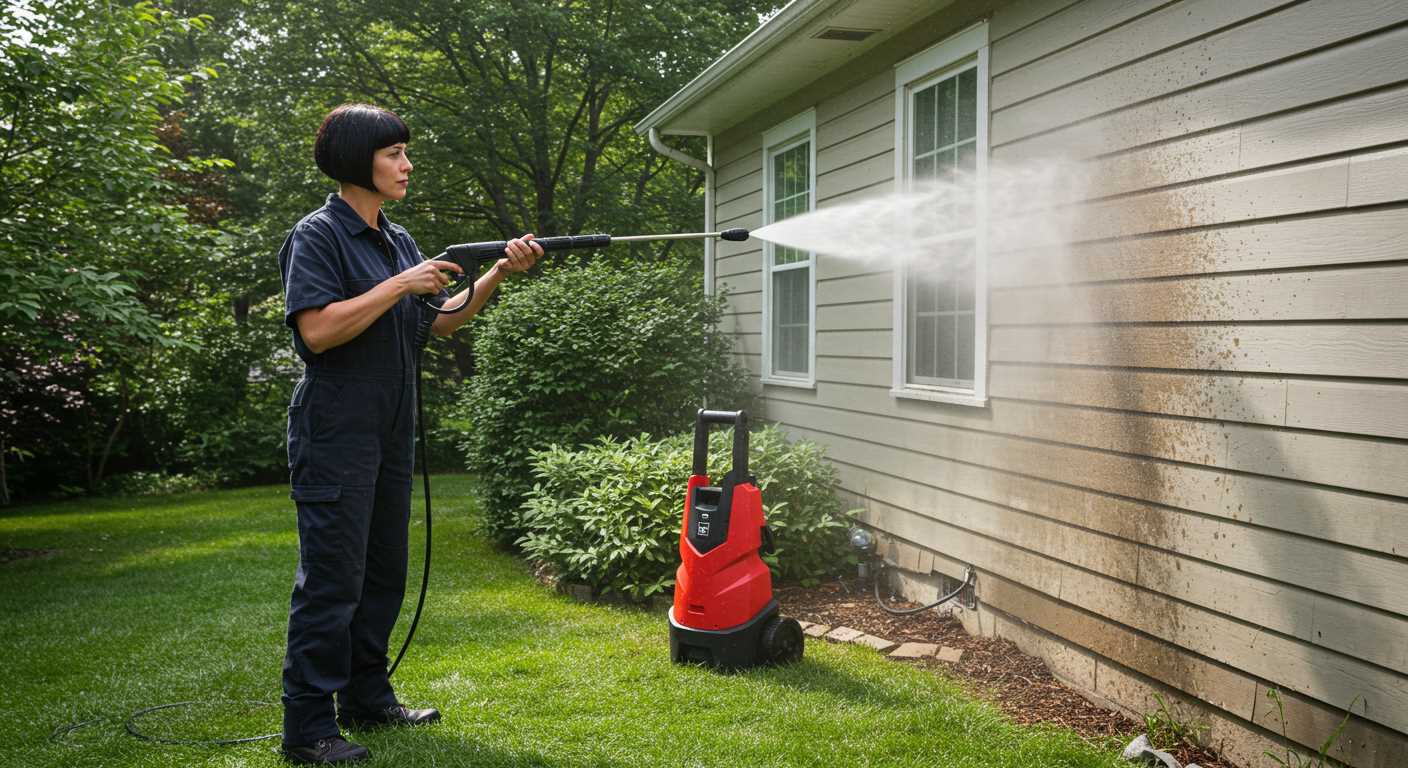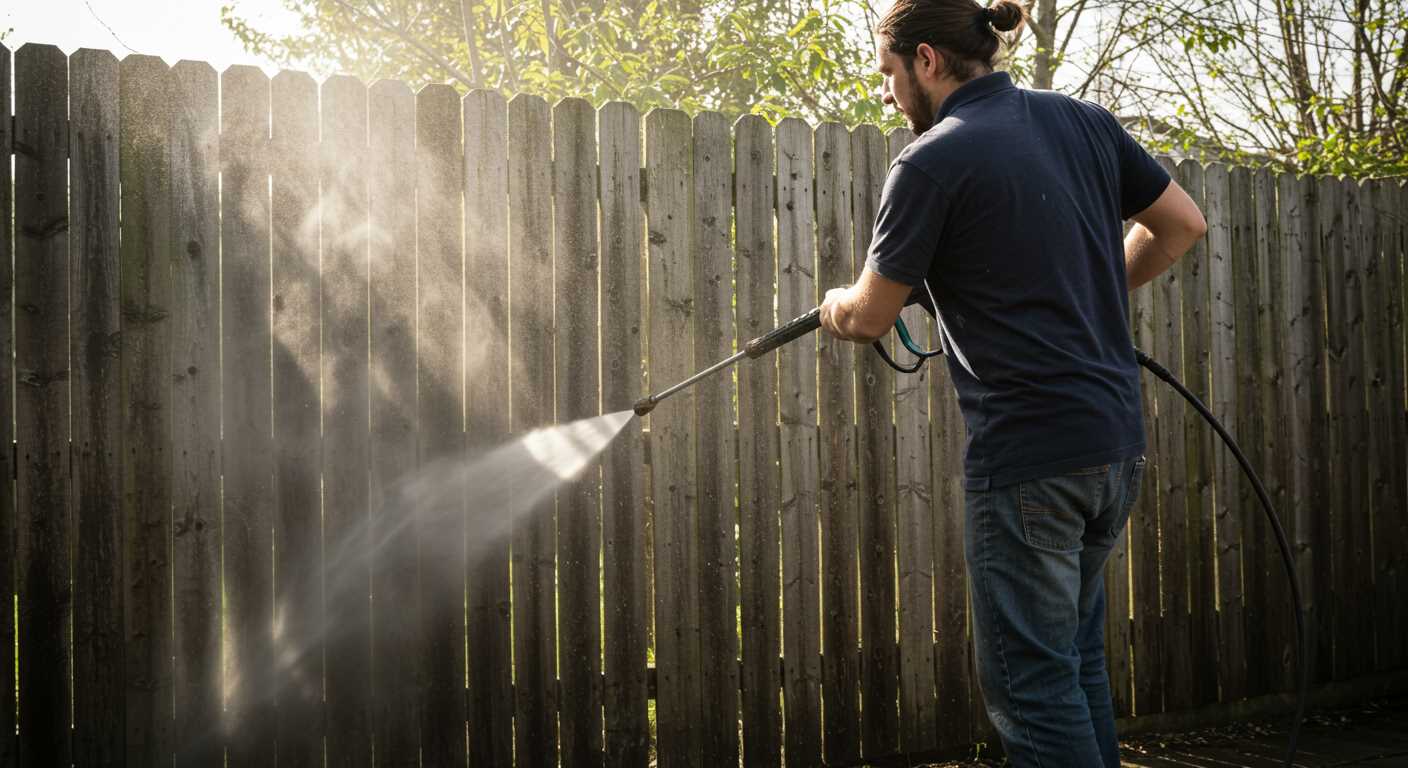


To establish a solid connection between your garden hose and a high-pressure cleaner, ensure the hose is fully unwound and free of kinks. Grab the end of the hose and inspect the connector; it should match the inlet of your device. Most models feature a simple twist-and-lock mechanism, making assembly straightforward.
Once you’ve verified compatibility, align the hose connector with the inlet. While holding the main unit steady, twist the connector clockwise until it feels secure. It’s crucial to avoid over-tightening, as this could lead to damage. If you encounter resistance, check for any debris or misalignment.
After securing the connection, turn on the water supply slowly. Watch for leaks around the connection point; if any arise, you may need to adjust the fitting. A tight seal is necessary to maintain performance. In my experience, taking these steps can prevent frustrating interruptions during your cleaning tasks.
Always remember: before using your equipment, refer to the manufacturer’s guidelines. This will help you understand any specific requirements your model may have, ensuring a seamless experience every time.
Connecting Your Water Supply to the Cleaning Unit
Begin by locating the inlet connection point on your cleaning device. This is usually situated at the front or side, clearly marked for easy access. Ensure the machine is powered off before proceeding.
Steps to Connect
- Take your garden water line and inspect it for any damage or leaks. A tight and functional hose will ensure optimal performance.
- Align the connector of your water line with the inlet on the equipment. Make sure it fits snugly without forcing it.
- Twist the connector clockwise until it’s secure. Avoid overtightening, as this can damage the threads.
- Turn on the water supply gradually. Check for leaks around the connection point. If you see any, you may need to re-tighten or use a washer.
Tips for Effective Use
- Always use a suitable length of line to avoid kinks, which can restrict water flow.
- Consider using a quick-connect adapter if you frequently switch between different water sources.
- Regularly check the connection for wear and tear, especially if you use it often. A well-maintained line will prolong the lifespan of your equipment.
During my years in the industry, I’ve encountered various models, each with unique fittings. Some units have a push-fit system that simplifies the connection process. Familiarise yourself with your specific model for the best results.
Choosing the Right Hosepipe for Your Pressure Washer
Opt for a lightweight, durable model with a diameter of at least 1/4 inch for optimal flow. I recall a time when I used a 3/8 inch variant; it was overkill and made manoeuvring cumbersome. A 1/4 inch provides plenty of pressure without the added bulk.
Consider the length carefully. A shorter length reduces pressure loss, but if you need to reach distant spots, a 25-foot option typically suffices. I once tried a 50-foot version, which was cumbersome and often tangled, making my task more tedious than necessary.
Material matters. Go for rubber hoses over PVC; they’re more flexible, resistant to kinks, and withstand higher temperatures. I learned the hard way with a PVC model that cracked under pressure after just a few uses. Rubber is definitely the way to go for longevity.
Check for compatibility with your device. Ensure the fittings match your equipment. I’ve had moments of frustration when I didn’t double-check; a small fitting can lead to leaks, wasting both time and effort.
Lastly, look for options with a reinforced design. This can make all the difference in preventing bursts under high pressure. I’ve witnessed too many hoses fail at the worst possible moment. Investing in a quality, reinforced option pays off in the long run.
Preparing Your Cleaning Machine for Hose Connection
Ensure your device is switched off and unplugged from the mains before proceeding. This simple step can prevent accidents while handling the water supply line.
Inspect Connections
Check the connection point for any debris or damage. A clean, intact inlet ensures a proper seal and prevents leaks. If you notice any wear, consider replacing the fitting before continuing.
Water Supply Readiness
Verify that the water source is readily accessible and turned on. A steady flow is necessary for optimal performance. If using a garden tap, ensure it’s free from blockages. Attach a suitable connector to avoid any mishaps during operation.
Additionally, if your system uses a filter, clean or replace it to maintain water quality, which directly affects the longevity of your equipment.
Finally, gather all necessary tools, including adjustable wrenches or pliers, to facilitate a seamless connection. Being prepared allows for a smooth setup process, so you can focus on achieving that spotless finish.
Locating the Water Inlet on Your Pressure Washer
To find the water inlet on your cleaning unit, look for a connector typically located near the base or side of the machine. This connection is usually larger and often marked with a water symbol or labelled as ‘inlet’. In many models, the inlet features a threaded design to accommodate a standard garden hose fitting.
Identifying Common Inlet Locations
.jpg)
On most units, the water intake is positioned to facilitate easy access. If your model is upright, the inlet is commonly near the rear or bottom. For horizontal models, check the sides. Sometimes, the inlet may be obscured by a cover; ensure you inspect thoroughly to avoid missing it.
Using a Visual Reference
If you’re struggling to locate the inlet, consult the user manual. Manufacturers often include diagrams that clearly illustrate the parts of the machine. Additionally, online videos can provide visual guidance that simplifies the process. After locating the inlet, ensure it’s free of debris before connecting your water source.
Attaching the Hosepipe to the Water Inlet Securely
Ensure a firm connection between the tubing and the water intake by following these precise steps. First, inspect the threads of both the inlet and the hose. Clean any debris to avoid leaks. Align the hose with the inlet, ensuring that the rubber washer is properly seated inside the connector. This washer is crucial for preventing water from escaping.
Securing the Connection
Once aligned, twist the hose clockwise until snug. Avoid over-tightening as this may cause damage. If your model has a quick-connect feature, simply push the connector firmly into the inlet until you hear a click. Regularly check for any signs of wear or damage on both the hose and inlet to maintain optimal performance.
Using the Right Accessories
For an enhanced experience, consider investing in a pressure washer nozzle for garden hose. The right nozzle can significantly improve efficiency and cleaning power, making your tasks quicker and easier.
Checking for Leaks After Connecting the Hosepipe
After securing the water line to the unit, it’s crucial to inspect for any signs of leakage. Begin by turning on the water supply. Watch closely where the connection meets the inlet; any drips or sprays indicate improper sealing or a potential issue with the fittings.
A simple visual inspection may not always reveal issues. To ensure a complete check, observe the area for a minute or two, as leaks can sometimes take a moment to appear. If you notice water seeping, turn off the supply immediately and reassess the connection.
It’s also wise to run your equipment for a brief moment. This can help build pressure within the system, which might expose hidden leaks that weren’t visible during the initial check. Listen for any unusual sounds, such as hissing, which could signal escaping water.
If leaks are present, disassemble the connection and inspect the sealing washers and O-rings. These components can wear out over time and may need replacing. Ensuring these parts are in good condition can prevent future leaks and enhance overall performance.
After making any necessary adjustments or replacements, reconnect everything and perform another leak test. This diligence saves time and prevents water wastage, ensuring your cleaning tasks can proceed without interruption.
Understanding the Role of Hosepipe Length and Diameter
Choosing the right length and diameter for your piping is critical for optimal performance. An effective setup can significantly influence water flow and pressure, impacting the overall cleaning experience.
Length Considerations
- Shorter lengths generally maintain higher water pressure. If you’re working close to the water source, a 5-10 metre length will suffice.
- Longer lengths can reduce pressure. For distances over 15 metres, consider using a larger diameter to compensate for pressure loss.
- Evaluate your cleaning area. If you need flexibility, a longer pipe may be beneficial, but ensure you’re aware of potential pressure drops.
Diameter Dimensions
- A larger diameter allows for increased flow rate, which can be advantageous for heavy-duty tasks.
- A standard diameter of 1/2 inch is usually effective for most domestic cleaning applications.
- Ensure compatibility with your equipment. A mismatch can lead to inefficiencies or even damage.
In my experience, I’ve found that many users overlook these factors. A friend once struggled with a long, narrow pipe, not realising it was causing a significant reduction in performance. After switching to a wider, shorter model, he was astonished at the improvement.
Always remember to check the specifications of your equipment before making a decision. For those looking to enhance their setup, exploring options from a digital camera company digicamco might provide useful insights.
Removing the Hose Safely After Use
Always ensure that the machine is powered off before disconnecting the water line. This helps prevent any unwanted spray or water backflow while you’re detaching the connection. Once you’ve confirmed the unit is off, it’s wise to release any remaining pressure by squeezing the trigger on the spray gun.
Steps to Disconnect
Follow these straightforward steps for a safe disconnection:
| Step | Description |
|---|---|
| 1 | Switch off the machine and unplug it from the power source. |
| 2 | Squeeze the trigger of the spray gun to release residual pressure. |
| 3 | Carefully twist and pull the connector to detach it from the water inlet. |
| 4 | Drain any remaining water from the line by holding it vertically. |
| 5 | Store the line in a clean, dry place to prevent damage. |
Post-Disconnection Care
Inspect the connection points for any signs of wear or damage. Regular checks can extend the life of your equipment significantly. Also, ensure that the storage area is free from moisture to avoid mould and mildew buildup. In my experience, taking these precautions has saved me time and money on replacements.


.jpg)


