
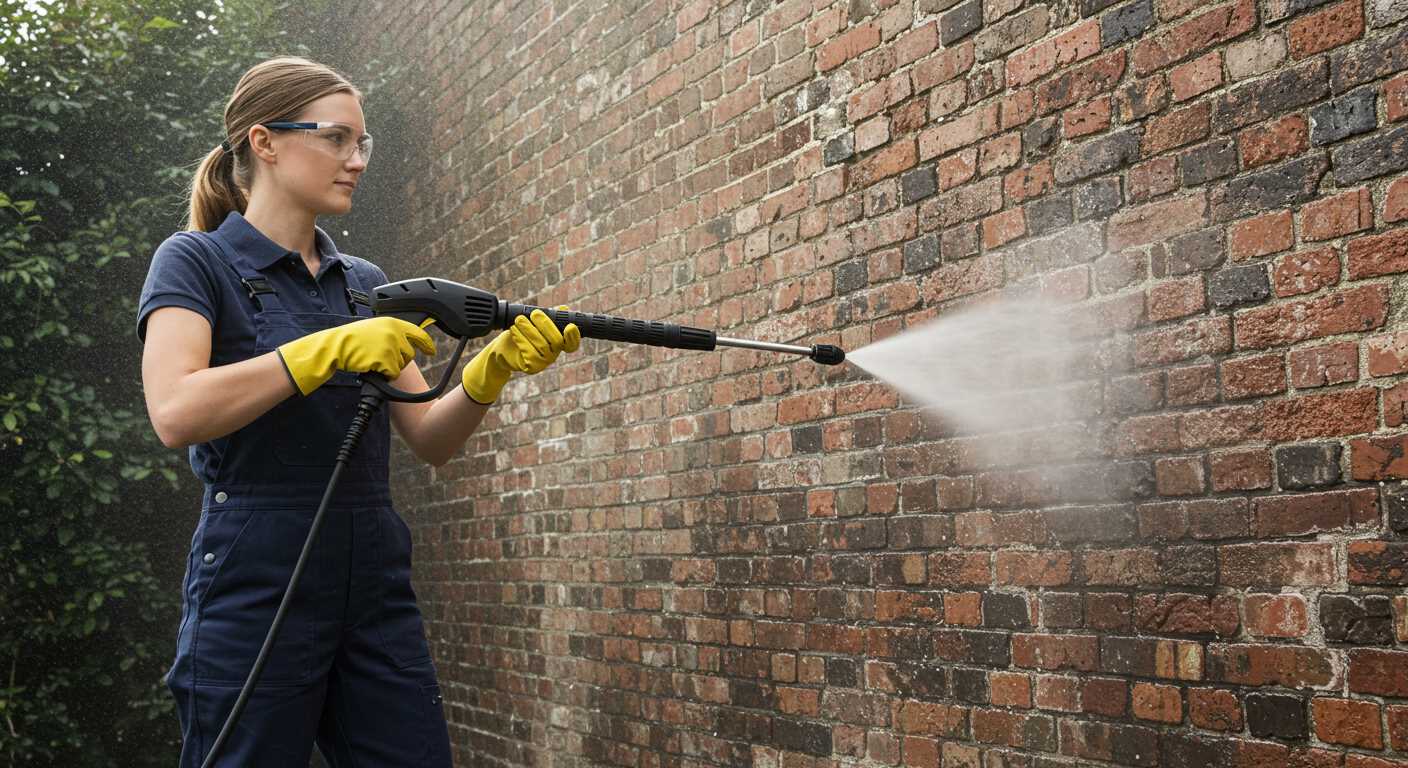


For a quick and thorough clean, the secret lies in using a high-pressure cleaning device. It’s amazing how effectively you can remove dirt and grime with just the right technique. Start by ensuring that the nozzle is set to a wide spray pattern. This will prevent any damage to delicate components while still providing enough force to dislodge stubborn muck.
Before you begin, it’s wise to give your ride a quick inspection. Check for loose parts or any potential issues that might get worse during the cleaning process. I once overlooked a loose chain, and the pressure from the spray caused it to snap right off! Once you’ve ensured everything is secure, it’s time to tackle the frame and wheels.
As you apply the stream, keep the nozzle at a safe distance of about 30 centimetres from the surface. This distance is crucial to avoid stripping paint or damaging components. For the wheels and tyres, focus on the rims and tread, where grime tends to accumulate. A gentle angle will help to dislodge dirt without sending debris flying everywhere.
Don’t forget about the drivetrain! A quick shot can help clear out the caked-on mud. Just be careful not to spray directly into the bearings or other sensitive areas. After you’ve finished, a soft cloth or sponge can help wipe down any remaining moisture, making your two-wheeled companion shine like new!
Cleaning Your Two-Wheeler with High-Pressure Equipment
Before you start, ensure you have the right attachments and settings. A fan nozzle is ideal for broad areas, while a pinpoint nozzle can tackle stubborn grime. I often recommend using a lower pressure setting to avoid damaging any delicate components.
Preparation Steps
- Remove any accessories, like baskets or lights, to protect them from water damage.
- Check for loose components; ensure everything is tightened to avoid any mishaps during cleaning.
- Cover sensitive areas like the gears and electronic components with plastic bags to prevent water ingress.
Cleaning Process
- Start from the top down, directing the stream away from bearings and seals.
- Focus on the frame, using sweeping motions to dislodge dirt without lingering too long in one spot.
- Pay attention to the wheels; it’s easy for grime to accumulate in the rims and spokes.
- For stubborn stains, apply a gentle bike-specific cleaner before rinsing.
- After cleaning, let the bike air dry. Wipe down any excess water with a soft cloth to prevent spots.
In my experience, regular maintenance keeps your ride looking sharp and extends its lifespan. I’ve seen bikes turn from muddy messes into gleaming machines with just a little care!
Selecting the Right Pressure Washer for Your Bicycle
Opt for a model with adjustable pressure settings. A lower PSI (pounds per square inch) is crucial for preventing damage to delicate components. I recommend a unit that offers a range from 1200 to 2000 PSI. This range is sufficient for effective cleaning without risking harm.
Consider Portability and Size
Choose a lightweight and compact design, especially if you’re transporting it to different locations. I once tested a portable model that easily fit in the boot of my car, making it convenient for cleaning at various biking trails.
Look for Versatile Attachments
Attachments like rotating nozzles and adjustable wands can enhance your cleaning experience. I found that a rotating brush attachment worked wonders on stubborn grime. When selecting a detergent for your equipment, consider using pressure washer detergent for house that is safe for bicycles.
Finally, don’t overlook the importance of a good warranty. A solid guarantee reflects the manufacturer’s confidence in their product and can save you from unexpected expenses down the line.
Preparing Your Bicycle for Pressure Washing
Remove any accessories such as lights, bags, and water bottles to prevent damage during the cleaning process. I once made the mistake of leaving a bottle holder on, and the intense water stream dislodged it, causing it to break. Ensure your chain is adequately lubricated; a thorough clean can wash away lubricant. I always apply a fresh coat after washing to keep it running smoothly.
Protecting Sensitive Components
Cover delicate areas like the seat, handlebars, and electronics with plastic bags or cloths. I learned this the hard way after a water blast shorted out an electronic gear shift on one of my bikes. Tape can help secure the coverings, ensuring they stay in place while you clean.
Inspecting Before Cleaning
Before starting, give your ride a quick inspection. Look for loose bolts or parts that may need attention. I’ve had instances where components rattled loose during a wash, leading to annoying creaks and potential safety issues later. Tighten everything up to avoid surprises after the wash.
Choosing the Correct Nozzle for Bicycle Cleaning
For optimal results, selecting the right nozzle can make a significant difference. I usually recommend using a fan tip nozzle, typically in the range of 25 to 40 degrees. This provides a wide spray pattern, effectively covering larger areas without concentrating too much force on any single spot.
The 25-degree nozzle is great for tackling dirt and grime on the frame and wheels, while the 40-degree variant is perfect for delicate components, such as the chain and gears. I recall a time when I used a narrow nozzle on a friend’s mountain bike, which led to a few minor scratches on the frame. Since then, I’ve been a firm believer in the gentler approach.
When cleaning intricate parts, consider a rotating or turbo nozzle. These are designed to combine the benefits of a narrow stream with the area coverage of a wider spray, making them effective for stubborn stains. Just be cautious; even with these nozzles, it’s wise to maintain a safe distance, especially from painted surfaces.
If your equipment allows, adjustable nozzles can provide versatility. They enable you to switch between spray patterns quickly, adapting to various parts of the cycle without needing to change nozzles constantly. I often find myself using these for quick adjustments during a wash.
Lastly, always remember to test the spray on a less visible area first. This simple step can save you from potential damage and ensure that your cleaning strategy is on point. It’s all about finding that balance between power and gentleness to keep your ride looking pristine.
Setting the Appropriate Water Pressure for Safe Cleaning
For cleaning your two-wheeled companion, maintaining the right water force is crucial. Generally, a setting between 1200 to 1900 PSI is adequate for thorough cleansing without causing damage. I recall a time when I opted for a higher pressure, thinking it would speed up the job. Instead, I ended up with a dented frame and a damaged sticker. Avoiding excessive force is key to preserving the integrity of components.
Different bike materials require different approaches. For instance, lighter alloys or carbon frames need gentler treatment compared to robust steel frames. Always assess the material type before selecting your settings. Here’s a quick reference table for various materials and recommended PSI levels:
| Material Type | Recommended PSI |
|---|---|
| Carbon Fibre | 1200 – 1500 |
| Aluminium | 1500 – 1800 |
| Steel | 1800 – 1900 |
| Plastic Components | 1000 – 1200 |
Always start at the lower end of the pressure range, especially if you’re uncertain. You can gradually increase it if necessary, but it’s challenging to reverse any damage caused by too much force. Additionally, keep the nozzle at least 12 inches away from the surface; this distance allows for effective cleaning while reducing the risk of harm to delicate parts.
Lastly, remember that pressure settings aren’t the only consideration. Water temperature and the angle of the spray can significantly influence the cleaning process. Using warm water can enhance cleaning power without needing to ramp up the pressure. Be mindful of these variables to ensure a safe and effective clean-up for your ride. Happy cleaning!
Protecting Sensitive Components During the Wash
Before starting, ensure you cover sensitive areas to prevent water damage. Use a plastic bag or tape to seal components like the following:
- Battery: If your cycle is electric, remove the battery and store it in a safe, dry place.
- Wiring: Cover exposed wiring with plastic to keep moisture out.
- Brakes: Tape brake levers to avoid unintentional engagement.
- Derailleurs: Protect the front and rear derailleurs with a cloth or plastic wrap to avoid water intrusion.
- Bottom Bracket: Consider sealing this area as well to prevent water accumulation.
Using Low-Pressure Techniques
When cleaning, opt for lower pressure settings. High pressure can force water into bearings and seals, causing rust or damage. Hold the nozzle at a distance of at least 2 feet from sensitive parts.
Drying Post-Cleaning
After rinsing, wipe down the bike with a microfiber cloth. Pay special attention to areas where water could accumulate. This step helps prevent corrosion and keeps components functioning smoothly.
Regular maintenance, combined with careful washing techniques, will prolong your cycle’s lifespan and performance. Always prioritise protecting sensitive components during the cleaning process.
Techniques for Cleaning Different Bicycle Parts
Begin with the frame. A wide fan nozzle works wonders here. Maintain a distance of around 12 inches to avoid damaging the paint. Start from the top and work your way down to prevent dirt from settling on already cleaned areas.
Wheels and Tyres
Switch to a more concentrated nozzle for the wheels. Focus on the rims and spokes, which often accumulate grime and brake dust. Be cautious around the tyre walls; a gentle touch prevents stripping away rubber compounds. After rinsing, use a brush for stubborn dirt, then rinse again to remove residue.
Drivetrain Components
For the gears and chain, opt for a lower pressure setting. Direct water flow at an angle rather than straight on. This technique helps dislodge debris without forcing water into sensitive areas. After cleaning, apply lubricant to the chain to keep it running smoothly. For reference on cleaning hard surfaces, check how to clean algae off aquarium decorations.
Regular maintenance of each part ensures longevity and performance. Tailor your approach based on the material of each component for optimal results.
Rinsing and Drying Your Bicycle After Pressure Washing
Finish the cleaning process by rinsing thoroughly. Use clean water to ensure the removal of any detergent residue and debris. I recommend using a gentle spray from a distance, about 2 feet away, to avoid any damage to components. Pay particular attention to areas where soap may linger, like the chain and gears.
Effective Drying Techniques
After rinsing, drying your ride is crucial to prevent rust and corrosion. Use a soft, absorbent cloth to wipe down the frame, wheels, and other surfaces. For hard-to-reach areas, consider using a compressed air canister. This method helps remove moisture from tight spaces, ensuring thorough drying.
Post-Cleaning Inspection
Once dried, take a moment to inspect for any signs of wear or damage. Check the brakes, gears, and chain for any remaining water or soap. It’s a good practice to apply a light lubricant to the chain after drying, which can help maintain optimal performance. Regular maintenance prolongs the life of your equipment and enhances your riding experience.
Maintaining Your Bicycle Post-Cleaning
After a thorough clean, it’s imperative to give your two-wheeled friend some TLC to ensure optimal performance. Start with lubrication. Apply a suitable bike chain lube to avoid rust and ensure smooth shifting. Wipe off any excess with a clean rag to prevent grime buildup.
Check the brake pads and rims for any residue. If you notice any contaminants, a gentle wipe with a damp cloth will suffice. Keeping these components free from dirt enhances braking efficiency and prolongs their lifespan.
Inspect the gears and derailleur. A quick spray of bike-specific cleaner can remove any lingering debris. Ensure everything moves freely; this will prevent wear and ensure responsive shifting. Reapply lubricant as needed after cleaning.
Don’t forget the tyres. After washing, check for any damage or embedded debris. Inflate them to the recommended pressure to maintain optimal traction and performance. A quick visual inspection can often save you from future flat tyres.
Lastly, store your ride in a dry place. If you have a garage, make sure it’s well-ventilated. A dehumidifier can help if moisture is an issue. This simple step will help prevent rust and corrosion on metal parts.
.jpg)


